1. Introduction
Thank you for choosing the Avalo Gaming Desk. This manual provides essential information for the safe assembly, proper operation, and maintenance of your new gaming desk. Please read these instructions carefully before assembly and retain them for future reference.
The Avalo Gaming Desk is designed to provide a comfortable and organized workspace for gaming and home office use. It features a robust construction, integrated LED lighting, and convenient accessories to enhance your experience.

Image 1.1: Overview of the Avalo Gaming Desk with accessories.
2. Safety Information
- Ensure all components are securely fastened before use. Loose parts can cause instability and injury.
- Do not exceed the maximum weight capacity of 125 kg (275 lbs) on the desktop.
- Keep children and pets away during assembly to prevent accidents.
- Place the desk on a flat, stable surface to prevent tipping.
- Avoid exposing the LED lighting components to excessive moisture or direct sunlight.
- Disconnect the power supply for the LED lighting before cleaning or maintenance.
3. Package Contents
Carefully unpack all items and verify that all components are present. If any parts are missing or damaged, please contact customer support.
- Desktop (1 piece)
- Desk Legs (2 pieces, Z-shaped)
- Support Beams/Frame (various pieces)
- LED Lighting Strip (pre-installed or separate)
- LED Remote Control (1 piece)
- Cup Holder (1 piece)
- Headphone Hook (1 piece)
- Cable Management Grommets (2 pieces)
- Assembly Hardware (screws, bolts, Allen key)
- User Manual (this document)

Image 3.1: Illustration of items included in the box.
4. Assembly Instructions
Assembly typically requires two people. Follow these steps carefully:
- Prepare the Area: Clear a spacious area for assembly. Lay down a blanket or cardboard to protect the desktop surface from scratches.
- Assemble the Frame: Attach the Z-shaped desk legs to the main support beams using the provided screws and Allen key. Ensure all connections are firm but do not overtighten initially.
- Attach the Desktop: Carefully place the desktop upside down on the protected surface. Align the assembled frame with the pre-drilled holes on the underside of the desktop. Secure the desktop to the frame using the appropriate screws.
- Install Accessories: Attach the cup holder and headphone hook to the designated slots on the sides of the desk. Insert the cable management grommets into the desktop openings.
- Final Tightening: Once all components are in place, carefully flip the desk upright. Double-check and tighten all screws to ensure maximum stability. Do not overtighten.
- Connect LED Lighting: If the LED strip is not pre-installed, attach it to the designated area. Connect the LED lighting power cable to a suitable power source.

Image 4.1: Desk dimensions and Z-shaped leg design for stable assembly.
5. Operating Instructions
5.1 LED Lighting
The Avalo Gaming Desk features integrated LED lighting with various colors and effects. Use the provided remote control to customize your lighting experience.
- Power On/Off: Press the power button on the remote to turn the LEDs on or off.
- Color Selection: Use the color buttons to select a static color.
- Effect Modes: Cycle through different dynamic lighting effects using the mode buttons.
- Brightness/Speed Adjustment: Adjust the brightness of static colors or the speed of dynamic effects using the designated buttons.

Image 5.1: LED lighting and remote control for customization.
5.2 Cable Management
The desk includes two cable management grommets to help keep your workspace tidy and organized. Route your monitor, keyboard, mouse, and other peripheral cables through these openings to prevent tangles and clutter.
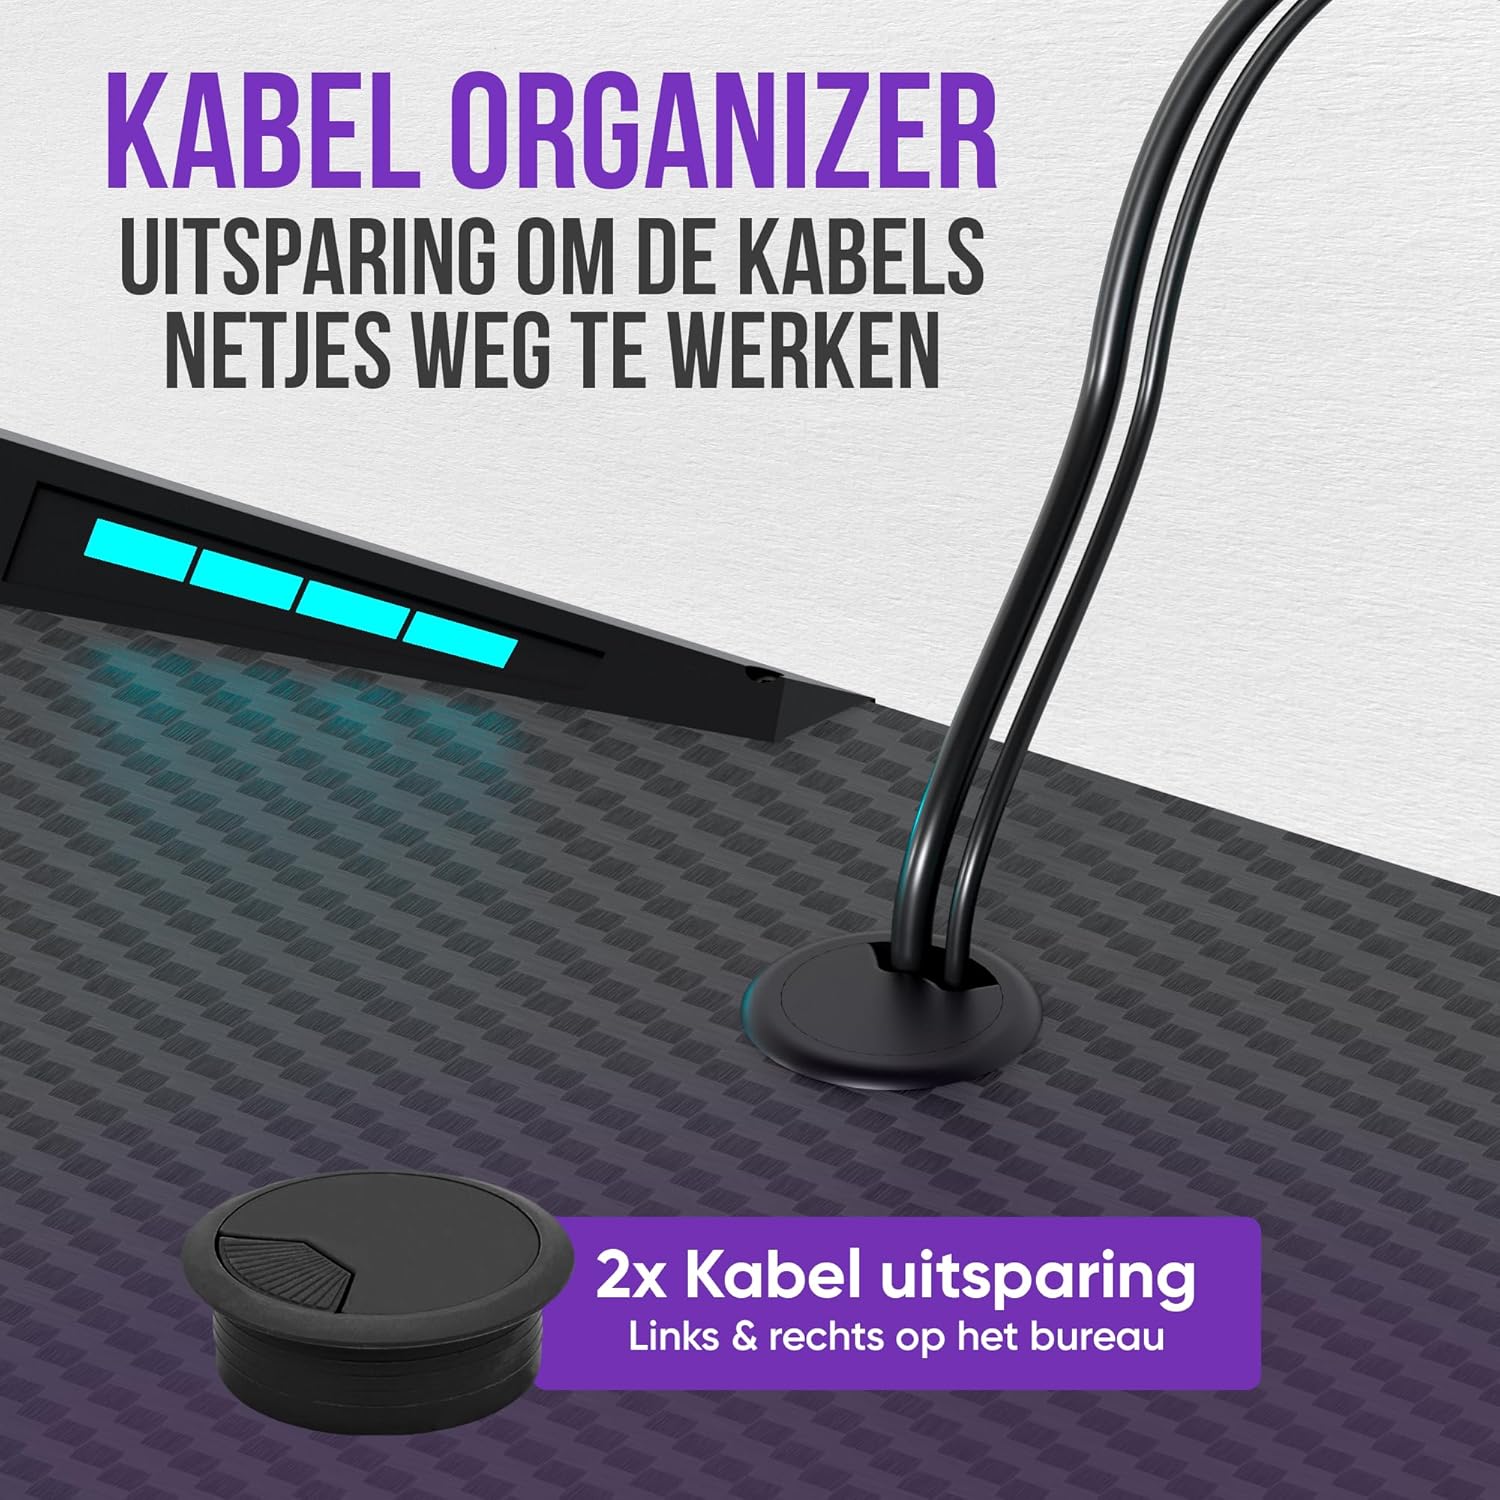
Image 5.2: Cable organizer for a neat setup.
5.3 Cup Holder and Headphone Hook
Utilize the integrated cup holder to keep your beverages secure and within reach, preventing spills on your equipment. The headphone hook provides a convenient storage solution for your gaming headset, keeping it off the desk surface and easily accessible.
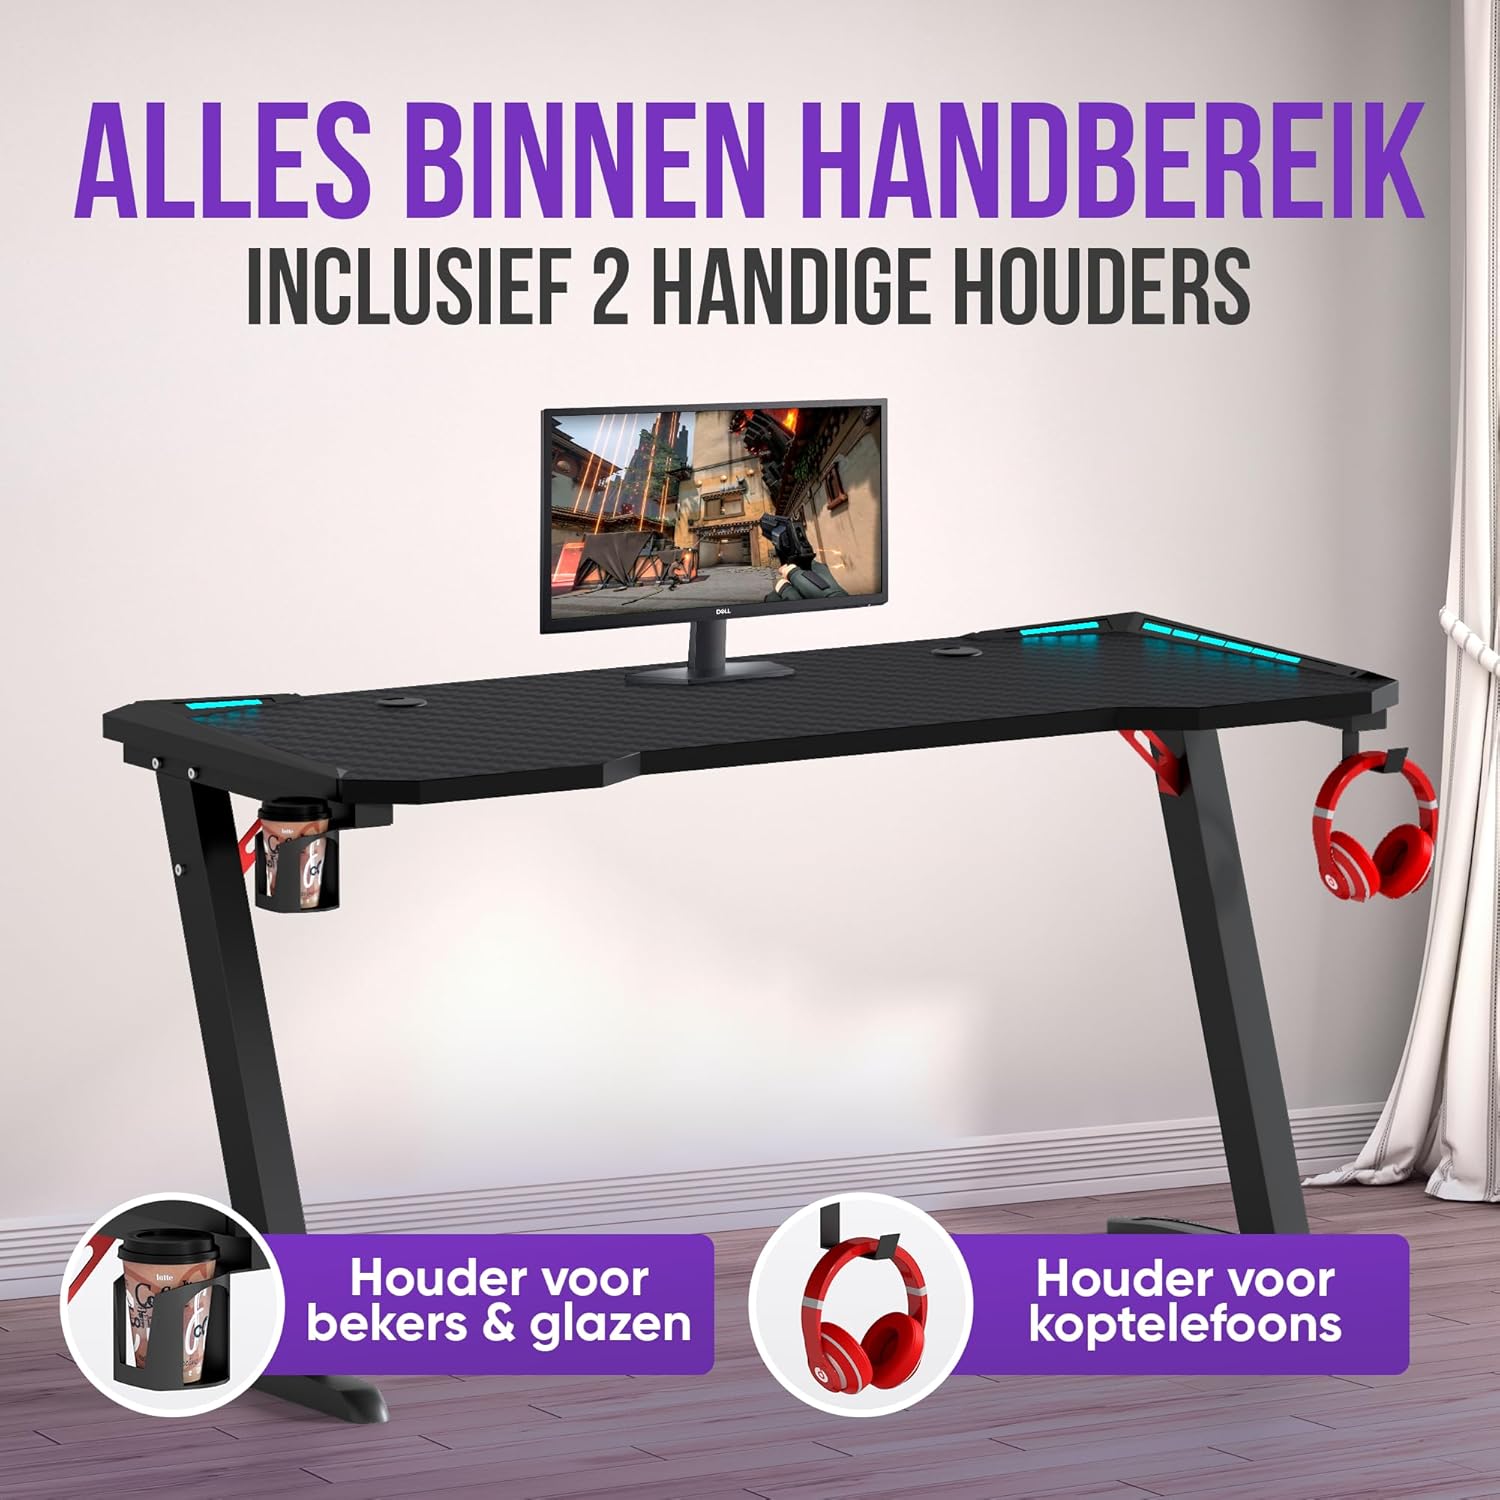
Image 5.3: Cup holder and headphone hook for convenience.
6. Maintenance
To ensure the longevity and appearance of your Avalo Gaming Desk, follow these maintenance guidelines:
- Cleaning: The desktop surface is waterproof and scratch-resistant. Wipe the surface with a soft, damp cloth and a mild cleaning solution. Avoid abrasive cleaners or harsh chemicals that could damage the carbon fiber coating.
- Frame Care: Clean the metal frame with a damp cloth. Dry immediately to prevent rust.
- Regular Checks: Periodically check all screws and connections to ensure they remain tight. Retighten if necessary.
- LED Care: Keep the LED strip free from dust. Do not attempt to disassemble the LED components.

Image 6.1: Carbon fiber coating features: temperature, scratch, and water resistance.
7. Troubleshooting
- Desk is Unstable:
- Ensure all screws are fully tightened. Do not overtighten.
- Verify the desk is placed on a level surface. Adjust floor glides if available. - LED Lighting Not Working:
- Check if the power cable is securely connected to both the LED strip and the power outlet.
- Ensure the remote control has working batteries.
- Point the remote directly at the LED receiver. - Missing Parts or Damaged Components:
- Review the 'Package Contents' section. If parts are missing or damaged upon arrival, contact Avalo customer support immediately with your purchase details.
8. Specifications
| Feature | Specification |
|---|---|
| Model Number | AP13 |
| Dimensions (L x W x H) | 140 x 60 x 73 cm (55.1 x 23.6 x 28.7 inches) |
| Weight | 17.5 kg (38.6 lbs) |
| Max. Load Capacity | 125 kg (275 lbs) |
| Materials | Carbon Fiber Coating, Heat-resistant ABS, Stainless Steel Base, Metal Frame |
| Color | Black |
| Special Features | Integrated LED Lighting, Cable Management System, Cup Holder, Headphone Hook, Ergonomic Design |
9. Warranty and Support
Avalo products are designed for quality and durability. For warranty information, please refer to the documentation included with your purchase or visit the official Avalo website. If you encounter any issues or require assistance, please contact Avalo customer support with your product model number (AP13) and purchase details.


