1. Introduction
This manual provides detailed instructions for the safe and effective use of your Bewinner Mini DV Keychain Camera. This compact device is designed for capturing clear photos and smooth videos, offering portability and ease of use. Please read this manual thoroughly before operating the camera.
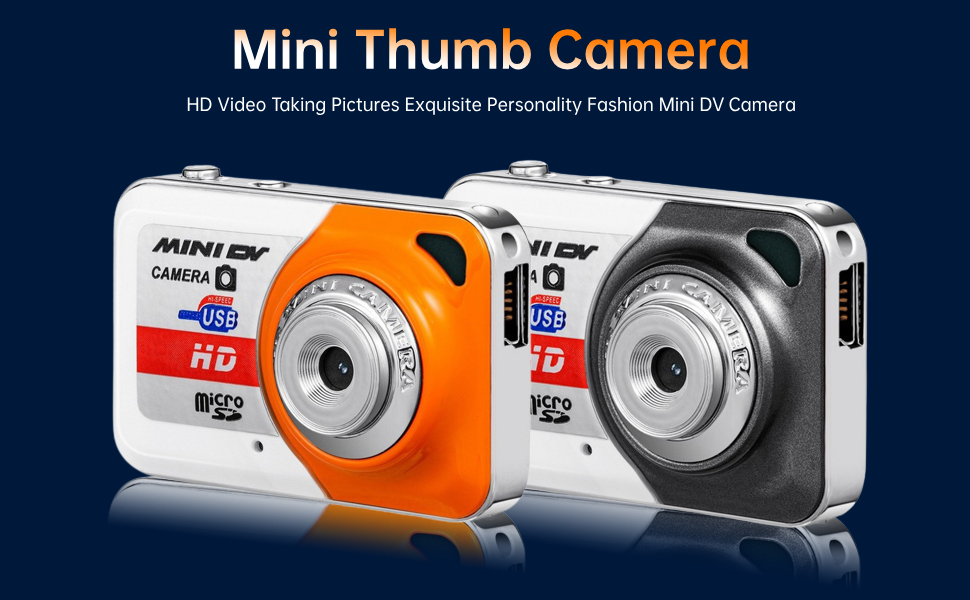
Image 1.1: Bewinner Mini Thumb Camera overview.
2. Product Features
- High-Quality Capture: Records clear and smooth video with accurate color reproduction.
- Ultra-Compact Design: Thumb-sized and lightweight (20g) for maximum portability.
- Versatile Recording: Supports AVI video format and includes a separate audio recording function to conserve memory.
- Easy Connectivity: Features USB 2.0 for quick connection to a computer, functioning as a webcam or for data transfer and power supply.
- Motion Detection: Automatically records 3-minute video segments when motion is detected within the camera's field of view.
3. What's in the Box
- Camera Body Only
Note: A Micro SD card is required for operation and is not included.
4. Setup
4.1 Component Identification

Image 4.1: Overview of the camera's buttons and ports, including the On/Off key, Function keys, Indicator light, Hidden lanyard port, USB port, and Microphone.
4.2 Inserting the Micro SD Card
- Locate the Micro SD card slot on the side of the camera.
- Gently insert a compatible Micro SD card (not included) into the slot until it clicks into place. Ensure the card is inserted in the correct orientation.
4.3 Charging the Camera
- Connect the camera to a USB power source (e.g., computer, USB wall adapter) using the provided USB cable.
- The indicator light will illuminate during charging and turn off once fully charged.
- A full charge typically provides up to 90 minutes of recording in HD mode.

Image 4.2: The camera connected to a USB cable for charging or data transfer.
5. Operating Instructions
5.1 Power On/Off
- To Power On: Long press the On/Off key until the screen illuminates.
- To Power Off: Long press the On/Off key until the screen turns off.
5.2 Taking Photos
- Ensure the camera is in photo mode (indicated by a camera icon on the screen).
- Press the Function key once to take a photo. The screen may briefly flash to indicate a successful capture.

Image 5.1: The camera's ability to capture high-pixel photos, even in low light conditions.
5.3 Recording Videos
- From photo mode, press the Function key to switch to video mode (indicated by a video camera icon).
- Press the Function key once to start recording. The indicator light will change, and a timer will appear on the screen.
- Press the Function key again to stop recording. The video file will be saved to the Micro SD card.

Image 5.2: The camera's capability for clear and smooth dynamic video recording.
5.4 Motion Detection Recording
- To activate motion detection, refer to the specific instructions in the full user manual (if available) or experiment with the Function key in video mode.
- When enabled, the camera will automatically begin recording 3-minute video clips when movement is detected.
5.5 Accessing Files on a Computer
- Connect the camera to your computer using the provided USB cable.
- The camera should appear as a removable disk drive. Open the drive to access your recorded photos and videos.
- Alternatively, you can remove the Micro SD card and insert it into a card reader connected to your computer.
Video 5.1: A demonstration of inserting the SD card, turning on the camera, switching between photo and video modes, and connecting to a computer for file transfer.
6. Maintenance
- Cleaning: Use a soft, dry cloth to clean the camera body. For the lens, use a specialized lens cleaning cloth and solution. Avoid abrasive materials.
- Storage: Store the camera in a cool, dry place away from direct sunlight and extreme temperatures.
- Battery Care: Charge the camera regularly, even if not in frequent use, to maintain battery health. Avoid fully depleting the battery for extended periods.
- Water Resistance: This camera is not water resistant. Avoid exposure to water or high humidity.
7. Troubleshooting
| Problem | Possible Cause | Solution |
|---|---|---|
| Camera does not power on. | Low or depleted battery. | Charge the camera fully using the provided USB cable. |
| Cannot record photos or videos. | No Micro SD card inserted or card is full/corrupted. | Insert a Micro SD card. Check available space or format the card (this will erase all data). |
| Poor image/video quality. | Insufficient lighting, dirty lens, or camera movement. | Ensure adequate lighting. Clean the camera lens. Hold the camera steady during capture. |
| Camera not recognized by computer. | Faulty USB cable or port, or driver issue. | Try a different USB cable or port. Restart your computer. |
8. Specifications
| Feature | Detail |
|---|---|
| Brand | Bewinner |
| Model Name | Bewinner |
| Item Model Number | Bewinnerfg46u1kty3-12 |
| Video Capture Resolution | 720p |
| Video Capture Format | AVI |
| Frame Rate | 30 FPS |
| Photo Sensor Technology | CMOS |
| Focus Type | Auto Focus |
| Connectivity Technology | USB |
| Special Feature | Motion Sensor |
| Compatible Devices | Personal Computer |
| Item Weight | 58 Grams (2.05 ounces) |
| Water Resistance Level | Not Water Resistant |
| Batteries Required? | No (Internal rechargeable battery) |