
1. Product Overview
This manual provides detailed instructions for the replacement LCD glass designed for various Starline two-way car alarm system remotes, specifically for the Russia Version. This product is a direct replacement for damaged or non-functional LCD screens on compatible remote controllers.
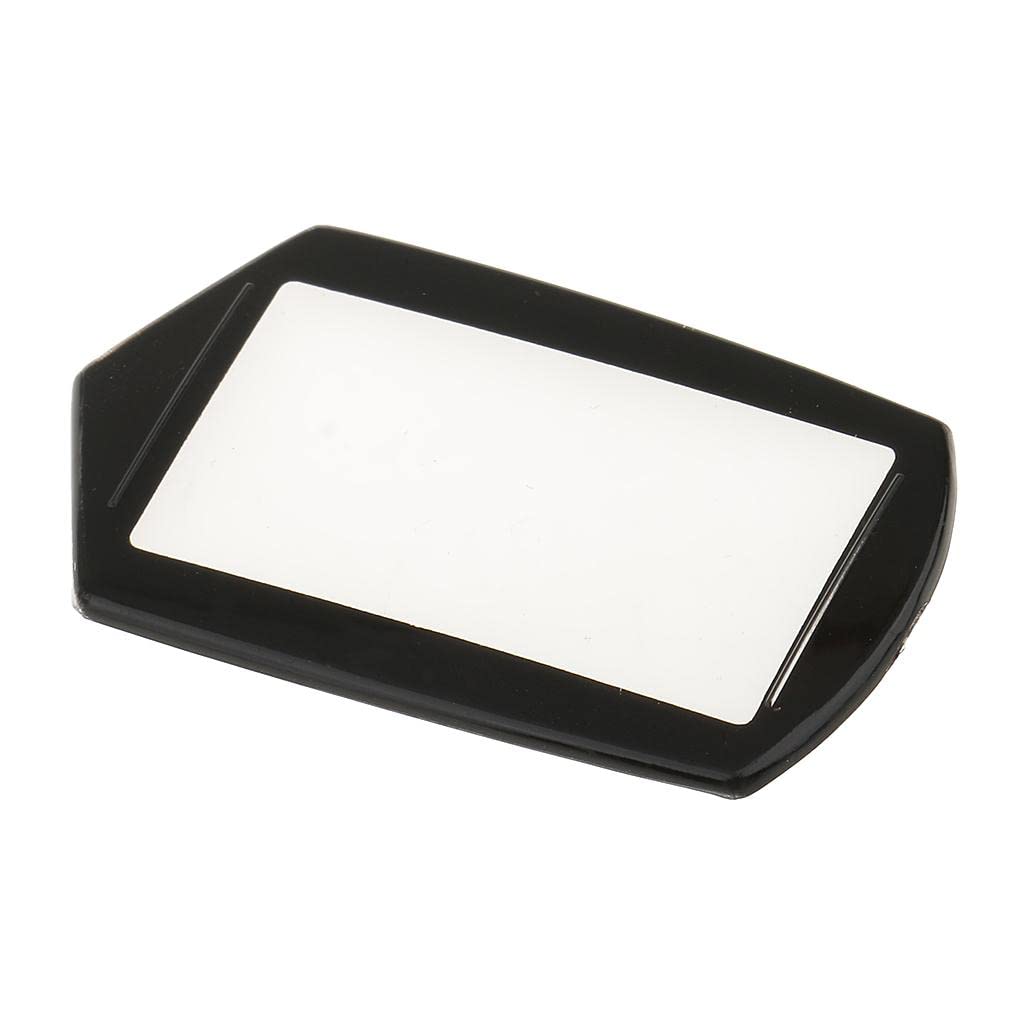
Figure 1.1: Front view of the replacement LCD glass, showing the clear display area and black frame.

Figure 1.2: Angled perspective of the LCD glass, highlighting its shape and edges.

Figure 1.3: Rear view of the LCD glass, showing the adhesive or mounting points.
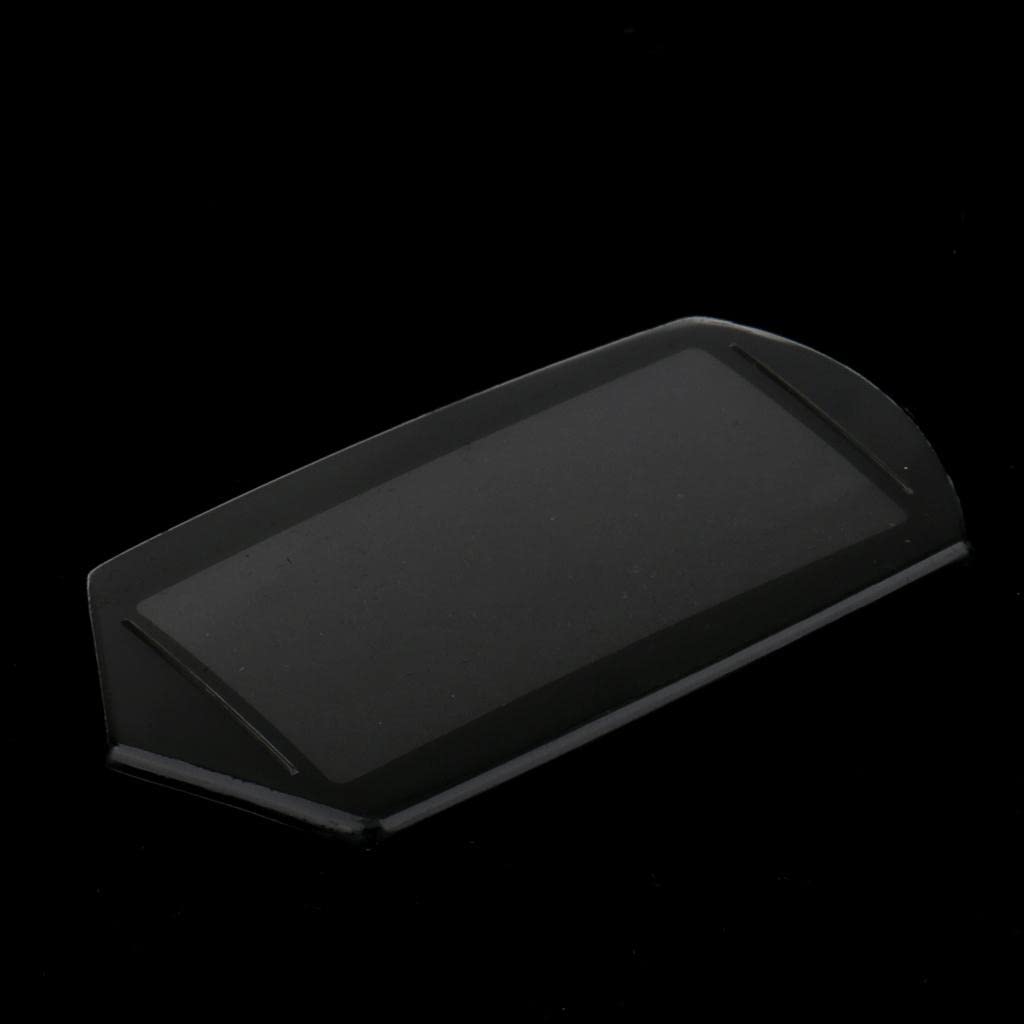
Figure 1.4: Side profile of the LCD glass, illustrating its thin design.

Figure 1.5: Top-down view of the LCD glass, showing the overall dimensions.
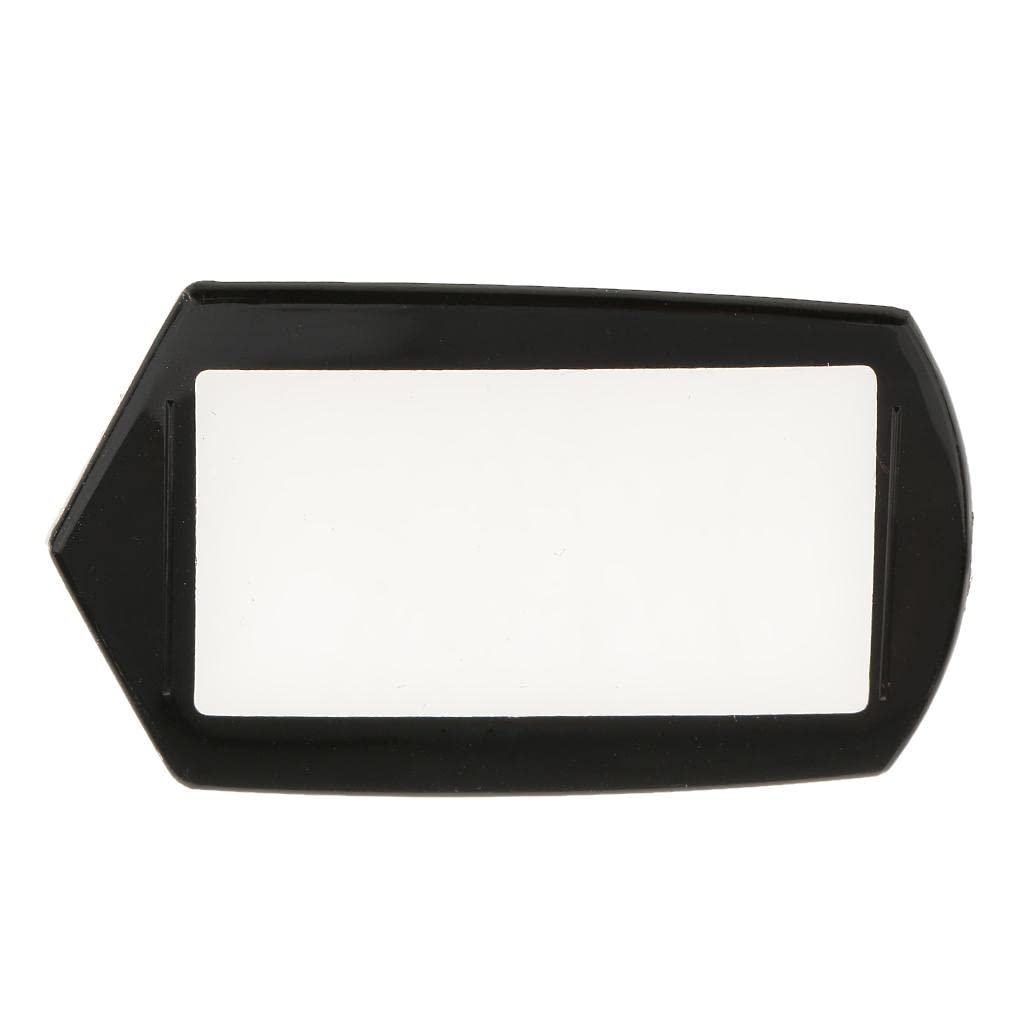
Figure 1.6: Additional angled view of the LCD glass, providing another perspective.
Compatibility: This LCD glass is suitable for Starline A91, B9, B6, A61, B61, B91, and V7 two-way LCD remote controllers for the Russia Version.
Material: Plastic screen glass.
2. Installation Instructions
Replacing the LCD glass requires careful handling. If you are not comfortable performing this procedure, it is recommended to seek professional assistance.
2.1. Required Tools
- Small Phillips head screwdriver
- Plastic prying tool (spudger)
- Tweezers (optional)
- Clean, lint-free cloth
- Adhesive (if not pre-applied to the new glass)
2.2. Step-by-Step Replacement
- Power Off: Ensure the remote controller is completely powered off. Remove any batteries before proceeding.
- Disassemble Remote: Carefully open the remote control casing. This usually involves removing small screws on the back and then gently prying the case apart with a plastic tool. Be mindful of any ribbon cables connecting the two halves.
- Remove Old Glass: Locate the damaged LCD glass. Gently pry it away from the remote's housing. If adhesive was used, apply gentle heat (e.g., from a hairdryer on low setting) to soften it, making removal easier. Be careful not to damage the underlying LCD panel or circuit board.
- Clean Surface: Use a clean, lint-free cloth to thoroughly clean the area where the new glass will be placed. Ensure no dust, debris, or old adhesive residue remains.
- Install New Glass: Carefully align the new LCD glass into position. If your new glass has pre-applied adhesive, remove the protective film and press it firmly into place. If not, apply a thin, even layer of appropriate adhesive around the edges of the glass before seating it.
- Reassemble Remote: Carefully reassemble the remote control casing, ensuring all components are correctly seated and ribbon cables are not pinched. Secure with screws.
- Test Functionality: Insert batteries and power on the remote. Verify that the display is clear and fully functional.
Caution: Applying excessive force during disassembly or reassembly can damage internal components. Always work in a clean, well-lit environment.
3. Maintenance and Care
To ensure the longevity and clarity of your replacement LCD glass, follow these care guidelines:
- Cleaning: Use a soft, lint-free cloth, slightly dampened with water or a screen-safe cleaner, to wipe the glass. Avoid abrasive materials or harsh chemicals.
- Protection: Avoid dropping the remote or exposing it to sharp objects that could scratch or crack the glass.
- Environmental Conditions: Keep the remote away from extreme temperatures and high humidity.
4. Troubleshooting
If you encounter issues after replacing the LCD glass, consider the following:
- Display Not Working:
- Ensure batteries are correctly inserted and charged.
- Verify that the remote's internal components (especially the LCD panel and its ribbon cable) were not damaged during installation.
- Check if the new glass is properly seated and making full contact if it relies on conductive elements.
- Cracked or Scratched Glass: This indicates physical damage. The glass will need to be replaced again.
- Dust Under Glass: If dust particles are visible under the new glass, it indicates improper cleaning before installation. The remote will need to be disassembled again to clean the surface.
5. Specifications
| Brand | THE STYLE SUTRA |
| Model Number | TSIN52006891 |
| Compatible Remotes | Starline A91, B9, B6, A61, B61, B91, V7 (Russia Version) |
| Material | Plastic |
| Color | Black and clear |
| Product Dimensions (LxWxH) | 10 x 6 x 12 cm |
6. Warranty Information
No specific warranty information is provided for this replacement LCD glass. Please refer to the retailer or original manufacturer for details regarding their return or exchange policies.
7. Support
For further assistance or inquiries regarding this product, please contact the retailer from whom it was purchased. No direct manufacturer support contact information is available in the product details.