1. Introduction
This manual provides essential instructions for the safe and effective use of the Generic R23 Cordless Gutta Percha Obturation Pen. This device is designed for endodontic procedures, specifically for the vertical compaction of gutta percha during root canal filling. Please read this manual thoroughly before operation and retain it for future reference.
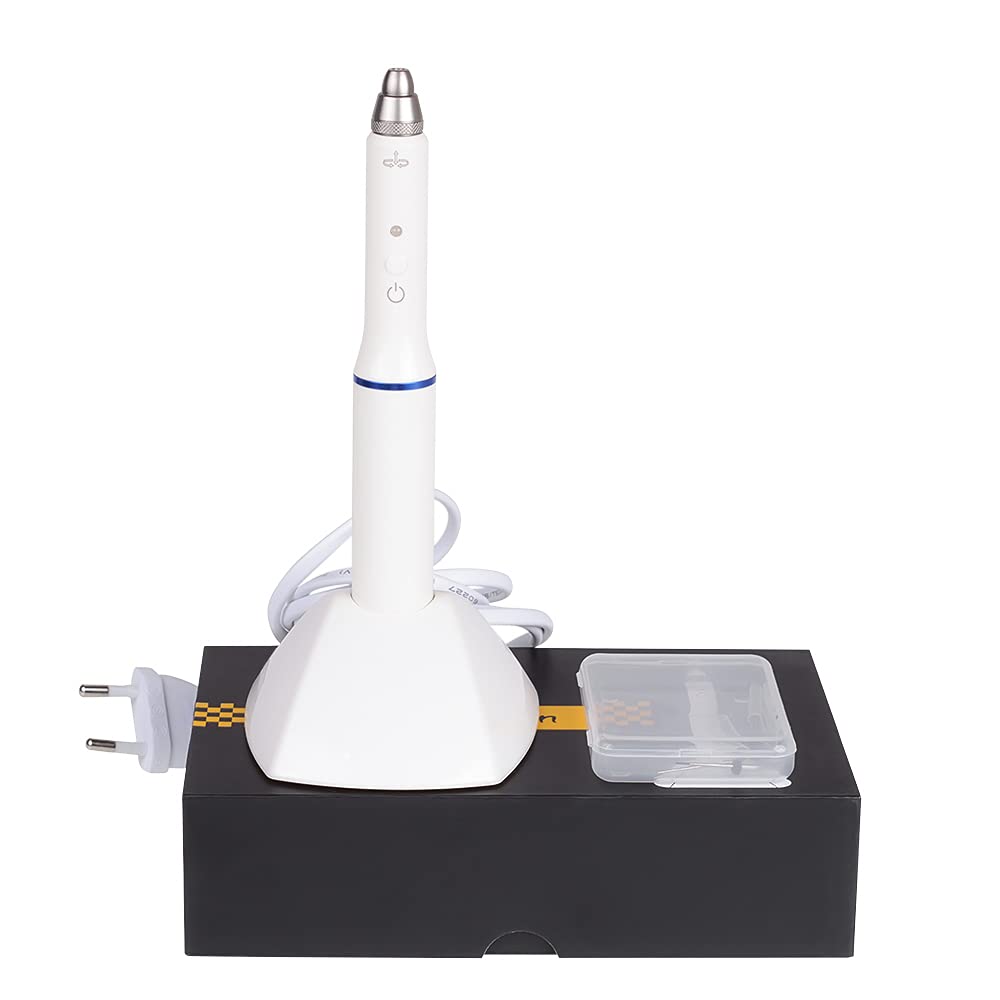
Image 1: The Generic R23 Cordless Gutta Percha Obturation Pen with its charging base and accessories.
2. Safety Information
WARNING: Failure to follow these safety instructions may result in injury or damage to the device.
- Do not use with wet hands.
- Keep away from children.
- Do not charge or use near water or in damp environments.
- Unplug the charging base and turn off the device when not in use.
- Ensure the power adapter input is within AC 110-220V 50/60Hz to prevent damage.
- This device is classified as Class II for protection against electric shock and Type II for degree of protection against electric shock.
- Statements regarding dietary supplements have not been evaluated by the FDA and are not intended to diagnose, treat, cure, or prevent any disease or health condition. This product is for professional dental use only.
3. Package Contents
Verify that all items are present in the package:
- Obturation Pen (1 PC)
- Heating Needle (Type F/FM) (2 PCS)
- Charging base (1 PC)
- Battery (1 PC)

Image 2: The complete package contents of the Obturation Pen system.
4. Setup
4.1 Charging the Device
Before first use, fully charge the device. Place the obturation pen into the charging base. The blue light indicates charging, and the red light indicates the device is working. Ensure the charging base is connected to a compatible power outlet (AC 110-220V 50/60Hz).
4.2 Attaching the Heating Needle
Carefully select the appropriate heating needle (Type F/FM). Align the needle with the pen's tip and gently screw it into place until secure. Do not overtighten.

Image 3: Detailed view of attaching a heating needle to the obturation pen.

Image 4: The obturation pen with a heating needle securely attached.
5. Operating Instructions
5.1 Powering On and Heating
Press the power button to turn on the device. The pen heats rapidly, reaching 200°C in approximately 3 seconds. The device is designed for quick heating (0.2 seconds to reach operating temperature) and maintains a constant temperature for effective gutta percha melting.

Image 5: The obturation pen emphasizing its rapid heating capability.
5.2 Using the Obturation Pen
The pen supports the vertical compaction of gutta percha for root canal filling. The 0.25MM pre-bent working tip is designed to penetrate deep into the root canal, including narrow and curved sections, for optimal obturation.
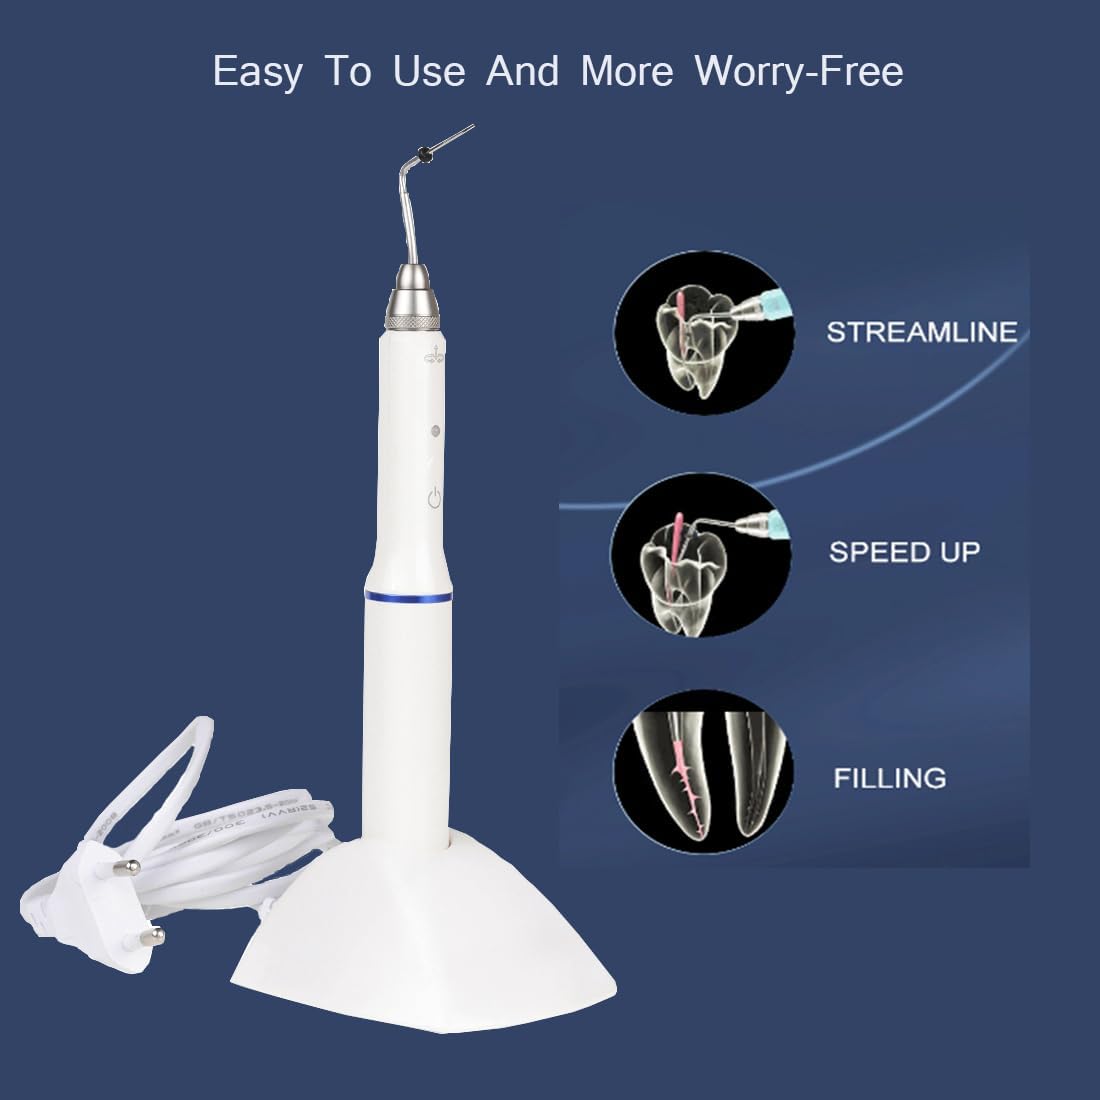
Image 6: Illustration of the pen's function in root canal procedures.
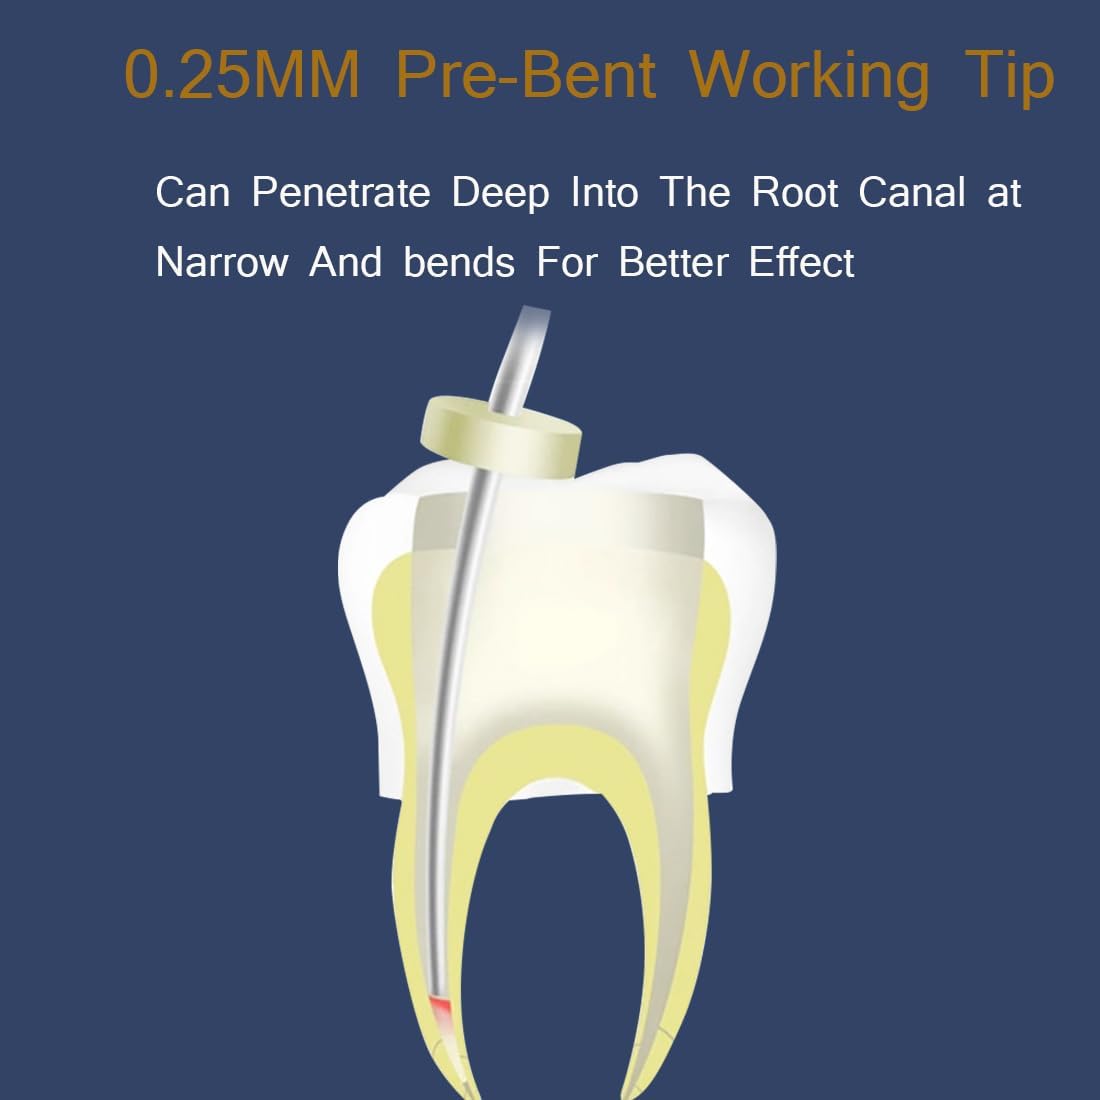
Image 7: The pre-bent working tip designed for deep root canal penetration.
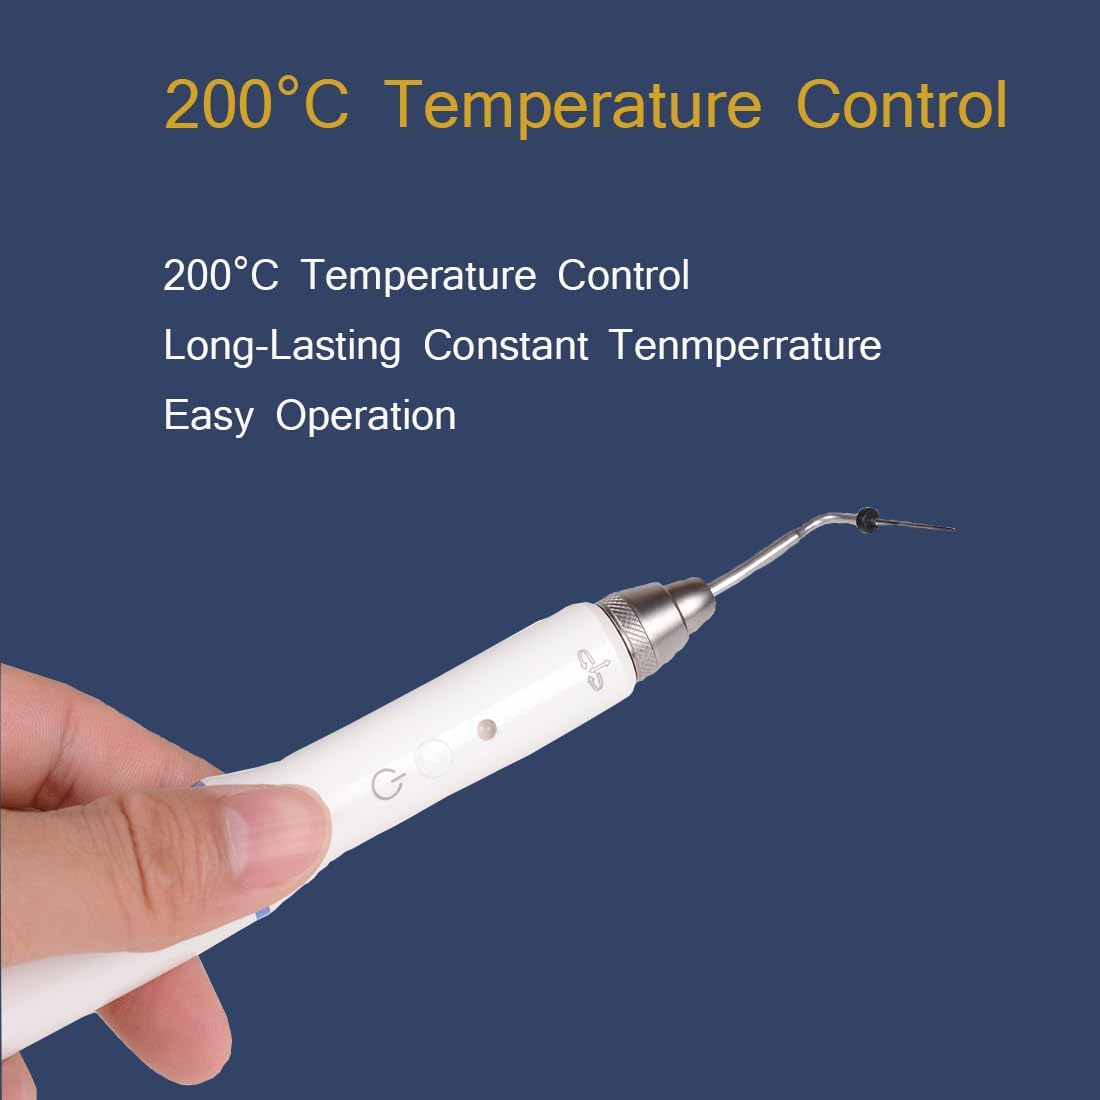
Image 8: The pen's tip, highlighting its temperature control for melting gutta percha.
5.3 Operational Video Guide
For a visual demonstration of the device's operation, including charging and tip usage, please refer to the video below.
Video 1: Demonstration of the Gutta Percha Cutter, showing charging, tip attachment, and operation. The blue light indicates charging, and the red light indicates working mode.
6. Maintenance
After each use, ensure the device is turned off and allowed to cool. Carefully clean the heating needle and the pen body according to standard dental instrument sterilization protocols. Store the device and its accessories in a clean, dry place.
7. Troubleshooting
7.1 Device Not Charging or Turning On
- Ensure the charging base is properly connected to a functional power outlet.
- Verify that the power adapter is compatible with the specified voltage (AC 110-220V). Using an incompatible adapter may cause damage to the charger or device.
- Check if the pen is correctly seated in the charging base.
- Confirm the battery is properly installed and not depleted. The device includes one A battery.
7.2 Heating Needle Not Heating
- Ensure the heating needle is securely attached to the pen.
- Check if the device is powered on and the indicator light is active.
- If the issue persists, try replacing the heating needle with a new one.
8. Specifications
| Model | R23 |
| Dimensions | 72x80x210mm |
| Weight (G.W.) | 305g |
| Power Adapter Input | AC 110-220V 50/60Hz |
| Internal Power Supply | DC 1.2V 2000mA |
| Battery | 1 A battery (included), 4 hours long life |
| Protection Against Electric Shock | Class II (Type II Degree) |
| Operation Temperature | 5℃ - 40℃ |
| Operation Humidity | 10%RH - 80%RH |
| Pressure | 50kPa - 106kPa |
| Heating Time | 0.2 seconds to operating temperature, 3 seconds to 200°C |
| Material Type | Gutta percha (for tips) |
| Color | White |
9. Warranty and Support
This product comes with a 1-year warranty from the date of purchase. The estimated period of use for the device is 5 years. For warranty claims, technical support, or inquiries, please contact your retailer or the manufacturer, FascinatingTrade. Please retain your proof of purchase for warranty validation.