1. Introduction
Thank you for choosing the SKMEI 1370 Analog-Digital Sports Watch. This manual provides detailed instructions for setting up, operating, maintaining, and troubleshooting your watch. Please read this manual carefully to ensure proper use and to fully utilize all features of your new timepiece.
2. Product Overview
The SKMEI 1370 is a robust sports watch featuring both analog and digital time displays. It is designed for durability and functionality, offering features such as 50-meter water resistance, a stopwatch, alarm, backlight, automatic date display, luminous hands, chronograph, and calendar functions. The watch combines a resin case with a steel band for a modern and sporty aesthetic.
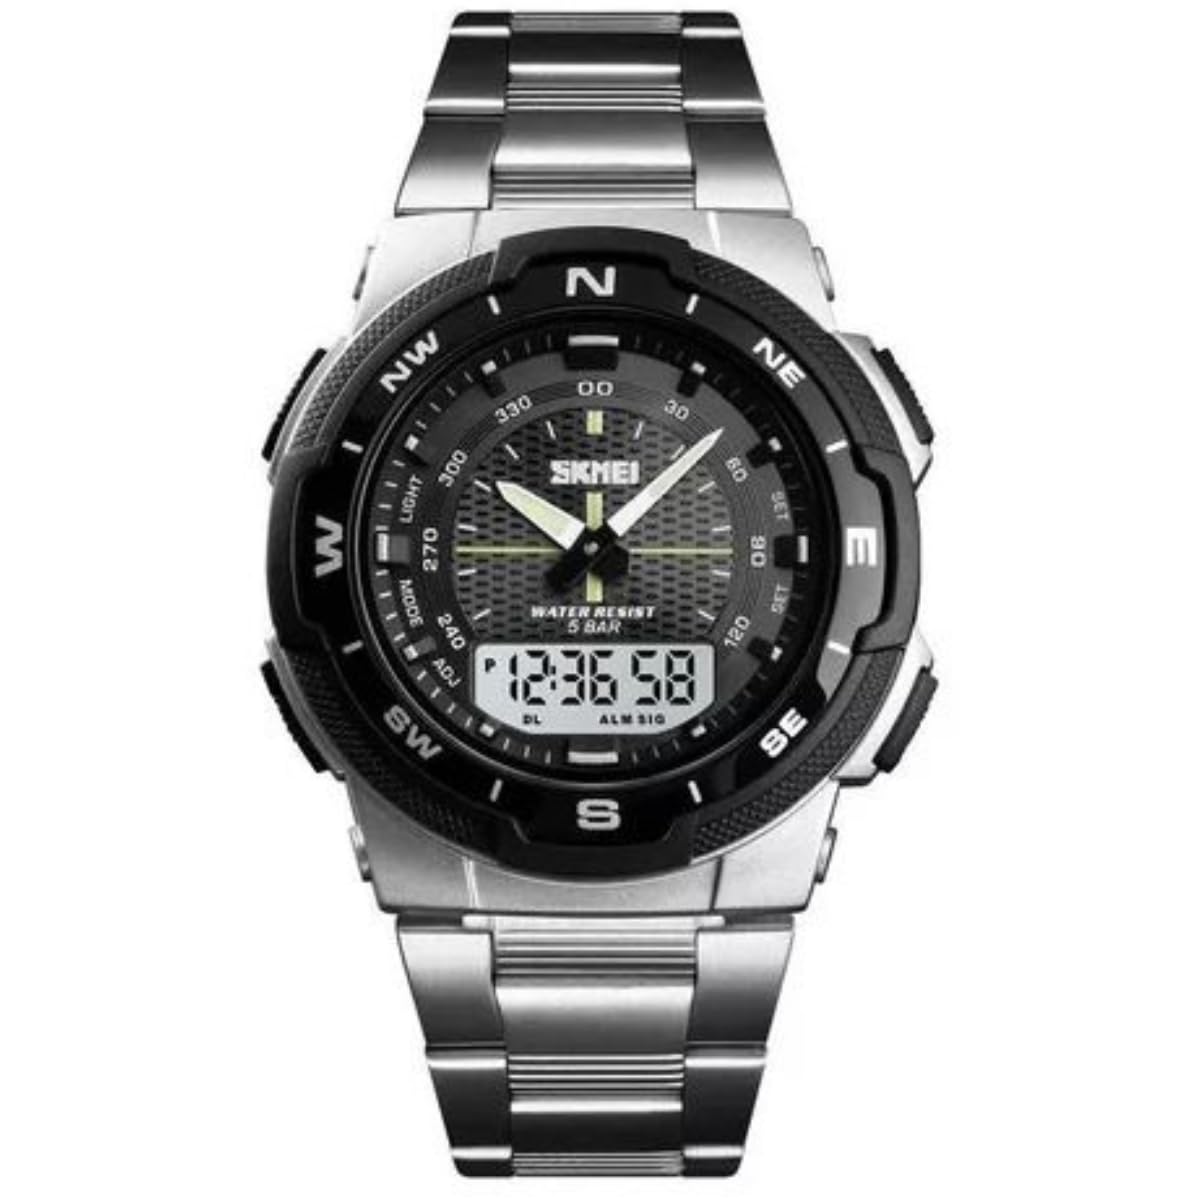
Figure 2.1: Full view of the SKMEI 1370 watch, showcasing its analog and digital display and steel band.
3. Setup
3.1 Button Functions
Familiarize yourself with the watch buttons:
- MODE Button: Cycles through different modes (Time, Alarm, Stopwatch).
- LIGHT Button: Activates the backlight for the digital display.
- START/STOP Button (ADJ): Used to adjust settings or start/stop the stopwatch.
- RESET Button (SET): Used to reset values or confirm settings.
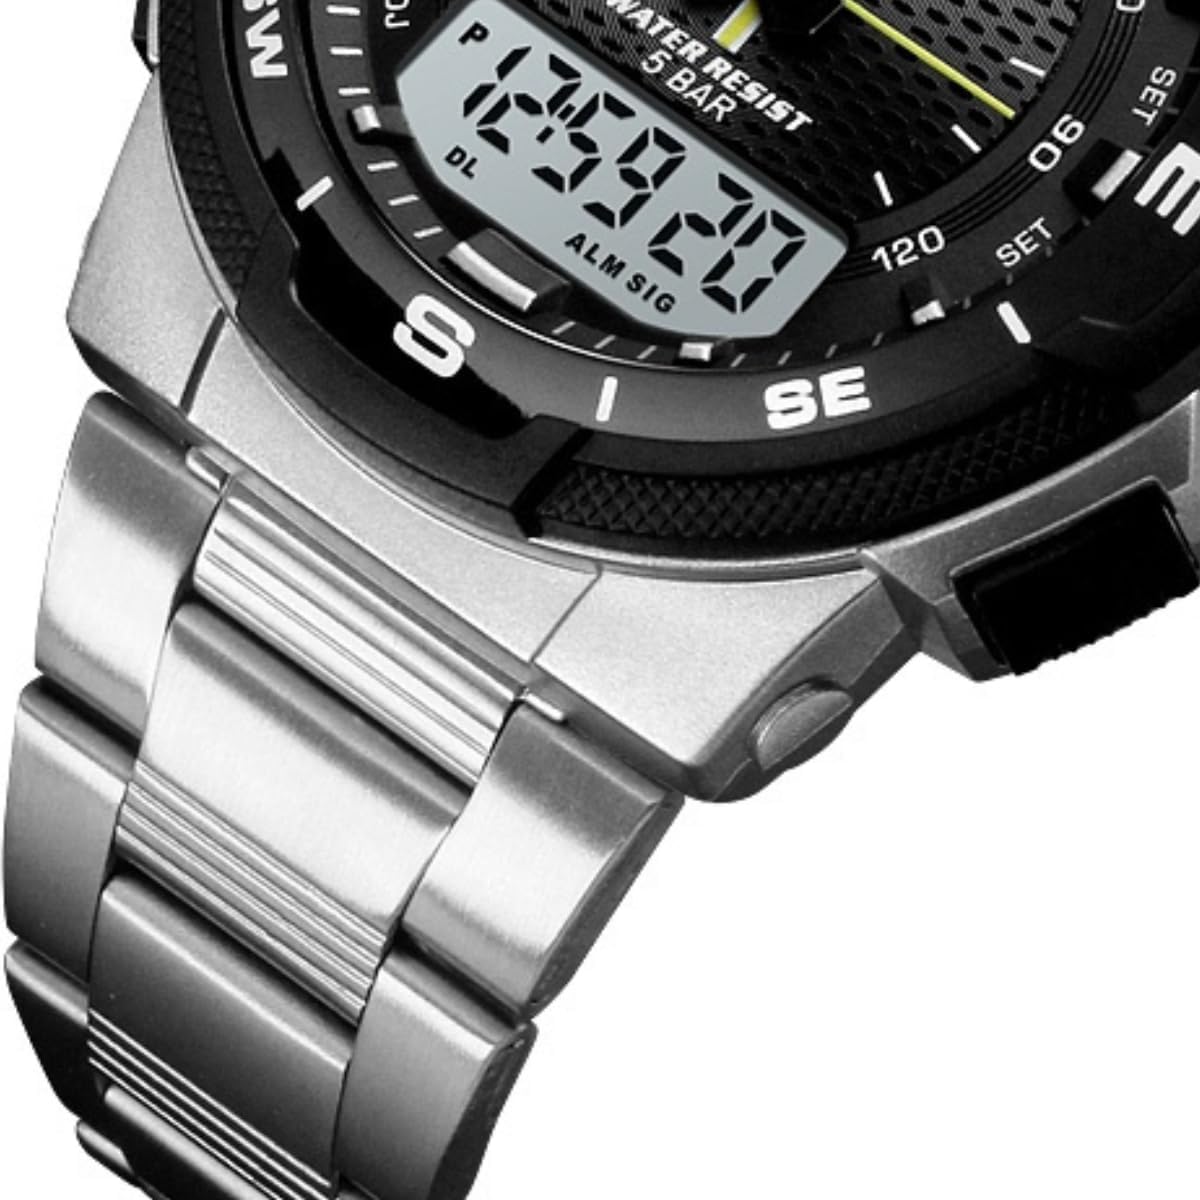
Figure 3.1: Side view of the watch, highlighting the control buttons.
3.2 Setting Analog Time
- Pull out the crown located on the right side of the watch case.
- Rotate the crown to move the analog hands to the desired time.
- Push the crown back in to secure the time setting.
3.3 Setting Digital Time and Date
- Press the MODE button repeatedly until the digital time display flashes, indicating it is in setting mode.
- Use the START/STOP (ADJ) button to adjust the flashing value (e.g., seconds, minutes, hour).
- Press the RESET (SET) button to move to the next setting item (e.g., hour, date, month, day of week).
- Repeat steps 2 and 3 until all desired settings (time, date, day) are configured.
- Press the MODE button to exit the setting mode.

Figure 3.2: Close-up of the watch face, showing the digital display for time and date settings.
3.4 Adjusting the Band
The steel band can be adjusted by removing links to achieve a comfortable fit. This procedure typically requires specialized tools and is best performed by a professional jeweler or watch repair service to avoid damage.
4. Operating Instructions
4.1 Mode Selection
Press the MODE button to cycle through the following functions:
- Time Display: Shows current time, date, and day of the week.
- Stopwatch: Measures elapsed time.
- Alarm: Allows setting and activating an audible alarm.
4.2 Using the Stopwatch
- Press the MODE button until the stopwatch display appears (usually '00:00:00').
- Press the START/STOP (ADJ) button to start the stopwatch.
- Press the START/STOP (ADJ) button again to pause/resume the stopwatch.
- Press the RESET (SET) button to reset the stopwatch to zero.
4.3 Setting and Using the Alarm
- Press the MODE button until the alarm setting display appears.
- Press the START/STOP (ADJ) button to adjust the hour.
- Press the RESET (SET) button to move to the minute setting.
- Press the START/STOP (ADJ) button to adjust the minutes.
- Press the MODE button to confirm and activate the alarm. An alarm icon will typically appear on the display.
- To turn off the alarm sound when it rings, press any button.
4.4 Using the Backlight
Press the LIGHT button to illuminate the digital display for a few seconds, allowing visibility in low-light conditions.
4.5 Water Resistance
This watch is water resistant up to 50 meters (5 ATM). This means it is suitable for short periods of recreational swimming, showering, or washing hands. It is not suitable for diving, snorkeling, or high-pressure water activities. Do not operate buttons underwater.
5. Maintenance
5.1 Cleaning
Wipe the watch case and band regularly with a soft, dry cloth. For stubborn dirt, a slightly damp cloth can be used, followed by immediate drying. Avoid using chemical cleaners, as they may damage the watch's finish or seals.
5.2 Battery Replacement
The watch is powered by a battery. When the digital display becomes dim or the watch stops functioning, it may be time for a battery replacement. It is recommended to have the battery replaced by a qualified watch technician to ensure the water resistance seal is properly maintained.
5.3 Water Resistance Care
To maintain the watch's water resistance, ensure the crown is always pushed in completely. Avoid exposing the watch to extreme temperature changes, which can affect the seals. If the watch is exposed to saltwater, rinse it with fresh water and dry it thoroughly.
6. Troubleshooting
If you encounter issues with your watch, refer to the following common problems and solutions:
- Digital display is blank or dim: The battery may be low or depleted. Replace the battery.
- Analog hands are not moving: Check if the crown is pushed in completely. If it is, the battery for the analog movement might be depleted, or there could be a mechanical issue.
- Time is inaccurate: Re-set both analog and digital times as per Section 3. If the issue persists, the battery may be low, or the movement may require servicing.
- Alarm is not sounding: Ensure the alarm is set correctly and activated (check for the alarm icon on the display).
- Water inside the watch: Immediately take the watch to a professional for inspection and repair to prevent further damage.
If these steps do not resolve the issue, please contact customer support or a qualified watch repair service.
7. Specifications
| Feature | Specification |
|---|---|
| Brand Name | SKMEI |
| Model Number | 1370 |
| Display Type | Analog-Digital |
| Movement | Quartz |
| Case Material | Resin |
| Case Diameter | 47 mm |
| Case Thickness | 14 mm |
| Band Material Type | Steel |
| Band Width | 18 mm |
| Band Color | Silver |
| Dial Color | Black |
| Dial Window Material Type | Acrylic |
| Water Resistance Depth | 50 Meters (5 ATM) |
| Special Features | Stopwatch, Luminous, Auto Date, Chronograph, Calendar, Alarm, Backlight |
| Power Source | Battery Powered |
| Clasp Type | Fold-over Safety Clasp |
| Item Shape | Round |
| Style | Sport |
8. Warranty and Support
For warranty information or technical support, please refer to the documentation provided with your purchase or contact the retailer/manufacturer directly. Keep your proof of purchase for any warranty claims.