
Litake 2X100W
Litake 2X100W Full Spectrum LED Grow Lights Instruction Manual
Model: 2X100W | Brand: Litake
1. Introduction
This manual provides detailed instructions for the safe and efficient operation of your Litake 2X100W Full Spectrum LED Grow Lights. Please read this manual thoroughly before installation and use, and retain it for future reference.
2. Safety Instructions
- Always disconnect power before installation or maintenance.
- Do not look directly at the operating LED lights; prolonged exposure can cause eye damage.
- Ensure the installation environment is well-ventilated.
- Keep the grow light away from water and moisture, despite its IP54 rating, to prevent electrical hazards.
- Do not attempt to disassemble or modify the unit. This will void the warranty and may cause damage or injury.
- Use only the provided power supply and accessories.
- Keep out of reach of children and pets.
3. Package Contents

Image: Contents of the Litake LED Grow Light package, showing the main light panels and accessories.
Verify that all components are present and in good condition upon opening the package:
- 2X LED Grow Light
- 2X Buckles
- 2X Hanging rope
- 2X Controller
- 2X Power supply
- 1X User Manual (this document)
4. Specifications
| Feature | Description |
|---|---|
| Brand | Litake |
| Model Number | 2X100W |
| Dimensions | 11.8"L x 11.8"W x 0.7"H (each light) |
| Item Weight | 4.4 Pounds (each light) |
| Material | Aluminum |
| Light Source Type | LED (Light Emitting Diode) |
| Wattage | 100 Watts (actual consumption per light) |
| Maximum Compatible Wattage | 1000 Watts (equivalent) |
| Voltage | 120 Volts (AC) |
| Spectrum | Full Spectrum (Red, White, Blue LEDs) |
| Spectral Modes | Seedling (PPE2.0), Growing (PPE1.8), Blooming (PPE1.7) |
| Dimming Levels | 10 Levels (L0-L9) |
| Timing Modes | 6 Modes (3H/6H/9H/12H/15H/18H) |
| IP Rating | IP54 (Dust and Water Resistance) |
| Coverage Area | 3x3 ft (recommended) |

Image: Detailed spectrum graph showing light wavelengths and their effects on plant growth (3000K, 5000K, 660nm, 760nm).

Image: PPFD (Photosynthetic Photon Flux Density) distribution map illustrating uniform light coverage at different hanging heights (12", 14", 18").

Image: Illustration of the grow light's thermal design, highlighting efficient heat dissipation for improved performance.

Image: The grow light demonstrating its IP54 waterproof coating, showing water droplets on the surface.
5. Setup
Follow these steps for proper installation of your LED grow light:
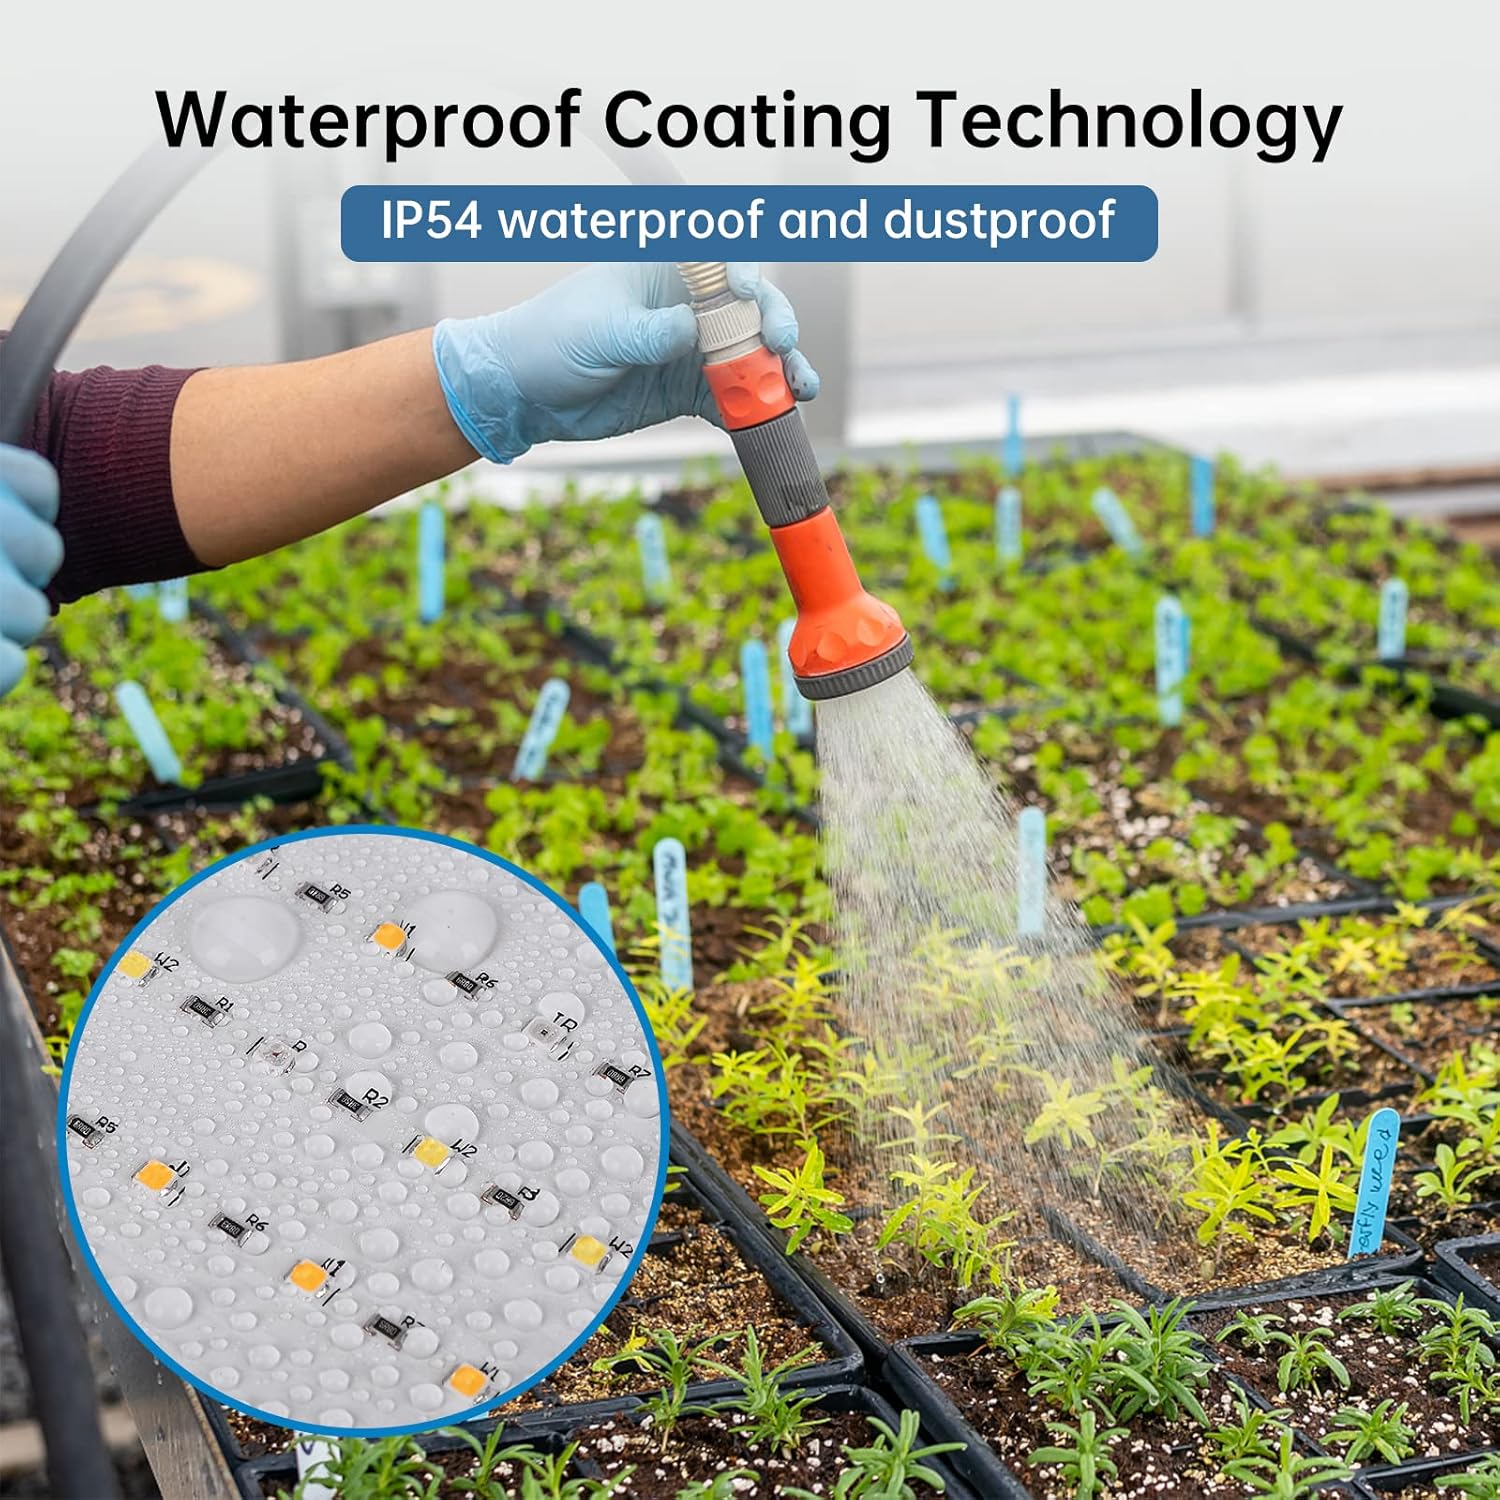
Image: Step-by-step guide for installing the grow light, showing how to attach buckles, hanging ropes, controller, and power supply.
- Attach Buckles: Fasten the four small buckles of the hanging piece into the four through-holes of the PCB (Printed Circuit Board) respectively.
- Connect Hanging Rope: Fasten the big buckle of the hanging piece with the movable buckle of the hanging rope. The hanging rope is used to suspend the light above the plants. The lifting range of the hanging rope is 0-78 inches. It is recommended to fix the light-emitting surface 12-20 inches above the plant.
- Connect Controller: Connect the output DC head of the controller to the DC head of the light board.
- Connect Power Supply: Connect the input DC head of the controller to the DC terminal of the power supply. Plug the power supply into a suitable electrical outlet.
6. Operating Instructions
Your Litake LED Grow Light features multiple modes and settings to optimize plant growth. Use the provided controller to adjust settings.
6.1. Light Modes
Image: Visual representation of the three distinct light modes (Sprout, Flowering, Growing) and their effects on plants.
The grow light offers three spectral modes tailored for different plant growth stages:
- Seedling Mode (Sprout): Optimized for germination and early seedling development (PPE2.0).
- Growing Mode: Supports vegetative growth, promoting leaf and stem development (PPE1.8). This is the default mode.
- Blooming Mode (Flowering): Enhances flowering and fruiting stages (PPE1.7).
Switch between modes using the controller to match your plants' current growth stage.
6.2. Brightness Adjustment

Image: The remote controller and visual examples of the grow light operating at various brightness levels (0% to 90%).
The light features 10 dimming levels (L0-L9) to adjust intensity. This allows you to provide the appropriate light level for different plant types and growth phases. Use the brightness controls on the remote to increase or decrease light intensity.
6.3. Timing Modes
The integrated timer allows you to set the duration of lighting automatically. There are 6 timing modes available:
- 3 Hours (3H)
- 6 Hours (6H)
- 9 Hours (9H)
- 12 Hours (12H)
- 15 Hours (15H)
- 18 Hours (18H)
Select the desired timing mode using the controller. The light will automatically turn off after the set duration and turn on again at the same time the next day.
6.4. Recommended Hanging Distances and Lighting Schedules

Image: A table outlining optimal hanging distances and lighting durations for plants during germination, seedling, vegetative, and flowering stages.
Adjust the hanging height and lighting duration according to the plant's growth stage for optimal results:
| Stage | Recommended Distance (from plant top) | Recommended Lighting Time |
|---|---|---|
| Germination | 24-30 inches | 18 Hours ON |
| Seedling | 24 inches | 16 Hours ON |
| Vegetative (Veg) | 18-24 inches | 18 Hours ON |
| Flowering (Flower) | 12-18 inches | 12 Hours ON |

Image: Visual examples of recommended hanging heights for the grow light during seedling (24"/60cm), vegetative (14"/36cm), and flowering (12"/30cm) stages.
7. Maintenance
- Cleaning: Ensure the light is unplugged and cool before cleaning. Gently wipe the light panel with a soft, dry cloth. Do not use harsh chemicals or abrasive cleaners.
- Inspection: Periodically check the power cord, hanging ropes, and connections for any signs of wear or damage. Replace any damaged components immediately.
- Ventilation: Ensure adequate airflow around the light to maintain optimal operating temperature and extend product lifespan.
8. Troubleshooting
| Problem | Possible Cause | Solution |
|---|---|---|
| Light does not turn on | No power, loose connection, faulty power supply/controller. | Check power outlet, ensure all connections are secure. Test with another outlet. If issues persist, contact support. |
| Timer is inconsistent or not working | Incorrect timer setting, power interruption. | Re-set the timer. If power is cut, the timer may need to be reset manually. Ensure stable power supply. |
| Light appears dim or plants are stretching | Brightness set too low, light too far from plants, incorrect light mode. | Increase brightness using the controller. Lower the hanging height of the light. Ensure the correct light mode (e.g., Growing or Blooming) is selected for the plant stage. |
| Overheating | Poor ventilation, obstructed heat sinks. | Ensure adequate airflow around the light. Clear any obstructions from the heat dissipation areas. |
9. Warranty
The Litake 2X100W Full Spectrum LED Grow Lights come with a 1-year warranty from the date of purchase. This warranty covers manufacturing defects and malfunctions under normal use. It does not cover damage caused by misuse, accidents, unauthorized modifications, or improper installation.
Please retain your proof of purchase for warranty claims.
10. Customer Support
For any questions, technical assistance, or warranty claims, please contact Litake customer support:
- Email: support@litake.com
- Website: Visit the Litake Store on Amazon
- Phone: (Not provided in product data, please refer to product packaging or official website for phone support)
11. Product Video
Video: An overview of the Litake LED Grow Lights, demonstrating features like brightness adjustment, light modes, and full spectrum capabilities.
Ask a question about this manual
Ask about setup, troubleshooting, compatibility, parts, safety, or missing instructions. Manuals+ will review the question and use this page’s manual context to help answer it.