1. Product Overview
The SOVMIKU Hephaestus 2X1 is a wireless outdoor solar security camera designed for active defense and comprehensive surveillance. It features PIR motion detection, starlight color night vision, two-way audio, and an audible flashlight siren. The camera operates on 2.4G Wi-Fi and includes an SD card slot for local storage. Its design incorporates a warning color to deter potential intruders, aiming to prevent incidents rather than just record them.
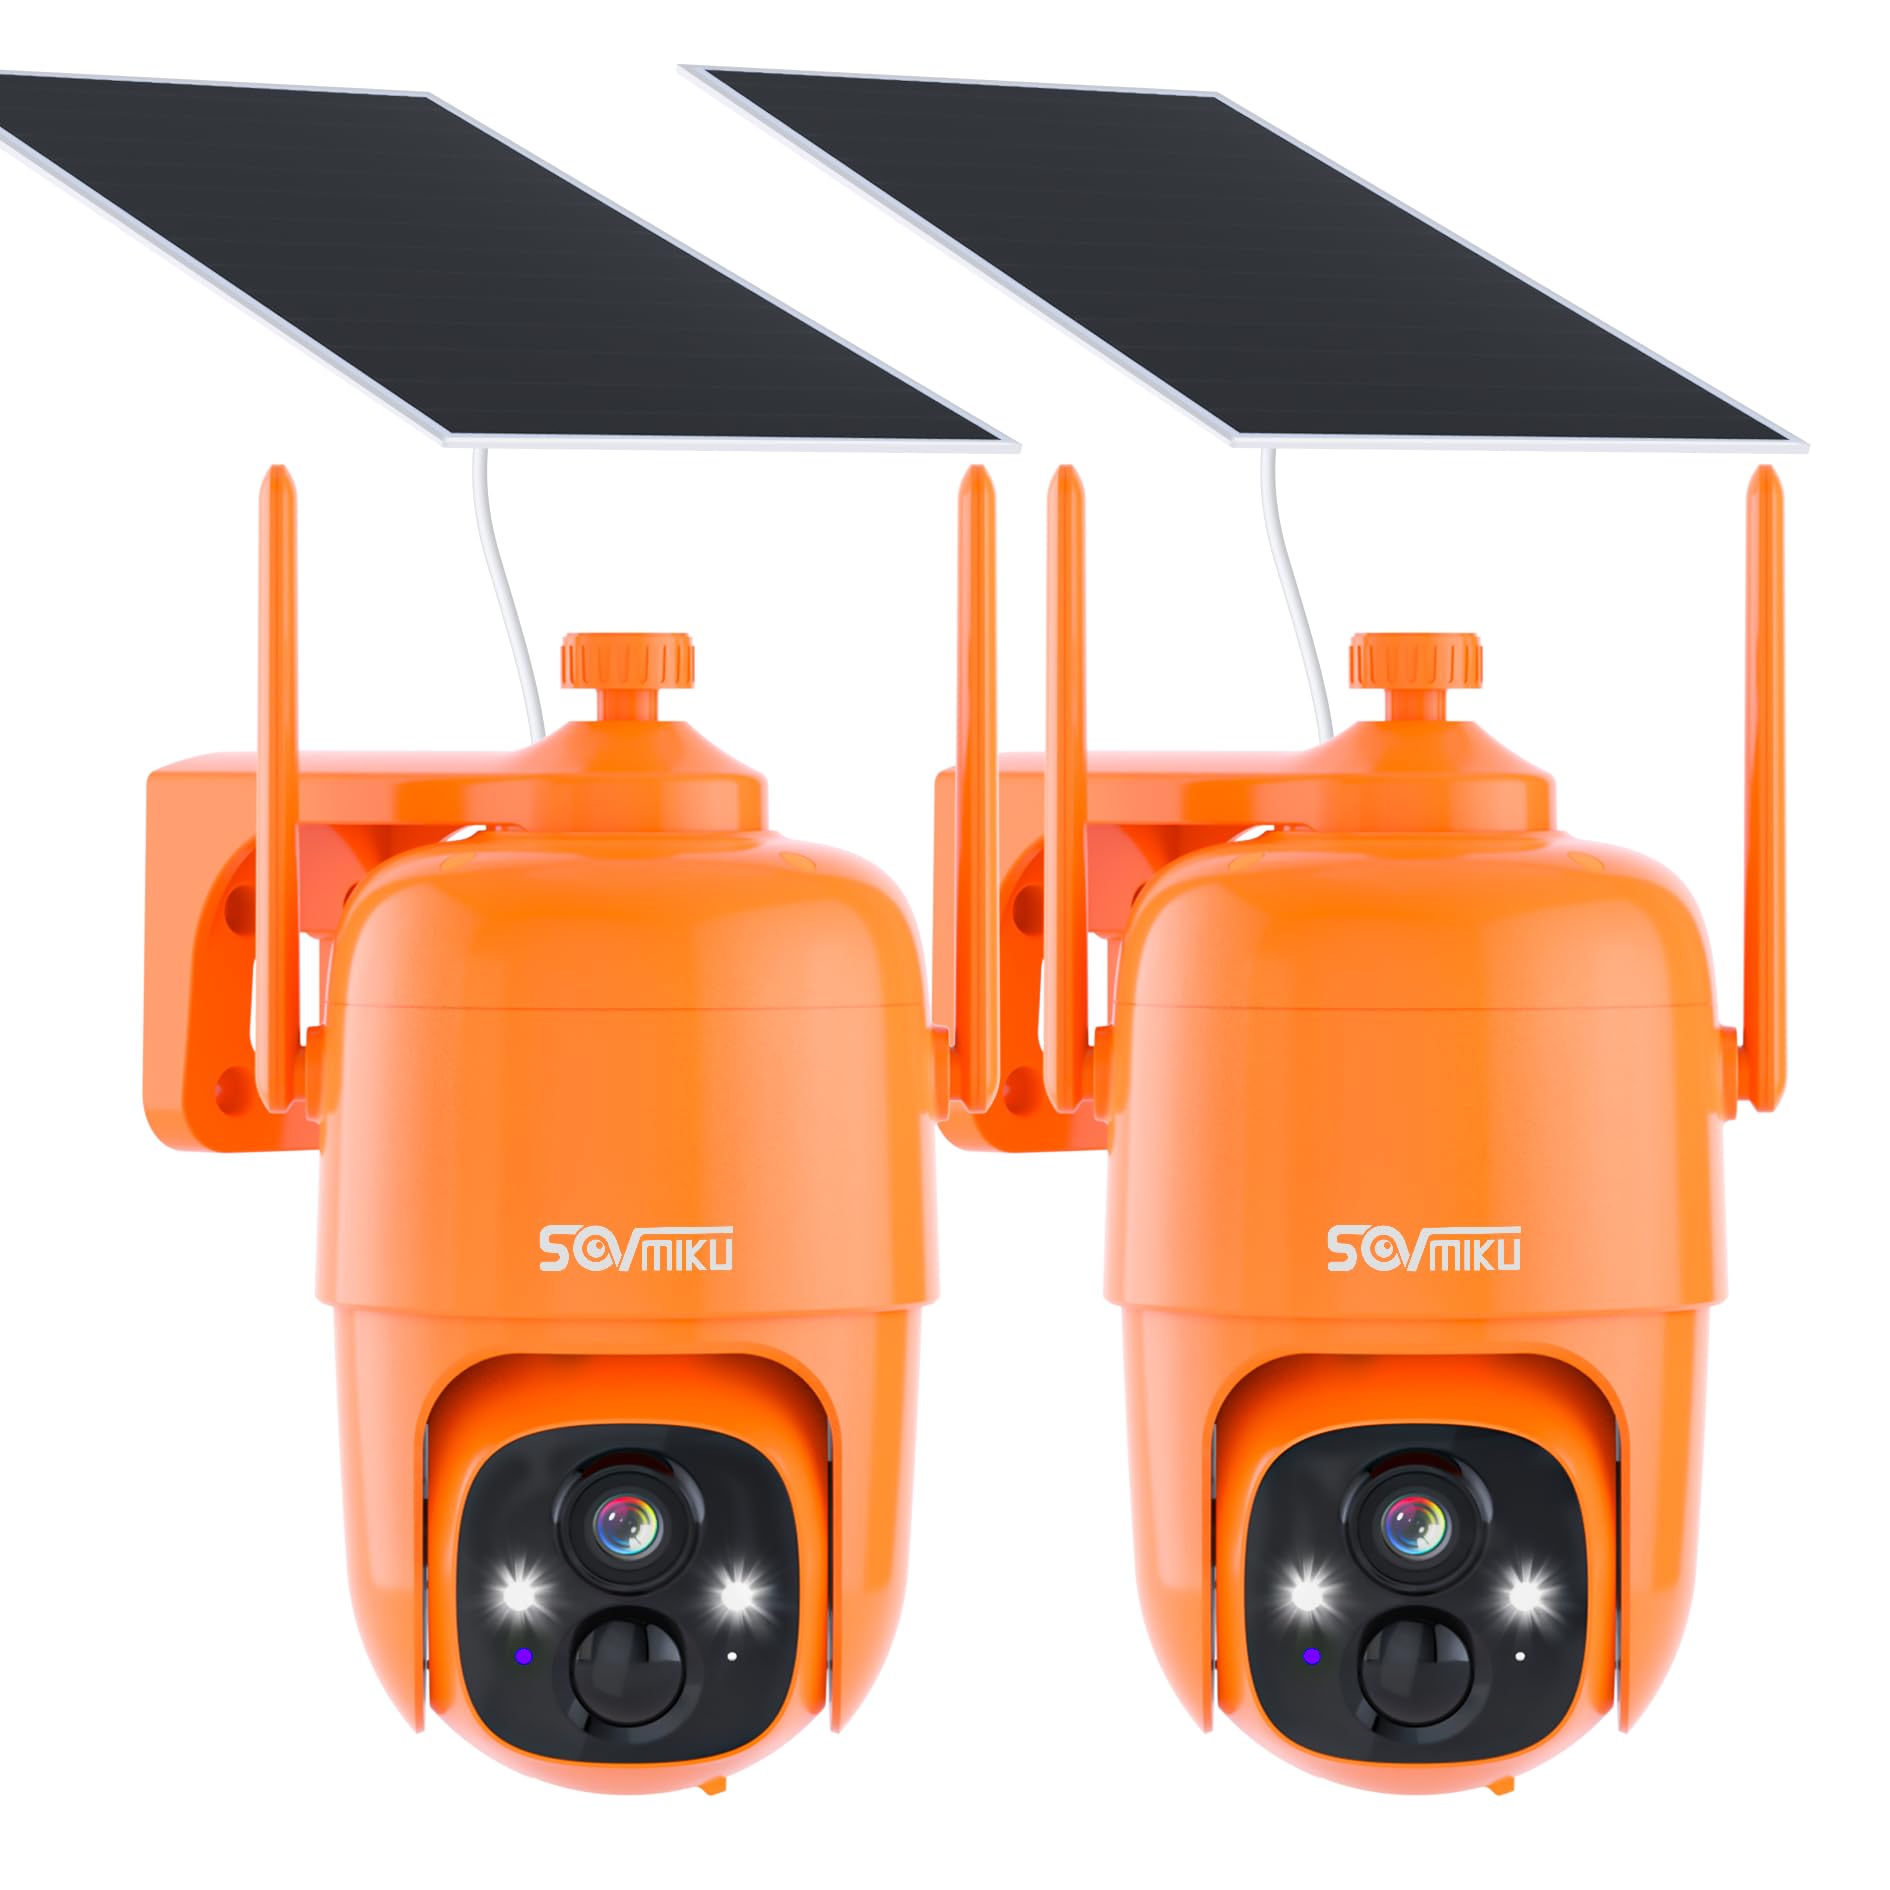
Image 1.1: SOVMIKU Hephaestus 2X1 Solar Security Camera. This image displays the main unit of the camera, highlighting its orange casing and dual antennas, with a solar panel attached above it, suggesting its outdoor, solar-powered nature.
2. What's in the Box
Verify that all components are present in the package:
- Camera Body
- Solar panel
- Camera bracket
- Solar panel bracket
- Type-C cable
- User manual
- Screw bag (2)

Image 2.1: Package Contents. This image shows all the items included in the SOVMIKU Hephaestus 2X1 camera package, laid out neatly on a white background, including the camera, solar panel, cables, and mounting hardware.
3. Setup Instructions
3.1. Physical Installation
The camera and solar panel can be mounted separately to optimize solar exposure and camera placement. Use the provided mounting hardware for secure installation.
- Mount the Camera: Secure the camera bracket to your desired location using the provided screws. Attach the camera body to the bracket.
- Mount the Solar Panel: Secure the solar panel bracket in an area that receives maximum sunlight. Attach the solar panel to its bracket.
- Connect Power: Connect the solar panel's Type-C cable to the camera's charging port. Ensure the rubber and dustproof lining is properly seated for weather protection.
Video 3.1: Camera Installation Guide. This video demonstrates the process of physically installing the SOVMIKU security camera and its solar panel, showing how to mount them to a fence post and connect the power cable.
3.2. App Installation and Pairing
The camera is controlled via the Vicohome App. Follow these steps for initial setup:
- Download App: Install the "Vicohome" App from Google Play Store or Apple App Store.
- Register and Sign In: Create a Vicohome account using your email or mobile number, then sign in.
- Add Camera: In the app, select the "add camera now" button. Enter your 2.4G Wi-Fi network name and password. A QR code will appear on your phone screen.
- Scan QR Code: Press the power button on the camera for 3 seconds. Use the camera to scan the QR code displayed on your phone.

Image 3.2: App Setup Steps. This image illustrates the three main steps for setting up the camera with the Vicohome app, including app interaction and physical camera setup.
4. Operating Instructions
4.1. Remote Viewing and Control
Access live view of your home from anywhere using the Vicohome App. The camera supports pan (355°) and tilt (90°) functionality, allowing you to adjust the viewing angle remotely. You can also set up to 5 frequently used positions for quick access.

Image 4.1: 360° View Camera. This image shows the camera's wide viewing capabilities (Pan 355°, Tilt 90°) and how it can be controlled via the mobile app, displaying a live feed of a backyard with children playing.
4.2. Motion Detection and Alerts
The Passive Infrared (PIR) sensor is always active. When a warm body (human or animal) passes by, it triggers the PIR sensor, activating the camera within milliseconds. If enabled, the camera will also activate a spotlight at night. You can customize motion detection sensitivity and set specific activity zones within the app (requires cloud storage subscription for some features).

Image 4.2: Motion Detection Alert. This image depicts three scenarios: a person checking their phone, the camera's spotlight activating, and a person with a flashlight, illustrating the camera's motion detection and alert capabilities.
4.3. Audible and Flashlight Alarms
For active deterrence, the camera can be configured to automatically flash its spotlight and sound an audible siren when motion is detected. This feature can be enabled or disabled via the app.

Image 4.3: Flashlight and Audible Alarm. This image shows a person approaching a house at night, with the camera's spotlight illuminating them and an alarm icon, demonstrating the flashlight and audible alarm features.
4.4. Night Vision Modes
The camera offers two night vision modes:
- Color Night Vision: Utilizes the integrated white light to illuminate the environment, providing full-color images in low-light conditions.
- Infrared Night Vision: Produces clear black and white images using infrared light in complete darkness.

Image 4.4: Night Vision Modes. This image compares the visual output of color night vision (top) and infrared night vision (bottom) from the camera, showing a house at night in both modes.
4.5. Two-Way Audio
The integrated microphone and speaker allow for two-way communication through the camera via the Vicohome App. This enables you to speak to visitors or deter unwanted individuals.

Image 4.5: Two-Way Audio. This image illustrates the two-way audio function, showing a person speaking through the camera to a child in the yard, and another person viewing the live feed on a smartphone.
4.6. Storage Options
The camera supports local storage via a Micro SD card (up to 128GB, not included) and offers cloud storage options through the Vicohome App.

Image 4.6: Micro SD Card Slot. This close-up image shows the camera's Micro SD card slot, indicating its support for local storage up to 128GB.
4.7. Multi-Device and Multi-User Support
One Vicohome App account can manage up to 50 cameras simultaneously. The camera can also be shared with up to 10 different users, with customizable permissions, allowing three accounts to view the camera concurrently.

Image 4.7: Multi-Device and Multi-User Support. This image displays a world map with various users interacting with the camera via the Vicohome app, highlighting its global remote viewing and sharing capabilities.
5. Maintenance
5.1. Durability and Weather Resistance
The CQ1X camera is splash, water, and dust resistant, tested under controlled laboratory conditions with an IP66 rating under IEC standard 60529. Resistance is not permanent and may decrease as a result of normal wear. The charging interface uses a silicone waterproof protective plug for outdoor safety.

Image 5.1: Designed for Durability. This image shows the SOVMIKU camera mounted on a tree trunk while it is raining, emphasizing its IP66 water and dust resistance.
5.2. Battery and Solar Panel Care
The camera features monocrystalline silicon solar panels with an energy conversion rate of up to 23% and built-in high-capacity 9000mAh batteries. A full charge can power the camera for 60 days or more, and high-quality batteries are designed for over 8 years of use. Ensure the solar panel is positioned to receive maximum sunlight for optimal charging. Refer to the user guide for specific cleaning and drying instructions for the solar panel.
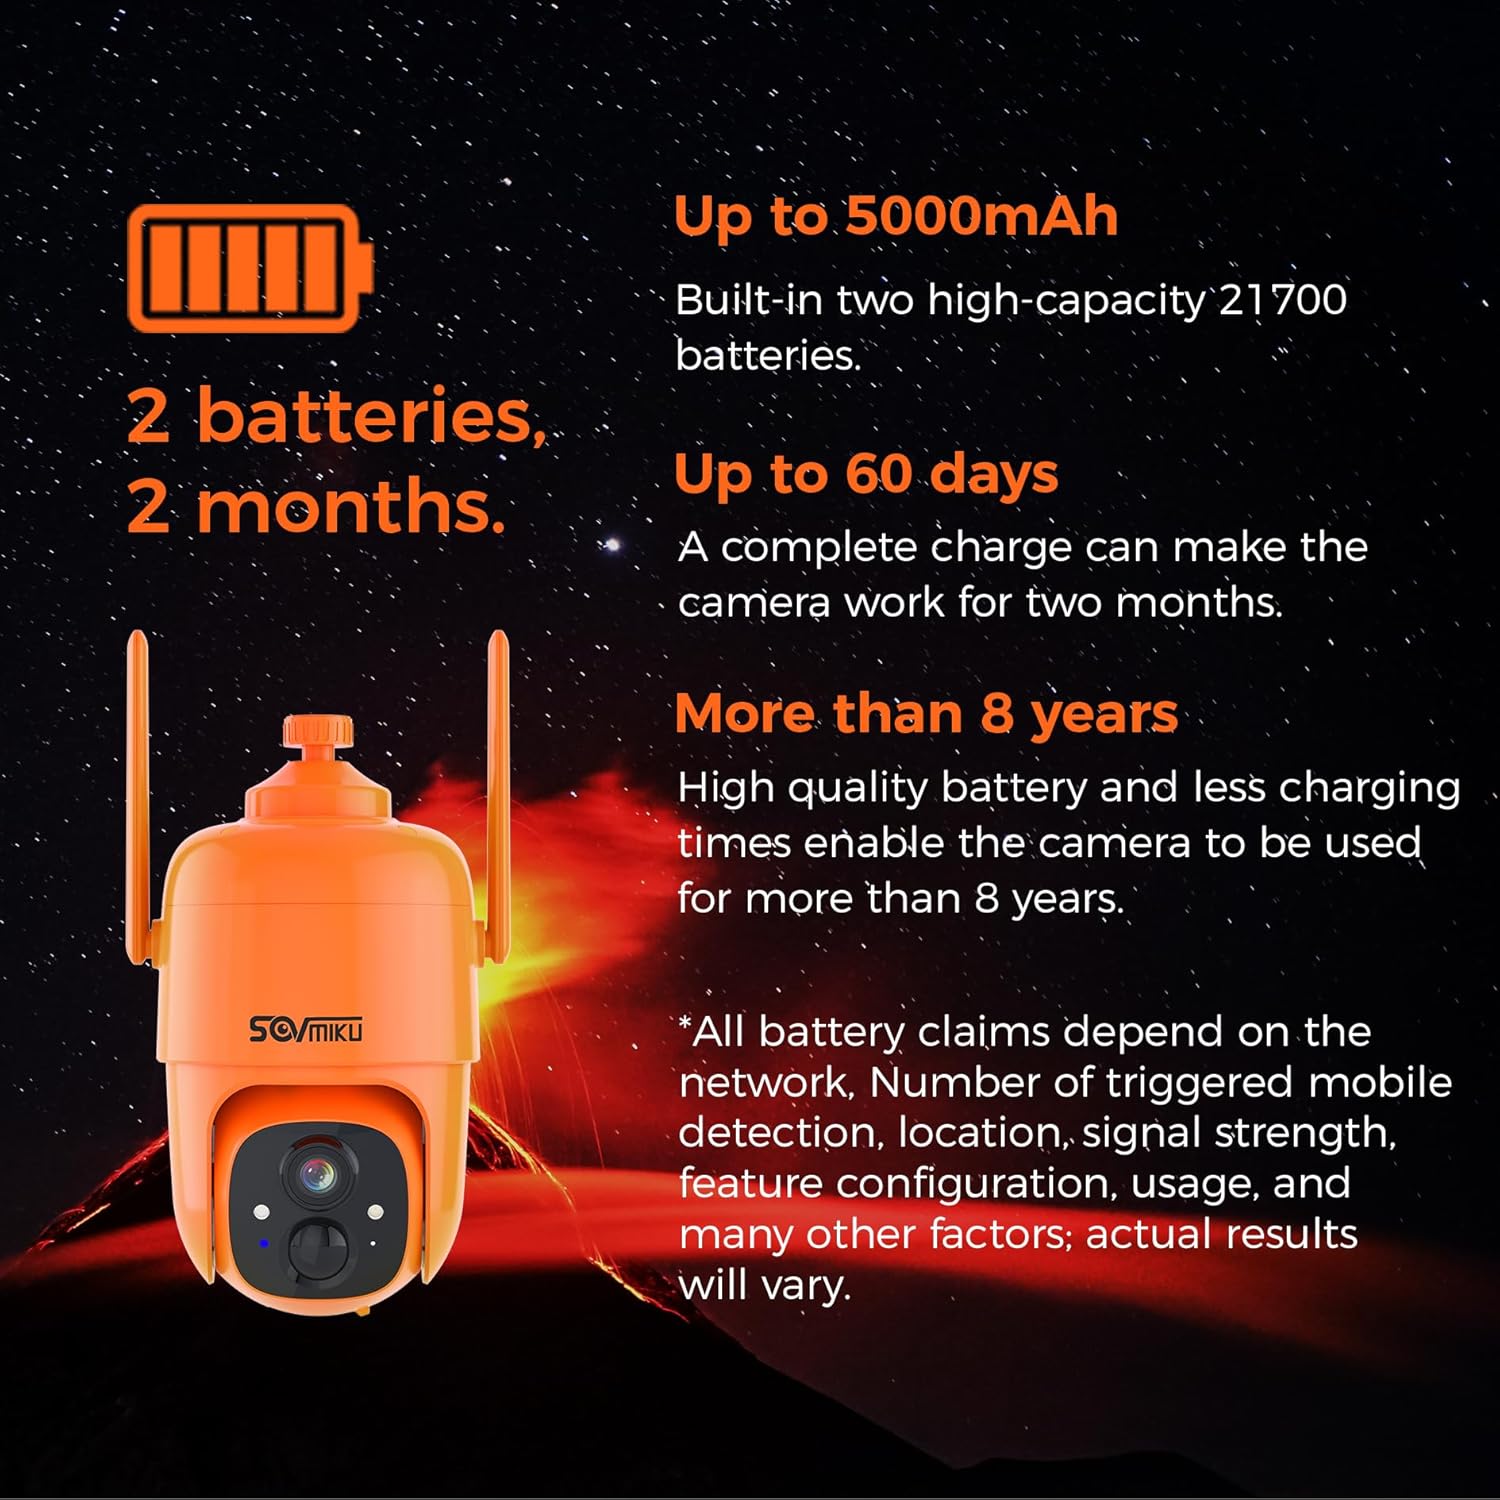
Image 5.2: Battery and Solar Panel. This image highlights the camera's battery capacity (up to 9000mAh), extended operation time (up to 60 days), and long battery lifespan (more than 8 years), powered by a solar panel.
6. Troubleshooting
- Connectivity Issues: Ensure your Wi-Fi router is within range and broadcasting a 2.4Ghz signal. Check the camera's Wi-Fi strength in the app. If the camera disconnects frequently, try moving the router closer or using a Wi-Fi extender.
- Motion Detection Not Triggering: Adjust the motion detection sensitivity settings in the app. Ensure there are no obstructions in the camera's field of view.
- False Alarms: Reduce motion detection sensitivity or define specific activity zones to minimize triggers from irrelevant movements (e.g., passing cars, swaying branches).
- Poor Night Vision: Ensure the camera lens is clean. Check if the white light or infrared LEDs are obstructed. Verify that the correct night vision mode is selected in the app.
- Battery Not Charging: Ensure the solar panel is clean and positioned to receive direct sunlight for several hours daily. Check the connection between the solar panel and the camera.
7. Specifications
| Feature | Specification |
|---|---|
| Model Name | CQ1X |
| Indoor/Outdoor Usage | Outdoor |
| Power Source | Solar Powered |
| Connectivity Technology | Wireless (2.4G Wi-Fi Only) |
| Video Capture Resolution | 3 MP |
| Night Vision Range | 32 Feet |
| Field Of View | 130 Degrees |
| Special Feature | 2-Way Audio, Motion Detection, Audible & Flashlight Alarm, Color Night Vision |
| International Protection Rating | IP66 |
| Battery Capacity | 9000mAh (Built-in) |
| Storage | Micro SD Card (up to 128GB), Cloud Storage |
| Operating Temperature | -20°C to 50°C (4°F to 122°F) |
8. Warranty and Support
For any questions, technical assistance, or support regarding your SOVMIKU Hephaestus 2X1 camera, please contact customer service. SOVMIKU is committed to providing excellent customer support.
Contact Email: Sovmiku@163.com
Video 8.1: Customer Service Experience. This video features a customer discussing their positive experience with SOVMIKU's customer service, highlighting the company's commitment to assisting users.


