1. Introduction
Thank you for purchasing the MODEBHD American Modern Pendant Light. This manual provides detailed instructions for the safe installation, operation, and maintenance of your new lighting fixture. Please read this manual thoroughly before installation and retain it for future reference.

Image 1.1: Overview of the MODEBHD American Modern Pendant Light (3-Pack). These elegant fixtures feature a black crystal lampshade and brass-colored ceiling mounts, designed to provide ambient lighting.
2. Safety Instructions
To ensure safe installation and operation, please observe the following precautions:
- Always disconnect power at the main circuit breaker before installation, maintenance, or bulb replacement.
- Installation should be performed by a qualified electrician or a person with adequate knowledge of electrical wiring.
- Ensure the mounting surface can support the weight of the fixture.
- Do not exceed the specified wattage for the bulb.
- Handle glass components with care to prevent breakage.
- Keep flammable materials away from the light fixture.
- This fixture is designed for indoor use only.
3. Package Contents
Carefully unpack the box and ensure all components are present and undamaged. If any parts are missing or damaged, please contact customer support before proceeding with installation.
- Pendant Light Fixture (x3 for 3-Pack)
- Mounting Hardware (screws, wire nuts, etc.)
- Instruction Manual
Note: G9 light bulbs are not included and must be purchased separately.
4. Specifications
Refer to the table below for detailed product specifications:
| Feature | Detail |
|---|---|
| Brand | MODEBHD |
| Model | B0CDRXT6D4 (3-Pack) |
| Material | K9 Crystal, Brass |
| Color | Black (Crystal), Brass (Accents) |
| Lampshade Dimensions | 11 cm (4.3 inches) diameter, 14 cm (5.5 inches) height |
| Rope Length | 200 cm (78.8 inches), adjustable |
| Light Source Base | G9 (Bulb not included) |
| Number of Lights (per fixture) | 1 |
| Voltage | 110-240V |
| Style | Modern |
| Special Feature | Adjustable Hanging Height |

Image 4.1: Detailed dimensions of the pendant light, illustrating the 4.3-inch diameter, 5.5-inch height, and the 78.8-inch adjustable cord length. The diagram also indicates the G9 light source base and 10cm suction plate.
5. Setup and Installation
Follow these steps for proper installation of your pendant light fixture:
- Prepare for Installation:
- Turn off power at the main circuit breaker to the junction box where the fixture will be installed.
- Ensure the mounting surface is clean, dry, and structurally sound.
- Gather necessary tools: screwdriver, wire strippers, drill (if needed for mounting holes).
- Attach Mounting Bracket:
- Secure the mounting bracket (usually included with hardware) to the ceiling junction box using the provided screws. Ensure it is firmly attached.
- Adjust Cord Length:
- Determine the desired hanging height for your pendant light. The cord is adjustable up to 78.8 inches (200 cm).
- Adjust the cord length by pushing the cord through the cord grip in the canopy until the desired length is achieved. Secure the cord in place.
- Wire Connections:
- Carefully connect the fixture's wires to the corresponding wires from the junction box using wire nuts:
- Connect the black (Live/Hot) wire from the fixture to the black (Live/Hot) wire from the junction box.
- Connect the white (Neutral) wire from the fixture to the white (Neutral) wire from the junction box.
- Connect the green or bare copper (Ground) wire from the fixture to the green or bare copper (Ground) wire from the junction box.
- Ensure all connections are secure and insulated with electrical tape if necessary.
- Carefully connect the fixture's wires to the corresponding wires from the junction box using wire nuts:
- Mount the Fixture:
- Carefully tuck all wires into the junction box.
- Align the fixture's canopy with the mounting bracket and secure it using the canopy screws.
- Install Bulb:
- Insert a G9 base bulb (not included) into the socket. Do not overtighten.
- Restore Power:
- Turn the power back on at the main circuit breaker.
- Test the light fixture to ensure it functions correctly.

Image 5.1: Close-up of the G9 bulb socket within the crystal lampshade, illustrating where the bulb should be inserted during installation.
6. Operating Instructions
The MODEBHD American Modern Pendant Light operates via a standard wall switch connected to your home's electrical circuit. Simply toggle the wall switch to turn the light on or off.
- On/Off: Use the connected wall switch to control the light.
- Dimming: If you wish to use a dimmable G9 bulb and a compatible dimmer switch (not included), ensure both are rated for dimming. Follow the dimmer switch manufacturer's instructions for installation and operation.

Image 6.1: The pendant lights in operation, showcasing their aesthetic appeal and the warm light they emit in a bedroom setting.
7. Maintenance
Regular maintenance will help preserve the appearance and functionality of your pendant light:
- Cleaning:
- Before cleaning, ensure the power is turned off at the circuit breaker and the fixture has cooled down.
- Wipe the crystal lampshade and metal parts with a soft, dry, or slightly damp cloth.
- Do not use abrasive cleaners, solvents, or polishes as they may damage the finish.
- Bulb Replacement:
- Turn off power at the circuit breaker and allow the bulb to cool completely.
- Carefully remove the old G9 bulb by pulling it straight out.
- Insert a new G9 bulb, ensuring it is fully seated in the socket.
- Restore power and test the light.
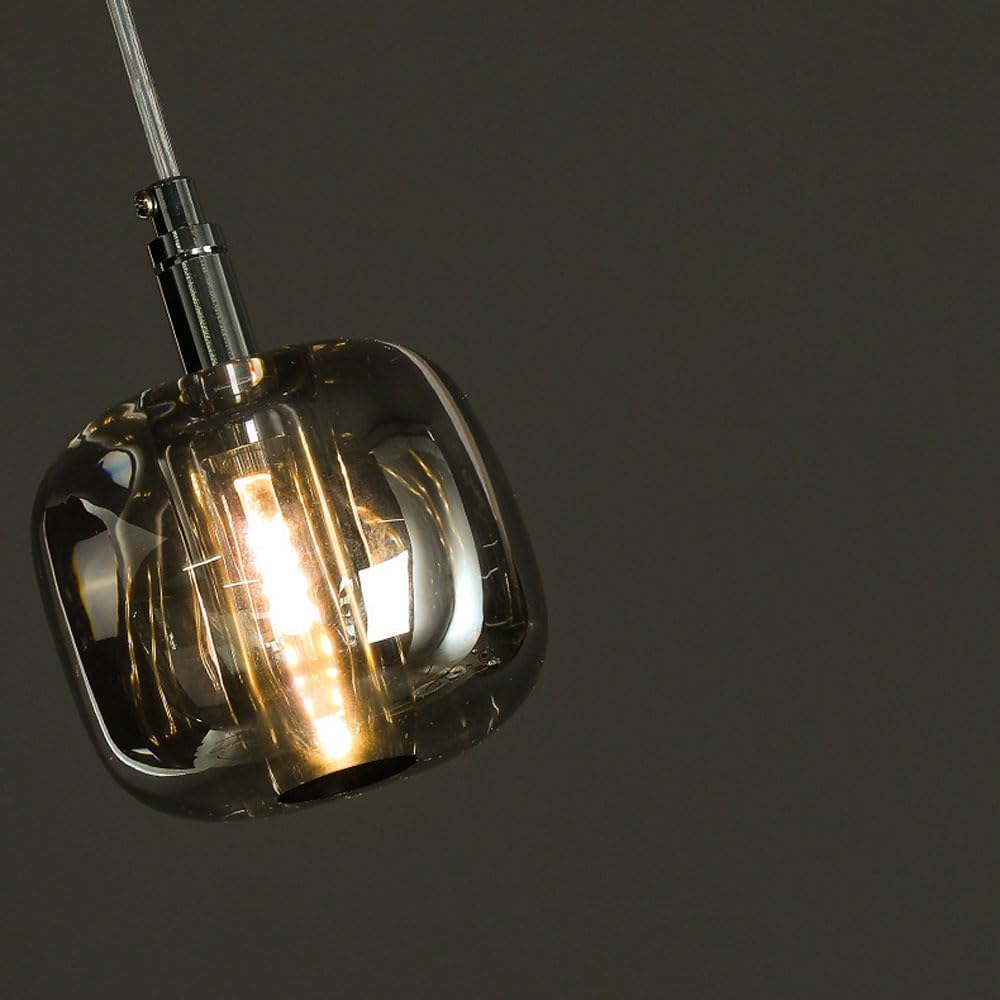
Image 7.1: Angled view of the pendant light, highlighting the crystal and brass elements that require regular cleaning to maintain their luster.
8. Troubleshooting
If you encounter issues with your pendant light, refer to the following troubleshooting guide:
| Problem | Possible Cause | Solution |
|---|---|---|
| Light does not turn on. |
|
|
| Light flickers. |
|
|
| Fixture is hot to the touch. |
|
|
If the problem persists after attempting these solutions, please contact customer support.
9. Warranty and Support
MODEBHD is committed to providing high-quality products and customer satisfaction. While specific warranty details are not provided in this manual, we offer comprehensive after-sales service.
If you have any questions about our products or services, or if you receive any product with issues, please do not hesitate to contact us. We aim to respond within 24 hours to provide the best possible service and ensure your satisfaction.
For support, please refer to the contact information provided at your point of purchase or visit the official MODEBHD website.