
1. Important Safety Information
Read and understand all instructions before operating the pressure washer. Failure to follow these instructions may result in serious injury or property damage. Keep this manual for future reference.
- Always wear appropriate personal protective equipment (PPE), including eye protection, hearing protection, and sturdy footwear.
- Never point the spray gun at people, animals, electrical devices, or the pressure washer itself. High-pressure spray can cause severe injury.
- Ensure all connections are secure before starting the unit.
- Operate the pressure washer in a well-ventilated area to prevent carbon monoxide poisoning.
- Do not touch the hot muffler. Stay away from the hot muffler until completely cool.
- Keep children and pets away from the operating area.
- Use only fresh, clean, unleaded gasoline with an ethanol content of less than 10%.
- Check engine oil level before each use. Low oil will cause the engine to shut down automatically.
2. Product Overview
The BLUBERY 3600 PSI Gas Pressure Washer is designed for heavy-duty cleaning tasks. It features a 212cc 4-stroke OHV engine, delivering 3600 PSI and 2.7 GPM for efficient cleaning.

Image: Overall view of the BLUBERY 3600 PSI Gas Pressure Washer.
Key Features:
- Engine: 212cc 4-Stroke OHV Horizontal Shaft Engine with Recoil Start.
- Pump: Long-lasting, maintenance-free axial cam pump.
- Pressure: 3600 PSI.
- Flow Rate: 2.7 GPM.
- Hose: 30-foot high-pressure hose.
- Nozzles: 5 quick-connect nozzles (0°, 15°, 25°, 40°, and soap).
- Soap Tank: Integrated 3.8L (1 Gallon) capacity cleaning tank.
- Mobility: Off-road large tires for easy transport.
3. Setup and Assembly
Follow these steps to assemble and prepare your pressure washer for first use.
3.1 Unpacking and Component Identification
Carefully remove all components from the packaging. Verify that all parts are present according to the packing list.
Video: Installation guide for the Gas Pressure Washer, demonstrating component identification and initial assembly steps.
3.2 Wheel Installation
Attach the wheels to the main frame of the pressure washer. Ensure they are securely fastened for stability and mobility.

Image: Close-up of the off-road wheels, designed for easy movement across various terrains.
3.3 Handle Assembly
Attach the handle to the main unit. Secure it using the provided knobs or bolts.
3.4 Adding Engine Oil
Before first use, fill the engine with 600ml of SAE 10W-30 oil. Ensure the oil level reaches at least the 'L' mark on the oil dipstick. Always check the oil level before starting the engine. The engine will automatically shut down if the oil level is too low.

Image: Close-up of the engine, indicating the oil fill cap and dipstick location.
3.5 Adding Fuel
Fill the fuel tank with fresh, clean, unleaded gasoline. The fuel tank capacity is 3.8L (approximately 1 gallon). Do not use fuel containing more than 10% ethanol. Never overfill the fuel tank.
3.6 Connecting Water Supply
Connect a garden hose to the pump inlet. Ensure the water filter is properly inserted into the pump inlet. Attach the other end of the garden hose to a water source and open the water supply. Warning: Running the pump without water will damage the pump. Water inlet temperature should be below 40°C (104°F).
3.7 Connecting High-Pressure Hose and Spray Gun
Connect the high-pressure hose to the pump outlet and to the spray gun. Ensure all connections are firmly tightened.
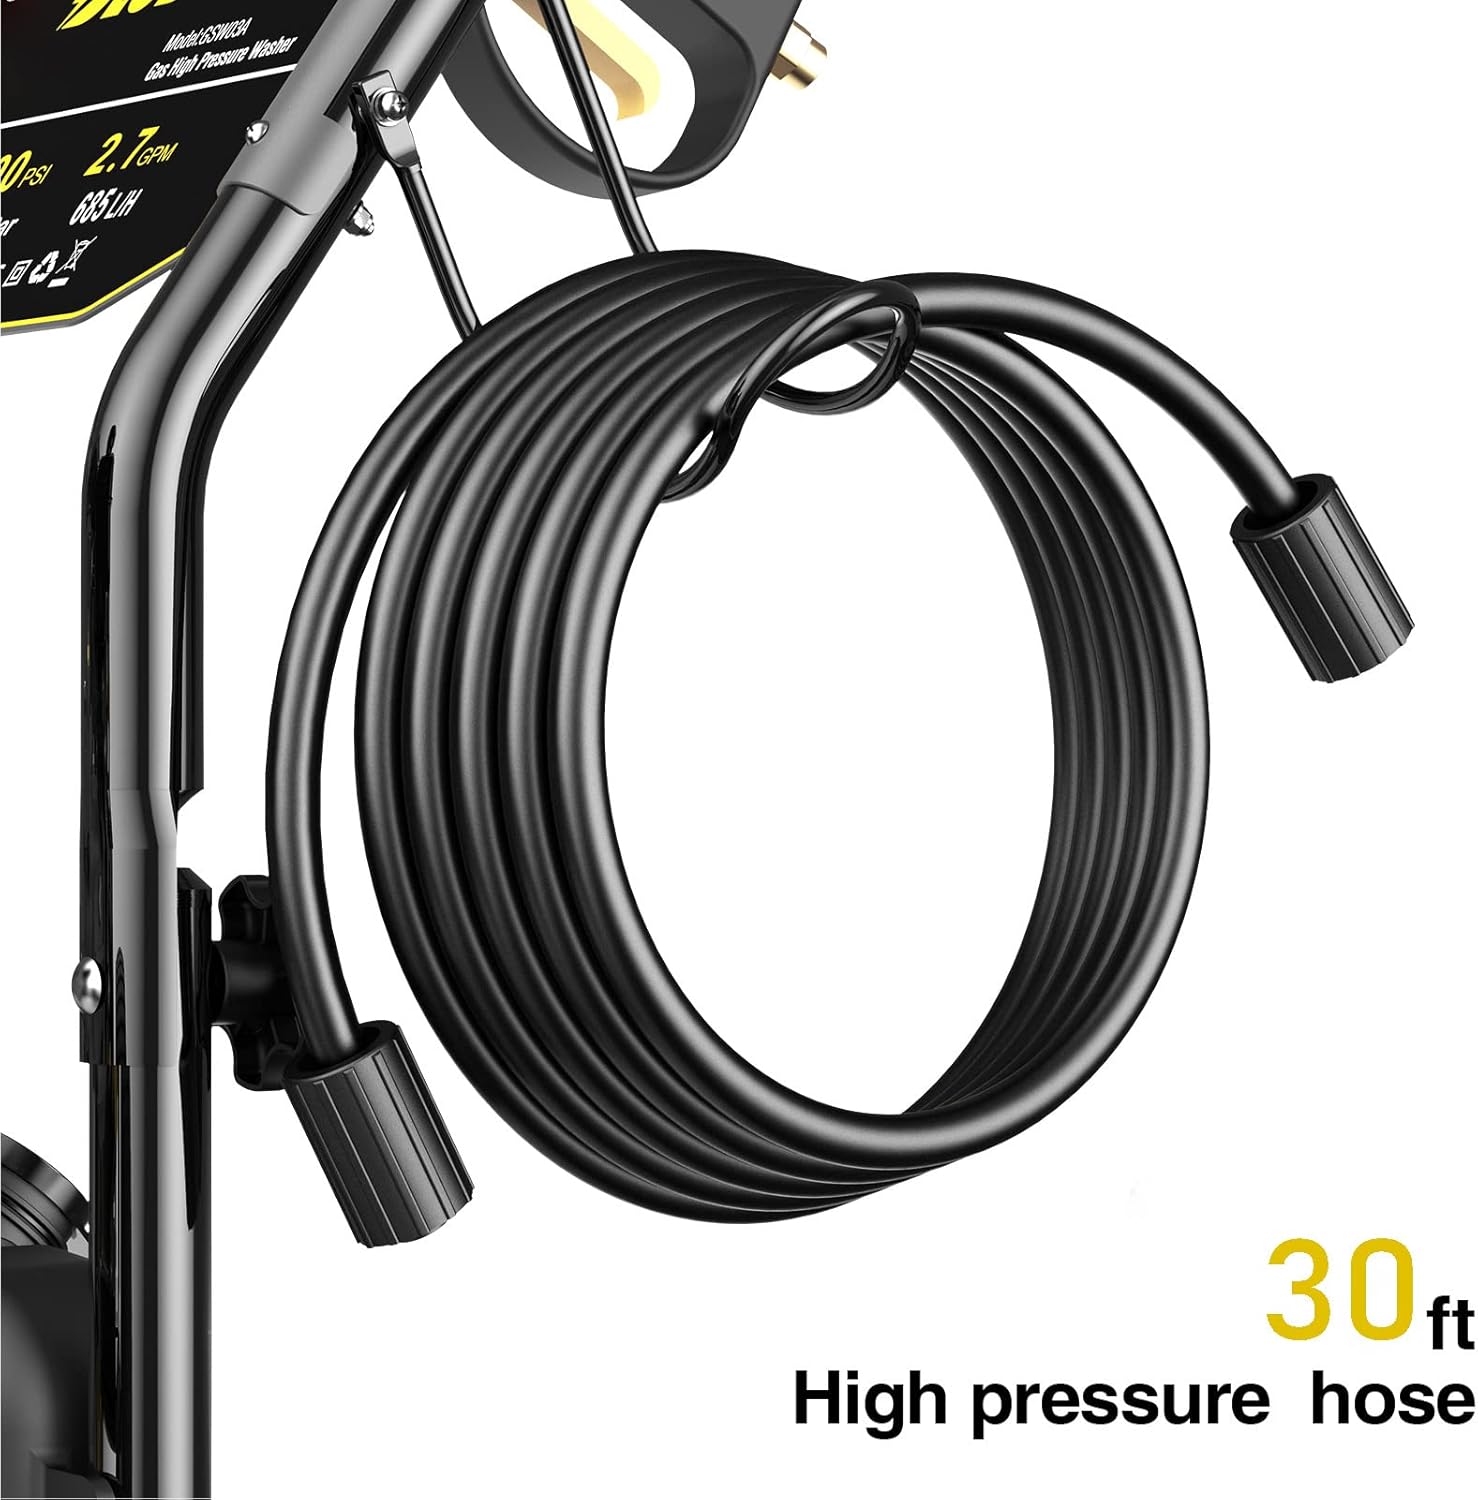
Image: The 30-foot high-pressure hose, coiled for storage.

Image: The five quick-connect spray nozzles (0°, 15°, 25°, 40°, and soap) for various cleaning tasks.
4. Operating Instructions
Follow these steps to safely operate your BLUBERY Gas Pressure Washer.
4.1 Starting the Engine
- Ensure the water supply is connected and turned ON.
- Squeeze the spray gun trigger to purge air from the pump and hose until a steady stream of water emerges. This releases pressure and helps start the engine.
- Turn the engine switch to the "ON" position.
- Move the choke lever to the "OFF" position (left side) for a cold engine. If the engine is hot or during summer, switch to "ON" (right side).
- Turn the fuel valve to the "ON" position.
- Locate the recoil cord. Pull it slowly until resistance is felt, then pull rapidly to start the engine.
- Once the engine has started, gradually turn the choke lever to the "ON" position (right side).
Video: Operation guide for the GSW03A pressure washer, demonstrating startup procedures.
Video: Detailed instructions on how to start the gas pressure washer.
4.2 Using the Spray Gun and Nozzles
Select the appropriate quick-connect nozzle for your cleaning task. Push the nozzle firmly into the spray gun until it clicks into place. To remove, pull back the collar on the spray gun and pull out the nozzle.
Video: Demonstrating the importance of correctly installing the nozzle for sufficient pressure.
The 5 quick-connect nozzles include:
- 0° (Red): Ultra high pressure for tough, concentrated cleaning.
- 15° (Yellow): High pressure for intense cleaning of hard surfaces.
- 25° (Green): Medium pressure for general cleaning of most surfaces.
- 40° (White): Low pressure water beam for delicate surfaces or wide coverage.
- Soap (Black): For applying detergent.

Image: The BLUBERY pressure washer being used to clean a patio area.
4.3 Applying Detergent
To apply detergent, fill the onboard soap tank with pressure washer-safe detergent. Attach the black soap nozzle to the spray gun. The pressure washer will automatically draw detergent at low pressure. After applying detergent, switch to a high-pressure nozzle (e.g., 25° or 15°) to rinse the surface.
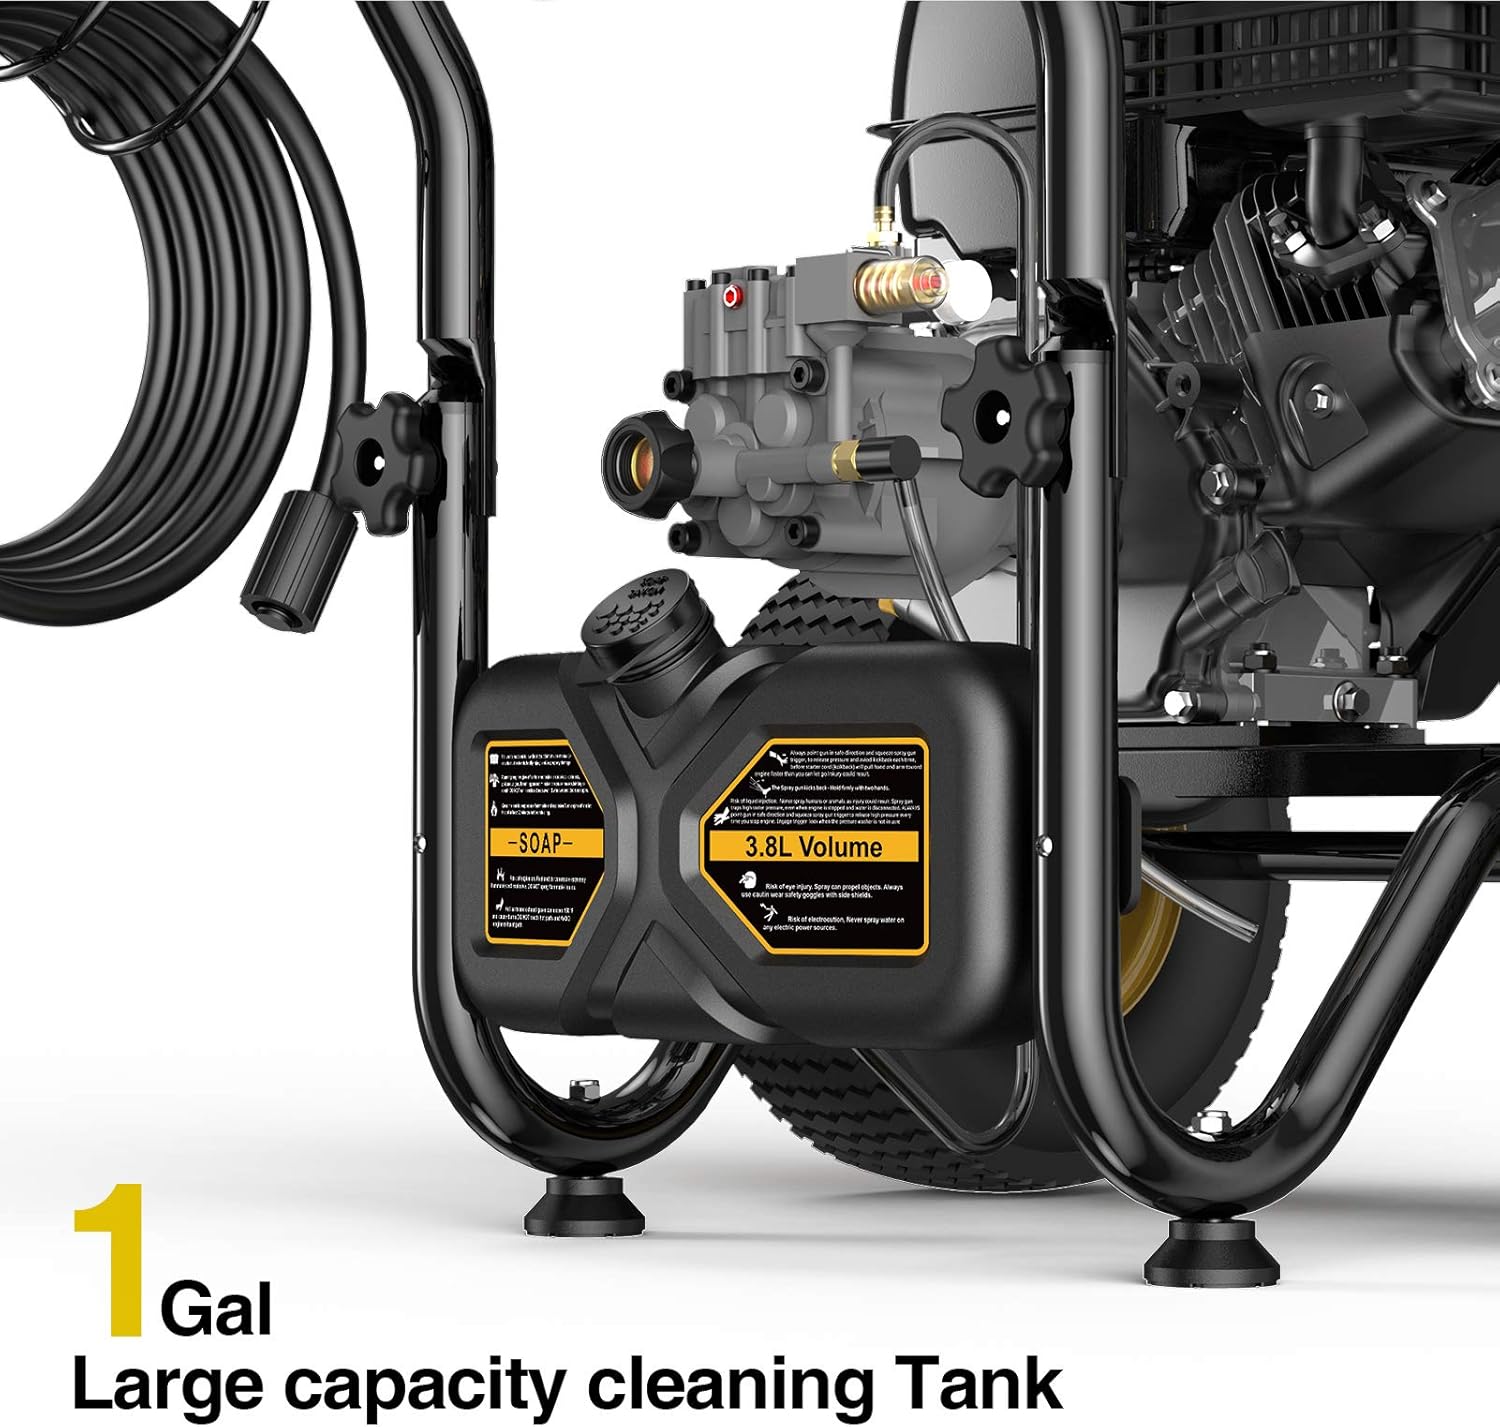
Image: Close-up of the 3.8L soap tank for detergent application.
5. Maintenance
Regular maintenance ensures optimal performance and extends the life of your pressure washer.
5.1 Engine Oil
Check the engine oil level before each use. Add SAE 10W-30 oil if necessary, ensuring the level is at the 'L' mark on the dipstick. Refer to the engine manual for specific oil change intervals.
5.2 Fuel
Always use fresh, clean, unleaded gasoline with less than 10% ethanol. Store fuel in an approved container. Do not store the pressure washer with fuel in the tank for extended periods without proper fuel stabilization.
5.3 Water Filter
Regularly check the water filter at the pump inlet for debris. Clean or replace if necessary to prevent blockages and damage to the pump.
5.4 Post-Use Procedure
After each use, turn off the engine and the water supply. Squeeze the spray gun trigger to release any remaining pressure in the system. Drain all water from the pump and hoses, especially before storing in freezing temperatures, to prevent damage.
6. Troubleshooting
This section provides solutions to common issues you might encounter.
| Problem | Possible Cause | Solution |
|---|---|---|
| Engine will not start | No fuel; Low oil level; Choke/fuel valve incorrect; Spark plug issue; Pressure in pump. | Check fuel and oil levels; Adjust choke/fuel valve; Check spark plug; Squeeze trigger to release pressure. |
| Low pressure | Insufficient water supply; Clogged water filter; Incorrect nozzle; Air in pump; Worn pump seals. | Ensure full water supply; Clean water filter; Use correct nozzle; Purge air from system; Contact service for pump repair. |
| Pulsating spray | Air in pump; Clogged nozzle; Water supply restriction. | Purge air from system; Clean/replace nozzle; Check water supply for kinks or blockages. |
| Hose melting/damage | Hose touching hot engine/muffler. | Ensure high-pressure hose is kept clear of hot engine components during operation and storage. |
7. Specifications
| Specification | Value |
|---|---|
| Brand | BLUBERY |
| Model | 3600PSI |
| Power Source | Gas Powered |
| Maximum Pressure | 3600 PSI |
| Maximum Flow Rate | 2.7 Gallons Per Minute (GPM) |
| Engine Displacement | 212cc |
| Hose Length | 30 Feet |
| Soap Tank Volume | 3.8 Liters (approx. 1 Gallon) |
| Item Weight | 72 Pounds |
| Product Dimensions (L x W x H) | 35.8" x 24.1" x 27.1" |
| UPC | 658358582541 |
8. Warranty and Support
This item is non-returnable due to its composition that makes it regulated for transportation. However, if the item arrives damaged or defective, please contact the after-sales support for assistance. You may be eligible for a partial refund or replacement parts.
For any questions or support, please refer to the contact information provided at the point of purchase or on the product packaging.