1. Introduction
Thank you for purchasing the LFOLUSU 1:16 Scale 4WD RC Drift Car. This high-speed remote control vehicle is designed for exciting racing and drifting experiences, featuring cool lights, a spray function, and a 2.4GHz control system. Please read this manual thoroughly before operating the product to ensure safe and optimal performance.

Figure 1: LFOLUSU 1:16 Scale 4WD RC Drift Car and included components.
2. Safety Information
WARNING: To prevent fire, electric shock, and injury, please observe the following safety precautions:
- This product is recommended for users aged 8 years and up. Adult supervision is advised for younger users.
- Keep the product away from naked flames or direct heat sources.
- Avoid contact with eyes, especially when handling batteries or the spray function.
- Do not operate the RC car near people, pets, or obstacles to prevent accidents.
- Ensure the battery is fully charged before use and disconnect the charger once charging is complete.
- Do not attempt to modify or disassemble the product, as this may cause damage or injury and void the warranty.
- Use only the provided charging cable and batteries.
3. What's in the Box
Verify that all items are present in the package:
- RC Drift Car
- Remote Control
- 2 x Rechargeable Batteries (7.4V 600mAh Lithium Ion)
- Charging Cable
- Screwdriver
- 4 x Drift Wheels (pre-installed or separate)
- 4 x Rubber Wheels (optional, for different traction)
- 4 x Cones
- Water Injector (for spray function)
- DIY Stickers
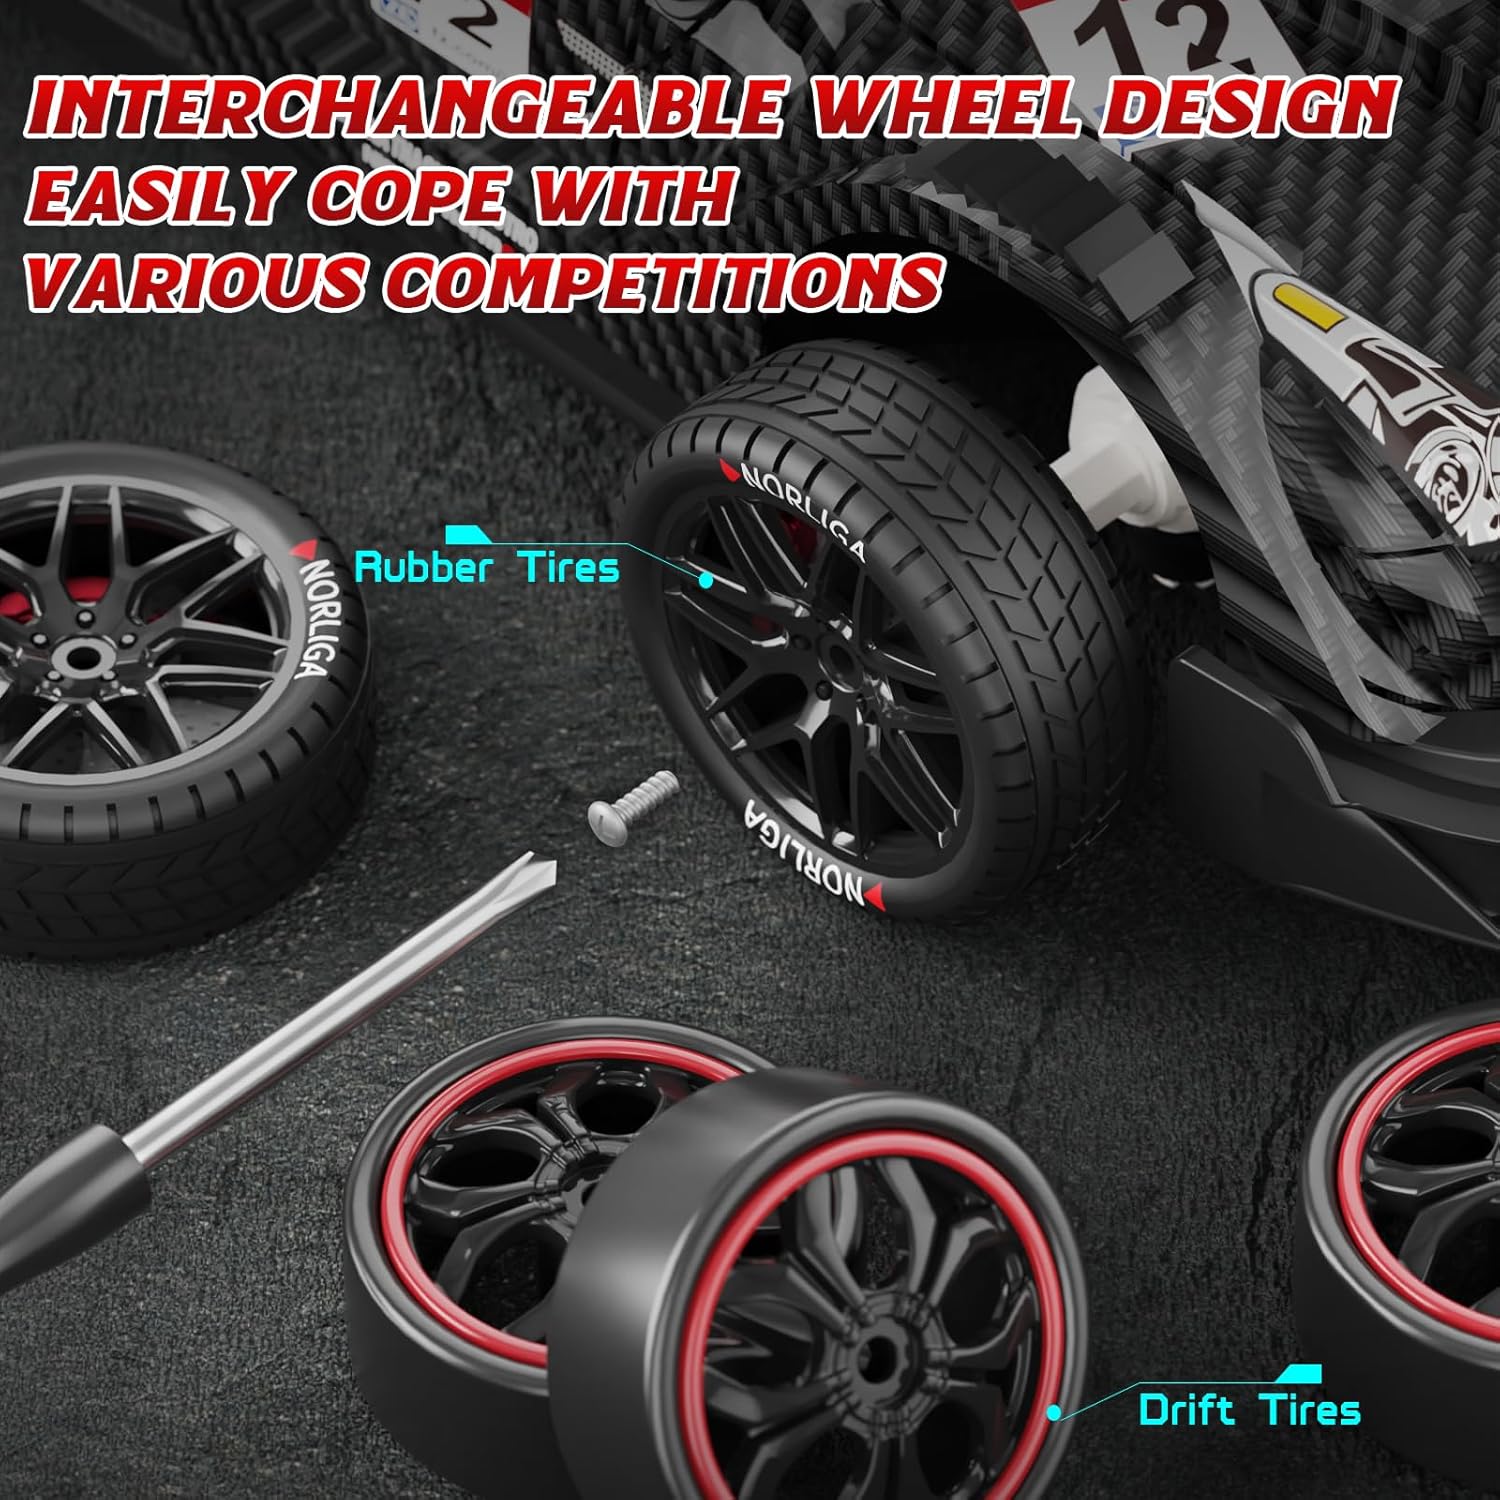
Figure 2: All components included in the LFOLUSU RC Drift Car package.
4. Setup
4.1. Battery Installation and Charging
- Car Battery Installation:
- Locate the battery compartment on the underside of the RC car.
- Open the battery latch.
- Insert a 7.4V 600mAh rechargeable battery into the compartment, ensuring it is pushed in securely.
- Close the battery latch.

Figure 3: Correct insertion of the modular battery.
- Remote Control Battery Installation:
- Open the battery cover on the back of the remote control.
- Insert 2 AA batteries (not included) according to the polarity markings.
- Close the battery cover.
- Charging the Car Battery:
- Connect the provided USB charging cable to the battery.
- Plug the USB end into a standard USB power adapter (e.g., phone charger, computer USB port).
- The charging indicator light will show the charging status (refer to charger instructions for specific light behavior).
- Charging time is approximately 4 hours for a full charge. Each battery provides over 25 minutes of playtime.
- Do not use a fast charger.

Figure 4: The two included 600mAh rechargeable batteries.
4.2. Filling the Spray Device
- Locate the small opening on the rear of the car, usually covered by a rubber plug or a card pin.
- Open the water inlet.
- Use the provided water injector to carefully add a small amount of clean water into the water injection port.
- Do not overfill. Do not fill water into the side lines.
- Close the water inlet securely.

Figure 5: Steps for filling the car's spray device.
4.3. Changing Wheels
The RC car comes with two types of wheels: rubber tires for grip and drift tires for sliding. You can interchange them using the provided screwdriver.
- Use the screwdriver to carefully remove the screws holding the wheels in place.
- Gently pull off the current wheels.
- Align the desired wheels (rubber or drift) with the axle and push them on.
- Secure the new wheels with the screws using the screwdriver.

Figure 6: Interchangeable wheel design for different driving styles.
4.4. Applying DIY Stickers
Personalize your RC car with the included DIY stickers. Carefully peel and apply them to the car body as desired.

Figure 7: Customizing the RC car with DIY stickers.
4.5. Pairing the Remote Control
The 2.4GHz remote control system automatically pairs with the car when both are powered on. Ensure both the car and remote have fresh batteries installed.
- Turn on the RC car using the power switch.
- Turn on the remote control.
- The car and remote should automatically connect. If not, turn both off and on again.
5. Operating Instructions
5.1. Basic Controls
- Forward/Backward: Use the trigger on the remote control. Pull the trigger to move forward, push it to move backward.
- Turn Left/Right: Use the steering wheel on the remote control. Turn the wheel left to steer left, turn right to steer right.
- The car features full-scale synchronous control for precise throttle and steering.
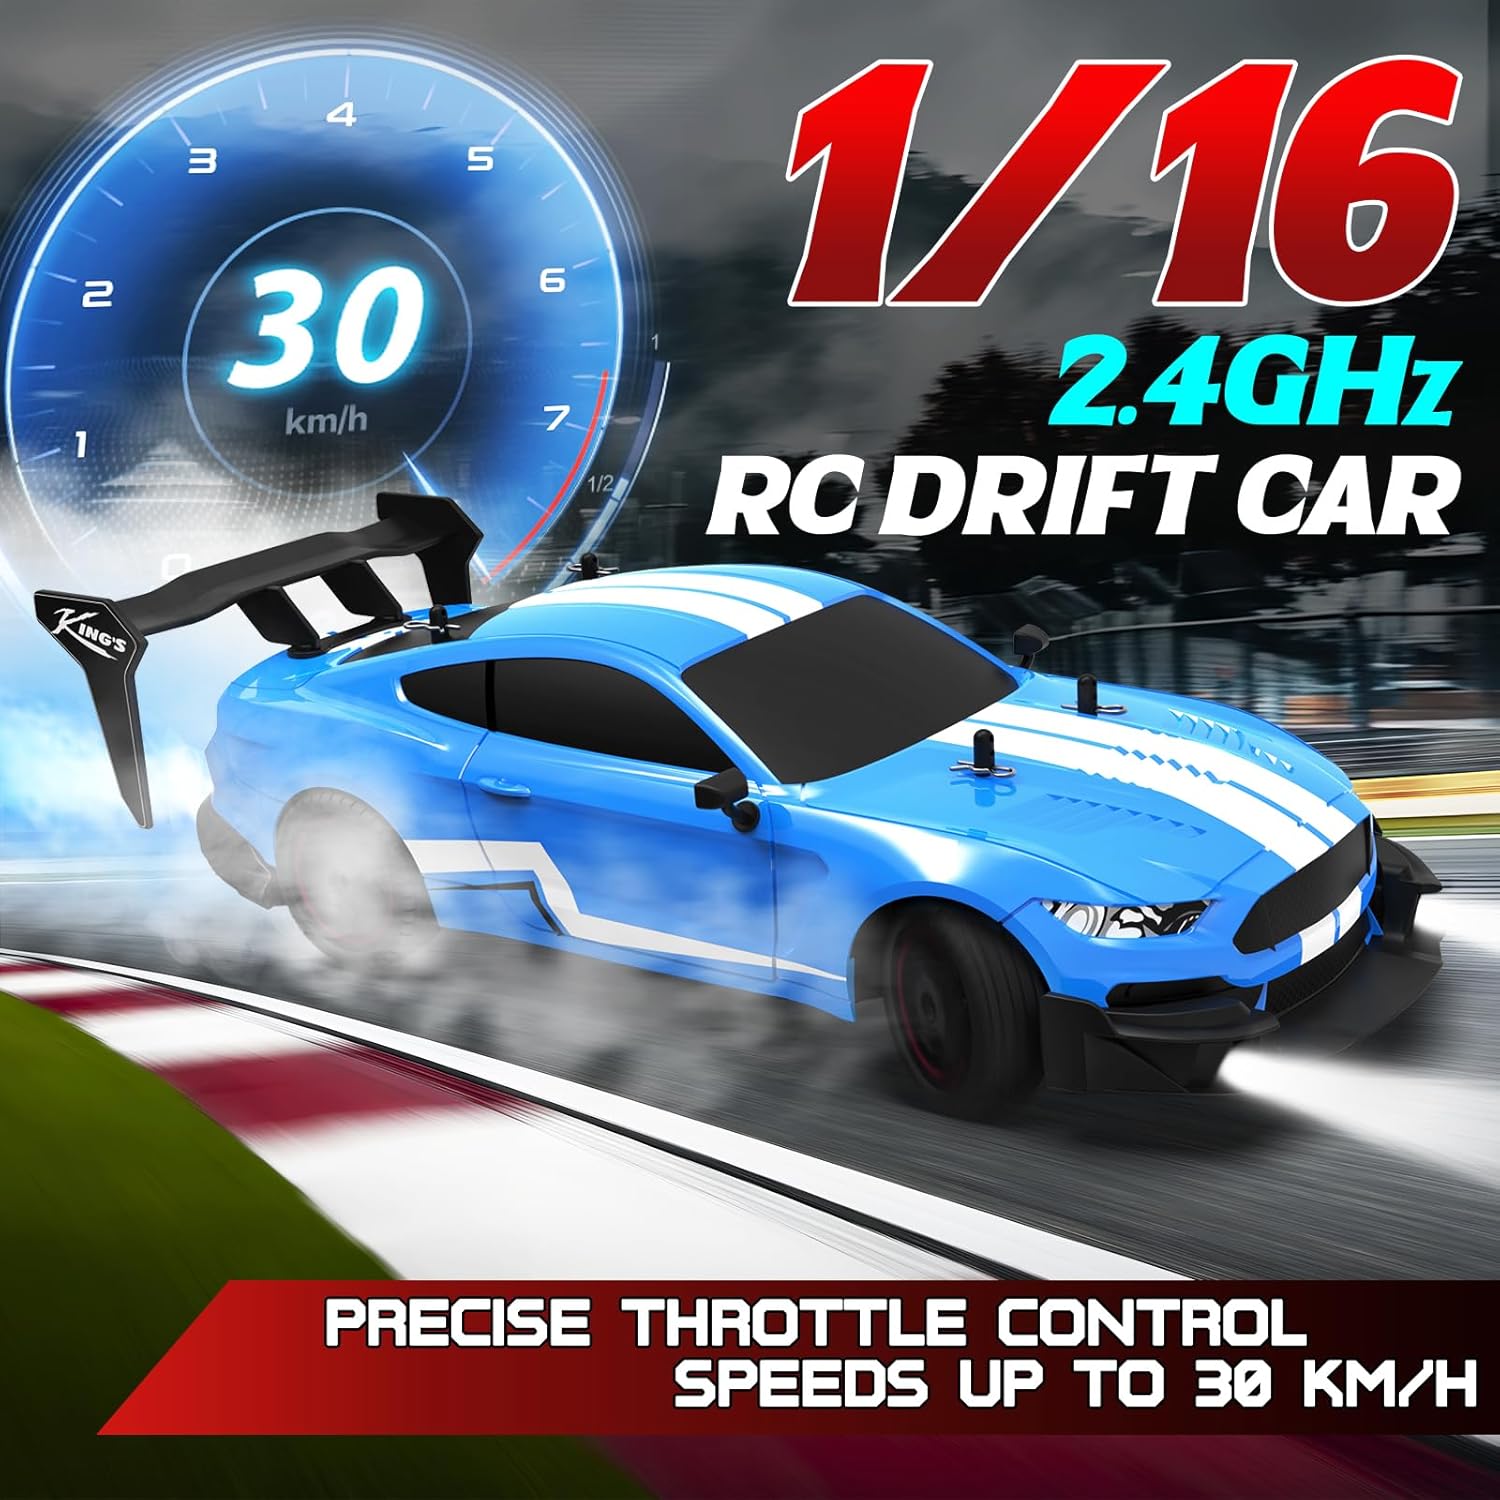
Figure 8: The RC car in action, demonstrating its speed and control.
5.2. Drifting and High Speed
The 4WD system and powerful motors allow for high-speed driving up to 30km/h and easy drifting. Practice steering and throttle control to master drifting techniques.
5.3. Spray Function
Once water is added to the spray device (refer to Section 4.2), activate the spray function:
- Press and hold the designated spray button on the remote control for 3 seconds.
- The rear of the car will emit a cool water mist, enhancing the visual effect during driving.

Figure 9: The RC car's dynamic spray and lighting effects.
5.4. LED Lights
The car is equipped with LED headlights and an LED light bar. The lights will flash when the vehicle is powered on. You can cycle through different light modes:
- Click once: Bright lights.
- Click again: Fast-acting flash mode.
- Click a third time: Full shutdown of lights.

Figure 10: Controlling the RC car's LED light modes.
5.5. 2.4GHz Remote Control System
The 2.4GHz control system provides a stable signal up to 160 feet (approximately 50 meters), allowing multiple users to operate RC cars simultaneously without interference.
6. Maintenance
6.1. Cleaning
- After each use, especially outdoors, gently wipe the car body with a soft, dry cloth to remove dust and debris.
- Do not use water or chemical cleaners directly on electronic components.
- Use a small brush or compressed air to clean hard-to-reach areas around the wheels and chassis.
6.2. Battery Care
- Always fully charge the batteries before storage if they will not be used for an extended period.
- Remove batteries from both the car and the remote control when not in use to prevent leakage.
- Store batteries in a cool, dry place, away from direct sunlight and extreme temperatures.
- If a battery appears damaged or swollen, discontinue use immediately and dispose of it properly.
6.3. Storage
- Store the RC car and its accessories in a dry environment, away from moisture and dust.
- Keep the original packaging for safe storage and transport.
7. Troubleshooting
| Problem | Possible Cause | Solution |
|---|---|---|
| Car does not respond to remote control. |
|
|
| Car runs slowly or inconsistently. |
|
|
| Spray function not working. |
|
|
| Lights are not working. |
|
|
8. Specifications
| Feature | Detail |
|---|---|
| Model Number | B0CDQ9F3V1 |
| Brand | LFOLUSU |
| Scale | 1:16 |
| Drive System | 4WD (Four-Wheel Drive) |
| Max Speed | Up to 30 km/h (approximately 18.6 mph) |
| Control Frequency | 2.4GHz |
| Control Range | Approx. 160 feet (50 meters) |
| Car Battery | 2 x 7.4V 600mAh Lithium Ion (included) |
| Remote Control Battery | 2 x AA batteries (not included) |
| Charging Time | Approx. 4 hours |
| Playtime per Battery | Over 25 minutes |
| Product Dimensions | 10 x 4.4 x 2.9 inches |
| Item Weight | 1.89 pounds |
| Recommended Age | 8 years and up |
9. Warranty & Support
LFOLUSU products are manufactured to high-quality standards. For specific warranty details, please refer to the warranty card included in your product packaging or contact LFOLUSU customer support.
Customer Support:
If you encounter any issues or have questions regarding your LFOLUSU RC Drift Car, please contact our customer support team through the retailer's platform or the official LFOLUSU website. Please have your model number (B0CDQ9F3V1) and purchase date ready when contacting support.
For returns or protection plans, please refer to the policies of your purchase retailer.