1. Introduction
The AdaLov CPE468 Dual Band Gigabit WiFi Bridge is designed to provide reliable and high-speed wireless connectivity over long distances in outdoor environments. This device supports both 2.4GHz and 5.8GHz frequencies, ensuring compatibility with a wide range of network equipment and offering enhanced stability and anti-interference capabilities. It is an ideal solution for extending networks to remote locations, connecting security cameras, or integrating with Starlink satellite internet systems, offering a cost-effective alternative to traditional wired connections.
2. What's in the Box
Upon unpacking your AdaLov CPE468, please ensure all the following items are present:
- 2 x CPE468 Wireless Bridges
- 2 x Mounting Brackets
- 2 x POE Adapters
- 2 x Network Cables
- 1 x User Manual (this document)
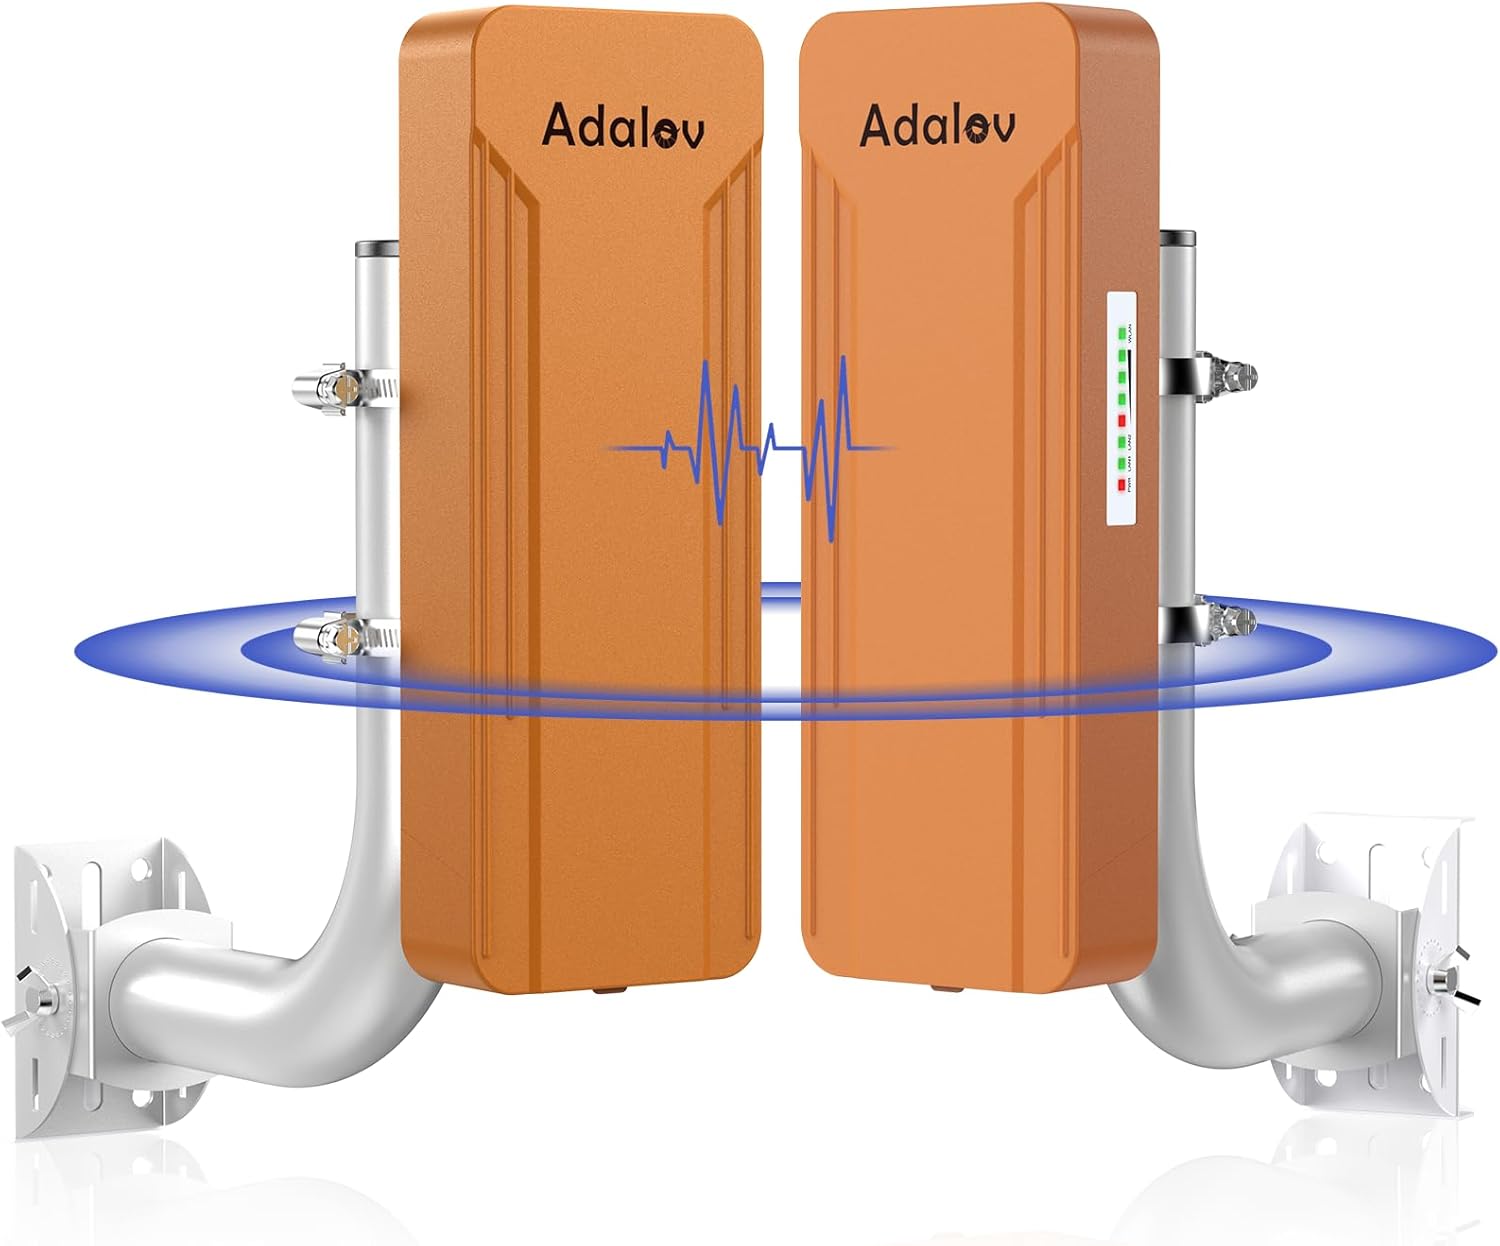
Image: All components included in the AdaLov CPE468 package, neatly arranged on a surface.
3. Key Features
- Dual Band Gigabit Wireless Link: Supports both 2.4GHz and 5.8GHz frequencies for wider device compatibility, enhanced stability, and improved anti-interference performance.
- Long Range Transmission: Built-in 15dBi directional high-gain antenna enables wireless transmission up to 3 kilometers (1.9 miles) with clear line of sight.
- High Speed Connectivity: 5.8GHz band offers speeds up to 900Mbps, with LAN data rates up to 433Mbps, ideal for low-latency voice and video transmission.
- Power Over Ethernet (PoE): Powered by an included 24V PoE adapter, simplifying installation by delivering both power and data over a single Ethernet cable.
- IP65 Weatherproof Design: Engineered for outdoor environments, capable of withstanding harsh weather conditions including sun, rain, wind, and freezing temperatures.
- Versatile Application: Suitable for network extension, security camera systems, and compatible with Starlink Gen 2 Ethernet Adapter or Gen 3 Router.
- Multiple LAN Ports: Each bridge unit includes two RJ45 LAN ports (1x 1Gbps and 1x 100Mbps) for flexible network configuration and connecting additional devices.
- Easy Dial Pairing: Supports simple dial pairing without requiring complex Graphical User Interface (GUI) access for initial setup.
- Adjustable Bracket Mounts: Comes with two adjustable bracket mounts for flexible installation on poles or walls, allowing for vertical and horizontal adjustments.

Image: An infographic detailing the main features of the AdaLov CPE468, including its 1200Mbps speed, dual-band capabilities, Gigabit ports, and long-range coverage.
4. Product Components Overview
Each CPE468 Wireless Bridge unit features the following:
- RJ45 LAN Ports: Two Ethernet ports for data connection. One is a 1Gbps port, and the other is a 100Mbps port.
- Digital Display: Shows the current channel number (0-8) for pairing and configuration.
- A-B Button: Used to switch between Master (A) and Slave (B) modes, and to adjust the channel number.
- Reset Button: A small button to reset the device to factory settings (long press) or change channels (short press).
- DC Power Jack: For direct power input if not using PoE.
- Signal Indicator Lights: LEDs indicating power, LAN activity, and wireless signal strength.

Image: Detailed view of the AdaLov CPE468 unit's interface, highlighting the two LAN ports, digital display, and control buttons.
5. Setup & Installation
The AdaLov CPE468 bridges are designed for easy setup with pre-configured pairing. Follow these steps for installation:
5.1. Mounting the Devices
The included bracket mounts allow for versatile installation on poles or walls. Ensure the devices are mounted securely and have a clear line of sight to each other for optimal performance.
- Attach the mounting bracket to the back of each CPE468 unit.
- For pole mounting, use the provided metal cable ties to secure the bracket to a pole.
- For wall mounting, remove the board from the bracket, align the four screws with the holes, and fix them securely to the wall.
- Adjust the angle of the units (up to 150 degrees) to achieve the best alignment.

Image: An AdaLov CPE468 unit mounted on a pole, demonstrating a typical outdoor installation scenario.

Image: A universal adjustable mounting bracket, suitable for both wall and pole mounting, providing flexibility for installation.
5.2. Initial Connection and Pairing
The CPE468 units are pre-configured for dial pairing. One unit acts as the Master (A) and the other as the Slave (B).
- Power On: Connect each CPE468 unit to its respective 24V PoE adapter. Plug the PoE adapter into a power outlet.
- Connect Ethernet Cables:
- For the Master Bridge (A): Connect one end of an Ethernet cable to the LAN port of your internet router (or network switch) and the other end to the LAN port of the Master PoE adapter. Then, connect the PoE port of the Master PoE adapter to the 1Gbps LAN port of the Master CPE468 unit.
- For the Slave Bridge (B): Connect the PoE port of the Slave PoE adapter to the 1Gbps LAN port of the Slave CPE468 unit. The LAN port of the Slave PoE adapter can then be connected to your end device (e.g., computer, security camera NVR, or another router).
- Verify Pairing: The digital display on each unit should show the same channel number (e.g., '4'). The signal indicator lights should illuminate, indicating a successful connection. If the channel numbers differ, use the A-B button to adjust them to match.

Image: Two CPE468 units displaying matching channel numbers, indicating successful pre-configuration and pairing.
Video: A demonstration of connecting the AdaLov CPE468 wireless bridges for network extension and security camera applications. This video shows the physical connections and basic setup steps.
6. Operating Instructions
The AdaLov CPE468 can be used in various scenarios:
6.1. Point-to-Point (PTP) Network Extension
This is the most common setup, extending your network from one location to another. The Master bridge connects to your main network (router), and the Slave bridge provides network access at the remote location.
- Connect the Master CPE468 to your main router's LAN port via its PoE adapter.
- At the remote location, connect the Slave CPE468 via its PoE adapter to a computer, switch, or another router to provide network access.
- Ensure both units are aligned for optimal signal strength.

Image: A diagram showing a point-to-point wireless bridge setup, extending network connectivity between two distant points.
6.2. Security Camera Systems
The CPE468 is excellent for providing network connectivity to IP cameras in remote areas without running long Ethernet cables.
- Connect the Master CPE468 to your NVR (Network Video Recorder) or monitoring station.
- Connect the Slave CPE468 to your IP camera(s) via its PoE adapter. If connecting multiple cameras, you may need an additional switch at the Slave end.
- Ensure the cameras receive sufficient power and data through the bridge connection.

Image: A network diagram illustrating how the wireless bridges connect security cameras to an NVR and monitor.
6.3. Starlink Compatibility
Integrate your Starlink Gen 2 Ethernet Adapter or Gen 3 Router with the CPE468 for extended coverage.
- Connect the Starlink Ethernet Adapter or Gen 3 Router to the Master CPE468 via its PoE adapter.
- At the desired location, connect the Slave CPE468 via its PoE adapter to a computer or local router to distribute the Starlink internet connection.

Image: An AdaLov CPE468 bridge installed on a building, connected to a Starlink satellite dish, demonstrating its compatibility and use for extending Starlink internet.
6.4. Point-to-Multipoint (PTMP) Setup
The CPE468 can support up to 8 receiver units from a single Master unit, allowing for broader network distribution.
- Configure one CPE468 unit as the Master (A).
- Configure multiple CPE468 units as Slaves (B).
- Ensure all Slave units are within the Master's signal range and have a clear line of sight.
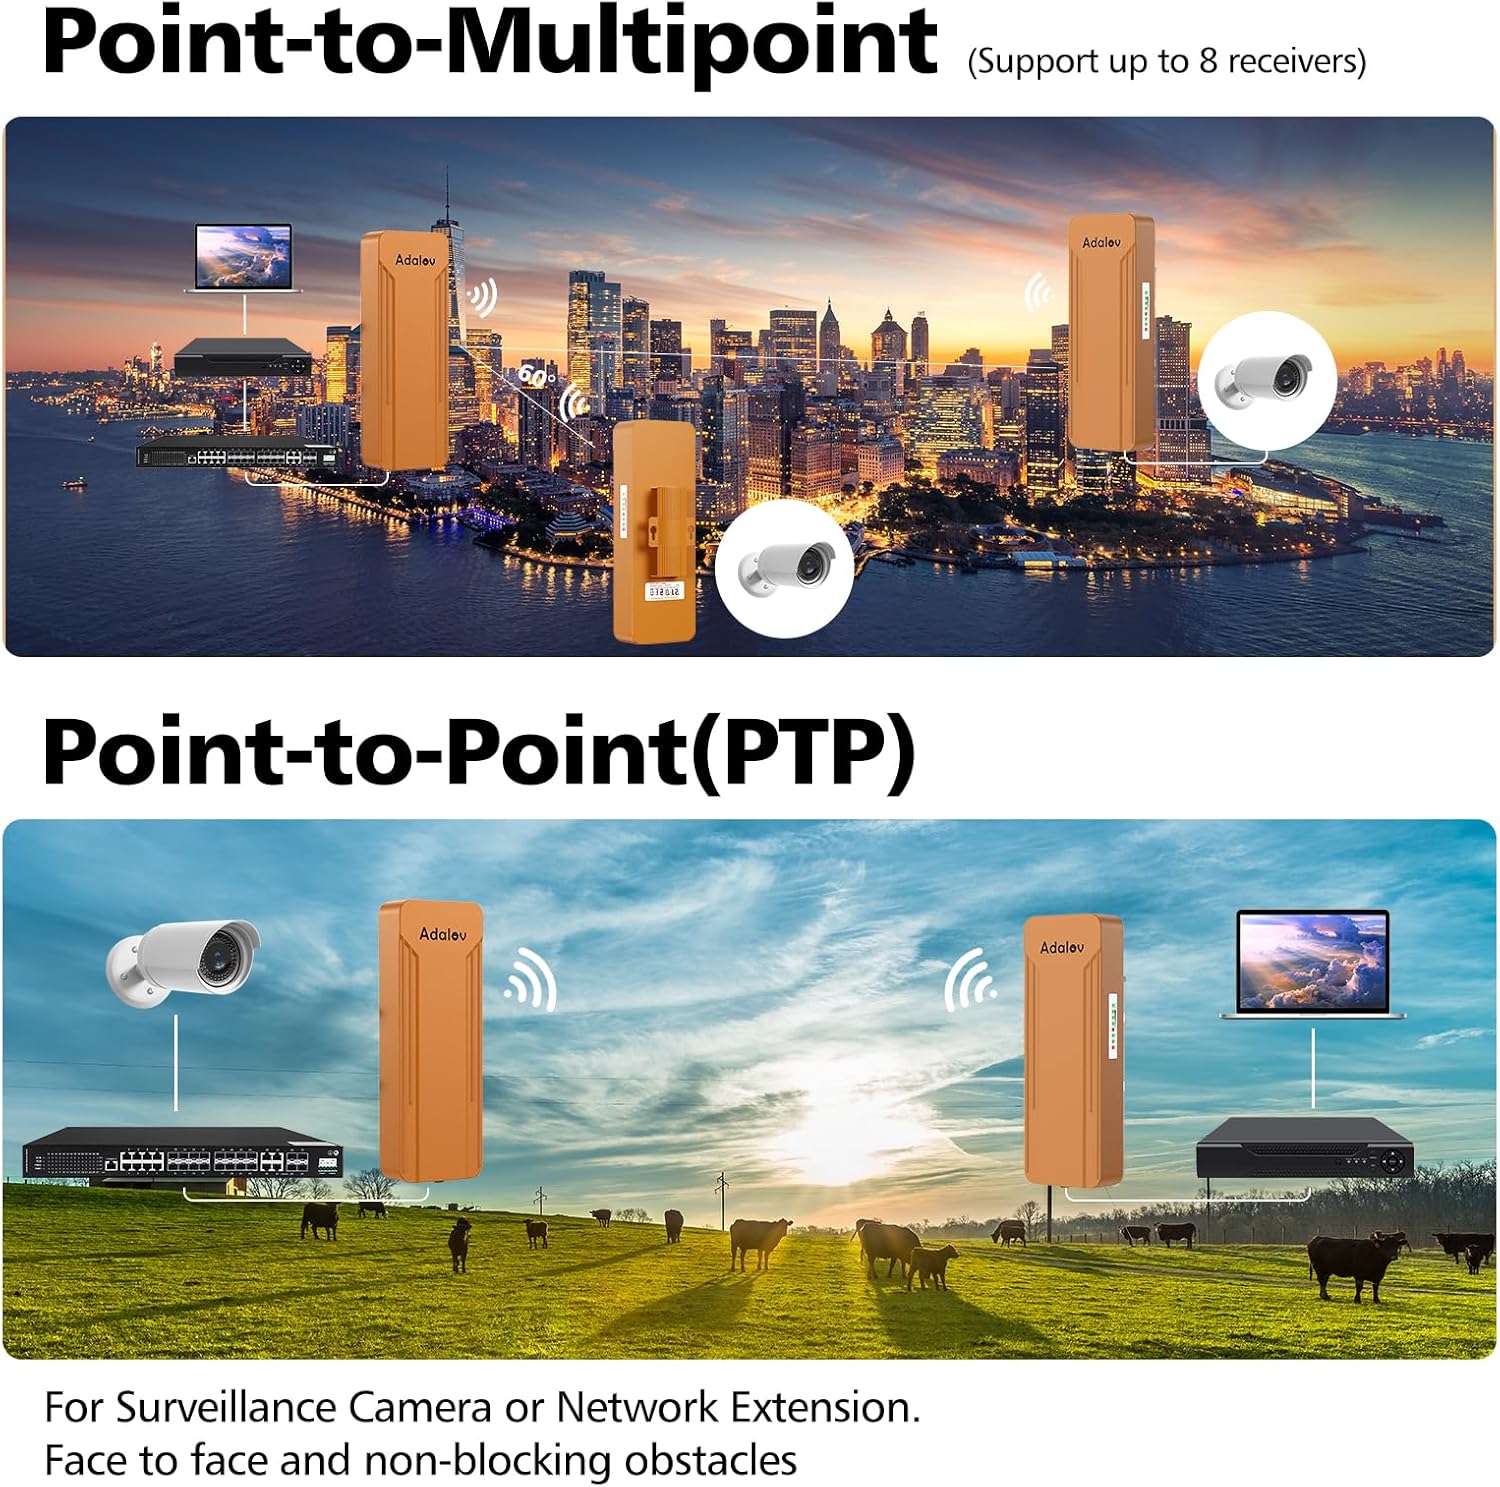
Image: An illustration of both Point-to-Multipoint (PTMP) and Point-to-Point (PTP) configurations, showing how multiple slave units can connect to a single master unit.
7. Maintenance
The AdaLov CPE468 is designed for durability in outdoor conditions. To ensure longevity and optimal performance:
- Regular Inspection: Periodically check the physical condition of the units and mounting hardware for any signs of wear, damage, or loose connections.
- Clear Line of Sight: Ensure that no new obstructions (e.g., growing trees, new buildings) block the line of sight between the Master and Slave units.
- Firmware Updates: Check the manufacturer's website (if available) for any firmware updates that may improve performance or add new features.
- Cleaning: Gently clean the exterior of the units with a soft, damp cloth if they accumulate dirt or debris. Avoid using harsh chemicals.

Image: Icons representing the weather-resistant features of the CPE468, including sun protection, IP65 waterproof rating, anti-dust, and anti-freezing capabilities.
8. Troubleshooting
If you encounter issues with your CPE468 Wireless Bridge, consider the following:
- No Connection/Poor Signal:
- Verify clear line of sight between units. Obstacles like buildings or dense foliage can significantly degrade signal.
- Check the signal indicator lights on both units. Adjust alignment if the signal is weak.
- Ensure both units are powered on and their PoE adapters are functioning correctly.
- Confirm that the Ethernet cables are securely connected to the correct ports (PoE to CPE, LAN to router/device).
- Incorrect Channel:
- The digital display on both Master and Slave units must show the same channel number (0-8). Use the A-B button to cycle through channels until they match.
- If interference is suspected, try changing to a different channel on both units.
- No Internet Access:
- Ensure your main router connected to the Master unit has active internet access.
- Check all Ethernet cable connections.
- If using a router at the Slave end, ensure it is configured correctly to receive internet from the bridge.
- Reset to Factory Settings: If all else fails, you can reset a unit to its factory default settings by pressing and holding the Reset button for approximately 10 seconds. Note that this will erase any custom configurations.

Image: A visual guide demonstrating optimal placement for wireless bridges, emphasizing the importance of clear line of sight and avoiding obstructions.
9. Technical Specifications
| Feature | Specification |
|---|---|
| Brand | AdaLov |
| Model Number | CPE468 |
| Hardware Interface | Ethernet |
| Compatible Devices | Desktop, Router, Security camera, Starlink, Switch |
| Product Dimensions | 3.54"L x 1.96"W x 9.84"H |
| Data Link Protocol | Ethernet, Gigabit Ethernet, IEEE 802.11a, IEEE 802.11ac, IEEE 802.11n |
| Data Transfer Rate | 1 Gigabits Per Second (Max 900Mbps on 5.8GHz) |
| Item Weight | 5.8 Grams |
| Waterproof Rating | IP65 |
| Antenna Gain | 15dBi Directional |
| Power Supply | 24V PoE Adapter (Included) |
10. Warranty & Support
The AdaLov CPE468 Wireless Bridge comes with a 1-year warranty from the date of purchase. This warranty covers manufacturing defects and malfunctions under normal use conditions.
For technical support, troubleshooting assistance, or warranty claims, please contact AdaLov customer service. Refer to the contact information provided in your product packaging or visit the official AdaLov store page on Amazon.
Please retain your proof of purchase for warranty validation.