McbeAn M7 Pro Accessories (Set B)
Instruction Manual for Midea M7 Robot Vacuum Cleaner Replacement Parts
Introduction
This manual provides detailed instructions for the installation, maintenance, and replacement of spare parts compatible with the Midea M7 Robot Vacuum Cleaner. These accessories, including replacement brushes, HEPA filters, and mop pads, are designed to ensure your robot vacuum continues to operate at optimal performance. Please read this manual carefully before installing or replacing any components.
Product Overview
This replacement set (Set B) includes essential consumables for your Midea M7 Robot Vacuum Cleaner. The components are crafted from high-quality materials for durability and effective cleaning.
Included Components:
- Main Roller Brush
- Side Brushes
- HEPA Filters
- Mop Pads (Rags)
Component Identification:

Figure 1: Overview of the complete replacement parts set, showing the main brush, side brushes, HEPA filters, and mop pads.

Figure 2: Detailed view of the main roller brush, indicating its dimensions for proper fit.

Figure 3: Close-up of the side brushes, showing their design for sweeping debris.

Figure 4: HEPA filter, essential for trapping fine dust and allergens, with its dimensions.
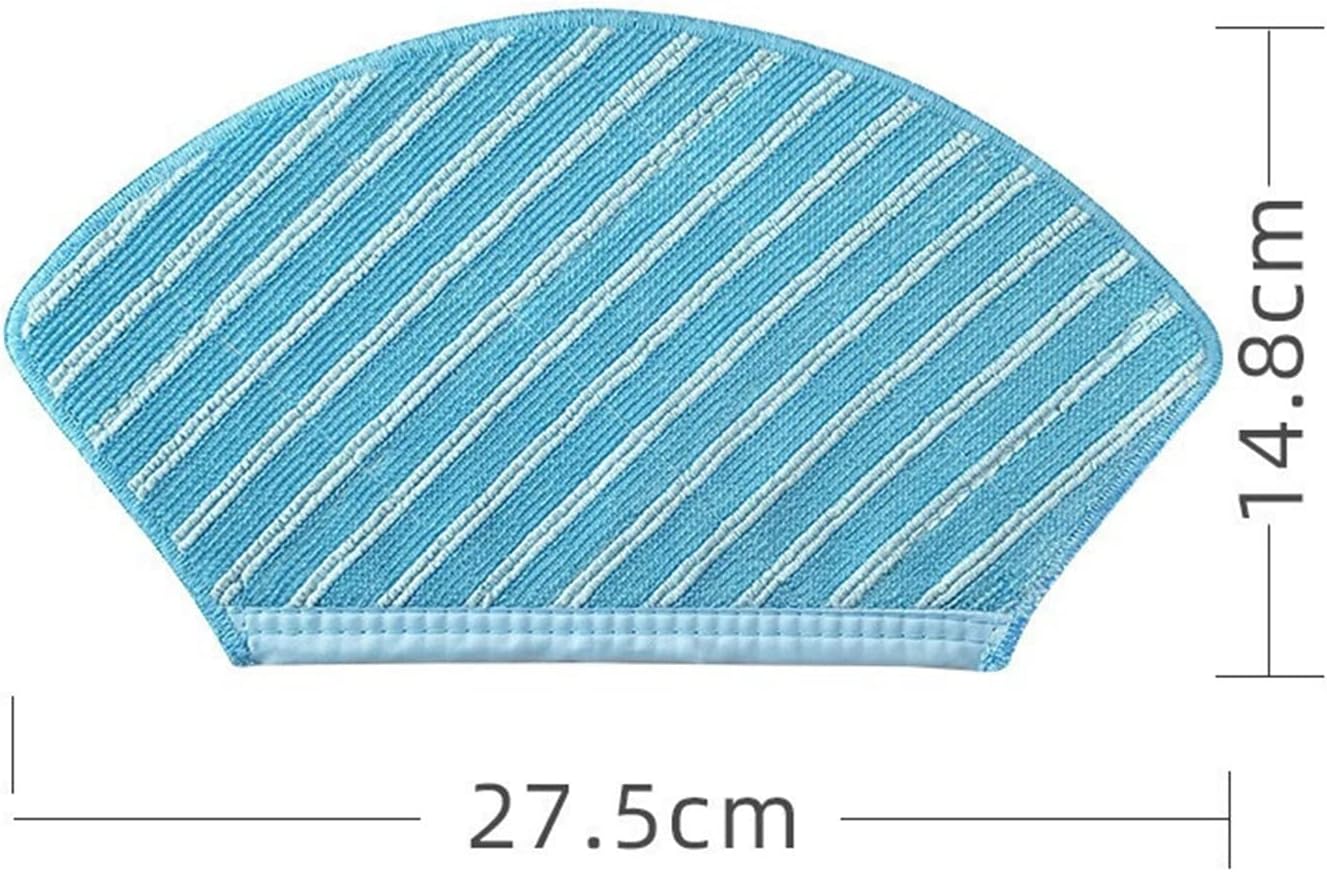
Figure 5: Mop pad (rag) for wet cleaning, showing its shape and dimensions.

Figure 6: Reverse side of the mop pad, illustrating how it attaches to the robot vacuum.

Figure 7: Multiple mop pads included in the set, ready for replacement.
Setup and Installation
Before installing any new parts, ensure your Midea M7 Robot Vacuum Cleaner is powered off and unplugged from its charging base.
1. Installing the Main Roller Brush:
- Flip the robot vacuum cleaner over to access the brush compartment.
- Locate the brush cover and unlatch it.
- Remove the old main roller brush.
- Align the new main roller brush (refer to Figure 2 for appearance) with the slots in the compartment and gently press it into place until it clicks.
- Close the brush cover and ensure it is securely latched.
2. Installing Side Brushes:
- With the robot vacuum still flipped over, locate the side brush mounting screws.
- Unscrew and remove the old side brushes.
- Align the new side brushes (refer to Figure 3 for appearance) with the corresponding posts and press down firmly until they click into place. Some models may require a screw to secure them.
3. Installing HEPA Filters:
- Open the dustbin compartment on your robot vacuum.
- Remove the dustbin.
- Locate the filter assembly within the dustbin. Remove the old HEPA filter.
- Insert the new HEPA filter (refer to Figure 4 for appearance) into the designated slot in the dustbin, ensuring it fits snugly.
- Reinsert the dustbin into the robot vacuum until it locks into place.
4. Attaching Mop Pads (Rags):
- Locate the water tank or mop attachment on your robot vacuum.
- Remove the used mop pad.
- Attach a new mop pad (refer to Figure 5 and 6 for appearance) to the water tank or mop attachment, ensuring the Velcro or clips are securely fastened.
- If applicable, fill the water tank before reattaching it to the robot vacuum.
Operating with New Parts
Once the new replacement parts are installed, your Midea M7 Robot Vacuum Cleaner is ready for operation. These parts are designed to restore or maintain the vacuum's optimal cleaning performance.
- Main Roller Brush: Effectively sweeps and agitates dirt and debris from various floor types into the vacuum's suction path.
- Side Brushes: Reach into corners and along edges to sweep dust and debris towards the main brush for thorough cleaning.
- HEPA Filters: Capture fine dust particles, allergens, and pet dander, preventing them from being released back into the air, thus improving air quality.
- Mop Pads: Used for wet mopping functions, these pads absorb water and clean hard floors, removing stains and grime.
Always ensure all parts are correctly installed before starting a cleaning cycle to prevent damage to the robot or ineffective cleaning.
Maintenance and Replacement Schedule
Regular maintenance and timely replacement of these consumables are crucial for extending the lifespan of your Midea M7 Robot Vacuum Cleaner and ensuring consistent cleaning efficiency.
General Maintenance Tips:
- Main Roller Brush: Regularly check for tangled hair or debris. Use the cleaning tool provided with your vacuum (if any) to remove hair and fibers.
- Side Brushes: Inspect for bent or damaged bristles. Clean any hair or debris wrapped around the brush base.
- HEPA Filters: Tap the filter gently over a trash can to remove accumulated dust. Do not wash HEPA filters with water unless explicitly stated by the vacuum manufacturer, as this can damage the filter material.
- Mop Pads: After each use, remove the mop pad and wash it thoroughly with water. Allow it to air dry completely before reattaching or storing.
Recommended Replacement Schedule:
| Component | Replacement Frequency (Approx.) | Notes |
|---|---|---|
| Main Roller Brush | Every 6-12 months | Replace if bristles are worn, damaged, or cleaning performance decreases significantly. |
| Side Brushes | Every 3-6 months | Replace if bristles are bent, broken, or no longer effectively sweep debris. |
| HEPA Filters | Every 2-3 months | Replace more frequently if you have pets or allergies, or if suction power decreases. |
| Mop Pads | Every 1-3 months (or as needed) | Replace if they become heavily stained, worn, or lose their absorbency. |
Note: These frequencies are estimates and may vary based on usage, environment, and specific cleaning needs.
Troubleshooting Common Issues
If you experience issues with your Midea M7 Robot Vacuum Cleaner after installing new parts, consider the following common troubleshooting steps related to the consumables:
Issue: Reduced Cleaning Performance / Not Picking Up Debris
- Check Main Brush: Ensure the main roller brush is free of tangled hair or debris and is installed correctly. A worn brush may not agitate effectively.
- Check Side Brushes: Verify side brushes are not bent or broken. If they are, they won't sweep debris into the main path.
- Check HEPA Filter: A clogged HEPA filter can significantly reduce suction power. Clean or replace the filter as per the maintenance schedule.
Issue: Robot Vacuum Leaving Streaks / Not Mopping Effectively
- Check Mop Pad: Ensure the mop pad is clean and properly attached. A dirty or worn pad will not clean effectively.
- Water Tank: Verify the water tank is filled and properly installed (if applicable to your model).
Issue: Unusual Noises from Brushes
- Inspect Brushes: Remove and inspect both main and side brushes for any foreign objects (e.g., string, small toys) caught in them or their mechanisms.
- Reinstallation: Ensure brushes are correctly installed and seated.
If problems persist after checking these points, refer to your Midea M7 Robot Vacuum Cleaner's original user manual or contact the manufacturer's support.
Specifications
The following specifications pertain to the McbeAn replacement parts for the Midea M7 Robot Vacuum Cleaner (Set B).
| Attribute | Detail |
|---|---|
| Compatible Robotic Vacuum Cleaner Models | Midea M7 |
| Brand | McbeAn |
| Item Weight | 1.76 ounces |
| Package Dimensions | 0.39 x 0.39 x 0.39 inches (approximate for individual components) |
| Country of Origin | China |
| Number of Pieces (Set B) | Varies by component type within the set (e.g., multiple mop pads, pairs of side brushes, single main brush/filter) |
Warranty and Support
For questions regarding the compatibility or performance of these replacement parts, please contact the seller or manufacturer directly. The seller for this product is jiangxiuyingying.
Return Policy: This product typically comes with a 30-day return/replacement policy. Please refer to the specific terms and conditions of your purchase platform for detailed return information.
For general inquiries about your Midea M7 Robot Vacuum Cleaner, please consult its original user manual or the Midea official support channels.
Related Documents - M7 Pro Accessories (Set B)
 |
Hornresp Manual: A Comprehensive Guide to Speaker Design Explore the features and functionalities of Hornresp, a powerful speaker design program by David McBean. This manual provides detailed explanations of its various tools and options for creating and optimizing horn speaker designs. |
Ask a question about this manual
Ask about setup, troubleshooting, compatibility, parts, safety, or missing instructions. Manuals+ will review the question and use this page’s manual context to help answer it.