Breville BTA735OYS1BUS1
Breville Toast Select Luxe Toaster User Manual
Model: BTA735OYS1BUS1 | Brand: Breville
Introduction
The Breville Toast Select Luxe Toaster is a compact 2-slice toaster designed for optimal toasting performance. It features a progress indicator and intelligent toasting time adjustment for various bread types. Key functions include 'Lift & Look' for checking toast, 'A Bit More' for extended toasting, and an LED countdown indicator for monitoring progress. The toaster is crafted with brushed stainless steel and premium metallic finishes.
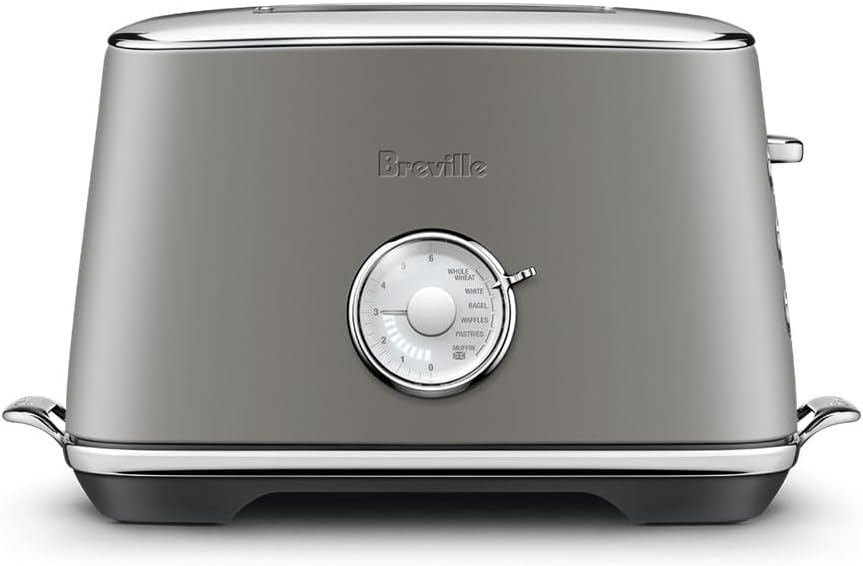
Image: Front view of the Breville Toast Select Luxe Toaster in Oyster Shell color.
Setup
- Unpacking: Carefully remove the toaster and all accessories from the packaging. Retain packaging for future storage or transport.
- Placement: Place the toaster on a stable, flat, heat-resistant surface, away from walls or heat-sensitive materials. Ensure adequate ventilation around the toaster.
- Power Connection: Unwind the power cord completely and plug it into a grounded 120V AC power outlet.
- Initial Use: Before first use, it is recommended to operate the toaster without bread on the highest setting (6) a few times to burn off any manufacturing residues and odors. Ensure the area is well-ventilated during this process.
Operating Instructions
1. Toasting Bread
- Insert Bread: Place up to two slices of bread into the toasting slots. The wide slots accommodate various bread types, including artisanal bread, bagels, and pastries.
- Select Bread Type: Use the dial on the front of the toaster to select one of the 6 preset bread types: Whole Wheat, White, Bagel, Waffles, Pastries, and English Muffin. The toaster automatically adjusts the toasting time based on the selected type.
- Adjust Browning Control: Rotate the variable browning control dial to your preferred level of doneness (0-6). The LED indicator will illuminate to show the selected setting and count down during toasting.

Image: A hand adjusting the variable browning control dial to achieve the desired toast level.

Image: Detailed view of the toaster's dial, highlighting the 6 preset toast types and the LED progress indicator.
- Lower Lever: Push down the toasting lever until it locks into place. The toasting cycle will begin.
- Monitor Progress: The LED countdown indicator will show the remaining toasting time.
2. Special Functions
- 'Lift & Look'™: To check the toasting progress without interrupting the cycle, simply lift the toasting lever. The toast will rise, allowing you to inspect it. Lower the lever to continue toasting.
- 'A Bit More'™ / Reheat: If your toast is not quite done to your liking, press the 'A Bit More' button after the cycle completes. This will extend the toasting time slightly. This button also functions as a reheat for already toasted items.
- Frozen: For frozen bread, press the 'Frozen' button after lowering the lever. The toaster will automatically adjust the toasting time to defrost and toast the bread.
- Cancel: To stop the toasting cycle at any time, press the 'Cancel' button.
- High Lift: The toaster features a high lift lever, which raises smaller items like crumpets or English muffins higher out of the slots for easier and safer retrieval.

Image: Detailed view of the toaster's control panel, showing the 'A Bit More', 'Frozen', and 'Cancel' buttons, along with the 'Lift & Look' lever.
- Bagel/Crumpet Orientation: The toaster slots are marked to indicate the correct orientation for toasting bagels and crumpets, ensuring the cut side faces the inner heating elements for optimal results.
Maintenance and Cleaning
- Always Unplug: Before cleaning, always unplug the toaster from the power outlet and allow it to cool completely.
- Crumb Tray: The toaster is designed with an easy-to-access front crumb tray. Simply pull out the crumb tray from the front of the toaster and empty it into a waste bin. Wipe the tray with a damp cloth if necessary, and ensure it is completely dry before reinserting.

Image: The removable crumb tray, designed for easy cleaning and maintenance.
- Exterior Cleaning: Wipe the exterior of the toaster with a soft, damp cloth. Do not use abrasive cleaners or scouring pads, as they may scratch the surface.
- Never Immerse: Never immerse the toaster, power cord, or plug in water or any other liquid.
Troubleshooting
| Problem | Possible Cause | Solution |
|---|---|---|
| Toaster does not operate. | Not plugged in; power outage; crumb tray not fully inserted. | Ensure toaster is securely plugged in. Check household circuit breaker. Ensure crumb tray is fully pushed in. |
| Toast is too light or too dark. | Browning control setting is incorrect for desired result. | Adjust the browning control dial to a higher or lower setting. Use 'A Bit More' for slightly darker toast. |
| Smoke coming from toaster. | Food lodged in slots; crumb tray full; excessive butter/oil on bread. | Immediately press 'Cancel' and unplug. Allow to cool. Carefully remove any lodged food. Clean crumb tray. Avoid excessive butter/oil. |
| Bread is stuck. | Bread slice too large or uneven. | Press 'Cancel' and unplug. Allow to cool. Gently remove bread with non-metallic tongs. Do not force. |
Specifications
| Feature | Detail |
|---|---|
| Brand | Breville |
| Model Number | BTA735OYS1BUS1 |
| Color | Oyster Shell |
| Material | Stainless Steel |
| Product Dimensions | 8.2"D x 13.4"W x 7.9"H |
| Wattage | 1000 Watts |
| Voltage | 120 Volts |
| Number of Slices | 2 |
| Special Feature | Variable Browning Control |
| Display Type | LED |
| Item Weight | 5.18 pounds |
| Number of Settings | 6 (Bread Types) |
| Number of Programs | 4 (Lift & Look, A Bit More/Reheat, Frozen, Cancel) |
Warranty and Support
The Breville Toast Select Luxe Toaster comes with a 1 Year Limited Product Warranty. For warranty claims, technical support, or service inquiries, please refer to the contact information provided in your product packaging or visit the official Breville website.
For additional information and support, you may visit the Breville Store on Amazon.
Ask a question about this manual
Ask about setup, troubleshooting, compatibility, parts, safety, or missing instructions. Manuals+ will review the question and use this page’s manual context to help answer it.