1. Introduction
Thank you for choosing the Urageuxy UC-WS0800 Wireless Digital Thermometer Weather Station. This device provides comprehensive environmental monitoring, displaying indoor and outdoor temperature and humidity, weather forecasts, moon phases, and barometric pressure. It is designed for easy setup and reliable performance, helping you stay informed about your surroundings.
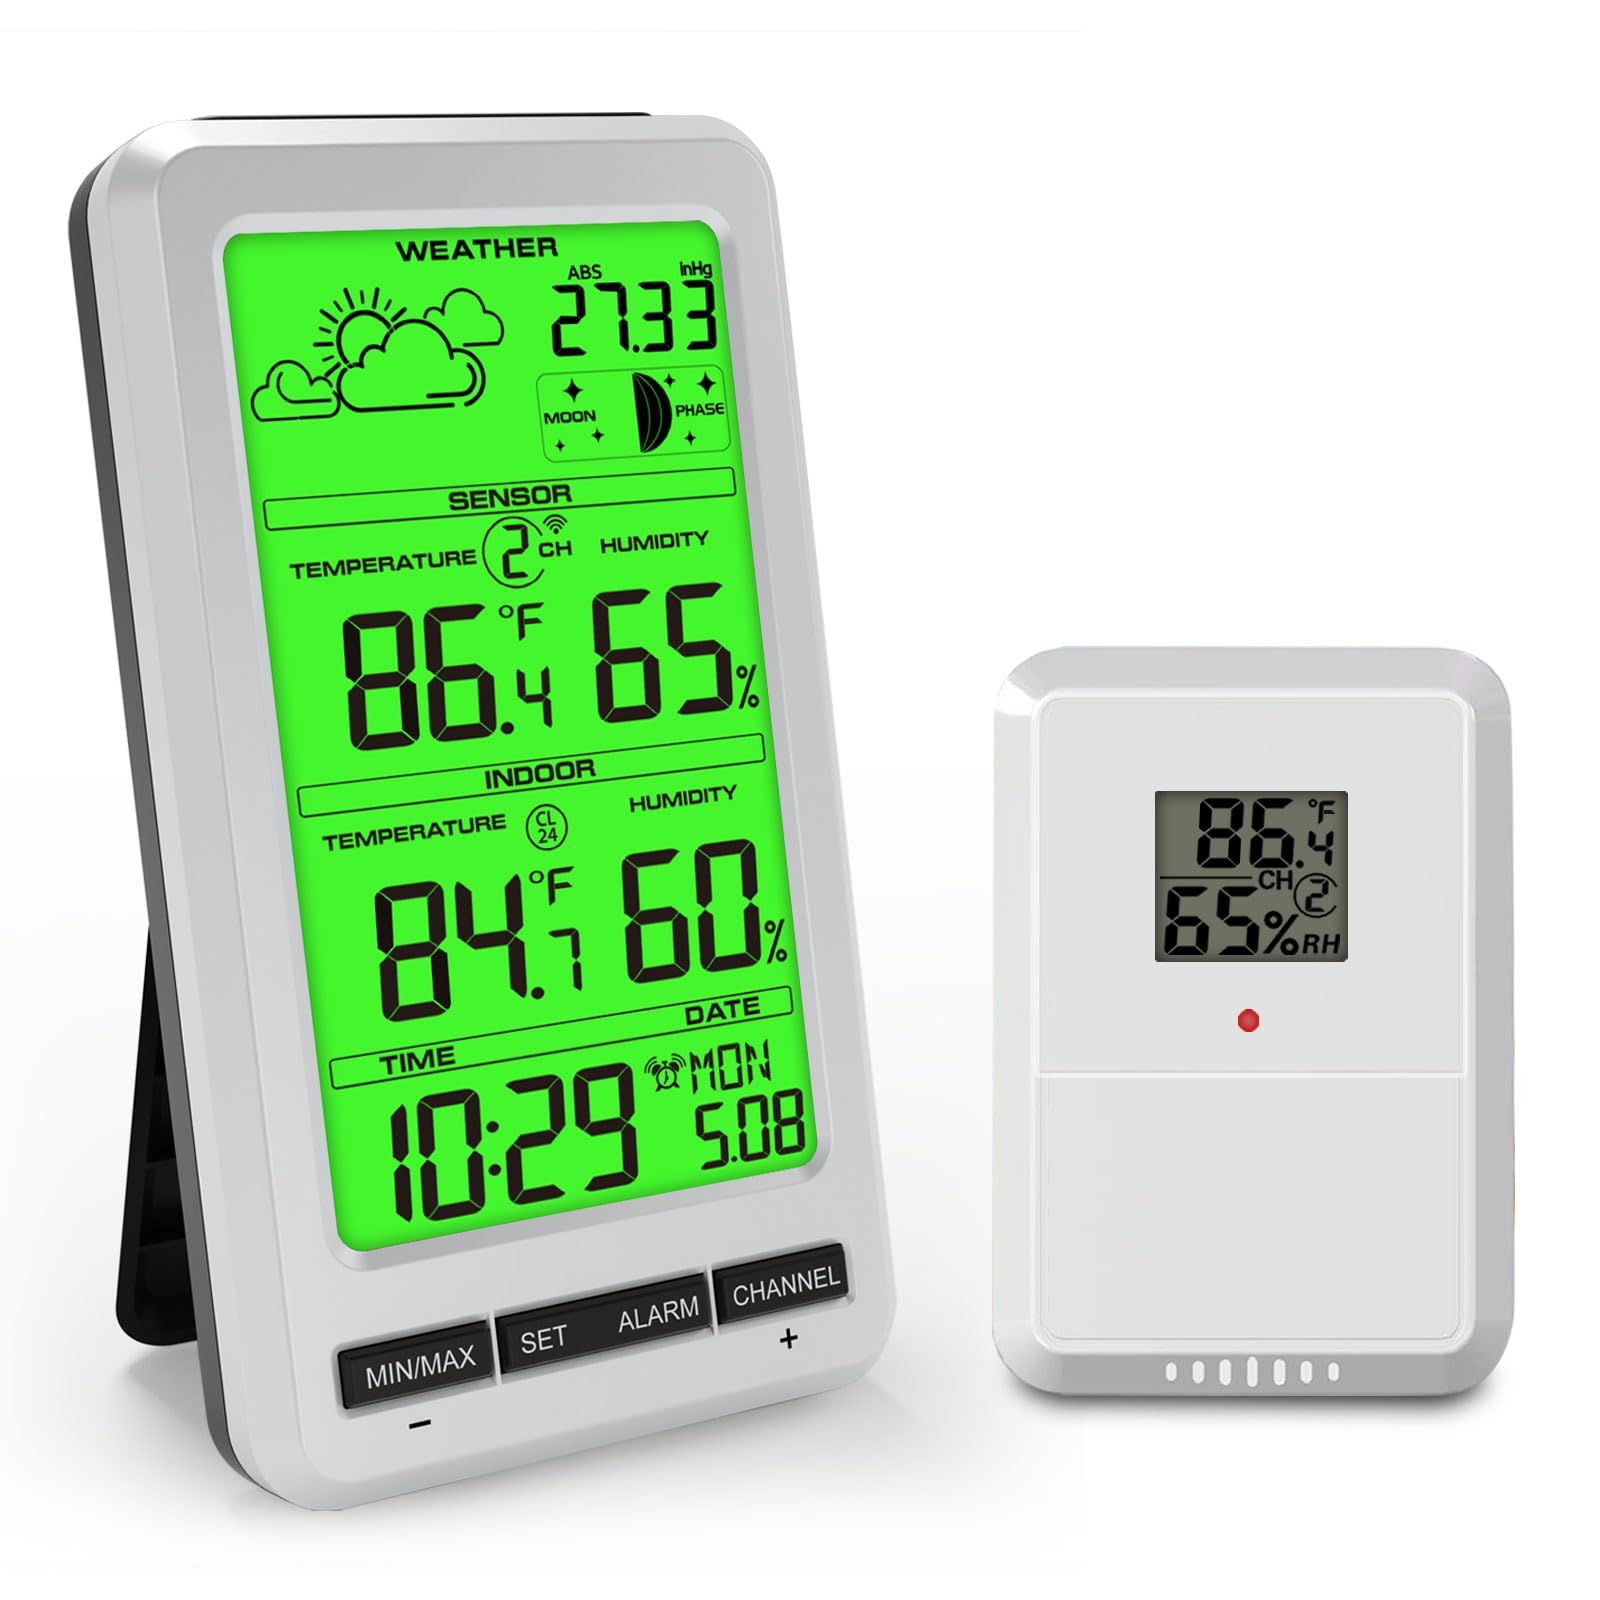
The main display unit of the Urageuxy UC-WS0800 Weather Station, illustrating its various functions including indoor/outdoor temperature and humidity, weather forecast, and moon phase.
2. Package Contents
- Main Display Unit
- Wireless Remote Sensor (1 included)
- User Manual
3. Key Features
- Multifunctional Weather Station: Displays indoor/outdoor temperature and humidity, max/min records, 24-48 hour weather forecast, barometric pressure, moon phase, time, and date.
- Extended Transmission Range: Wireless transmission up to 100 meters (300 feet) in open areas.
- Multi-Sensor Support: Supports up to 8 remote temperature sensors (1 sensor included; additional sensors sold separately).
- Max/Min Records: Automatically records maximum and minimum temperature and humidity levels over the past 24 hours.
- Adjustable Backlight: Green backlight for clear readability day or night.
- Alarm Function: Includes time alarm, indoor/outdoor temperature alarm, indoor/outdoor humidity alarm, and absolute pressure alarm.
- Flexible Placement: Features an integrated stand for desktop use and a hanging hole for wall mounting.

An overview of the Urageuxy Weather Station's display, detailing each functional icon and reading.
4. Setup
4.1 Powering the Main Unit
- Open the battery compartment cover on the back of the main unit.
- Insert 4 AAA batteries (not included) according to the polarity markings (+/-).
- Close the battery compartment cover.
- Alternatively, connect a 5V power adapter (not included) to the DC port for continuous backlight operation.
4.2 Powering the Remote Sensor
- Open the battery compartment cover on the back of the remote sensor.
- Insert 2 AA batteries (not included) according to the polarity markings (+/-).
- Close the battery compartment cover.

Illustration of the main unit's power options, including the battery compartment for 4 AAA batteries and the 5V power adapter connection.
4.3 Sensor Placement
Place the remote sensor in a sheltered outdoor location, away from direct sunlight and rain, to ensure accurate temperature and humidity readings. Ensure it is within the 100-meter transmission range of the main unit.
4.4 Main Unit Placement
The main unit can be placed on a desktop using its integrated stand or mounted on a wall using the hanging hole on its back.
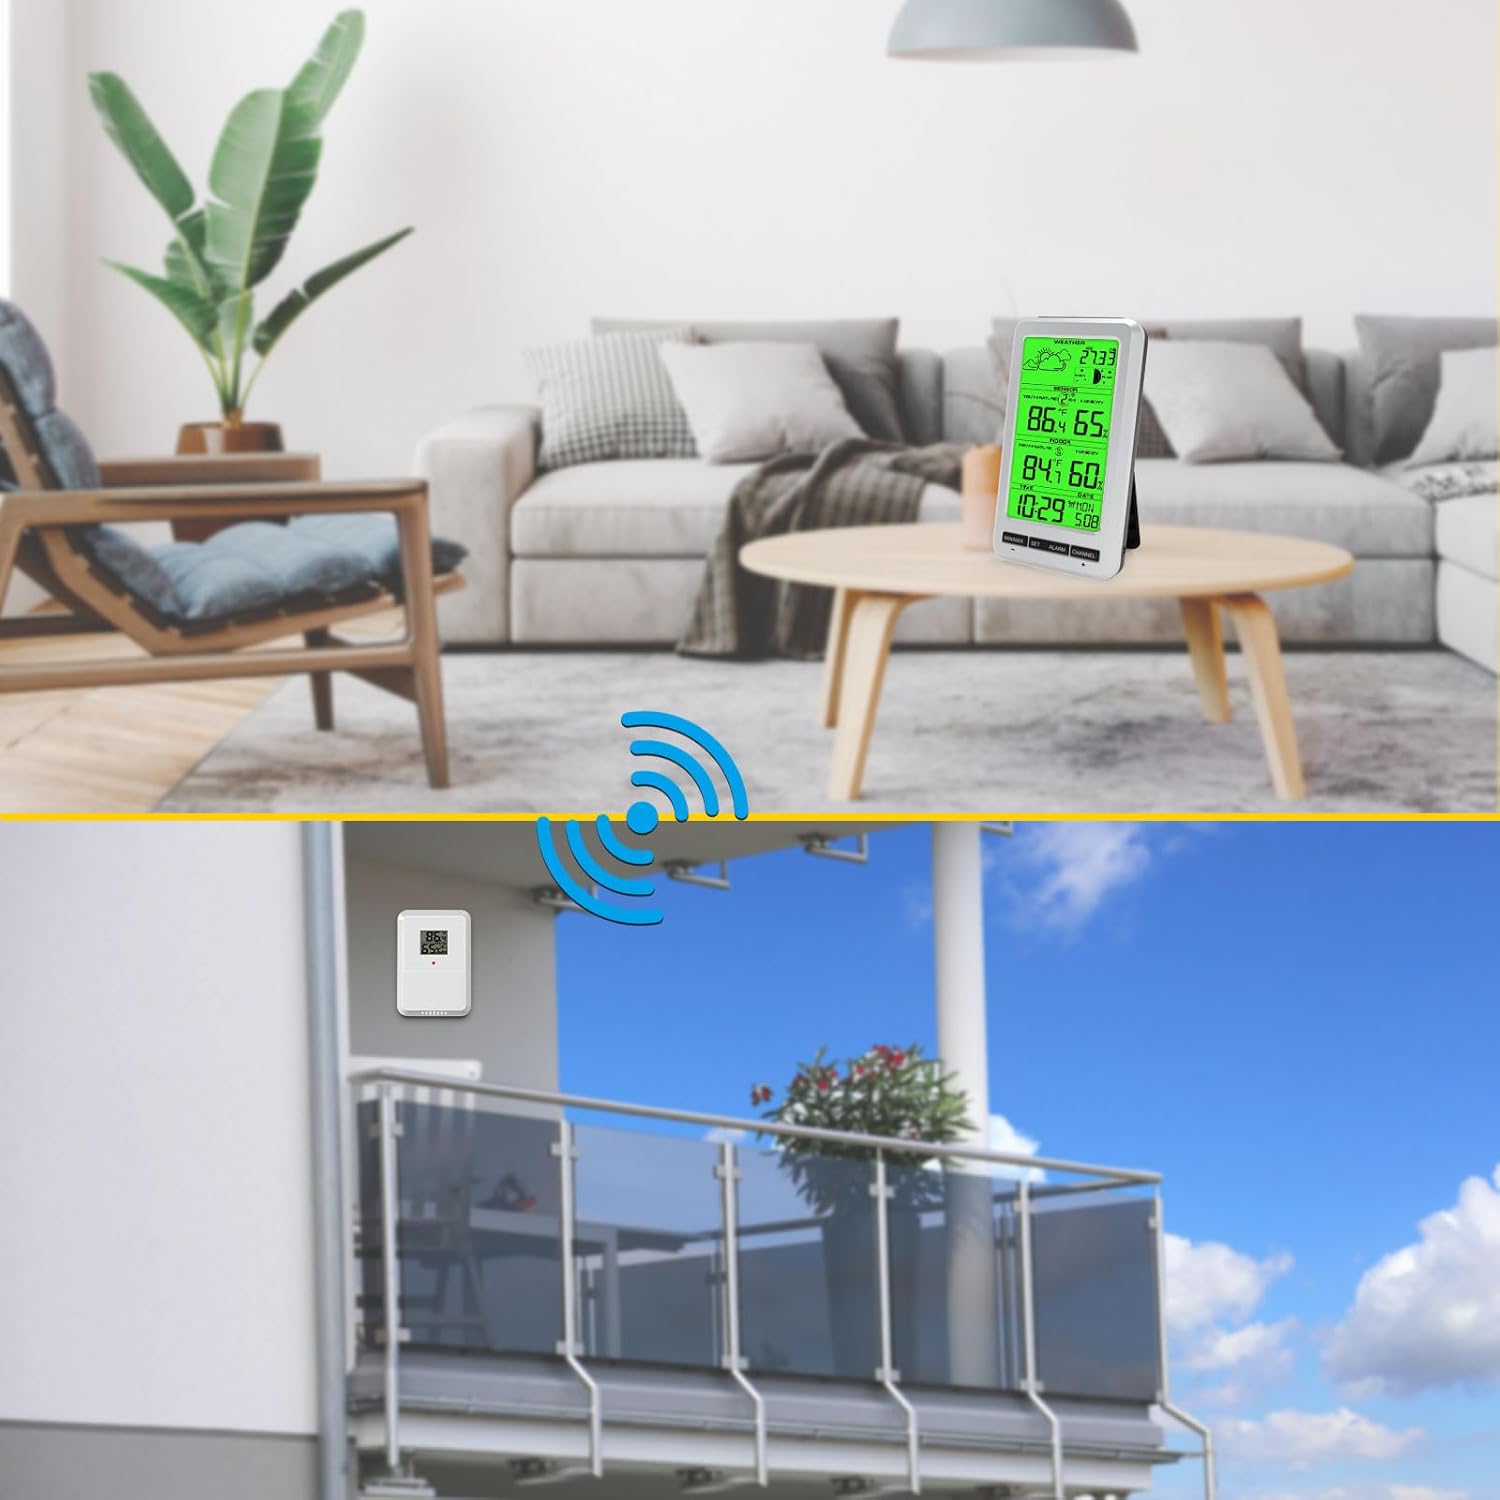
Visual representation of the two placement options for the main unit (desktop and wall-mounted) and the recommended outdoor placement for the remote sensor.
4.5 Initial Synchronization
After inserting batteries into both the main unit and the remote sensor, the main unit will automatically search for the sensor signal. This may take a few minutes. Once connected, the outdoor temperature and humidity will appear on the display.
5. Operating Instructions
5.1 Display Overview
The main display shows:
- Weather Forecast icons
- Barometric Pressure (ABS)
- Moon Phase
- Outdoor Temperature and Humidity (SENSOR)
- Indoor Temperature and Humidity (INDOOR)
- Time and Date
5.2 Setting Time and Date
Press and hold the SET button to enter time and date setting mode. Use the MIN/MAX and CHANNEL buttons to adjust values, and SET to confirm and move to the next setting.
5.3 Temperature Unit Selection (°C/°F)
Briefly press the MIN/MAX button to switch between Celsius (°C) and Fahrenheit (°F) temperature units.
5.4 Min/Max Records
Press the MIN/MAX button repeatedly to view the maximum and minimum recorded temperature and humidity values for both indoor and outdoor sensors. To clear the records, press and hold the MIN/MAX button while viewing them.
5.5 Alarm Function
Press the ALARM button to activate or deactivate the time alarm. Press and hold the ALARM button to set the alarm time and other alarm thresholds (temperature, humidity, pressure). Use MIN/MAX and CHANNEL to adjust values.
5.6 Channel Selection (Multiple Sensors)
If you have multiple remote sensors, press the CHANNEL button to cycle through the different sensor channels (CH1, CH2, etc.). The main unit can monitor up to 8 sensors.

The Urageuxy Weather Station's capability to track temperature and humidity from up to 8 remote sensors, indicated by channel numbers.
5.7 Backlight Control
When powered by batteries, the backlight will illuminate briefly when any button is pressed. When powered by a 5V adapter, the backlight can remain continuously on and its brightness may be adjustable (refer to specific button functions if available).
6. Maintenance
6.1 Cleaning
Wipe the display and unit surfaces with a soft, damp cloth. Do not use abrasive cleaners or solvents, as these may damage the display or casing.
6.2 Battery Replacement
Replace batteries in both the main unit and remote sensor when the low battery indicator appears on the display. Ensure correct polarity when inserting new batteries.
6.3 Storage
If the device will not be used for an extended period, remove all batteries to prevent leakage and store the unit in a cool, dry place.
7. Troubleshooting
- No outdoor reading or incorrect outdoor humidity: Ensure the remote sensor batteries are fresh and correctly inserted. Verify the sensor is within range and not obstructed by thick walls or metal objects. If outdoor humidity is not displayed, try changing the sensor channel or re-pairing the sensor.
- Display is blank: Check if the batteries in the main unit are depleted or inserted incorrectly. If using a power adapter, ensure it is properly connected.
- Inaccurate readings: Ensure both the main unit and remote sensor are placed away from direct heat sources, cold drafts, or high humidity areas (e.g., direct rain for the sensor). Allow time for readings to stabilize after initial setup or relocation.
- Buttons not responding: Remove and reinsert batteries to reset the unit.
8. Specifications
| Feature | Detail |
|---|---|
| Brand | Urageuxy |
| Model Number | UC-WS0800 |
| Power Source (Main Unit) | 4 x AAA Batteries (not included) or 5V Power Adapter (not included) |
| Power Source (Remote Sensor) | 2 x AA Batteries (not included) |
| Special Features | Alarm, Adjustable Brightness, Clock, Wireless, Large Screen |
| Recommended Uses | Home, Office, Garden, Restaurant, Library |
| Material | Green Backlight (display type) |
| UPC | 763864252236 |

Detailed dimensions of the main display unit and the remote sensor.
9. Warranty and Support
For warranty information or technical support, please refer to the documentation provided with your purchase or contact the manufacturer directly through their official website or customer service channels. Keep your purchase receipt as proof of purchase.