1. Introduction
This manual provides detailed instructions for the installation, operation, and maintenance of the Duex Dx B75ZG M.2 Motherboard. This motherboard is designed to support Intel Core i7, i5, and i3 processors from the 2nd and 3rd generations, utilizing the LGA 1155 socket. It features DDR3 memory support and an M.2 slot for modern storage solutions.
2. Key Features
- CPU Support: Intel Core i7 / i5 / i3 processors (2nd/3rd Generation) with LGA 1155 socket.
- Chipset: Intel B75.
- Memory: Dual Channel DDR3 1066/1333/1600MHz, 2x DDR3 slots, supporting up to 16GB maximum.
- LAN: Realtek 10/100/1000 Mbps (Gigabit Ethernet).
- Audio: Integrated Realtek audio chip.
- Expansion Slots: 1x PCI Express x16 slot, 1x PCI Express x1 slot, 1x M.2 slot.
- Storage: 3x SATA ports.
- Rear Panel Connectivity: 1x VGA port, 1x HDMI port, 4x USB 2.0 ports, 2x USB 3.0 ports, 1x LAN (RJ45) port, 3x audio jacks.
- Internal Connectors: 24-pin ATX power connector, 4-pin ATX 12V power connector, 2x USB connectors (supporting 4 additional USB ports), front panel audio connector, system panel connector, M.2 connector, speaker connector, 2x fan connectors.
- BIOS: EFI BIOS.
- Form Factor: Micro ATX (190x170 mm).
3. Package Contents
Verify that all items are present in the package:
- 1x Duex Dx B75ZG M.2 Motherboard
- 1x Driver CD
- 1x User Manual (this document)
- 1x I/O Backboard Shield
- 1x SATA Cable
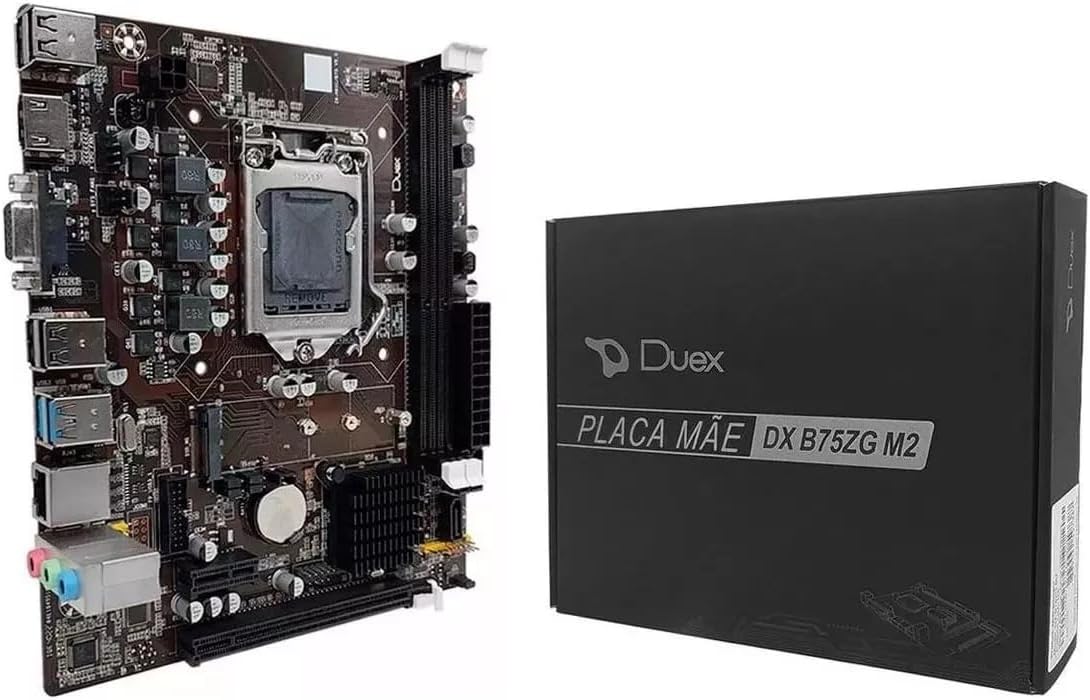
Image 1: The Duex Dx B75ZG M.2 Motherboard alongside its retail packaging.
4. Specifications
| Component | Specification |
|---|---|
| Brand | Duex |
| Processor Socket | LGA 1155 |
| Compatible Processors | Intel Core i7, i5, i3 (2nd/3rd Gen) |
| Chipset | Intel B75 |
| Memory Technology | DDR3 |
| Memory Slots | 2x DDR3 (240-pin) |
| Max Memory Capacity | 16 GB |
| Memory Clock Speed | 1066/1333/1600 MHz |
| PCIe x16 Slots | 1 |
| PCIe x1 Slots | 1 |
| M.2 Slots | 1 |
| SATA Ports | 3 |
| USB 2.0 Ports (Rear) | 4 |
| USB 3.0 Ports (Rear) | 2 |
| Video Outputs | 1x VGA, 1x HDMI |
| LAN Port | 1x RJ45 (Gigabit) |
| Audio Jacks | 3 (Rear) |
| Form Factor | Micro ATX (190x170 mm) |
| Power Input | 24-pin ATX, 4-pin ATX 12V |
| Product Weight | 560 g |
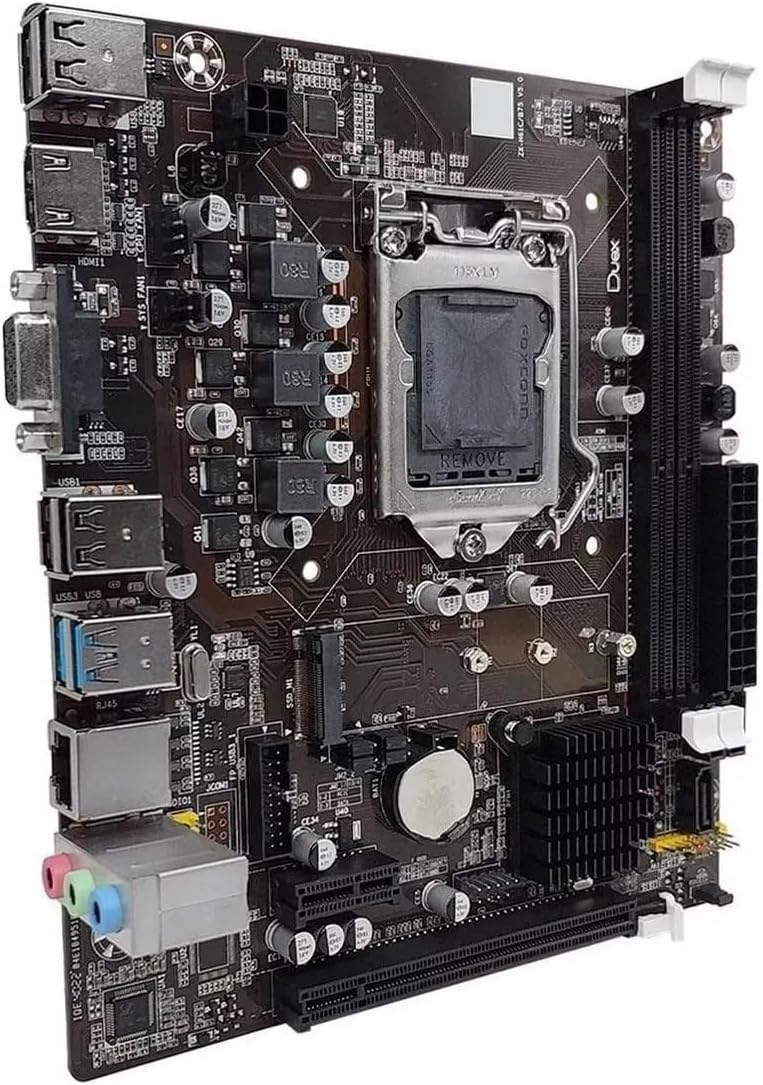
Image 2: A detailed view of the motherboard's various components, including the CPU socket, RAM slots, and expansion slots.
5. Setup and Installation
Before beginning installation, ensure your system is powered off and unplugged from the wall outlet. Wear an anti-static wrist strap to prevent electrostatic discharge (ESD) damage to components.
5.1. CPU Installation
- Locate the LGA 1155 socket on the motherboard.
- Gently push down the load lever and pull it to the side to open the CPU socket cover.
- Align the triangular mark on your Intel LGA 1155 CPU with the corresponding mark on the socket. Carefully place the CPU into the socket without forcing it.
- Close the socket cover and push the load lever back into its locked position.
- Apply thermal paste to the CPU and install the CPU cooler according to its manufacturer's instructions.
5.2. Memory (RAM) Installation
- Locate the two DDR3 DIMM slots.
- Open the clips at both ends of the DIMM slot.
- Align the notch on the DDR3 memory module with the key in the DIMM slot.
- Insert the memory module firmly into the slot until the clips snap into place. Ensure both clips are fully closed.
5.3. Storage Device Installation (SATA & M.2)
- SATA Drives: Connect one end of the SATA data cable to a SATA port on the motherboard and the other end to your SATA hard drive or SSD. Connect a SATA power cable from your power supply to the drive.
- M.2 SSD: Locate the M.2 slot. Insert the M.2 SSD into the slot at an angle, then gently push it down and secure it with the provided screw.
5.4. Power Supply Connection
- Connect the 24-pin ATX main power connector from your power supply to the corresponding header on the motherboard.
- Connect the 4-pin ATX 12V CPU power connector from your power supply to the header near the CPU socket.
5.5. Front Panel and Peripheral Connections
- Connect the front panel headers (Power LED, HDD LED, Power Switch, Reset Switch) to the system panel connector on the motherboard, observing polarity.
- Connect front panel USB and audio cables to their respective headers.
- Install the I/O backboard shield into your computer case.
- Mount the motherboard into the computer case using standoffs and screws.

Image 3: The rear input/output panel of the motherboard, showing ports for USB, video, LAN, and audio.
6. Operating Instructions
6.1. Initial Boot and BIOS Setup
- After assembling all components, connect your monitor, keyboard, and mouse.
- Power on your system. During the boot process, repeatedly press the DEL or F2 key (refer to your screen for the exact key) to enter the EFI BIOS setup utility.
- In the BIOS, you can configure boot order, system time, and other hardware settings. Save changes and exit the BIOS to continue.
6.2. Operating System Installation
- Insert your operating system installation media (USB drive or DVD) into the computer.
- Restart the computer and enter the BIOS to set the boot order to prioritize your installation media.
- Follow the on-screen instructions to install your operating system.
- After OS installation, install the necessary drivers from the included driver CD or download the latest drivers from the Duex website.
7. Maintenance
Proper maintenance ensures the longevity and stable operation of your motherboard.
- Dust Removal: Regularly clean dust from inside your computer case using compressed air. Pay attention to CPU cooler fins and fan blades.
- Cable Management: Ensure cables are neatly routed to promote airflow and prevent obstruction.
- BIOS Updates: Check the manufacturer's website periodically for BIOS updates. Update only if necessary and follow instructions carefully.
- Driver Updates: Keep your device drivers updated for optimal performance and compatibility.
- Environmental Conditions: Operate the motherboard in a well-ventilated area, away from direct sunlight, excessive heat, and moisture.
8. Troubleshooting
This section addresses common issues you might encounter.
8.1. No Power / No Boot
- Ensure the power supply is connected correctly to the motherboard (24-pin ATX and 4-pin ATX 12V).
- Verify that the power switch on the front panel is correctly connected to the motherboard's system panel header.
- Check if the power supply unit (PSU) is functional and switched on.
8.2. No Display Output
- Confirm that the monitor is connected to the correct video output (VGA or HDMI) on the motherboard or discrete graphics card.
- Ensure the RAM modules are properly seated in their slots. Try reseating them or testing with one module at a time.
- Verify that the CPU is correctly installed and the CPU cooler is functioning.
8.3. Peripherals Not Working (USB, LAN, Audio)
- USB: Ensure USB devices are connected to functional ports. Install or update USB drivers.
- LAN: Check the Ethernet cable connection. Install or update the LAN driver. Verify LAN settings in the operating system.
- Audio: Ensure speakers/headphones are connected to the correct audio jacks. Install or update audio drivers. Check audio settings in the operating system.
8.4. System Instability / Crashes
- Check for overheating. Ensure CPU and case fans are working correctly.
- Run memory diagnostic tools to check for faulty RAM.
- Ensure all drivers are up to date.
- Verify power supply stability.
9. Warranty and Support
For warranty information and technical support, please refer to the documentation provided with your purchase or visit the official Duex website. Keep your proof of purchase for warranty claims.
When contacting support, be prepared to provide your motherboard model (DX B75ZG M.2), serial number, and a detailed description of the issue.