1. Introduction
This manual provides essential information for the installation, operation, and maintenance of your Raymarine Axiom 2 Pro 9 S 9-inch Chartplotter/Fishfinder. The Axiom 2 Pro 9 S is a powerful marine multi-function display designed for navigation and fishfinding, featuring a 9-inch HybridTouch display and integrated High CHIRP Sonar. Please read this manual thoroughly before using the device to ensure safe and optimal performance.
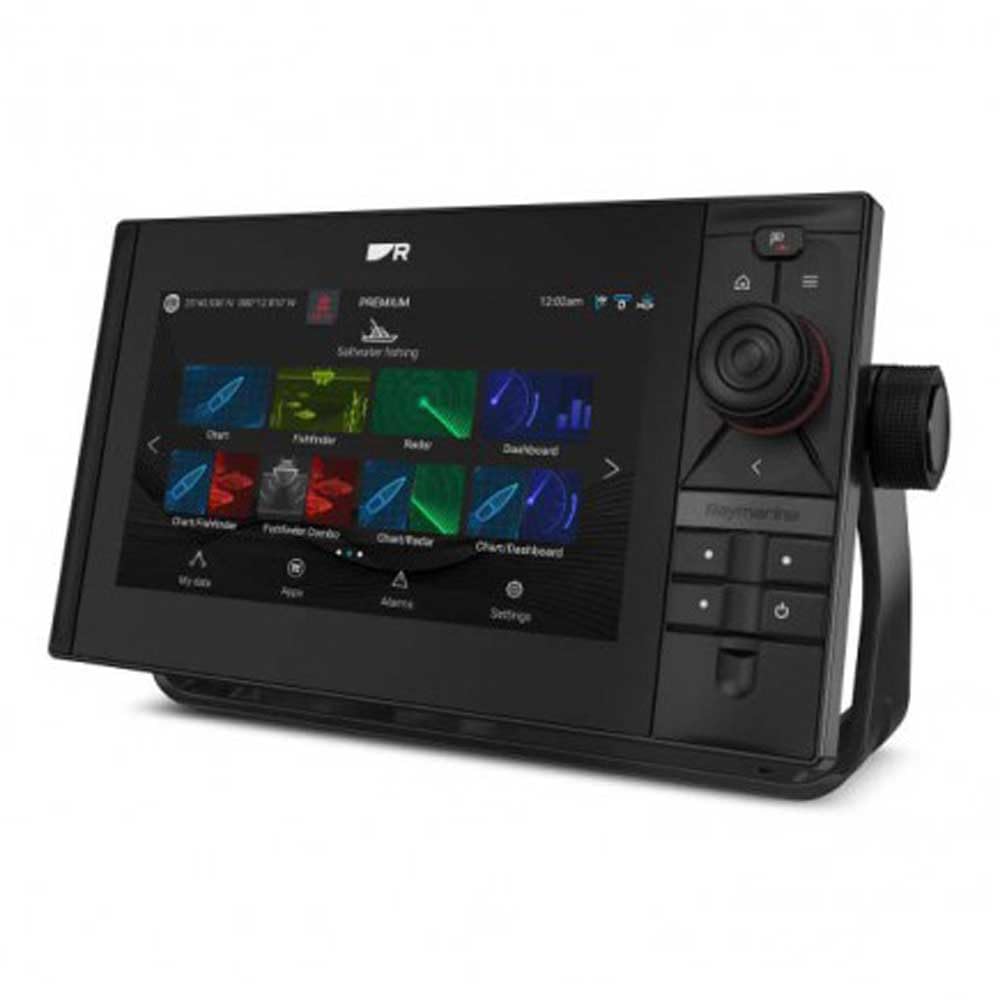
Image 1.1: The Raymarine Axiom 2 Pro 9 S 9-inch Chartplotter/Fishfinder unit, showcasing its sleek design and large display.
2. Safety Information
Always observe the following safety precautions to prevent injury, damage to the product, or damage to your vessel.
- Installation: Ensure all electrical connections are made correctly and securely to prevent short circuits or fire hazards. Consult a qualified marine electronics technician if you are unsure about any installation steps.
- Power Supply: Connect the device only to a power source that matches the specified voltage and current requirements. Incorrect power can damage the unit.
- Navigation: This device is an aid to navigation. Always use official government charts and exercise due caution. Do not rely solely on electronic navigation for safe passage.
- Water Exposure: While the unit is designed for marine environments, ensure all covers and seals are properly secured to maintain water resistance.
- Proposition 65 Warning: This product can expose you to chemicals including lead, which is known to the State of California to cause cancer and birth defects or other reproductive harm. For more information go to www.P65Warnings.ca.gov.
3. Package Contents
Verify that all items listed below are present in your product packaging:
- Raymarine Axiom 2 Pro 9 S Display Unit
- Power/Data Cable
- Mounting Hardware (Gasket, Mounting Studs, Thumb Nuts)
- Sun Cover
- Documentation Pack (including this manual)
- 1 x Remote Control
Note: Transducer and navigation charts are sold separately and are not included with this model.
4. Setup
4.1 Mounting the Display
The Axiom 2 Pro 9 S supports both Dashboard Mount and Panel Mount installations. Choose a location that provides clear visibility, easy access to controls, and protection from excessive heat or direct sunlight.
- Dashboard Mount: Secure the included mounting bracket to a flat surface using appropriate fasteners. Attach the display unit to the bracket.
- Panel Mount: Cut an opening in your dashboard according to the provided template. Insert the display unit into the opening and secure it from the rear using the supplied mounting studs and thumb nuts. Ensure the gasket is properly seated for a watertight seal.
4.2 Electrical Connections
Connect the power/data cable to the corresponding port on the back of the display. Ensure the cable is routed safely and secured to prevent damage. Connect the other end to your vessel's 12V DC power supply, observing correct polarity. It is recommended to connect through a dedicated fuse or circuit breaker.
4.3 Peripheral Connections
The Axiom 2 Pro 9 S offers extensive connectivity options:
- Ethernet: For connecting to other Raymarine network devices (e.g., radar, additional displays).
- HDMI: For video output to an external monitor.
- USB: For data transfer, software updates, or connecting compatible accessories.
- TNC: For external GPS antenna connection (if required).
- 25-pin connector: For transducer connection (transducer sold separately).
- Bluetooth & Wi-Fi: For wireless connectivity with compatible devices like smartphones and tablets, and for software updates.
4.4 Initial Power-On
Once all connections are secure, press and hold the power button until the Raymarine logo appears. The unit will boot up and guide you through an initial setup wizard, including language selection, time zone, and basic network settings.
5. Operating the Device
The Axiom 2 Pro 9 S features a HybridTouch interface, combining a responsive capacitive touchscreen with physical buttons for intuitive control.
5.1 Touchscreen Controls
Navigate menus, pan charts, zoom, and select options by touching the screen. Standard gestures like pinch-to-zoom are supported. The touchscreen is capacitive, offering precise and fluid interaction.
5.2 Chartplotter Functions
Access the Chart application to view nautical charts. The unit supports GPS for accurate positioning. You can plot waypoints, create routes, and monitor your vessel's progress. Ensure compatible nautical charts are installed for detailed mapping.
5.3 Fishfinder Functions
Utilize the integrated High CHIRP Sonar for detailed underwater imaging. Access the Sonar application to view fish arches, bottom structure, and depth information. Adjust sonar settings such as frequency, gain, and range for optimal performance in different water conditions.
5.4 Remote Control
The included remote control can be used to operate various functions of the Axiom 2 Pro 9 S, providing convenience, especially in challenging marine conditions. Refer to the remote control's specific instructions for pairing and function mapping.
6. Maintenance
Regular maintenance ensures the longevity and optimal performance of your Axiom 2 Pro 9 S.
- Cleaning the Display: Use a soft, lint-free cloth dampened with fresh water to clean the screen. For stubborn marks, a mild glass cleaner can be used sparingly. Avoid abrasive cleaners or solvents.
- Software Updates: Periodically check the Raymarine website for software updates. Updates often include performance enhancements, new features, and bug fixes. Updates can typically be performed via Wi-Fi or USB.
- Cable Inspection: Regularly inspect all cables and connections for signs of wear, corrosion, or damage. Replace any damaged cables immediately.
- Storage: If storing the vessel for an extended period, ensure the unit is powered off and, if possible, remove the display and store it in a dry, temperature-controlled environment.
7. Troubleshooting
If you encounter issues with your Axiom 2 Pro 9 S, refer to the following common troubleshooting steps:
| Problem | Possible Cause | Solution |
|---|---|---|
| Unit does not power on | No power, faulty cable, blown fuse | Check power connections, inspect fuse, test power cable. |
| No GPS signal | Obstructed view of sky, faulty GPS antenna | Ensure clear view of sky, check external GPS antenna connection (if applicable). |
| Sonar not displaying data | Transducer not connected, faulty transducer, incorrect settings | Verify transducer connection, check sonar settings (gain, range), inspect transducer for damage. |
| Touchscreen unresponsive | Screen dirty, temporary software glitch | Clean screen, restart the unit. |
If the problem persists after attempting these solutions, please contact Raymarine Customer Support.
8. Specifications
| Feature | Detail |
|---|---|
| Brand | Raymarine |
| Model Name | E70653 |
| Screen Size | 9 Inches |
| Display Type | Capacitive Touch Screen |
| Resolution | 500 x 500 |
| Special Feature | HybridTouch, Integrated High CHIRP Sonar |
| Connectivity Technology | HDMI, USB, Ethernet, TNC, 25-pin connector, Bluetooth, Wi-Fi |
| Map Type | Nautical |
| Supported Satellite Navigation System | GPS |
| Memory Storage Capacity | 64 GB |
| Mounting Type | Dashboard Mount, Panel Mount |
| Item Weight | 11.1 Pounds |
| Model Year | 2021 |
9. Warranty and Support
Your Raymarine Axiom 2 Pro 9 S is covered by a manufacturer's warranty. For specific details regarding the warranty period and terms, please refer to the warranty card included in your product packaging or visit the official Raymarine website.
For technical support, service, or to register your product, please visit the official Raymarine support portal:
You can also find FAQs, software downloads, and additional documentation on their website.