Cooler Master RR-2V2E-18PK-R2
Cooler Master Hyper 212 EVO V2 CPU Air Cooler User Manual
Model: RR-2V2E-18PK-R2
1. Introduction
Thank you for choosing the Cooler Master Hyper 212 EVO V2 CPU Air Cooler. This manual provides detailed instructions for the installation, operation, and maintenance of your new CPU cooler. Designed for optimal thermal performance and quiet operation, the Hyper 212 EVO V2 ensures efficient cooling for your processor.
2. Safety Information
- Always disconnect power from your computer before installation or maintenance.
- Handle components with care to avoid damage to the cooler or your motherboard.
- Keep out of reach of children.
- Do not attempt to modify the cooler. Any modifications will void the warranty.
- Ensure proper grounding to prevent electrostatic discharge (ESD) damage to components.
3. Package Contents
Verify that all components are present before beginning installation:
- Hyper 212 EVO V2 Heatsink
- SickleFlow 120mm Fan V2
- Universal Mounting Brackets (for Intel & AMD sockets, including LGA1700)
- Backplate
- Mounting Screws and Hardware
- MasterGel Pro Thermal Paste
- Secondary Fan Mounting Brackets (with splitter cable)
- User Manual (this document)
4. Setup and Installation
Follow these steps carefully for proper installation. Refer to the images for visual guidance.
4.1 Prepare Your System
- Power off your computer and disconnect all cables.
- Open your computer case and locate the CPU socket on the motherboard.
- Remove any existing CPU cooler and clean off old thermal paste from the CPU surface using isopropyl alcohol.
4.2 Install Backplate and Mounting Brackets
Select the appropriate backplate and mounting hardware for your CPU socket type (Intel LGA1700, 1200, 115x, 2066, 2011-v3, 2011 or AMD AM4, AM3+, AM2+, AM2, FM2+, FM2, FM1).

Image: Overview of mounting hardware components.
- Attach the universal backplate to the rear of the motherboard, aligning it with the CPU socket holes.
- Secure the appropriate standoffs through the motherboard holes from the front side.
- Place the correct mounting brackets onto the standoffs and secure them with the provided screws.
4.3 Apply Thermal Paste
Apply a small amount of MasterGel Pro thermal paste to the center of the CPU's integrated heat spreader (IHS). A pea-sized dot is generally sufficient.
4.4 Mount the Heatsink

Image: The Hyper 212 EVO V2 heatsink with the SickleFlow 120mm fan attached.
- Carefully place the heatsink onto the CPU, ensuring the base makes full contact with the thermal paste.
- Align the heatsink's mounting holes with the screws on the mounting brackets.
- Tighten the screws in an alternating diagonal pattern until snug. Do not overtighten.
4.5 Install the Fan
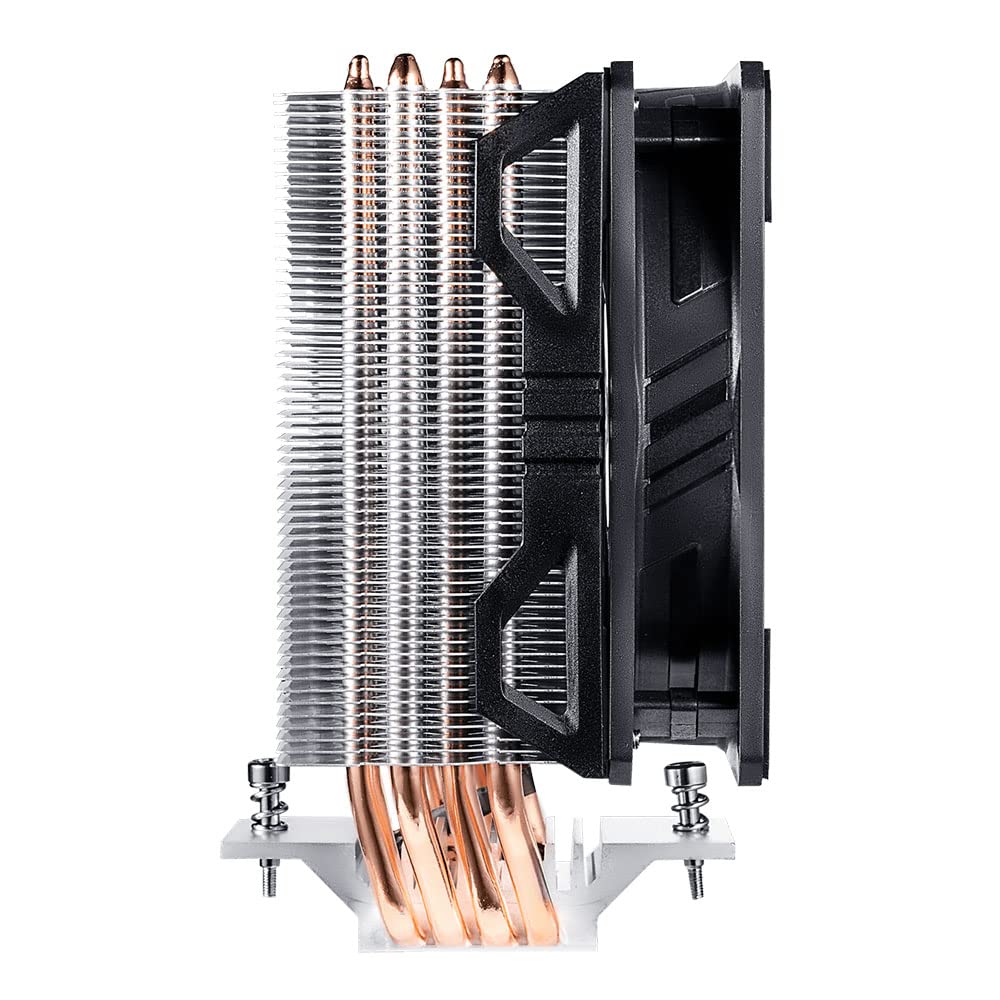
Image: Side view of the cooler, showing the fan attachment mechanism.
- Attach the SickleFlow 120mm fan to the heatsink using the provided fan clips. Ensure the fan is oriented to blow air through the heatsink fins towards the rear or top of your case.
- Connect the fan's 4-pin PWM cable to the CPU_FAN header on your motherboard.
- If installing a second fan (optional), use the secondary fan mounting brackets and splitter cable, connecting both fans to the CPU_FAN header.

Image: The Hyper 212 EVO V2 installed within a computer system, demonstrating its clearance with RAM modules.
5. Operating Instructions
Once installed, the Cooler Master Hyper 212 EVO V2 operates automatically. The fan speed is controlled by your motherboard's BIOS/UEFI settings based on CPU temperature. Ensure your BIOS/UEFI is configured for optimal fan curve settings to balance cooling performance and noise levels.
- Fan Control: Access your motherboard's BIOS/UEFI settings to adjust the CPU fan curve. This allows you to set fan speeds based on CPU temperature thresholds.
- Monitoring: Use system monitoring software (e.g., HWMonitor, CPU-Z) to check CPU temperatures and fan speeds to ensure proper operation.
6. Maintenance
Regular maintenance helps ensure optimal performance and longevity of your CPU cooler.
- Dust Removal: Periodically clean dust from the heatsink fins and fan blades using compressed air. Ensure the fan does not spin rapidly during cleaning to prevent damage to the bearings.
- Thermal Paste: Reapply thermal paste if you remove the heatsink for any reason. Thermal paste typically lasts for several years under normal conditions.
- Fan Inspection: Check the fan for any signs of wear, unusual noises, or reduced performance. Replace the fan if necessary.
7. Troubleshooting
If you encounter issues with your Cooler Master Hyper 212 EVO V2, refer to the following common problems and solutions:
| Problem | Possible Cause | Solution |
|---|---|---|
| High CPU Temperatures | Insufficient thermal paste, improper heatsink contact, poor airflow in case, fan not spinning or spinning too slow. | Reapply thermal paste, reseat heatsink, check case airflow, ensure fan is connected and spinning, adjust fan curve in BIOS. |
| Fan Not Spinning | Fan cable disconnected, faulty fan header, faulty fan. | Check fan cable connection to CPU_FAN header, try a different fan header, replace fan if faulty. |
| Loud Fan Noise | Fan spinning too fast, dust accumulation, faulty fan bearing. | Adjust fan curve in BIOS to lower speeds at idle/low load, clean fan blades, replace fan if bearing noise persists. |
| Cooler Does Not Fit | Incorrect mounting hardware used, case clearance issues. | Verify correct mounting hardware for your socket, check case specifications for CPU cooler height clearance (155mm for Hyper 212 EVO V2). |
8. Specifications
| Feature | Specification |
|---|---|
| Model Number | RR-2V2E-18PK-R2 |
| Product Dimensions (L x W x H) | 4.72" x 3.15" x 6.1" (120mm x 80mm x 155mm) |
| Material | Copper Heat Pipes, Aluminum Fins |
| Heat Pipes | 4 Direct Contact Heat Pipes (Ø6mm) |
| Fan Type | SickleFlow 120mm Fan V2 |
| Fan Speed | Up to 1600 RPM (PWM controlled) |
| Airflow | 62 CFM |
| Static Pressure | 2.52 mmH2O |
| Noise Level | 8-27 dBA |
| Power Connector | 4-Pin PWM |
| Voltage | 12 Volts |
| Wattage | 8 watts |
| Compatible Devices | Desktop CPUs |
| CPU Socket Compatibility | Intel: LGA1700, LGA1200, LGA1151, LGA1150, LGA1155, LGA1156, LGA2066, LGA2011-v3, LGA2011 AMD: AM4, AM3+, AM3, AM2+, AM2, FM2+, FM2, FM1 |
9. Warranty and Support
For warranty information and technical support, please refer to the official Cooler Master website or contact your local Cooler Master distributor. Keep your proof of purchase for warranty claims.
Cooler Master Official Website: www.coolermaster.com