
Introduction
This manual provides detailed instructions for the SURAIELEC Wireless Remote Control Outlet System, Model URSH25C. This system allows you to remotely control up to five electrical devices using a compact handheld remote. Designed for convenience and space-saving, it features a strong RF signal for reliable operation through walls and doors.
Key features include:
- Ready-to-Use Convenience: Pre-programmed for immediate use; includes remote batteries.
- Strong RF Signal: Reliable signal up to 100 ft in line of sight, effective through doors and walls.
- Multiple Sets for Independent Control: Uses rolling/dynamic codes to prevent interference between multiple sets.
- Space-Saving Design: Compact side plug receiver fits in tight spaces.
- Safe and Reliable: Outlets remain off after power outages; rated at 125V, 15A, 1875W.
Package Contents
The SURAIELEC Wireless Remote Control Outlet System (Model URSH25C) typically includes the following components:
- 5 x Wireless Remote Control Outlets (Receivers)
- 2 x Handheld Remote Controls (Transmitters)
- Batteries for Remote Controls (pre-installed or included)
- Mounting Hardware for Remote Controls (screws and anchors)

Image: Components of the SURAIELEC Wireless Remote Control Outlet System, including five outlets and two remotes.
Setup and Installation
- Insert Batteries (if not pre-installed): Open the battery compartment on the back of the remote control and insert the included batteries, observing polarity. Remove any battery insulation sheets if present.

Image: Remote control battery compartment with batteries.
- Plug in the Outlet Receiver: Insert a remote control outlet into a standard 125V wall receptacle. The compact side-plug design allows it to fit in tight spaces.

Image: Compact side plug outlet receiver plugged into a wall.
- Connect Your Device: Plug the appliance or light you wish to control into the remote control outlet.
- Mount the Remote (Optional): Use the provided screws and anchors to mount the remote control holder to a wall or other convenient surface. The remote can then be easily placed in or removed from the holder.

Image: Remote control mounting hardware and installation example.
Operating Instructions
The remote control outlets are pre-programmed for immediate use. Each remote control has numbered buttons (1-5) corresponding to the five outlets, plus a master ON and OFF button.
- Individual Control: Press the numbered "ON" button (e.g., "1 ON") on the remote to turn on the corresponding outlet. Press the numbered "OFF" button (e.g., "1 OFF") to turn it off.
- Master Control: Press the master "ON" button to turn on all paired outlets simultaneously. Press the master "OFF" button to turn off all paired outlets simultaneously.
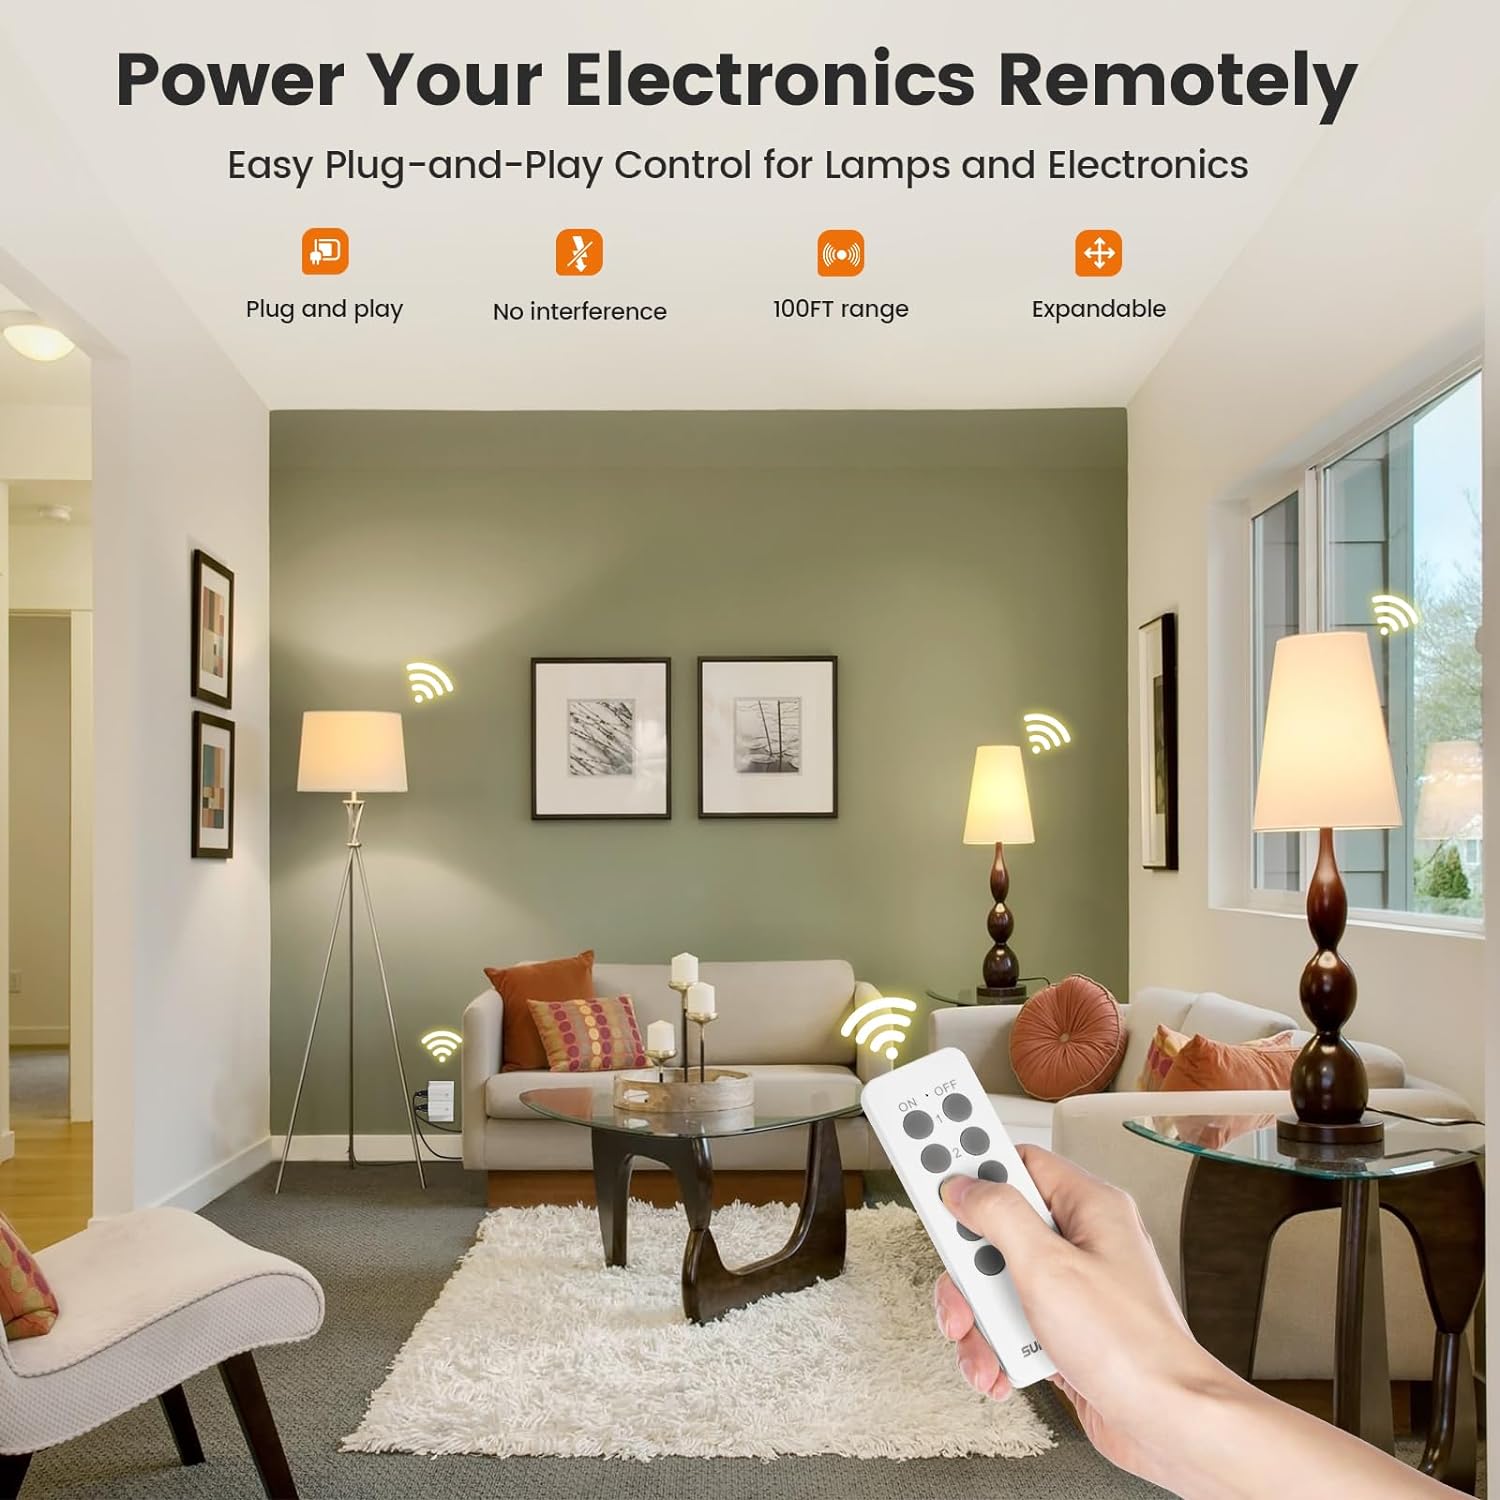
Image: Remote control in use, demonstrating wireless operation of lights.
Pairing and Customization
The system uses rolling/dynamic codes, allowing multiple sets to function independently without interference. You can also customize pairing between remotes and outlets.
To Pair an Outlet to a Remote Button:
- Plug the desired outlet receiver into a wall socket.
- Press and hold the small program button on the side of the outlet receiver until the indicator light begins to flash.
- While the light is flashing, press the desired "ON" button (e.g., "1 ON") on the remote control. The indicator light on the outlet will stop flashing and remain solid for a moment, confirming successful pairing.
- Repeat for other outlets and remote buttons as desired.
To Unpair an Outlet from a Remote Button:
- Plug the desired outlet receiver into a wall socket.
- Press and hold the small program button on the side of the outlet receiver until the indicator light begins to flash.
- While the light is flashing, press the desired "OFF" button (e.g., "1 OFF") on the remote control. The indicator light on the outlet will stop flashing, indicating successful unpairing.
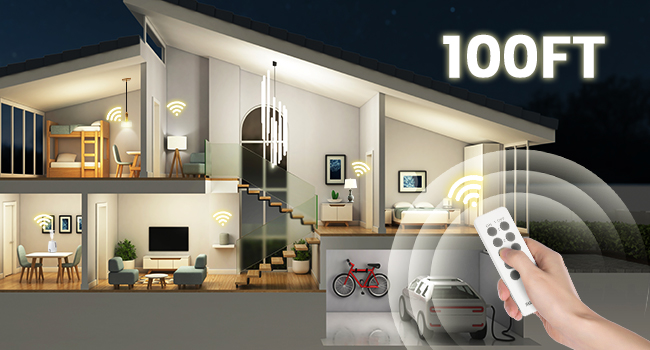
Image: Diagram illustrating one remote controlling multiple receivers.

Image: Diagram illustrating multiple remotes controlling one receiver.
Maintenance
- Cleaning: Wipe the remote control and outlets with a dry, soft cloth. Do not use liquid cleaners or immerse in water.
- Battery Replacement: If the remote control's range decreases or it becomes unresponsive, replace the batteries with new ones of the same type.
- Storage: Store the devices in a cool, dry place when not in use for extended periods.
Troubleshooting
| Problem | Possible Cause | Solution |
|---|---|---|
| Outlet does not respond to remote. |
|
|
| Multiple sets interfere with each other. | Incorrect pairing or programming. | Ensure each outlet is paired only to its intended remote button. The system uses dynamic codes to prevent interference, but re-pairing may be necessary if issues arise. |
| Appliance connected to outlet does not turn on. |
|
|
Specifications
| Model | URSH25C |
| Operating Voltage | 125V AC |
| Current Rating | 15A |
| Wattage | 1875W (Resistive), 200W (LED), 1000W (Fluorescent), 1250W (Tungsten) |
| Control Method | Radio Frequency (RF) |
| Wireless Range | Up to 100 ft (line of sight) |
| Operating Temperature | 14°F to 122°F (-10°C to 50°C) |
| Material | Polycarbonate, Brass |
| Dimensions (Outlet) | 3.94 x 3.15 x 1.57 inches (L x W x H) |
| Certifications | FCC |

Image: Examples of devices compatible with the remote control outlet, along with power specifications.
Safety Information
- Do not exceed the maximum load rating of 15A, 1875W.
- For indoor use only.
- Do not immerse in water or use in wet conditions.
- Keep out of reach of children.
- Unplug the device from the wall outlet before cleaning.
- Outlets are designed to remain off after power outages to conserve energy and protect connected appliances.
Warranty and Support
This SURAIELEC product is covered by a 1 Year Limited Warranty from the date of purchase. For warranty claims or technical support, please contact SURAIELEC customer service through their official channels or the retailer where the product was purchased.
For more information, visit the SURAIELEC Store.

