1. Safety Information
Please read this entire instruction manual before installation and assembly. If you have any questions regarding these instructions or the safety of the installation, please contact Stellar Mounts customer service. Improper assembly or installation may cause damage or serious injury.
- Do not install this product on a wall that is not structurally sound.
- Ensure the mounting surface can safely support the combined weight of the equipment and all attached hardware and components.
- Always use a stud finder to locate wood studs or ensure you are mounting into concrete/brick with appropriate anchors.
- Do not exceed the maximum weight capacity of 165 lbs (75 kg).
- This product is intended for indoor use only.
- Keep children and pets away during installation.
2. Package Contents
Verify that all components are present and undamaged before installation. If any parts are missing or defective, contact Stellar Mounts for replacement.
- TV Wall Mount Assembly
- Hardware Kit (various screws, washers, spacers)
- Bubble Level
- Instruction Manual (this document)

Image: Main components of the Stellar Mounts TV wall mount, including the wall plate and TV brackets.
3. Tools Required (Not Included)
- Pencil
- Tape Measure
- Stud Finder (for wood stud installation)
- Electric Drill
- Drill Bits (appropriate for wall type and lag bolts)
- Phillips Head Screwdriver
- Socket Wrench (for lag bolts)
4. Installation Instructions
Follow these steps carefully for a secure installation. It is recommended to have two people for installation.
Step 1: Attach Wall Plate to Wall
- Determine the desired height for your TV. Mark the center of the TV on the wall.
- Locate the wall studs using a stud finder. Mark the edges and center of the studs.
- Position the wall plate against the wall, aligning the center with your marked TV center and ensuring it is level using the included bubble level. Mark the drilling locations.
- Drill pilot holes at the marked locations. For wood studs, use a 7/32 inch (5.5mm) drill bit. For concrete/brick, use a 3/8 inch (10mm) drill bit and insert concrete anchors (not always included, check hardware kit).
- Secure the wall plate to the wall using the provided lag bolts and washers. Tighten firmly but do not overtighten.

Image: The wall plate mounted on a wall, highlighting the integrated bubble level for accurate installation.
Step 2: Attach Brackets to TV
- Carefully place your TV face down on a soft, clean surface to prevent screen damage.
- Identify the VESA mounting holes on the back of your TV.
- Select the appropriate screws, washers, and spacers from the hardware kit that fit your TV's mounting holes.
- Attach the two vertical TV brackets to the back of your TV. Ensure the hooks on the brackets are facing upwards and the safety screws are accessible from the bottom. Tighten securely.
Step 3: Attach TV to Wall Plate
- With assistance, carefully lift the TV with the attached brackets.
- Hook the TV brackets onto the top edge of the wall plate.
- Gently lower the TV until the brackets are fully seated on the wall plate. The sliding bracket design allows for horizontal adjustment to center the TV.
- Once the TV is positioned, tighten the safety screws located at the bottom of the TV brackets to secure the TV to the wall plate and prevent accidental dislodging.

Image: A person demonstrating the final step of attaching the television to the wall mount.
5. Operating Instructions
Tilt Adjustment
This mount features a tilt adjustment of 0 to 12 degrees to optimize your viewing angle and reduce glare. To adjust the tilt:
- Loosen the tilt adjustment knobs or bolts on the side of the TV brackets (if applicable, refer to specific mount design).
- Gently tilt the TV to your desired angle.
- Tighten the tilt adjustment knobs or bolts to secure the TV in place.

Image: Viewers enjoying a wall-mounted TV, illustrating the benefit of adjustable viewing angles.
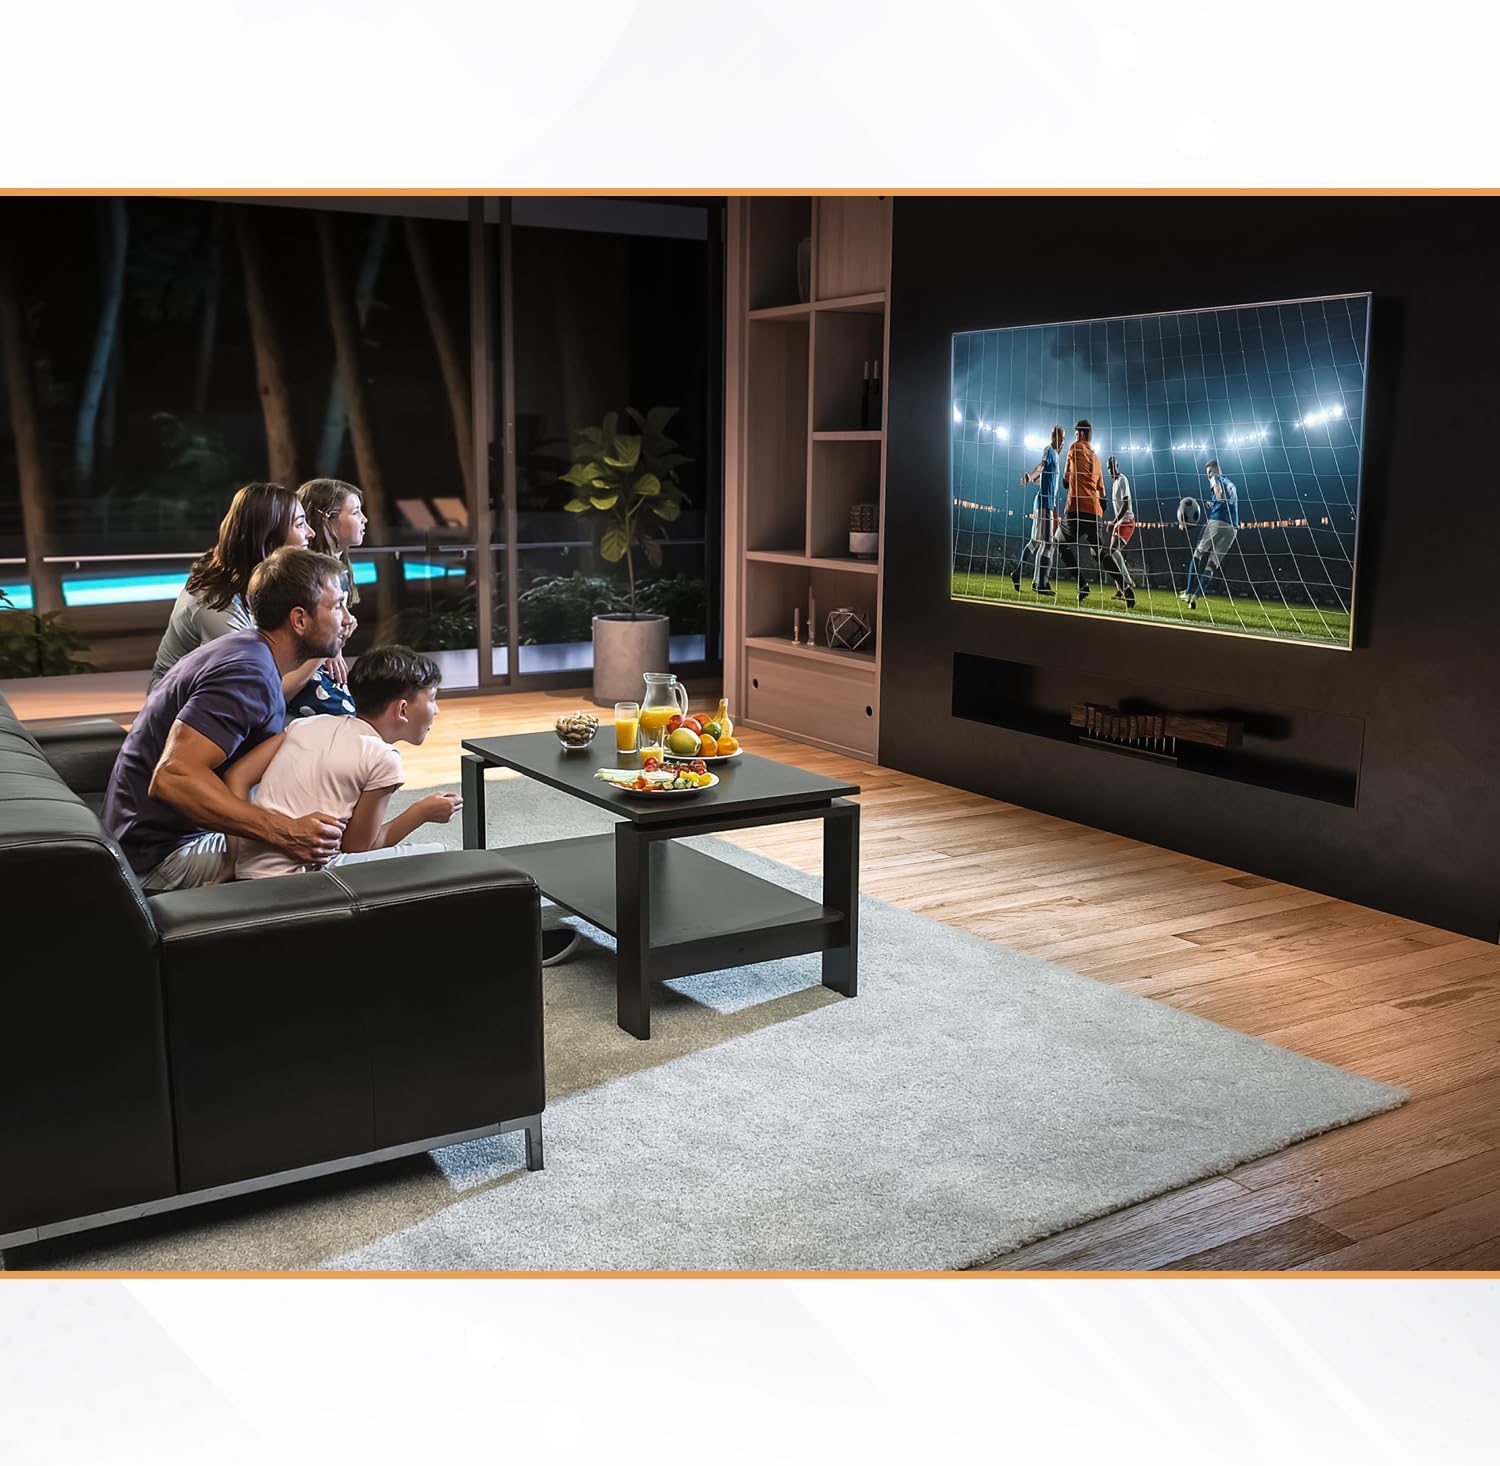
Image: A family watching a wall-mounted TV in a living room, showcasing the aesthetic and functional benefits.
6. Maintenance
Regular maintenance ensures the longevity and safety of your TV mount.
- Periodically check all screws and bolts to ensure they remain tight. Retighten if necessary.
- Clean the mount with a soft, dry cloth. Avoid abrasive cleaners or solvents.
- Inspect the mount for any signs of wear or damage. If any issues are found, contact customer support.
7. Troubleshooting
If you encounter any issues during or after installation, refer to the following common problems and solutions.
- TV is not level: Ensure the wall plate was installed level. If not, carefully remove the TV, loosen the wall plate bolts, adjust, re-level, and retighten.
- Mount feels loose: Recheck all wall plate and TV bracket screws. Ensure they are tightened securely. Do not overtighten.
- Cannot tilt TV: Ensure the tilt adjustment knobs/bolts are loosened before attempting to tilt. Tighten them after adjusting.
- Missing parts: Refer to the 'Package Contents' section. Contact Stellar Mounts customer service for replacement parts.
8. Specifications
| Feature | Specification |
|---|---|
| Brand | Stellar Mounts |
| Model Number | Tilt Mount for 55U6K |
| Compatible TV Size | Designed for Hisense 55U6K (also fits 32" to 102" TVs) |
| Maximum Weight Capacity | 165 lbs (75 kg) |
| Tilt Angle | 0° to 12° (Up & Down) |
| Profile from Wall | 1.7 inches (Low Profile Design) |
| VESA Compatibility | Max VESA 600x400 |
| Material | Alloy Steel |
| Color | Black |

Image: Diagram showing the ultra-slim profile, with the TV positioned 1.7 inches from the wall.
9. Warranty and Support
Stellar Mounts provides a limited warranty for this product. For detailed warranty information, technical support, or to purchase replacement parts, please visit our official website or contact our customer service department.
Website: www.stellarmounts.com (Example Link)
Email: support@stellarmounts.com (Example Link)