1. Introduction
Thank you for choosing the AVERA MR01 Mini Portable Refrigerator. This manual provides essential information for the safe and efficient use of your new appliance. Please read these instructions carefully before operation and retain them for future reference.
2. Product Overview
2.1 Key Features
- Cooling Function: Cools contents down to 3°C (37.4°F) below ambient temperature.
- Heating Function: Heats contents up to 60°C (140°F).
- Compact and Portable Design: Suitable for home, office, dormitory, or car use.
- Capacity: 4 Liters, accommodating up to 6 standard 355 ml cans or various skincare products.
- Removable Shelf: Allows for flexible storage configurations.
- Magnetic Door Closure: Ensures a secure seal.
- Eco-friendly: 100% freon-free operation.
- Dual Power Adapters: Includes both AC (home) and DC (car) adapters.
2.2 Components
Familiarize yourself with the main parts of your mini refrigerator:
- Main Unit (Exterior Casing)
- Door with Magnetic Latch
- Removable Interior Shelf
- AC Power Cord (for home use)
- DC Power Cord (for car use)
- Control Panel (Cool/Off/Warm switch, AC/DC input)

Image: Front view of the AVERA MR01 Mini Portable Refrigerator, showcasing its compact design.
Image: Graphic illustrating key features: compact and portable design, cools to 3°C, ideal for skincare, and capacity for up to 6 cans.

Image: Graphic highlighting additional features: removable shelf, 100% eco-friendly and freon-free, magnetic closure, and 1-year warranty.
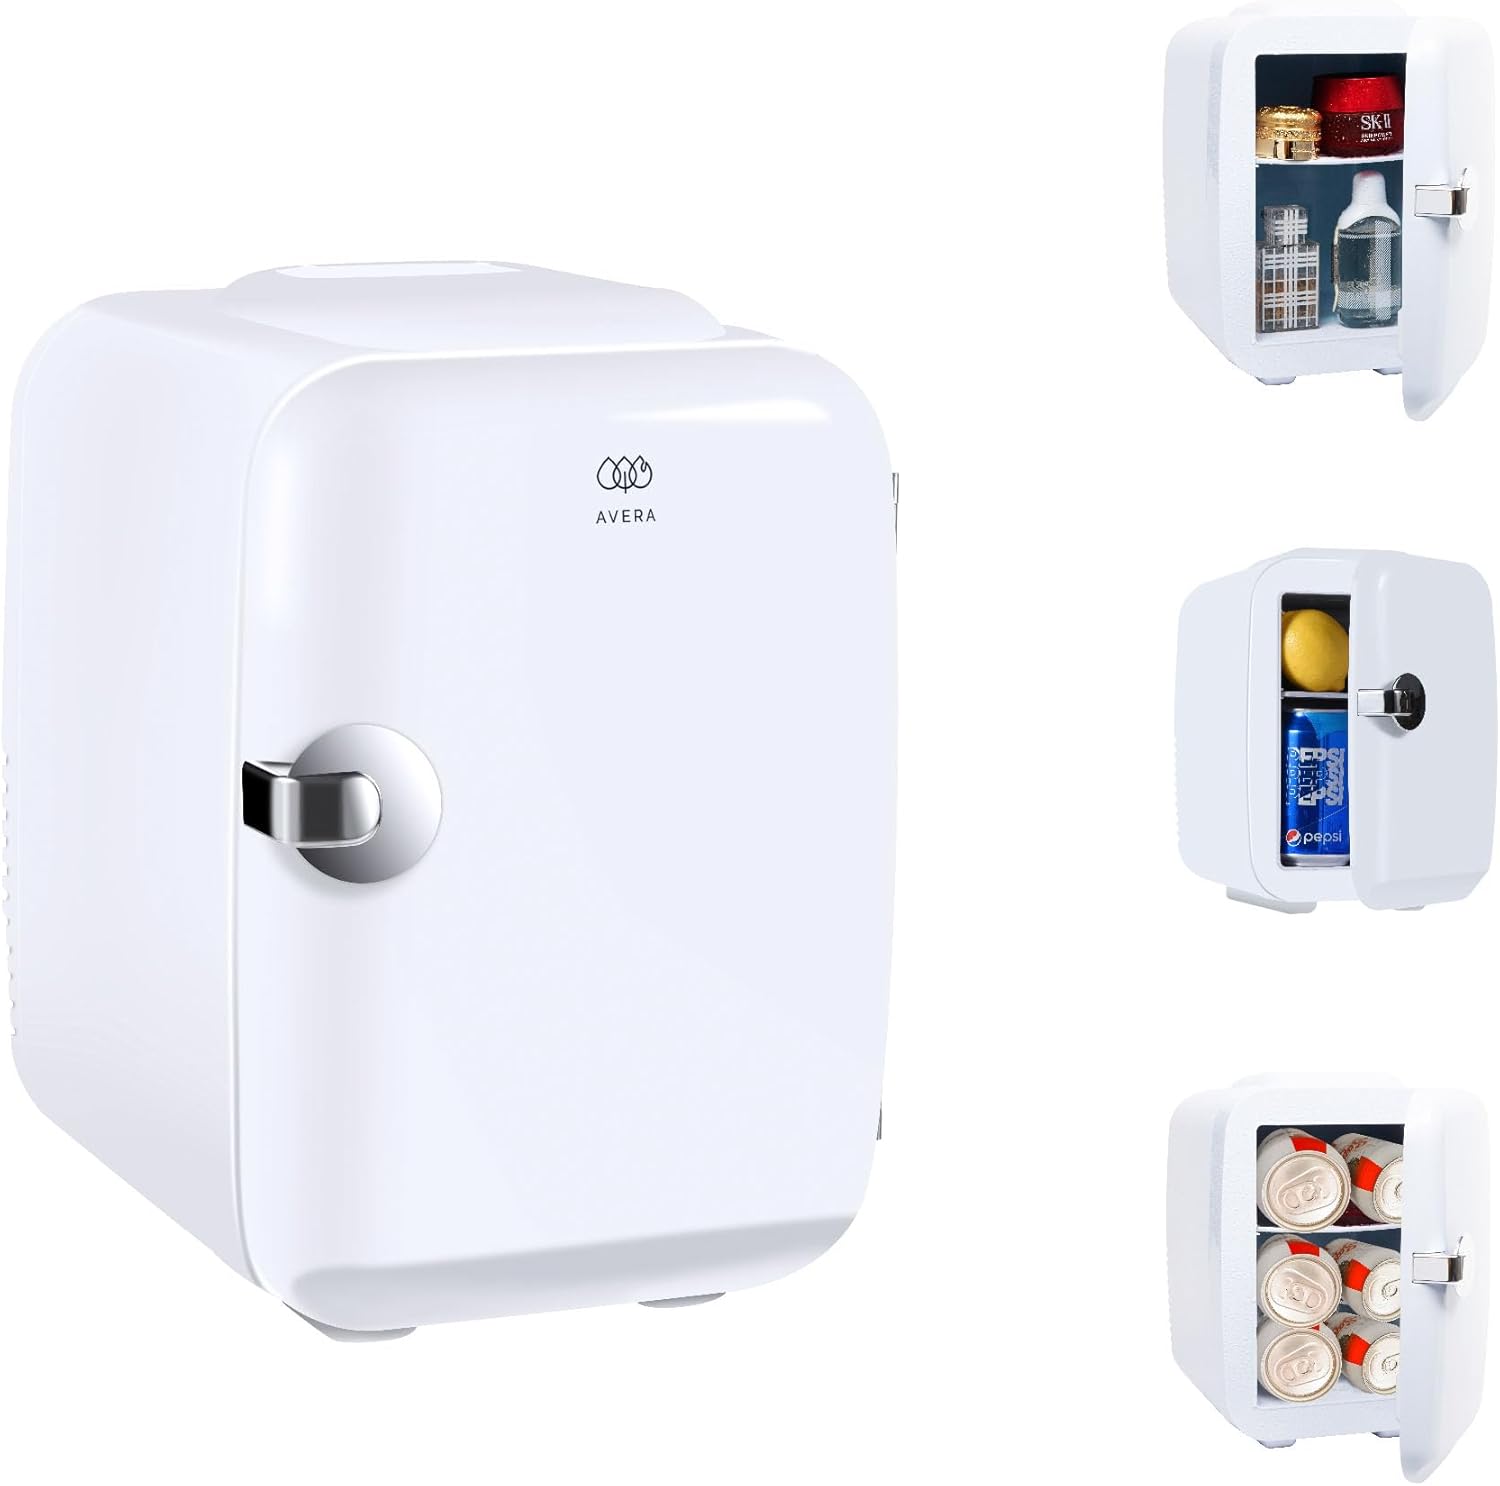
Image: Rear panel of the mini refrigerator showing the 'COLD/OFF/WARM' switch, 'DC 12V' input, and 'AC 220-240V' input.
3. Setup
3.1 Placement
- Place the mini refrigerator on a flat, stable surface.
- Ensure adequate ventilation around the unit. Avoid blocking the vents on the back and sides.
- Keep away from direct sunlight, heat sources, and moisture.
3.2 Power Connection
The AVERA MR01 can be powered by either AC (home) or DC (car) power.
- For Home Use (AC 220-240V):
- Ensure the switch on the back of the unit is in the "OFF" position.
- Connect the AC power cord to the "AC" input port on the back of the unit.
- Plug the other end of the AC power cord into a standard wall outlet.
- For Car Use (DC 12V):
- Ensure the switch on the back of the unit is in the "OFF" position.
- Connect the DC power cord to the "DC 12V" input port on the back of the unit.
- Plug the other end of the DC power cord into your vehicle's 12V cigarette lighter socket.
Important: Do not connect both AC and DC power simultaneously. Always ensure the unit is switched "OFF" before changing power sources.
4. Operating Instructions
4.1 Cooling Mode
- Connect the appropriate power source (AC or DC) as described in Section 3.2.
- Flip the switch on the back of the unit to the "COLD" position.
- The green indicator light will illuminate, indicating the unit is in cooling mode.
- Allow approximately 1-2 hours for the unit to reach its optimal cooling temperature. For best results, pre-chill items before placing them inside.
4.2 Heating Mode
- Connect the appropriate power source (AC or DC) as described in Section 3.2.
- Flip the switch on the back of the unit to the "WARM" position.
- The red indicator light will illuminate, indicating the unit is in heating mode.
- Allow approximately 1-2 hours for the unit to reach its optimal heating temperature.
4.3 General Usage Tips
- Avoid opening the door frequently to maintain internal temperature.
- Do not place hot items directly into cooling mode, or cold items directly into heating mode, as this can reduce efficiency and potentially damage the unit.
- The removable shelf can be adjusted or removed to accommodate larger items.
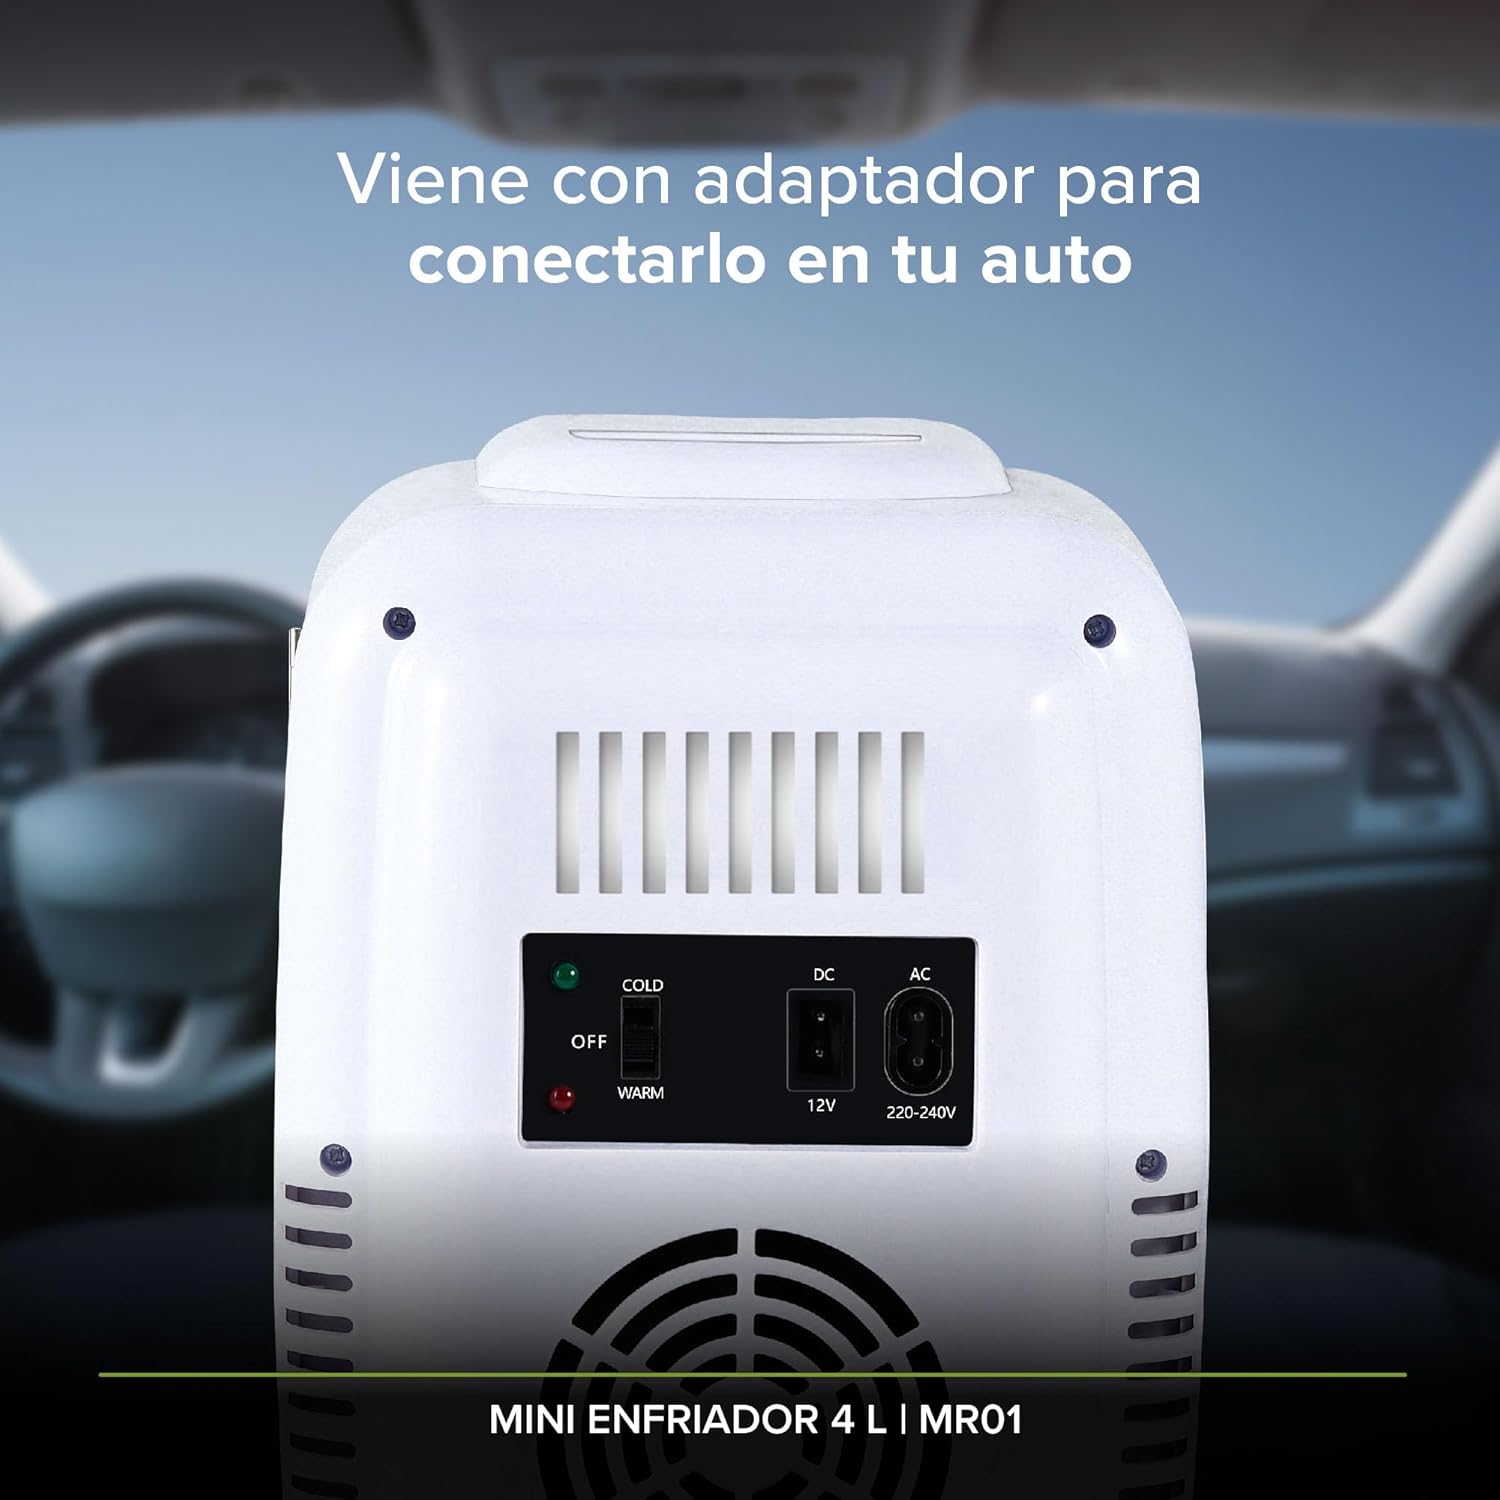
Image: Interior view of the mini refrigerator showing its capacity to hold six standard beverage cans.

Image: Interior view of the mini refrigerator storing various skincare products, demonstrating its use for cosmetics.
5. Maintenance
5.1 Cleaning
- Always unplug the unit before cleaning.
- Wipe the interior and exterior surfaces with a soft, damp cloth and mild detergent.
- Do not use abrasive cleaners or solvents, as they may damage the finish.
- Ensure the unit is completely dry before reconnecting power.
- Clean the fan vents on the back periodically to ensure proper airflow.
5.2 Storage
- If storing for an extended period, ensure the unit is clean and dry.
- Store in a cool, dry place away from direct sunlight.
6. Troubleshooting
If you experience issues with your AVERA MR01, please refer to the following common problems and solutions:
| Problem | Possible Cause | Solution |
|---|---|---|
| Unit is not turning on. | No power supply; power cord not properly connected; switch in "OFF" position. | Check power connection; ensure switch is set to "COLD" or "WARM". |
| Unit is not cooling/heating effectively. | Poor ventilation; door not closed properly; ambient temperature too high/low; excessive items inside. | Ensure vents are clear; check door seal; reduce contents; allow unit to operate for longer. |
| Excessive noise. | Fan obstruction; unit not on a stable surface. | Check for obstructions around the fan; place on a flat, stable surface. |
If the problem persists after trying these solutions, please contact AVERA customer support.
7. Specifications
- Model Number: MR01
- Brand: AVERA
- Capacity: 4 Liters
- Cooling Temperature: Down to 3°C (37.4°F) below ambient temperature
- Heating Temperature: Up to 60°C (140°F)
- Power Input: AC 220-240V, DC 12V
- Dimensions (L x W x H): Approximately 19.1 cm x 24.7 cm x 27 cm (7.5 x 9.7 x 10.6 inches) - Based on package dimensions, actual unit might be slightly smaller.
- Weight: Approximately 1.97 kg (4.34 lbs)
- Special Features: Portable, Magnetic Door Closure, Removable Shelf, Car Adapter Included, Eco-friendly (Freon-free)
- Configuration: Mini Refrigerator
- Shelf Type: Plastic
- Number of Doors: 1

Image: Diagram showing the dimensions of the mini refrigerator: Width 19 cm, Depth 25 cm, Height 27.5 cm.
8. Warranty and Support
8.1 Warranty Information
The AVERA MR01 Mini Portable Refrigerator comes with a 1-year warranty from the date of purchase, covering manufacturing defects. Please retain your proof of purchase for warranty claims.
This warranty does not cover damage caused by misuse, accident, unauthorized modification, or normal wear and tear.
8.2 Customer Support
For technical assistance, warranty claims, or any questions regarding your AVERA MR01, please contact AVERA customer support through the retailer where you purchased the product or visit the official AVERA website for contact information.
Please note: Specific contact details are not provided in this manual. Refer to your purchase documentation or the manufacturer's website.