1. Introduction
This manual provides instructions for the NEOBELLA S801AG-C Wireless Computer Keyboard and Mouse Combo. This combo offers a wireless solution for your computing needs, featuring a keyboard with round, floating keycaps and a matching mouse. It is designed for compatibility with various devices including PCs, laptops, and tablets.
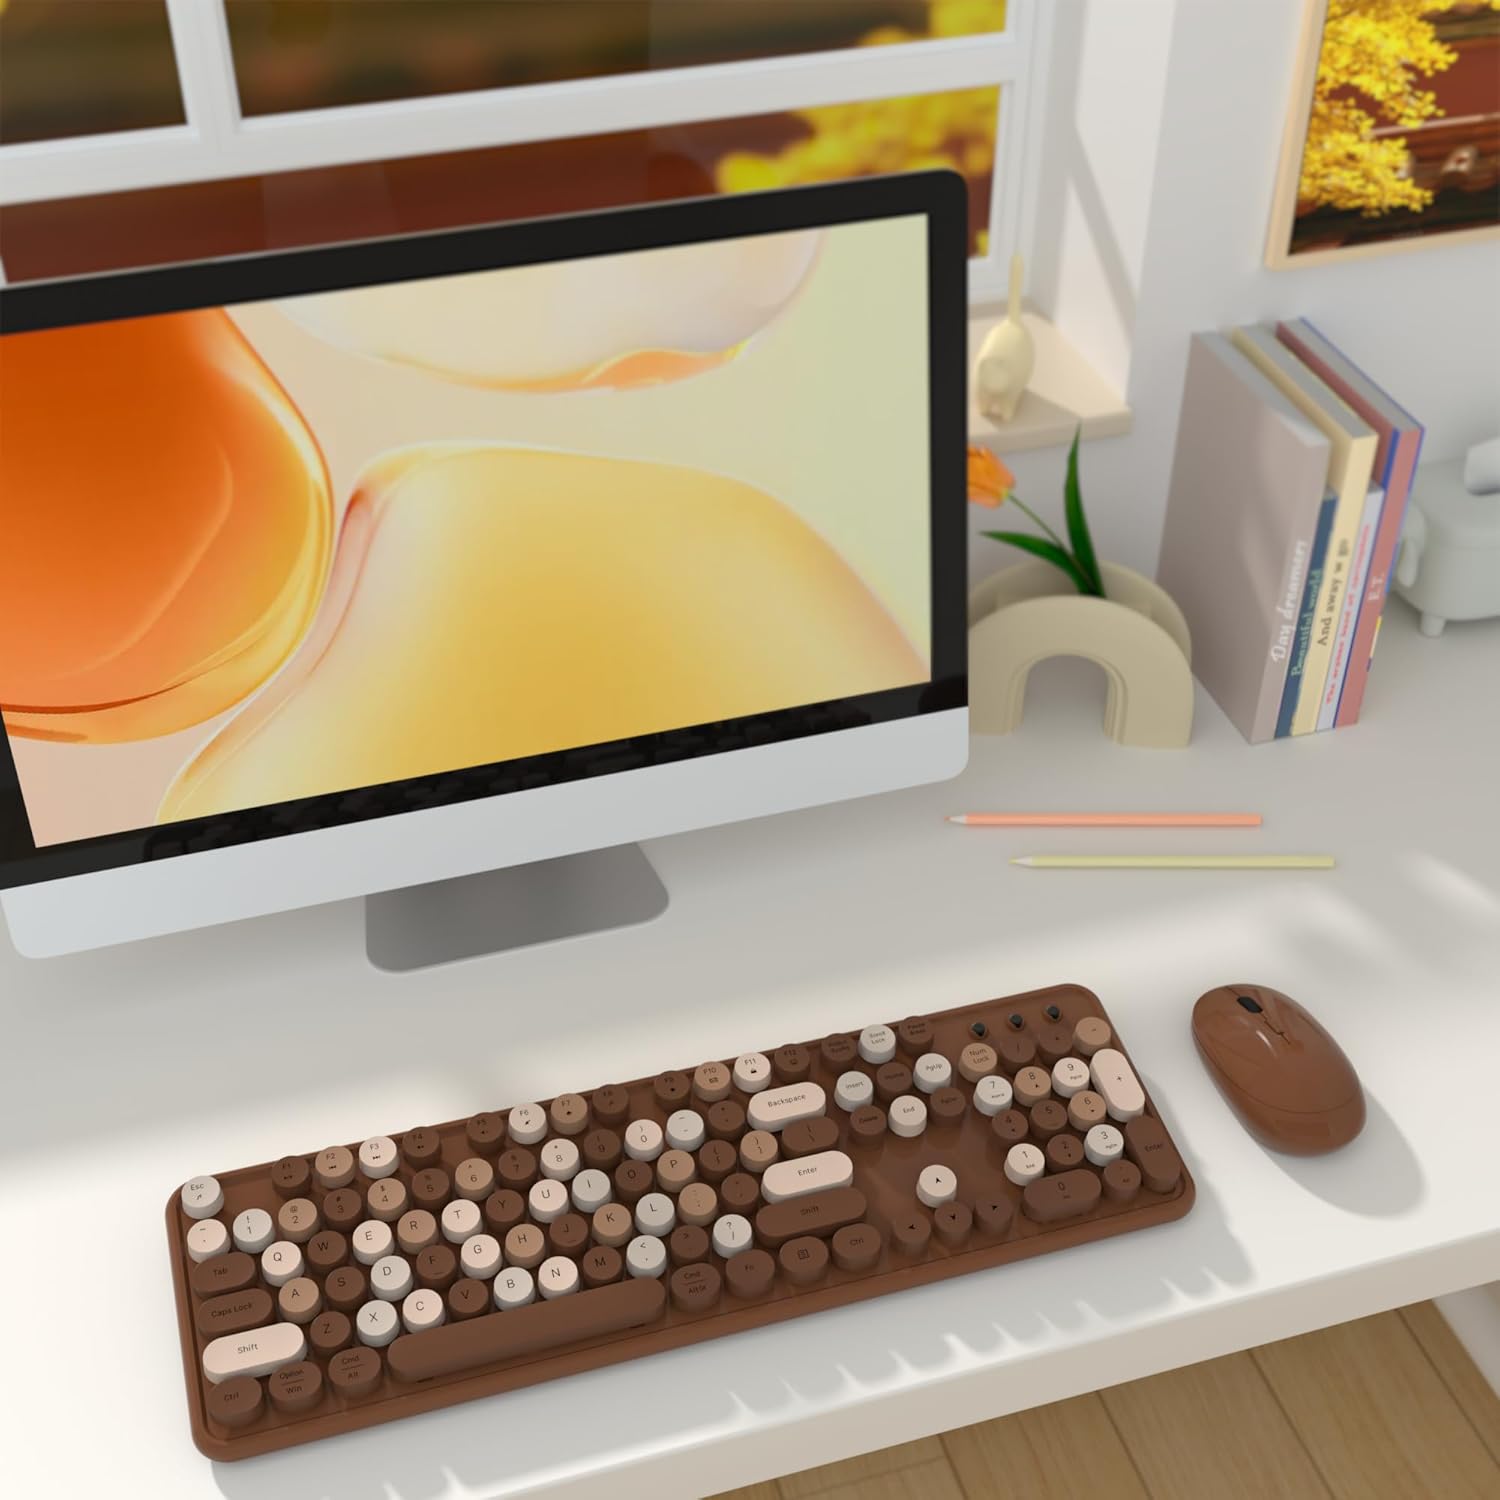
Figure 1: NEOBELLA S801AG-C Wireless Keyboard and Mouse Combo in use.
2. Package Contents
Please verify that all items are present in your package:
- 1 x NEOBELLA Wireless Keyboard
- 1 x NEOBELLA Wireless Mouse
- 1 x USB Nano Receiver (stored inside the mouse)
- 1 x User Manual (this document)
Note: 2 AA batteries are required for operation (one for the keyboard, one for the mouse) and are not included in the package.
3. Setup
3.1 Battery Installation
Both the keyboard and mouse require one AA battery each. Ensure correct polarity when inserting batteries.
- Locate the battery compartment on the underside of the keyboard and the mouse.
- Open the battery compartment cover.
- Insert one AA battery into each device, matching the positive (+) and negative (-) terminals.
- Close the battery compartment covers securely.
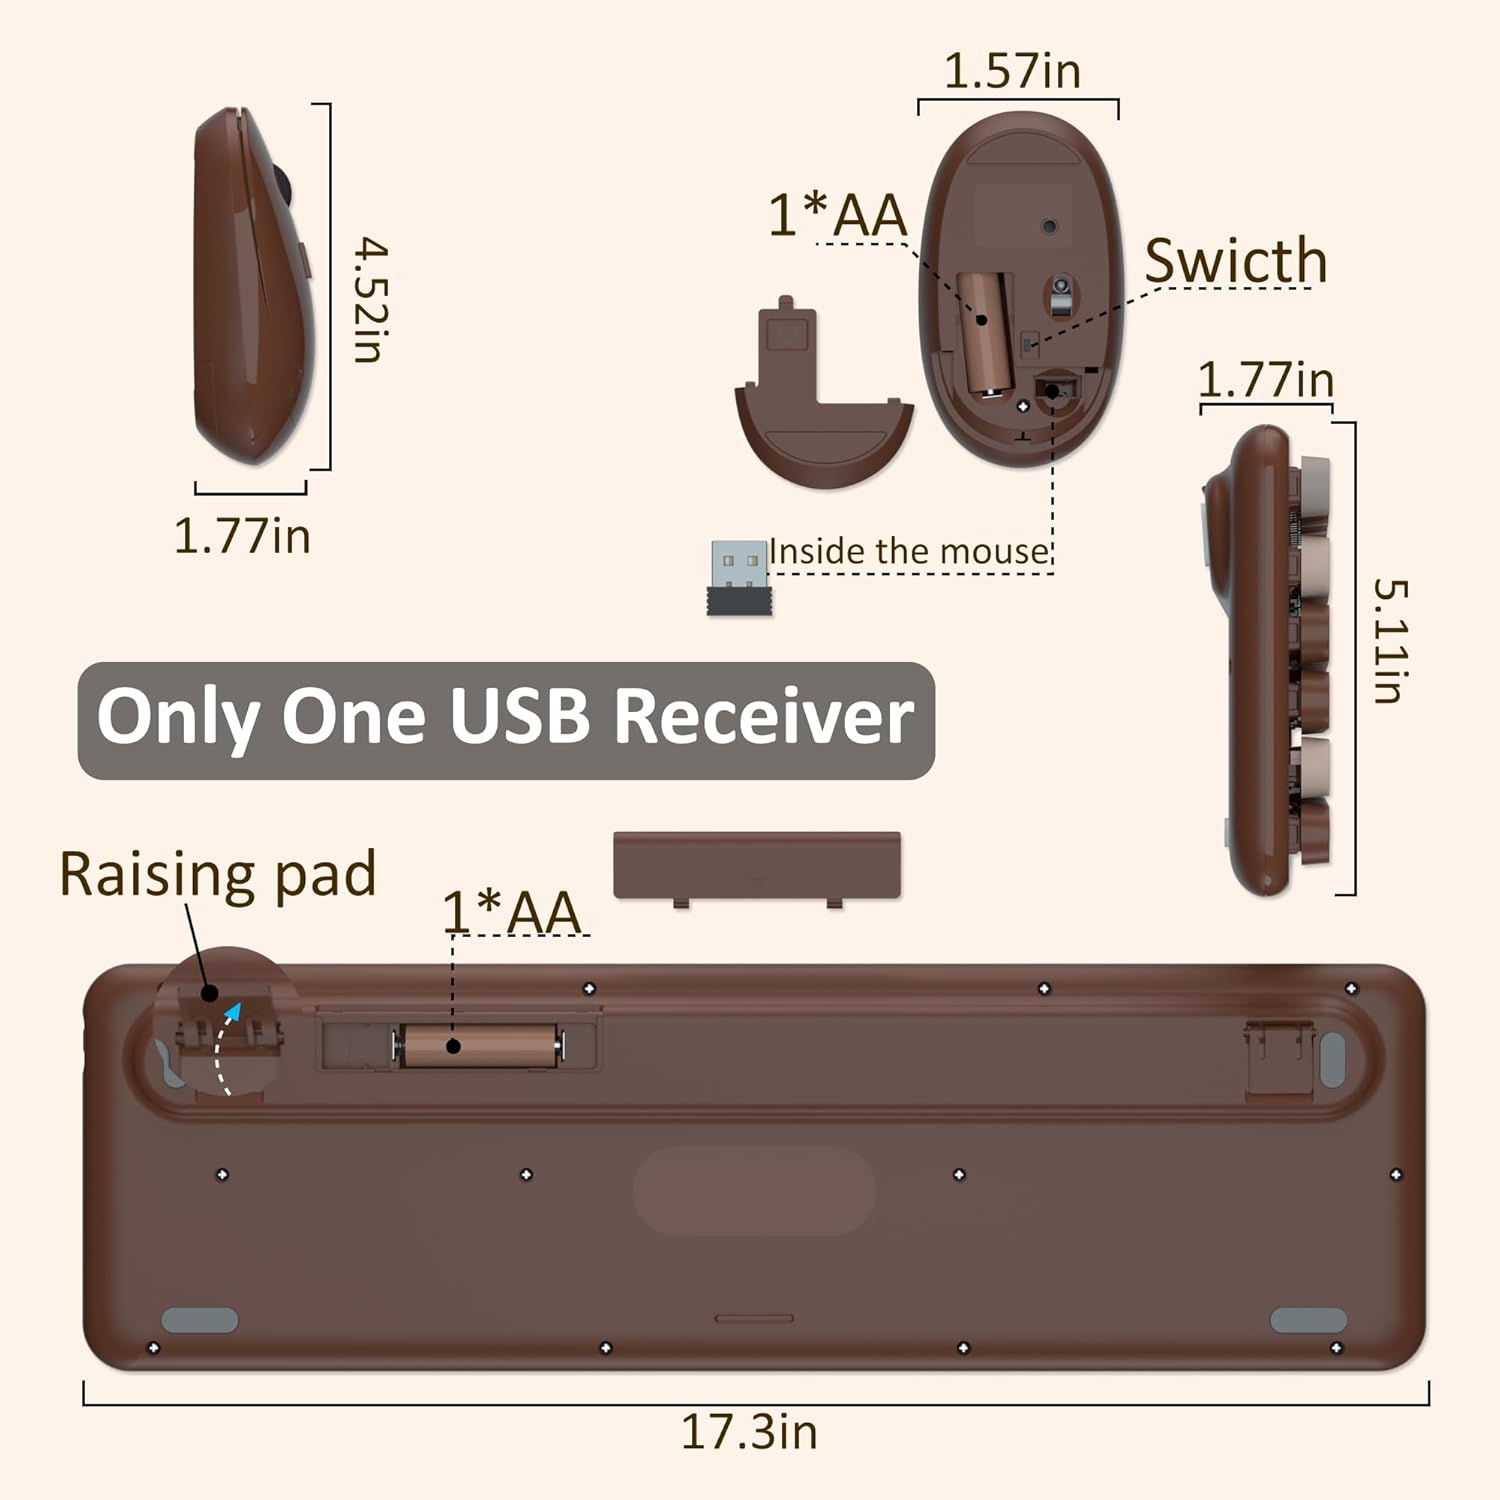
Figure 2: Battery installation and USB receiver location.
3.2 Connecting the USB Receiver
The USB Nano Receiver is typically stored in the battery compartment of the mouse for safekeeping during transport.
- Remove the USB Nano Receiver from the mouse's battery compartment.
- Plug the USB Nano Receiver into an available USB 2.0 port on your PC, laptop, or tablet.
- Your operating system should automatically detect and install the necessary drivers. This is a plug-and-play device.
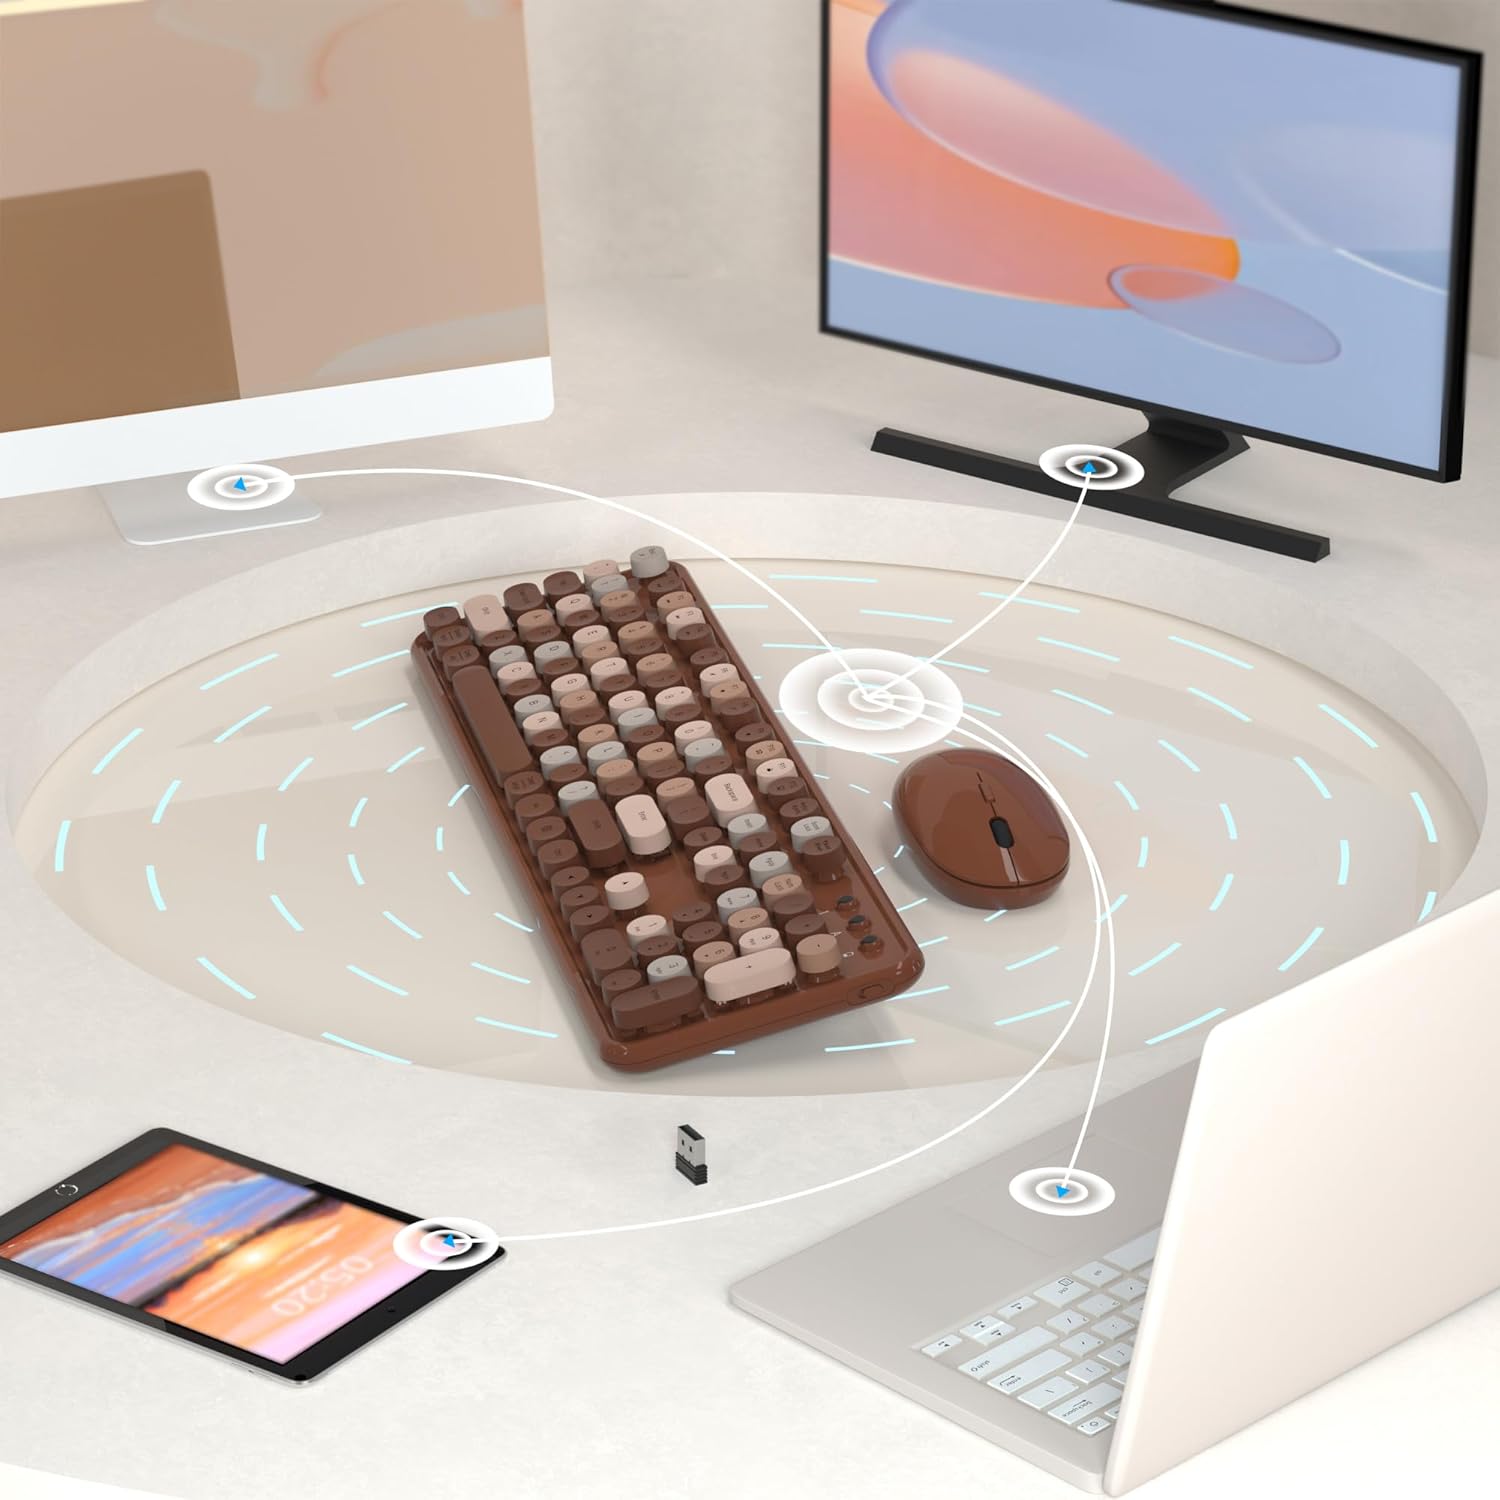
Figure 3: Wireless connection via USB receiver.
3.3 Powering On Devices
Both the keyboard and mouse are equipped with a power switch to conserve battery life.
- Locate the power switch on the underside of the keyboard and the mouse.
- Slide the switch to the "ON" position for both devices.
- The devices should now be connected and ready for use.
Compatibility Note: For devices with only a Type-C port, a USB-A to Type-C adapter (not included) will be required to connect the USB receiver.
4. Operating Instructions
4.1 Keyboard Usage
The keyboard features a standard layout with round, floating keycaps designed for a comfortable typing experience. The keys provide a tactile, clicky feedback reminiscent of a typewriter.

Figure 4: Detail of the keyboard's round keycaps and power switch.
- Typing: Press keys as you would on any standard keyboard.
- Function Keys: Use the 'Fn' key in combination with F1-F12 for multimedia and system shortcuts, if applicable.
4.2 Mouse Usage
The wireless mouse provides precise optical tracking for smooth cursor movement.
- Clicking: Left and right-click buttons function as standard.
- Scrolling: Use the scroll wheel for navigation.
- Movement: The optical sensor works best on non-reflective, opaque surfaces.
4.3 Power Saving Features
To extend battery life, both the keyboard and mouse feature an auto-sleep function and manual power switches.
- Auto-Sleep: The devices will automatically enter a low-power sleep mode after a period of inactivity. To wake them, simply press any key on the keyboard or move/click the mouse.
- Power Switch: For prolonged periods of non-use, it is recommended to turn off both the keyboard and mouse using their respective power switches.
5. Maintenance
- Cleaning: Use a soft, dry cloth to clean the surfaces of the keyboard and mouse. For stubborn dirt, a slightly damp cloth with mild soap can be used, ensuring no liquid enters the device. Do not use harsh chemicals or abrasive cleaners.
- Battery Replacement: When performance degrades or devices stop responding, replace the AA batteries in both the keyboard and mouse. Dispose of old batteries responsibly.
- Storage: When not in use for extended periods, turn off both devices and store them in a dry, cool place.
6. Troubleshooting
| Problem | Solution |
|---|---|
| Keyboard/Mouse not responding |
|
| Lagging or intermittent connection |
|
| Mouse cursor moves erratically |
|
7. Specifications
| Brand | NEOBELLA |
| Model | S801AG-C |
| Connectivity Technology | 2.4GHz Wireless (USB Receiver) |
| Keyboard Type | Round Keycaps Typewriter Style |
| Mouse Movement Detection | Optical |
| Power Source | Battery Powered (1x AA for keyboard, 1x AA for mouse - not included) |
| Compatible Operating Systems | Windows 7/10/11/XP, Mac OS |
| Compatible Devices | PC, Laptop, Tablet |
| Special Features | Round Keycaps, Power Switch, Auto-Sleep Function |
| Keyboard Length (approx.) | 17.3 inches (43.94 cm) |
| Mouse Dimensions (approx.) | 4.52 x 1.77 x 1.77 inches (11.48 x 4.49 x 4.49 cm) |
8. Warranty and Support
NEOBELLA provides one year of technical support for both the computer keyboard and mouse. For assistance with product issues, troubleshooting, or warranty claims, please contact NEOBELLA customer service through the retailer where the product was purchased or refer to the contact information provided in your product packaging.
Please retain your proof of purchase for warranty service.