Introduction
Thank you for choosing the ciciglow SK-299 Mini Digital Voice Recorder. This compact and versatile device is designed for high-quality audio recording with intelligent noise reduction, making it ideal for meetings, lectures, interviews, and personal notes. Please read this manual carefully to ensure proper use and optimal performance of your device.
Product Overview
Key Features
- High-Quality Recording: Integrated professional high-end recording and processing scheme ensures clear and crisp sound reproduction.
- Intelligent Noise Reduction: Filters unwanted background noise for excellent recording quality.
- Long-Lasting Battery: High-capacity polymer battery provides sufficient recording duration for extended sessions.
- Easy Operation: One-click MP3 recording and intelligent voice control function simplify use, even in low-light conditions.
- Versatile Functionality: Supports MP3 and WAV formats, with driver-free U disk function for easy file transfer.
Package Contents
- 1 x SK-299 Digital Voice Recorder
- 1 x Earphone
- 1 x External Microphone
- 1 x USB Data Cable
Note: A small memory card is required for normal operation (not included).

The SK-299 recorder comes with essential accessories for immediate use.
Device Layout
Front View: Features the LCD display, 'M' (Menu) button, and Play/Pause button. The speaker grille is located at the bottom.
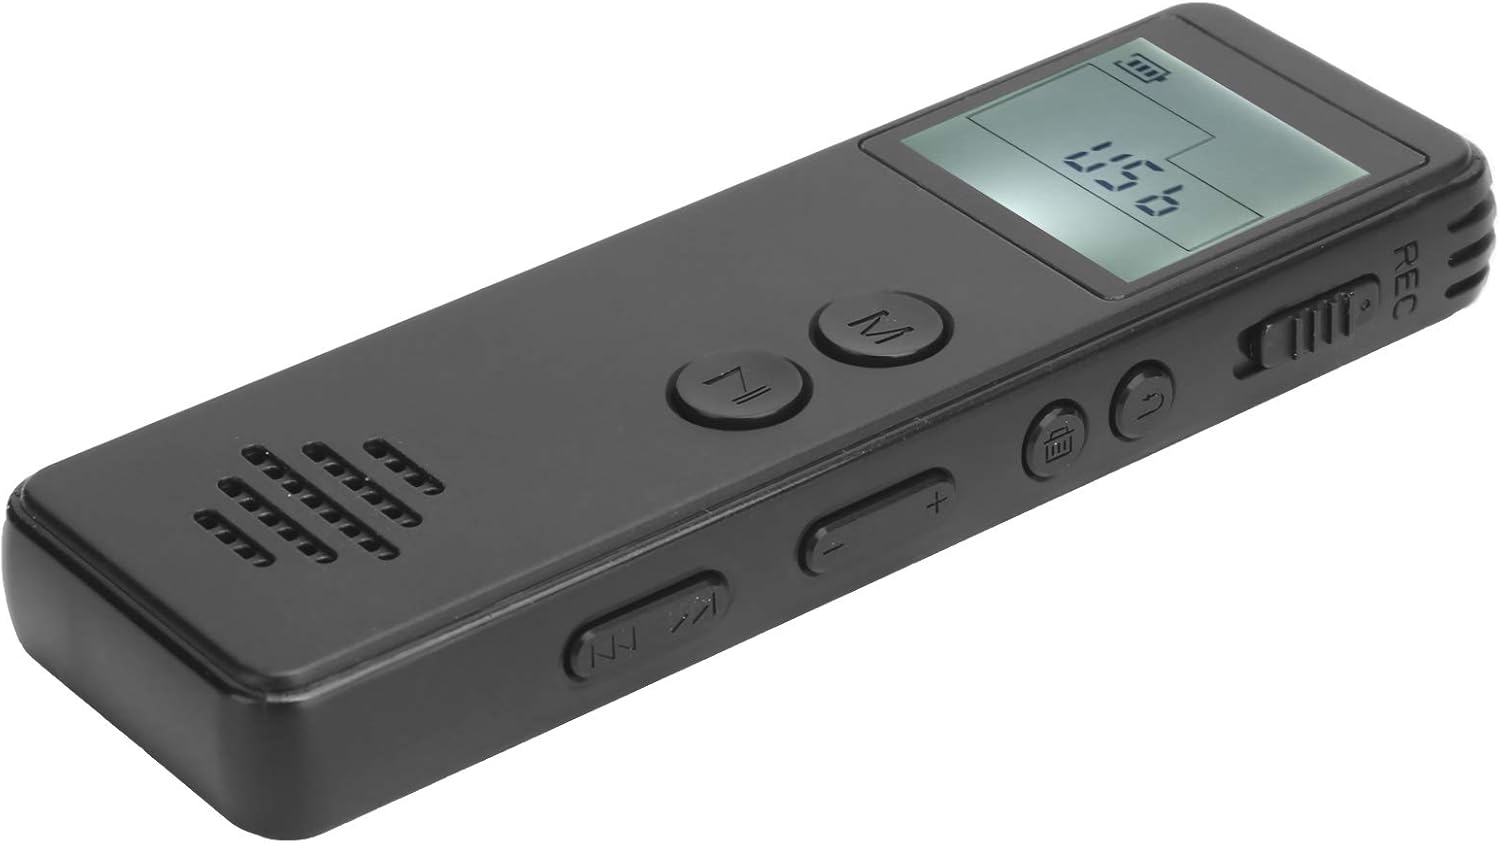
Right Side: Includes the REC (Record) switch, volume control buttons (+/-), and track navigation buttons (previous/next).

Left Side: Features the ON/OFF power switch and the USB port for charging and data transfer.
Setup
1. Charging the Device
Before first use, fully charge the voice recorder. Connect the supplied USB data cable to the device's USB port and to a computer's USB port or a compatible USB wall adapter. The battery indicator on the display will show charging status.
2. Inserting a Memory Card (Required)
The SK-299 requires a small memory card for normal operation. Locate the memory card slot (usually on the side or bottom) and insert a compatible microSD card. Ensure it is inserted correctly until it clicks into place.
3. Powering On/Off
To power on the device, slide the ON/OFF switch to the 'ON' position. To power off, slide the switch to the 'OFF' position.
Operating Instructions
1. Basic Recording
- Ensure the device is powered on.
- To start recording, slide the REC switch to the 'REC' position. The display will show a recording indicator, and the recording will begin automatically in MP3 format.
- To stop recording, slide the REC switch back to the 'OFF' or neutral position. The recording will be saved automatically.

The device supports one-click recording in MP3 format, simplifying the process.
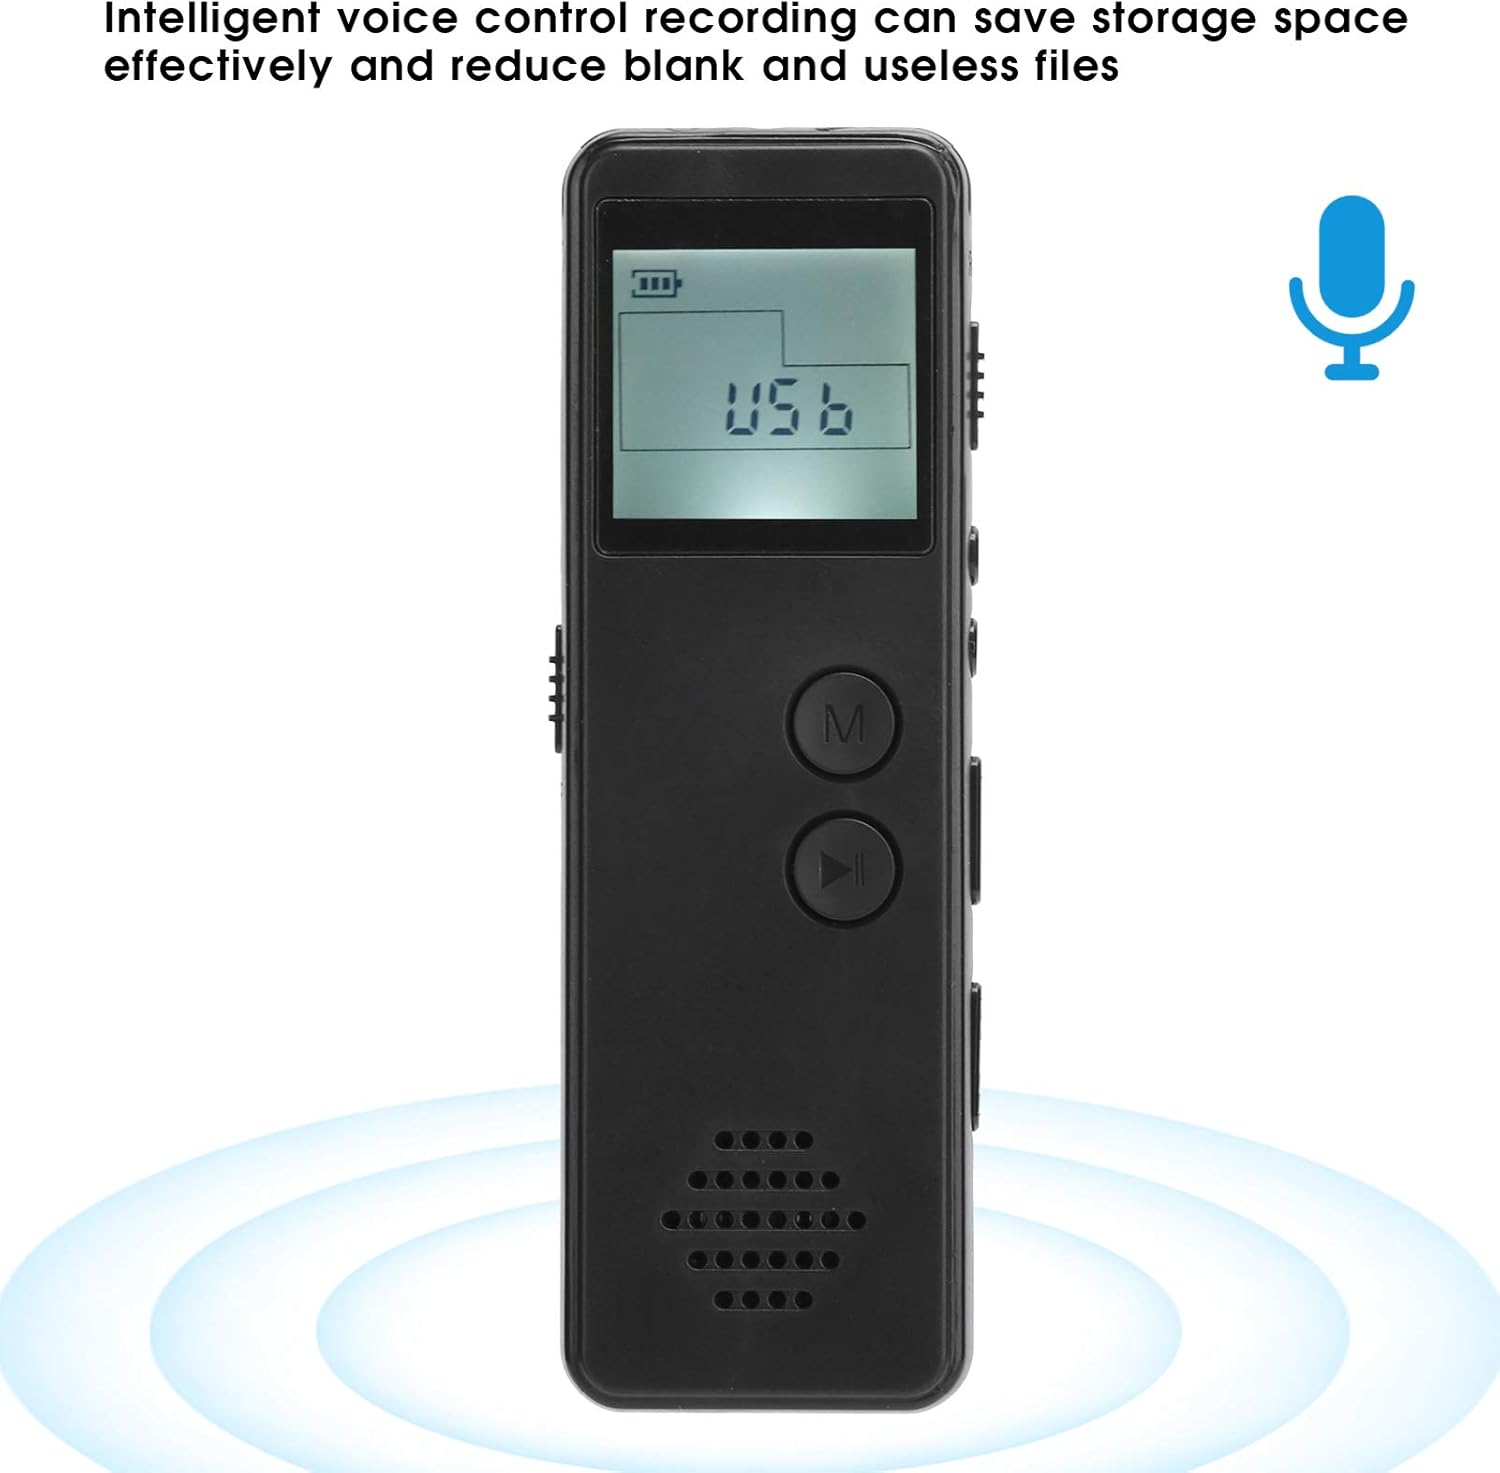
2. Voice Activated Recording (VOR)
The SK-299 features intelligent voice control recording to save storage space by only recording when sound is detected.
- While in standby or playback mode, press the 'M' (Menu) button to access settings.
- Navigate through the menu options using the track navigation buttons until you find the 'VOR' or 'Voice Activated' setting.
- Select 'ON' to enable voice activated recording.
- Exit the menu. When you start recording (as per 'Basic Recording' steps), the device will now only record when sound is present.
3. Playback
- Ensure the device is powered on.
- Press the Play/Pause button to enter playback mode.
- Use the track navigation buttons (previous/next) to select the desired recording.
- Press the Play/Pause button again to start or pause playback.
- Adjust the volume using the '+' and '-' buttons on the side.
4. Connecting to a Computer (U Disk Function)
The device can function as a driver-free U disk for easy file transfer.
- Connect the voice recorder to your computer using the supplied USB data cable.
- The device will be recognized as a removable disk.
- You can now access, copy, or delete recorded files from the device's memory card.
Maintenance
- Cleaning: Use a soft, dry cloth to clean the device. Avoid using liquid cleaners or solvents.
- Storage: Store the device in a cool, dry place away from direct sunlight and extreme temperatures.
- Battery Care: To prolong battery life, avoid fully discharging the battery frequently. Charge the device regularly, even if not in use for extended periods.
- Data Backup: Regularly back up important recordings to your computer to prevent data loss.
Troubleshooting
| Problem | Possible Cause | Solution |
|---|---|---|
| Device does not power on. | Low battery; Power switch in OFF position. | Charge the device; Slide the power switch to ON. |
| Cannot record. | Memory card full or not inserted; REC switch not engaged; Device in playback mode. | Check memory card space and insertion; Slide REC switch to REC; Exit playback mode. |
| Poor recording quality. | Microphone obstructed; Recording environment too noisy; Low battery. | Ensure microphone is clear; Record in a quieter environment; Charge the device. |
| Device not recognized by computer. | Faulty USB cable; Loose connection; Computer port issue. | Try a different USB cable or port; Ensure cable is securely connected. |
| External microphone not working. | Microphone not properly connected; Faulty microphone. | Ensure external microphone is fully plugged into the correct port. Test with another microphone if available. |
Specifications
| Feature | Detail |
|---|---|
| Model | SK-299 |
| Display Screen | Broken screen display (LCD) |
| Recording Format | MP3 |
| Recording Bit Rate | 128 Kbit/s |
| Battery Type | 3.7V-4.2V 270mAh Lithium Polymer |
| Continuous Recording Time | Approximately 10 hours |
| Playback Time | Approximately 5 hours |
| Material | ABS |
| Interface | USB |
| Microphone Form Factor | Integrated |
| Supported Digital Media Formats | MP3 audio, WAV |
Warranty and Support
For warranty information and technical support, please refer to the documentation provided at the time of purchase or contact your retailer. Keep your proof of purchase for any warranty claims.


