
ProCom ML250TPA-B
ProCom Heating ML250TPA-B 25,000 BTU Liquid Propane Ventless Infrared Plaque Heater Instruction Manual
Model: ML250TPA-B
1. Product Overview
The ProCom Heating ML250TPA-B is a 25,000 BTU Liquid Propane Ventless Infrared Plaque Heater designed to provide efficient heating for indoor spaces up to 1150 sq. ft. This heater features a thermostat control for adjustable heat settings and can be used with included base feet for floor placement or mounted on a wall.

Image 1.1: Front view of the ProCom ML250TPA-B heater with base feet.
Key Features:
- 25,000 BTU Output: Heats areas up to 1150 sq. ft.
- Ventless Design: No chimney or flue required.
- Infrared Plaque Heating: Provides radiant heat.
- Thermostat Control: High/Medium/Low settings for precise temperature management.
- Push Button Ignition: For easy startup.
- Oxygen Depletion Sensor (ODS): Automatically shuts off the heater if oxygen levels drop.
- Flexible Installation: Includes base feet for floor standing and hardware for wall mounting.
- No Electricity Required: Operates independently of electrical power, ideal for outages.
2. Safety Information
WARNING: Improper installation, adjustment, alteration, service, or maintenance can cause property damage, injury, or death. Read the installation, operating, and maintenance instructions thoroughly before installing or servicing this equipment.
- This is a ventless appliance. It uses air from the room in which it is installed. Provisions for adequate combustion and ventilation air must be provided.
- Always ensure proper ventilation when operating this heater. Consider using a carbon monoxide detector for added safety.
- Do not store or use gasoline or other flammable vapors and liquids in the vicinity of this or any other appliance.
- Keep the area around the heater clear and free from combustible materials, gasoline, and other flammable vapors and liquids.
- Never operate the heater in an area where it may be exposed to water.
- The Oxygen Depletion Sensor (ODS) is a safety feature that will shut off the heater if oxygen levels in the room become too low. Do not tamper with or bypass this safety device.
- Ensure the heater is installed on a level, stable surface if using base feet, or securely mounted to a wall according to instructions.
- Keep children and pets away from the heater, especially during operation, as surfaces can become very hot.
3. Setup and Installation
3.1 Unpacking and Inspection
Carefully remove the heater from its packaging. Inspect the unit for any shipping damage. If any damage is found, do not attempt to install or operate the heater. Contact your retailer or ProCom customer service immediately.
3.2 Choosing a Location
Select a location that is clear of combustible materials. Ensure adequate clearance from walls and furniture as specified in the full manual. This heater is designed for indoor use only.
3.3 Assembly (Base Feet or Wall Mount)
The heater comes with both base feet for floor placement and hardware for wall mounting. Choose the installation method that best suits your needs.

Image 3.1: The heater package includes base feet and a wall bracket for flexible installation.
- For Floor Standing: Attach the provided base feet to the bottom of the heater using the supplied screws. Ensure the heater is stable and level.
- For Wall Mounting: Use the included wall bracket and hardware to securely mount the heater to a suitable wall surface. Follow the detailed instructions in the complete manual for proper wall mounting to ensure stability and safety.
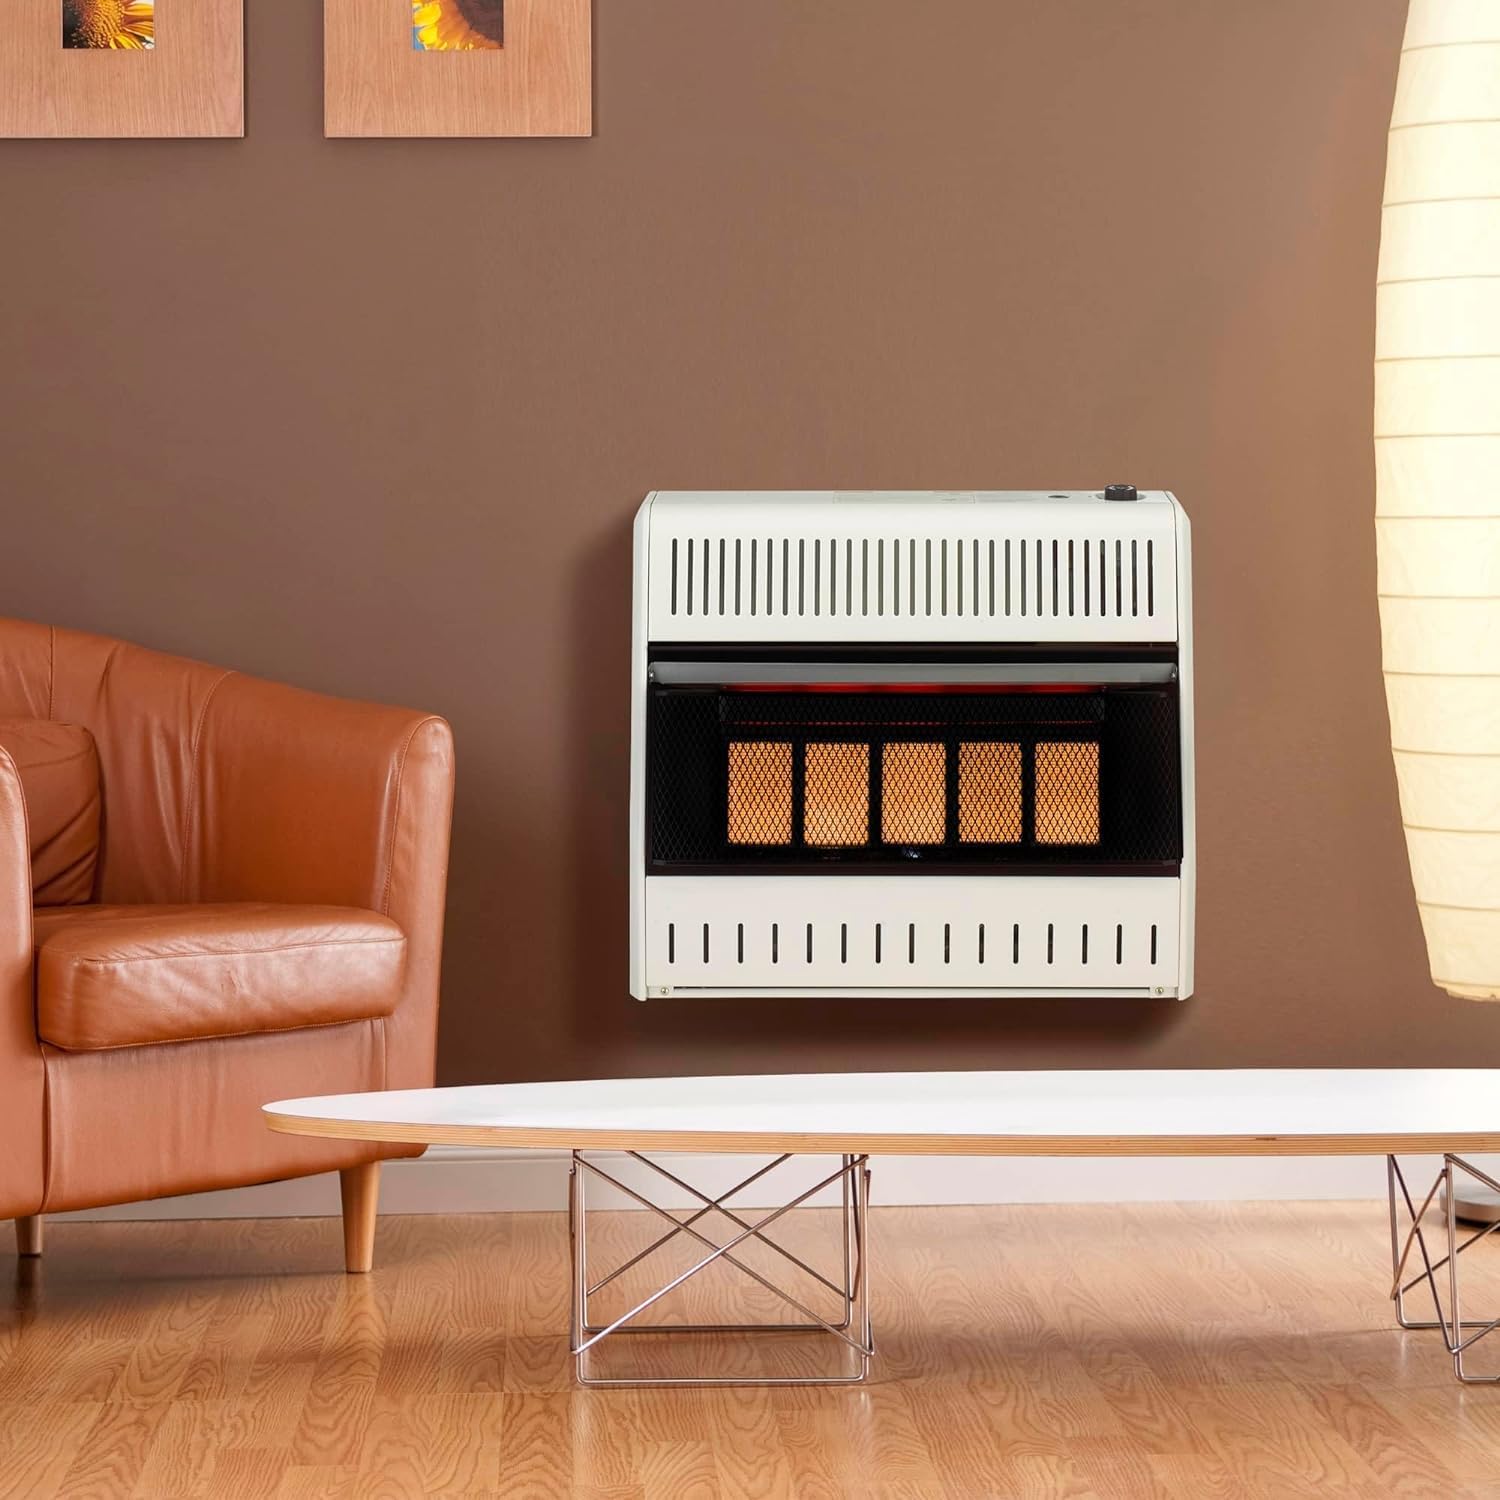
Image 3.2: Example of the ProCom ML250TPA-B heater installed on a wall.
3.4 Propane Gas Connection
This heater operates on Liquid Propane (LP) gas. Connection to the LP supply must be performed by a qualified service person in accordance with local codes and ordinances. The heater does not require electricity for operation.
- A 3/8" Flare x 3/8" NPT Male brass 90-degree elbow and a 12 FT Propane Regulator Hose with a female flare nut end may be required for connecting to a 20 lb propane tank, especially if using the base feet to ensure proper clearance and prevent kinking of the hose.
- Ensure all connections are tight and leak-free. Perform a leak test with a soap solution before initial operation.
4. Operating Instructions
4.1 Control Panel Overview

Image 4.1: The control panel features a Piezo Ignition button and a thermostat knob with variable heat settings.
The heater features a simple control panel with a Piezo Ignition button and a thermostat control knob. The thermostat knob allows you to select heat settings from "OFF PILOT" to various heat levels (e.g., 1-5 or High/Medium/Low).
4.2 Initial Startup Procedure
IMPORTANT: For the very first use, or after the heater has been disconnected from the propane supply for an extended period, the initial ignition may take longer than usual. This is normal as air needs to be purged from the gas lines.
- Ensure the propane supply valve is fully open.
- Turn the thermostat control knob to the "PILOT" position.
- Press and hold the thermostat control knob down firmly.
- While holding the knob down, repeatedly press the Piezo Ignition button until the pilot flame ignites. You may need to hold the knob down for several minutes (up to 10 minutes for the very first startup) to allow gas to reach the pilot.
- Once the pilot flame is lit, continue to hold the thermostat control knob down for approximately 30-60 seconds to allow the thermocouple to heat up and hold the pilot flame.
- Release the knob. If the pilot flame extinguishes, repeat steps 3-5.
- Once the pilot flame is stable, turn the thermostat control knob to your desired heat setting (e.g., 3, 4, 5, or High/Medium/Low). The main burner will ignite.
NOTE: It is recommended to perform the first ignition outdoors or in a well-ventilated area, as a thin oil layer on internal components may burn off, causing a temporary odor or light smoke.
4.3 Adjusting Heat Output
Rotate the thermostat control knob to adjust the heat output. Higher numbers or "High" settings will provide more heat, while lower numbers or "Low" settings will reduce the heat output. The heater will cycle on and off to maintain the set temperature.
Video 4.2: A demonstration of the ProCom Natural Gas Ventless Infrared Plaque Heater, highlighting its features and operation. Note: This video shows a natural gas model, but the operational principles for ignition and thermostat control are similar for the propane model.
5. Maintenance
Regular maintenance ensures the safe and efficient operation of your ProCom heater. Always disconnect the heater from the propane supply and allow it to cool completely before performing any maintenance.
- Cleaning: Keep the exterior of the heater clean. Use a soft, damp cloth to wipe down surfaces. Do not use abrasive cleaners or solvents. Ensure the air intake and exhaust vents are free from dust and debris.
- Pilot and Burner Inspection: Periodically inspect the pilot and main burner for any obstructions or unusual flame patterns. If the pilot flame appears weak or yellow, or if the main burner flames are not blue, contact a qualified service technician.
- Gas Line Inspection: Regularly check the gas supply line and connections for any signs of wear, damage, or leaks.
- Storage: If storing the heater for an extended period, disconnect it from the propane supply, clean it thoroughly, and store it in a dry, safe place.
6. Troubleshooting
Before contacting customer service, review the following common issues and their solutions:
| Problem | Possible Cause | Solution |
|---|---|---|
| Heater does not ignite or pilot light won't stay lit. |
|
|
| Heater produces an odor or light smoke on first use. | Protective oil coating burning off. | This is normal for initial operation. Ensure good ventilation. Odor/smoke should dissipate quickly. |
| Control knob does not function correctly at low settings (e.g., 1 or 2). | Possible manufacturing tolerance or design characteristic. | Ensure the knob is set to a position where the burner reliably ignites (e.g., 3 or higher). If persistent, contact customer support. |
| Heater makes a weird noise during ignition. | Intermittent ignition issue or gas flow problem. | Ensure gas supply is stable. If noise persists or ignition is unreliable, contact a qualified technician. |
7. Specifications
| Brand | ProCom |
| Model Number | ML250TPA-B |
| Fuel Type | Liquid Propane |
| BTU Output | 25,000 BTU |
| Heating Coverage | Up to 1150 sq. ft. |
| Special Feature | Overheat Protection, Oxygen Depletion Sensor (ODS) |
| Color | White |
| Form Factor | Pedestal (with base feet) |
| Indoor/Outdoor Usage | Indoor |
| Product Dimensions (D x W x H) | 8"D x 26.63"W x 23.5"H |
| Mounting Type | Floor Mount, Wall Mount |
| Number of Speeds | 3 (High/Medium/Low thermostat settings) |
| Minimum Temperature Setting | 40 Degrees Fahrenheit |
| Item Weight | 34.6 pounds |
| UPC | 848660008338 |
8. Warranty and Support
For warranty information, please refer to the documentation included with your product or visit the official ProCom website. It is important to retain your proof of purchase for any warranty claims.
Note on Warranty Claims: Some warranty processes may require specific documentation, such as a professional pressure reading of your propane system, to validate claims. Please review the warranty terms carefully.
For technical assistance, replacement parts, or further inquiries, please contact ProCom customer service through their official channels.
Related Documents - ML250TPA-B
 |
ProCom PCTT360 Infra-Red Tank Top Heater Owner's Manual Comprehensive owner's manual for the ProCom PCTT360 360-degree infra-red tank top heater. Includes safety instructions, assembly, operation, troubleshooting, and warranty information. |
 |
Procom NEW PRO-9900 AM/FM Citizens Band 2-Way Radio User Manual User manual for the Procom NEW PRO-9900 AM/FM Citizens Band 2-Way Radio, detailing its functions, operations, features, and technical specifications for optimal use. |
 |
ProCom Vent-Free Fireplace Owner's Operation and Installation Manual This manual provides essential safety, installation, operation, and maintenance instructions for ProCom FBN400RHA, FBL400RHA, FBN400TYLA, and FBL400TYLA series vent-free gas fireplaces. |
 |
PROCOM Atlas Loud Mouth Digital Wireless Intercom User Manual This user manual provides comprehensive information on the PROCOM Atlas Loud Mouth Digital Wireless Intercom, including its features, operation, specifications, safety guidelines, and FCC compliance. |
 |
ProCom Heating Vent-Free Gas Space Heater: Operation & Installation Manual This manual provides essential guidance for the safe operation and installation of ProCom Heating's vent-free gas space heaters (MN180TPA-B, ML150TPA-B, MN300TPA-B, ML250TPA-B), covering safety, installation, operation, maintenance, and troubleshooting. |
 |
ProCom Heating Vent-Free Gas Space Heater: Operation and Installation Manual Comprehensive guide for ProCom Heating vent-free gas space heaters, covering installation, operation, safety, maintenance, and troubleshooting for models MN180TPA-B, ML150TPA-B, MN300TPA-B, and ML250TPA-B. |
Ask a question about this manual
Ask about setup, troubleshooting, compatibility, parts, safety, or missing instructions. Manuals+ will review the question and use this page’s manual context to help answer it.