Introduction
Thank you for choosing the Olelica Automatic Cat & Dog Food Dispenser. This programmable feeder is designed to simplify your pet feeding routine, ensuring your beloved companion receives timely and appropriate meals. With its 5L capacity, voice recording feature, and dual power supply, it offers convenience and peace of mind for pet owners.

Figure 1: Olelica Automatic Cat & Dog Food Dispenser.
Key Features
- Precision Feeding Schedule: Schedule 1-6 meals per day, with up to 8 portions (10g each) per meal.
- Optimal Food Capacity: 5L (21 cup) capacity for several days of feeding. Features an anti-clog design.
- Secure Twist-Lock Storage: Maintains food freshness and prevents pet access. Suitable for dry kibbles sized 0.07-0.47in (2-12mm).
- 10-Second Voice Meal Call: Record a personalized message to call your pet at mealtime.
- Dual Power Mode: Operates with DC 5V adapter or 3x D batteries (not included) for power outage backup.

Figure 2: The feeder allows for precise control over feeding schedules, including meal frequency and portion sizes.

Figure 3: The voice recording feature allows you to call your pet to their meal.

Figure 4: The feeder supports both power adapter and D-cell batteries for continuous operation.
Setup Guide
Follow these steps to set up your Olelica Automatic Pet Feeder:
- Unpack Components: Carefully remove all components from the packaging. Ensure you have the main feeder unit, food tank, food tray, power adapter, and user manual.
- Install Batteries (Optional but Recommended): Open the battery cover on the bottom of the feeder. Insert three (3) D-type alkaline batteries (not included) for backup power. Close the battery cover securely.
- Connect Power Adapter: Connect the Type-C power cable to the port on the bottom of the feeder and plug the adapter into a wall outlet. It is highly recommended to use both battery and adapter for uninterrupted operation.
- Install Food Tray: Align the food tray with the base of the feeder and gently push it into place until it clicks securely.
- Assemble Food Tank: Place the transparent food tank onto the feeder base, ensuring it is properly seated from top to bottom.
- Fill Food Tank: Pour dry pet kibble into the food tank. Ensure kibble size is between 0.07-0.47 inches (2-12mm) to prevent blockages.
- Install Desiccant (Optional): Open the desiccant cap located on the underside of the lid. Insert the desiccant packet (included) and close the cap. This helps keep food fresh.
- Secure the Lid: First, tilt the lid into the slot on the food tank, then press down firmly to close the lid into place. This twist-lock design helps prevent pets from accessing the food.
Video 1: Detailed assembly and setup instructions for the Olelica Automatic Pet Feeder.
Operating Instructions
Setting the Current Time
- Unlock Screen: Press and hold the Lock/Unlock button (lock icon) for 3 seconds to unlock the screen.
- Enter Setting Mode: Press the Setting button (gear icon). The hour digits will start to flash.
- Set Hour: Use the Up and Down arrow buttons to adjust the hour.
- Set Minute: Press the Setting button again to move to the minute digits. Use the Up and Down arrow buttons to adjust the minute.
- Save Time: Press the Setting button one more time to save the current time.
Setting Feeding Schedule (Meals & Portions)
You can set up to 6 meals per day with customizable portion sizes.
- Enter Meal Setting: After setting the current time, the display will show "Meal 1" flashing.
- Set Meal Time: Use the Up and Down arrow buttons to set the desired hour for Meal 1. Press Setting to confirm the hour and move to minutes. Adjust minutes with arrow buttons.
- Set Portion Size: After setting the meal time, the portion digits will flash. Use the Up and Down arrow buttons to select the number of portions (1-8) for this meal.
- Save Meal 1 & Proceed: Press Setting to save Meal 1's configuration. The display will then automatically move to "Meal 2" for you to repeat the process.
- Repeat for All Meals: Continue setting times and portions for up to 6 meals. If you do not wish to set all 6 meals, simply press Setting repeatedly until you exit the meal setting mode.
Voice Recording
Record a 10-second message to play at meal times.
- Start Recording: Press and hold the Microphone button (microphone icon) until you hear a "Beep" sound.
- Record Message: Speak your message (up to 10 seconds) into the microphone.
- End Recording: Release the Microphone button to finish recording. The message will play automatically at scheduled meal times.
- Change Recording: To change the recording, simply press and hold the Microphone button again to record a new message.
Manual Feeding
To dispense food manually outside of scheduled times:
- Dispense One Portion: Briefly press the Manual Feed button (paw print icon). One portion of food will be dispensed into the tray.
Maintenance and Cleaning
Regular cleaning ensures hygiene and proper functioning of your feeder.
- Disconnect Power: Unplug the power adapter and remove the D-type batteries from the base.
- Disassemble: Remove the food tank and food tray from the main unit.
- Cleaning Components:
- Food Tank & Food Tray: These components are detachable and can be hand-washed with mild soap and water. Ensure they are completely dry before reassembly.
- Main Unit & Lid: Wipe the main unit and the lid with a damp cloth. Do not submerge the main unit in water.
- Reassemble: Once all parts are clean and dry, reassemble the feeder by following the setup steps in reverse order.
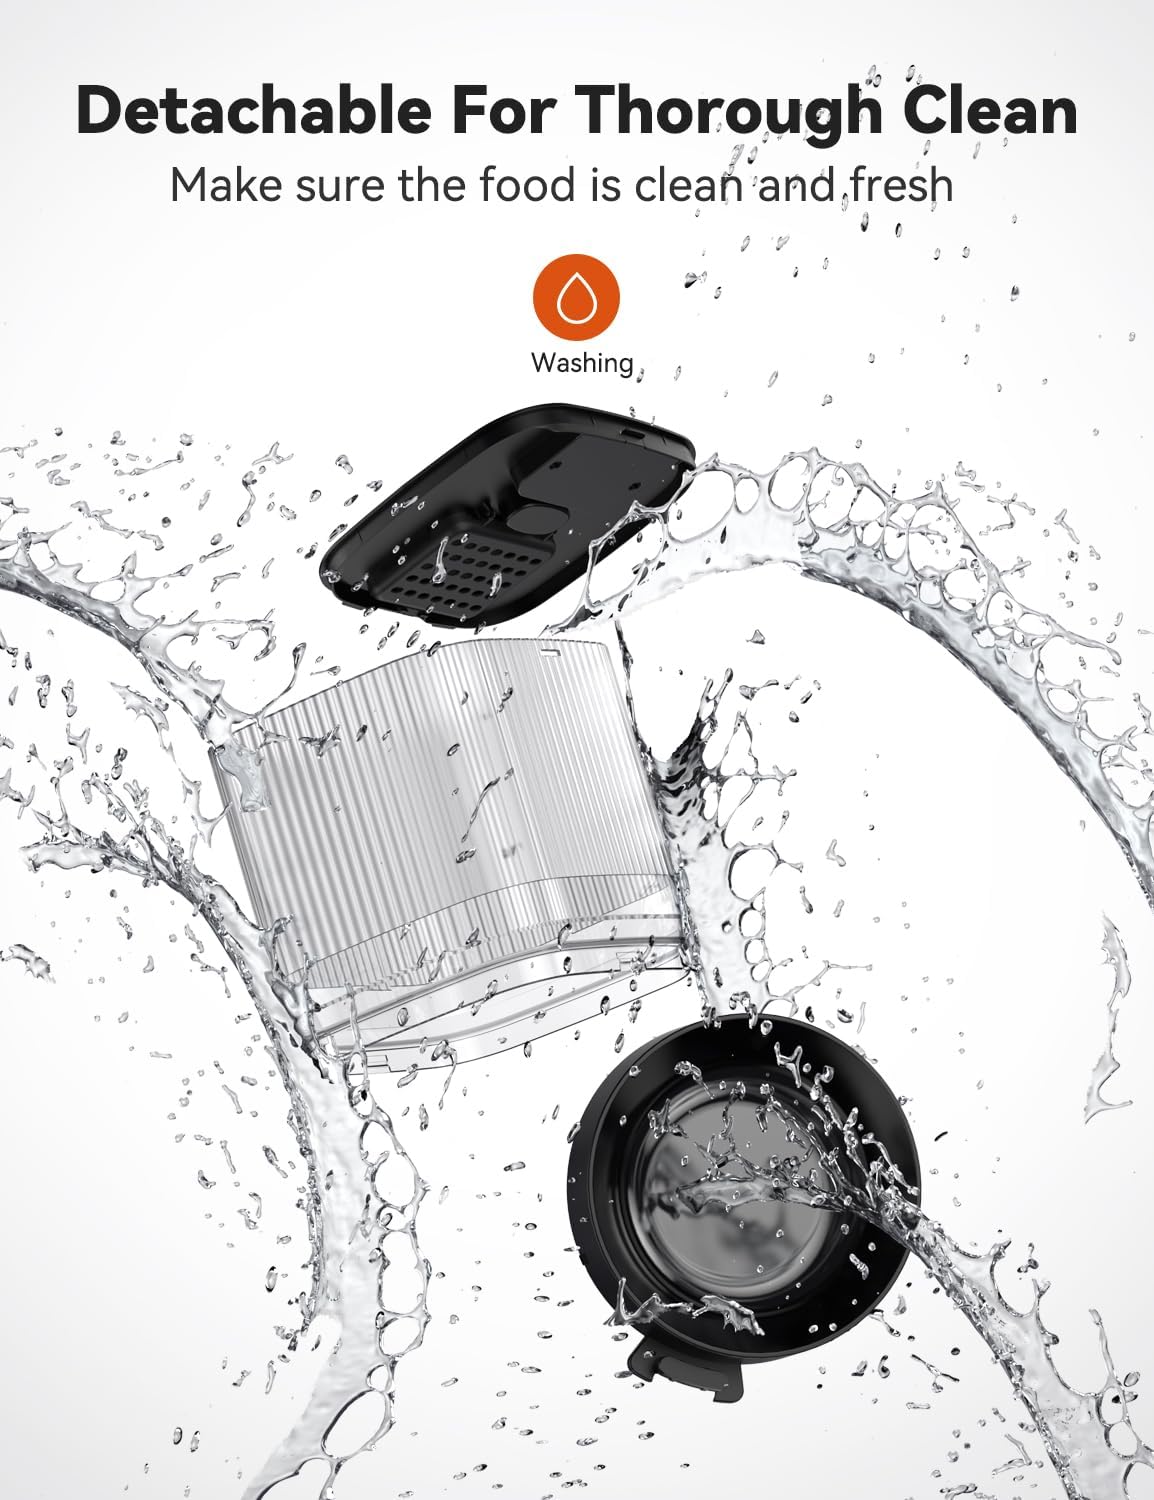
Figure 5: The feeder's components are designed for easy detachment and cleaning.
Troubleshooting
| Problem | Possible Cause | Solution |
|---|---|---|
| Feeder not powering on. | No power from adapter or dead batteries. | Check if the power adapter is securely plugged in. Replace D-type batteries if using battery power. Ensure both power sources are functional. |
| Food not dispensing. | Food tank empty, kibble size too large, or food blockage. | Refill food tank. Ensure kibble size is within 0.07-0.47 inches (2-12mm). Check for and clear any food blockages in the dispenser mechanism. |
| Timer/Schedule inaccurate. | Incorrect time setting or internal error. | Re-set the current time and feeding schedule carefully. If issues persist, perform a factory reset. |
| Voice recording unclear or not playing. | Recording issue or low volume. | Re-record the voice message, ensuring clear speech. Check if the volume is set appropriately (if adjustable). |
Restore Factory Setting
To reset the feeder to its original factory settings:
- Press and hold the Setting button (gear icon) and the Up arrow button simultaneously for 3 seconds until you hear a "Beep" sound. The display will reset to "00:00" and "Portion: 00".
Specifications
- Brand: Olelica
- Model Number: X09
- Capacity: 5L (21 cups)
- Material: BPA free
- Color: Black
- Item Dimensions (LxWxH): 6 x 5 x 7 inches
- Item Weight: 2.93 Pounds
- Power Supply: DC 5V adapter (included), 3 x D alkaline batteries (not included)
- Recommended Kibble Size: 0.07-0.47 inches (2-12mm)
- Care Instructions: Hand Wash Only (detachable parts)
- Target Species: Cats, Dogs
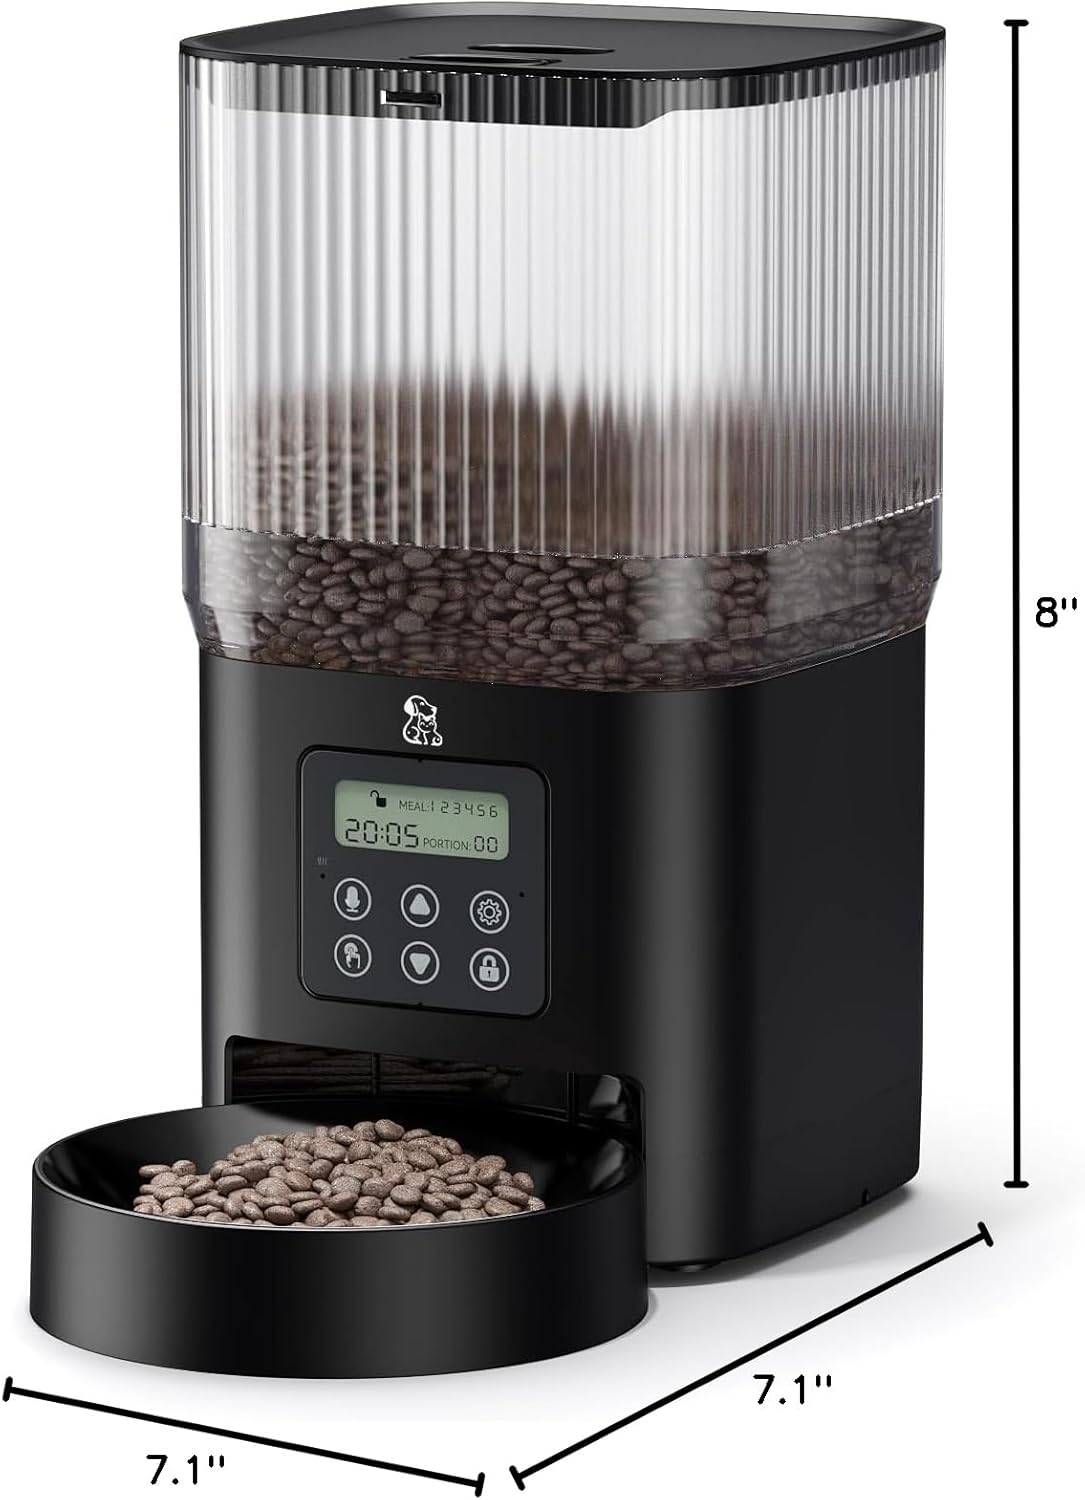
Figure 6: Product dimensions for placement planning.

Figure 7: Visual guide for recommended dry food kibble sizes.
Warranty and Support
Information regarding product warranty and customer support was not provided in the available data. Please refer to the manufacturer's official website or contact their customer service directly for details on warranty coverage, technical support, and service options.