1. Introduction
This manual provides detailed instructions for the installation, programming, and operation of your HIDALIFE HL668 Keyless Entry Door Lock. Please read this manual thoroughly before installation and use to ensure proper function and to maximize the lifespan of your lock.
The HIDALIFE HL668 is an electronic keypad door lock designed for convenience and security, featuring a touchscreen, auto-locking capabilities, and an anti-peep password function. It is suitable for various residential and commercial applications.

Image 1.1: Front view of the HIDALIFE HL668 Keyless Entry Door Lock in Satin Nickel.
2. Safety Information
- Do not attempt to disassemble or modify the lock. This may cause damage and void the warranty.
- Use only the specified battery type (4 AAA batteries, not included).
- Avoid exposing the lock to direct sunlight or rain for extended periods.
- Keep all keys and programming codes in a secure location.
- Ensure the door closes and latches properly before relying on the lock for security.
3. Product Features
- Touchscreen Keypad: Eliminates physical buttons, features a gentle blue backlight for low-light visibility.
- Mechanical Key Access: Provides a traditional key override for emergency access.
- Anti-Peep Password: Allows entry of random digits before and after the correct password to prevent code exposure.
- Auto-Locking Function: Automatically locks the door after a set period (default 5 seconds).
- Interchangeable Door Handle: Designed to fit both left and right-handed doors.
- Durable Construction: Made from zinc alloy, tested for 250,000 usage cycles and 240-hour salt spray resistance. Features an ANSI Grade 2 latch.

Image 3.1: Durability features of the HIDALIFE HL668 lock.
4. Installation
4.1 Package Contents
Verify that all components are present before beginning installation:
- Exterior Assembly (Keypad)
- Interior Assembly (Battery Cover, Thumb Turn)
- Latch Bolt
- Strike Plate
- Mounting Plate
- Spindle
- Mounting Screws
- Mechanical Keys (2)
- Hexagon Screwdriver
- User Guide
4.2 Door Compatibility
The HIDALIFE HL668 is designed to fit most US standard doors. Please check your door's specifications:
- Door Holes: 2-1/8 inches (54mm) diameter. Does not fit 38mm door holes.
- Backset: Adjustable for 2-3/8 inches (60mm) or 2-3/4 inches (70mm).
- Door Thickness: 1.38 inches to 1.97 inches (35mm to 50mm).
- Latch Hole: Compatible with rectangular latch holes. Not compatible with rounded latch holes.
The lock is compatible with standard deadbolt and handle setups. It is not compatible with Rim Cylinder, Mortise, or Integrated lock systems.

Image 4.1: Door compatibility overview.

Image 4.2: Detailed door measurements for installation.
4.3 Installation Steps
- Prepare the Door: Ensure your door meets the compatibility requirements. If necessary, adjust the backset of the latch bolt.
- Install the Latch Bolt: Insert the latch bolt into the door edge. Ensure the 'UP' arrow on the latch is facing upwards. Secure with screws.
- Install Exterior Assembly: Feed the cable and spindle through the door hole. Align the exterior assembly with the latch bolt.
- Install Mounting Plate: Secure the mounting plate to the door using screws, ensuring the cable passes through the plate.
- Connect Cables and Install Interior Assembly: Connect the cable from the exterior assembly to the interior assembly. Mount the interior assembly onto the mounting plate, ensuring the spindle engages correctly. Secure with screws.
- Install Batteries: Insert 4 AAA batteries into the battery compartment of the interior assembly.
- Test the Lock: Perform a functional test using the mechanical key and the default programming code (refer to Section 5.1).

Image 4.3: Door preparation for installation.

Image 4.4: Latch bolt installation.

Image 4.5: Exterior assembly installation.
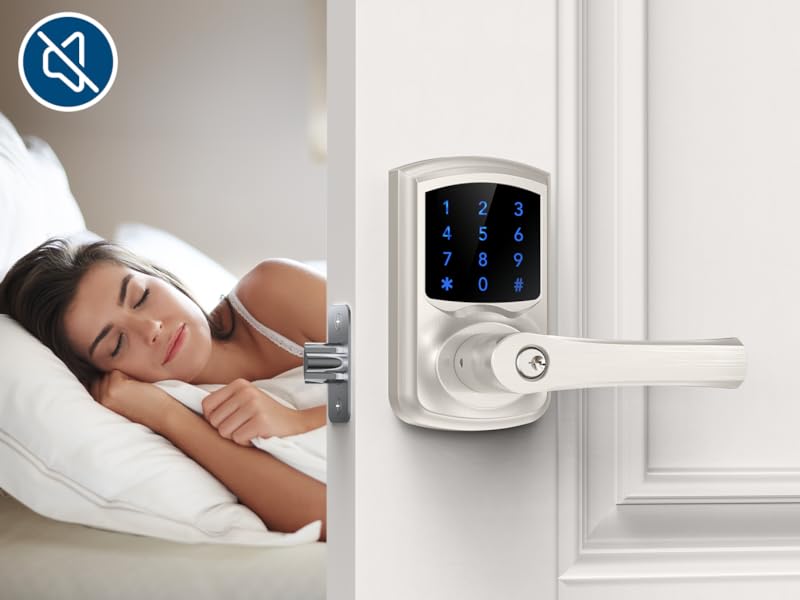
Image 4.6: Interior assembly installation.
5. Operation
5.1 Initial Setup and Programming Code
Upon first use or after a factory reset, the lock will have a default programming code. It is recommended to change this immediately.
- To Change Programming Code:
- Press the 'Program' button (usually located on the interior assembly).
- Enter the current Programming Code (default is often 123456).
- Press '#'.
- Enter the new Programming Code (4-10 digits).
- Press '#'.
- Re-enter the new Programming Code.
- Press '#'.
5.2 Adding User Codes
The lock supports up to 9 user codes.
- To Add a User Code:
- Press the 'Program' button.
- Enter the Programming Code.
- Press '#'.
- Press '1' (for Add User Code).
- Enter the new User Code (4-10 digits).
- Press '#'.
- Re-enter the new User Code.
- Press '#'.
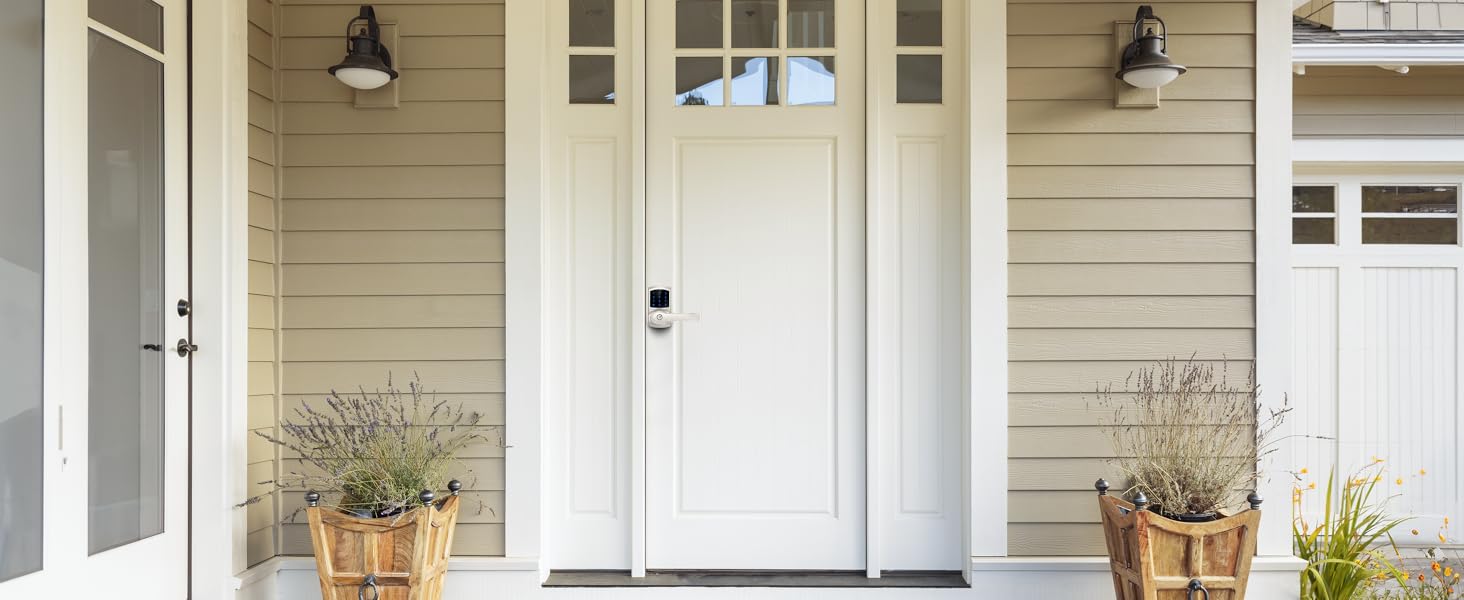
Image 5.1: Multiple user code capability.
5.3 Deleting User Codes
- To Delete a User Code:
- Press the 'Program' button.
- Enter the Programming Code.
- Press '#'.
- Press '2' (for Delete User Code).
- Enter the User Code to be deleted.
- Press '#'.
5.4 Unlocking the Door
- Using Keypad:
- Touch the keypad to activate it.
- Enter a valid User Code.
- Press '#'.
- Turn the handle to open the door.
- Using Mechanical Key:
- Insert the mechanical key into the keyhole.
- Turn the key clockwise.
- Press the handle to open the door.
5.5 Locking the Door
- Automatic Locking: The lock will automatically engage after 5 seconds if the auto-lock function is enabled.
- Manual Locking: Press and hold '#' on the keypad for 2 seconds.
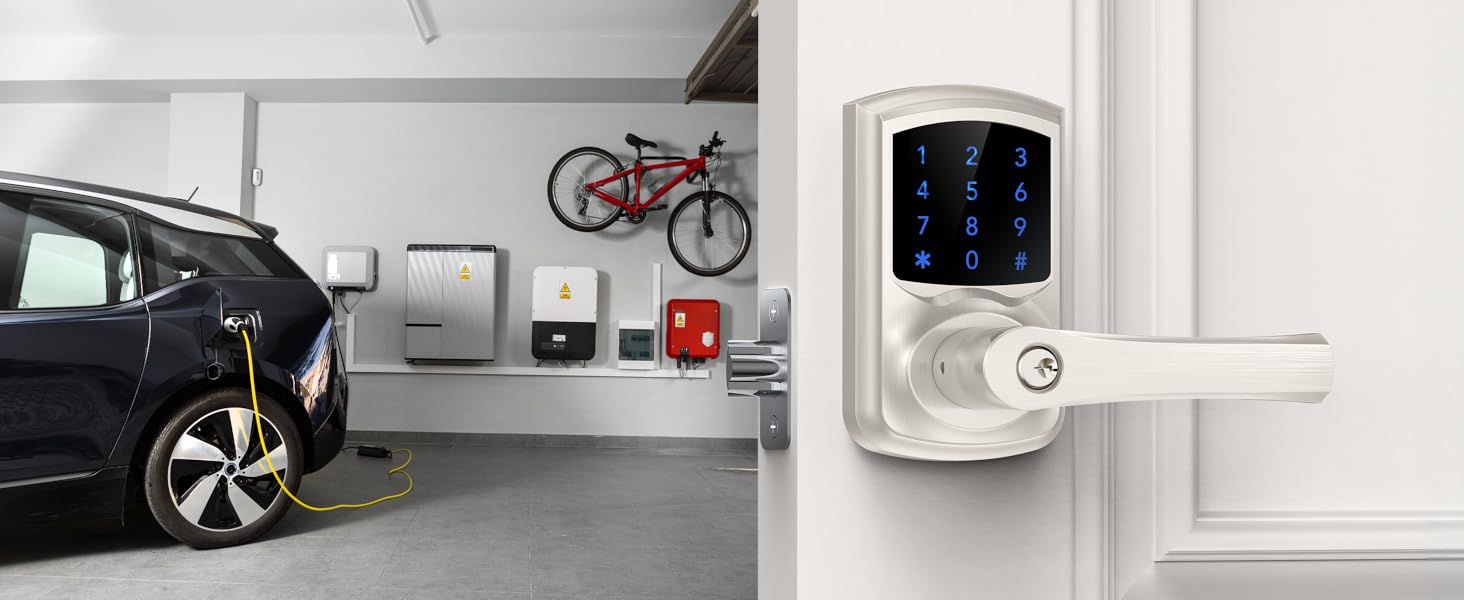
Image 5.2: Auto-lock function in action.
5.6 Anti-Peep Password Function
To enhance security, you can enter random digits before or after your actual user code. The lock will still recognize the correct sequence within the longer entry.
- Example: If your code is 1234, you can enter 5671234890 and the lock will unlock.

Image 5.3: Anti-peep password explanation.
5.7 Passage Mode
Passage mode allows the door to remain unlocked for continuous access without requiring a code. To activate/deactivate passage mode, refer to the specific programming instructions in your detailed user guide.
6. Maintenance
6.1 Battery Replacement
The lock requires 4 AAA batteries. When batteries are running low, the lock will beep 10 times after unlocking to remind you to replace them.
- To Replace Batteries:
- Remove the battery cover on the interior assembly.
- Remove old batteries.
- Insert 4 new AAA batteries, ensuring correct polarity.
- Replace the battery cover.

Image 6.1: Low battery alarm indication.
6.2 Cleaning
Wipe the lock's exterior with a soft, damp cloth. Avoid using abrasive cleaners or solvents, as these can damage the finish and electronic components.
7. Troubleshooting
- Lock does not respond: Check battery levels and replace if necessary. Ensure the cable connection between the exterior and interior assemblies is secure.
- Keypad is not lighting up: Replace batteries. If the issue persists, contact customer support.
- Door does not lock/unlock with code: Verify that the correct user code is being entered. Ensure the auto-lock function is enabled if desired. Check for any obstructions in the door frame or latch bolt.
- Mechanical key does not work: Ensure the key is fully inserted and turned correctly. Check for any debris in the keyhole.
- Lock beeps continuously: This may indicate a low battery warning (10 beeps after unlocking) or a programming error. Refer to the specific beep codes in the full user guide or replace batteries.
8. Specifications
| Feature | Specification |
|---|---|
| Model Name | HL668 |
| Brand | HIDALIFE |
| Lock Type | Keypad |
| Material | Zinc Alloy |
| Color | Satin Nickel |
| Item Dimensions (L x W x H) | 7 x 6 x 4 inches |
| Item Weight | 4.31 pounds |
| Door Hole Compatibility | 2-1/8 inches (54mm) |
| Backset Compatibility | 2-3/8 inches (60mm) or 2-3/4 inches (70mm) |
| Door Thickness Compatibility | 1.38 - 1.97 inches (35 - 50mm) |
| Power Source | 4 x AAA Batteries (not included) |
| Special Features | Keyless Entry, Anti-peep password, Touchscreen, Auto-Locking |
| Controller Type | Hand Control, Mechanical Knob |
9. Warranty and Support
For warranty information and technical support, please refer to the contact details provided with your product packaging or visit the official HIDALIFE website. Keep your purchase receipt for warranty claims.


