Introduction
This manual provides detailed instructions for the setup, operation, and maintenance of your HIDALIFE Temporary Fence Plastic Fence with Posts. This product is designed to create a temporary safety barrier for various outdoor applications, including gardens, pet containment, and crowd control. Please read these instructions carefully before installation and use to ensure proper functionality and safety.
Product Components
Your HIDALIFE Temporary Fence kit includes the following items:
- Plastic Netting Mesh: One roll, 40 inches high, available in 82 feet or 100 feet length. Made from high-density polyethylene (HDPE).
- Steel Posts: 21 pieces of 47-inch high steel posts, 0.45 inches in diameter, coated with plastic for durability and rust resistance.
- Zip Ties: 100 pieces for securing the fence to the posts.
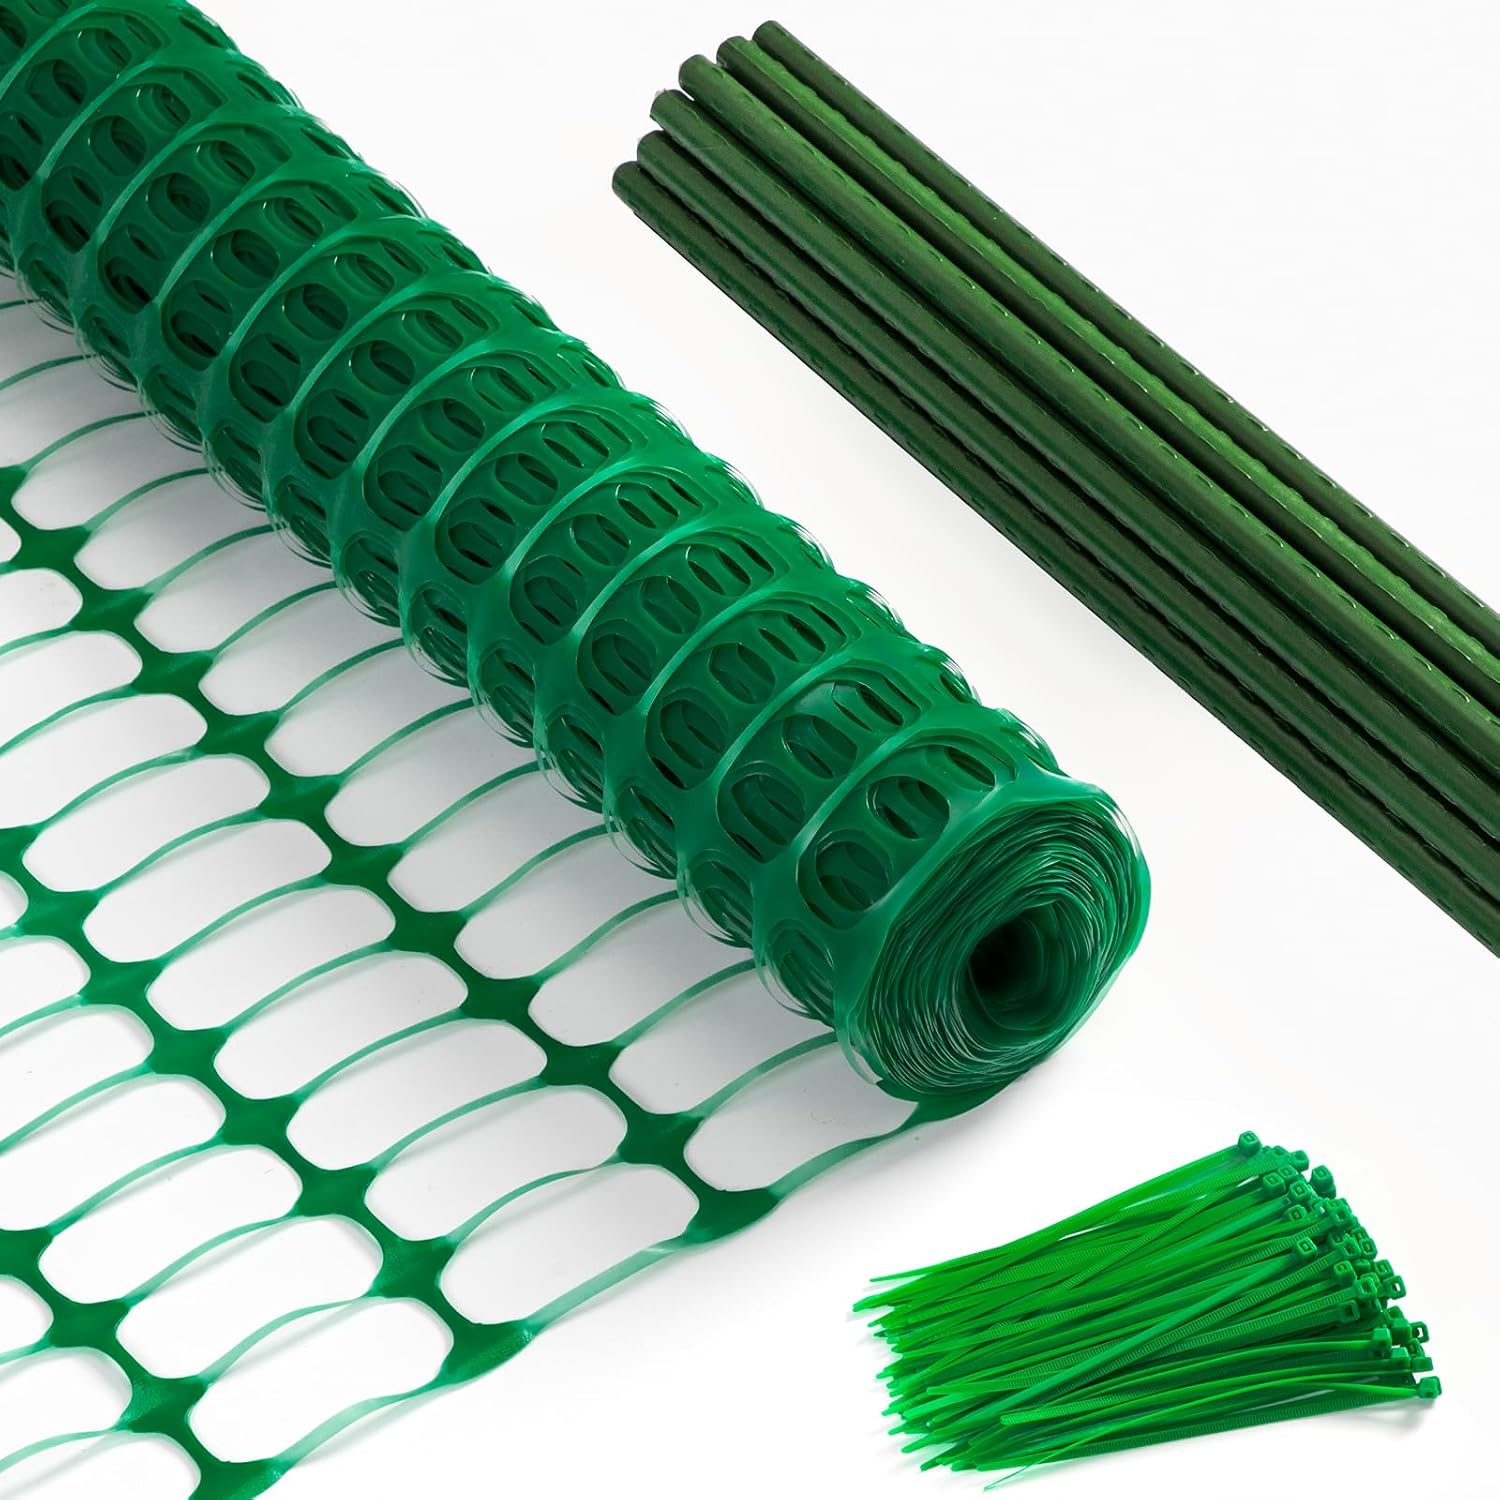
Image: Overview of the HIDALIFE Temporary Fence components, including the rolled plastic mesh, steel posts, and zip ties.

Image: Detailed view of the green garden stakes, highlighting their construction and design for easy installation.
Setup Instructions
- Plan Your Layout: Determine the area where you intend to install the temporary fence. Measure the perimeter to ensure you have sufficient fence length.
- Mark Post Locations: Mark the positions for your steel posts. For optimal stability, space posts approximately 3 to 4 feet apart. Consider wetting the ground slightly to make post insertion easier.
- Insert Posts: Insert the sharp end of each steel post into the ground, ensuring it is at least 3 inches deep for stability. The posts are 47 inches high, and the fence is 40 inches high, allowing for proper ground insertion without needing to cut the fence height.
- Attach Fence Mesh: Unroll the plastic netting mesh along your marked perimeter. Align the fence with the inserted posts.
- Secure with Zip Ties: Use the provided zip ties to attach the fence mesh to each post. Secure the fence every 3.5 feet along the post to prevent sagging and ensure a taut barrier.
- Adjust Length: If the fence roll is longer than required, household scissors can be used to cut the mesh to the appropriate custom fit.

Image: Visual guide illustrating the two primary steps for fence installation: securing the mesh to the post with zip ties and inserting the post into the ground.

Image: Step-by-step diagram detailing the process of setting up the temporary fence, from marking the area to securing the mesh.
Operating Instructions (Usage)
The HIDALIFE Temporary Fence is versatile and can be used for various purposes:
- Garden Protection: Protect garden beds, plants, and crops from small animals such as rabbits, chickens, or other pests.
- Pet Containment: Create a temporary enclosure or barrier to keep dogs or other pets within a designated area or prevent them from accessing certain zones.
- Safety Barrier: Establish a temporary safety perimeter around construction areas, hazards, or for crowd control at events.
- Snow Fencing: Can be utilized as a temporary snow fence to help control snow drifts.
The fence's high-density polyethylene construction ensures durability against various weather conditions and minor impacts from animals.
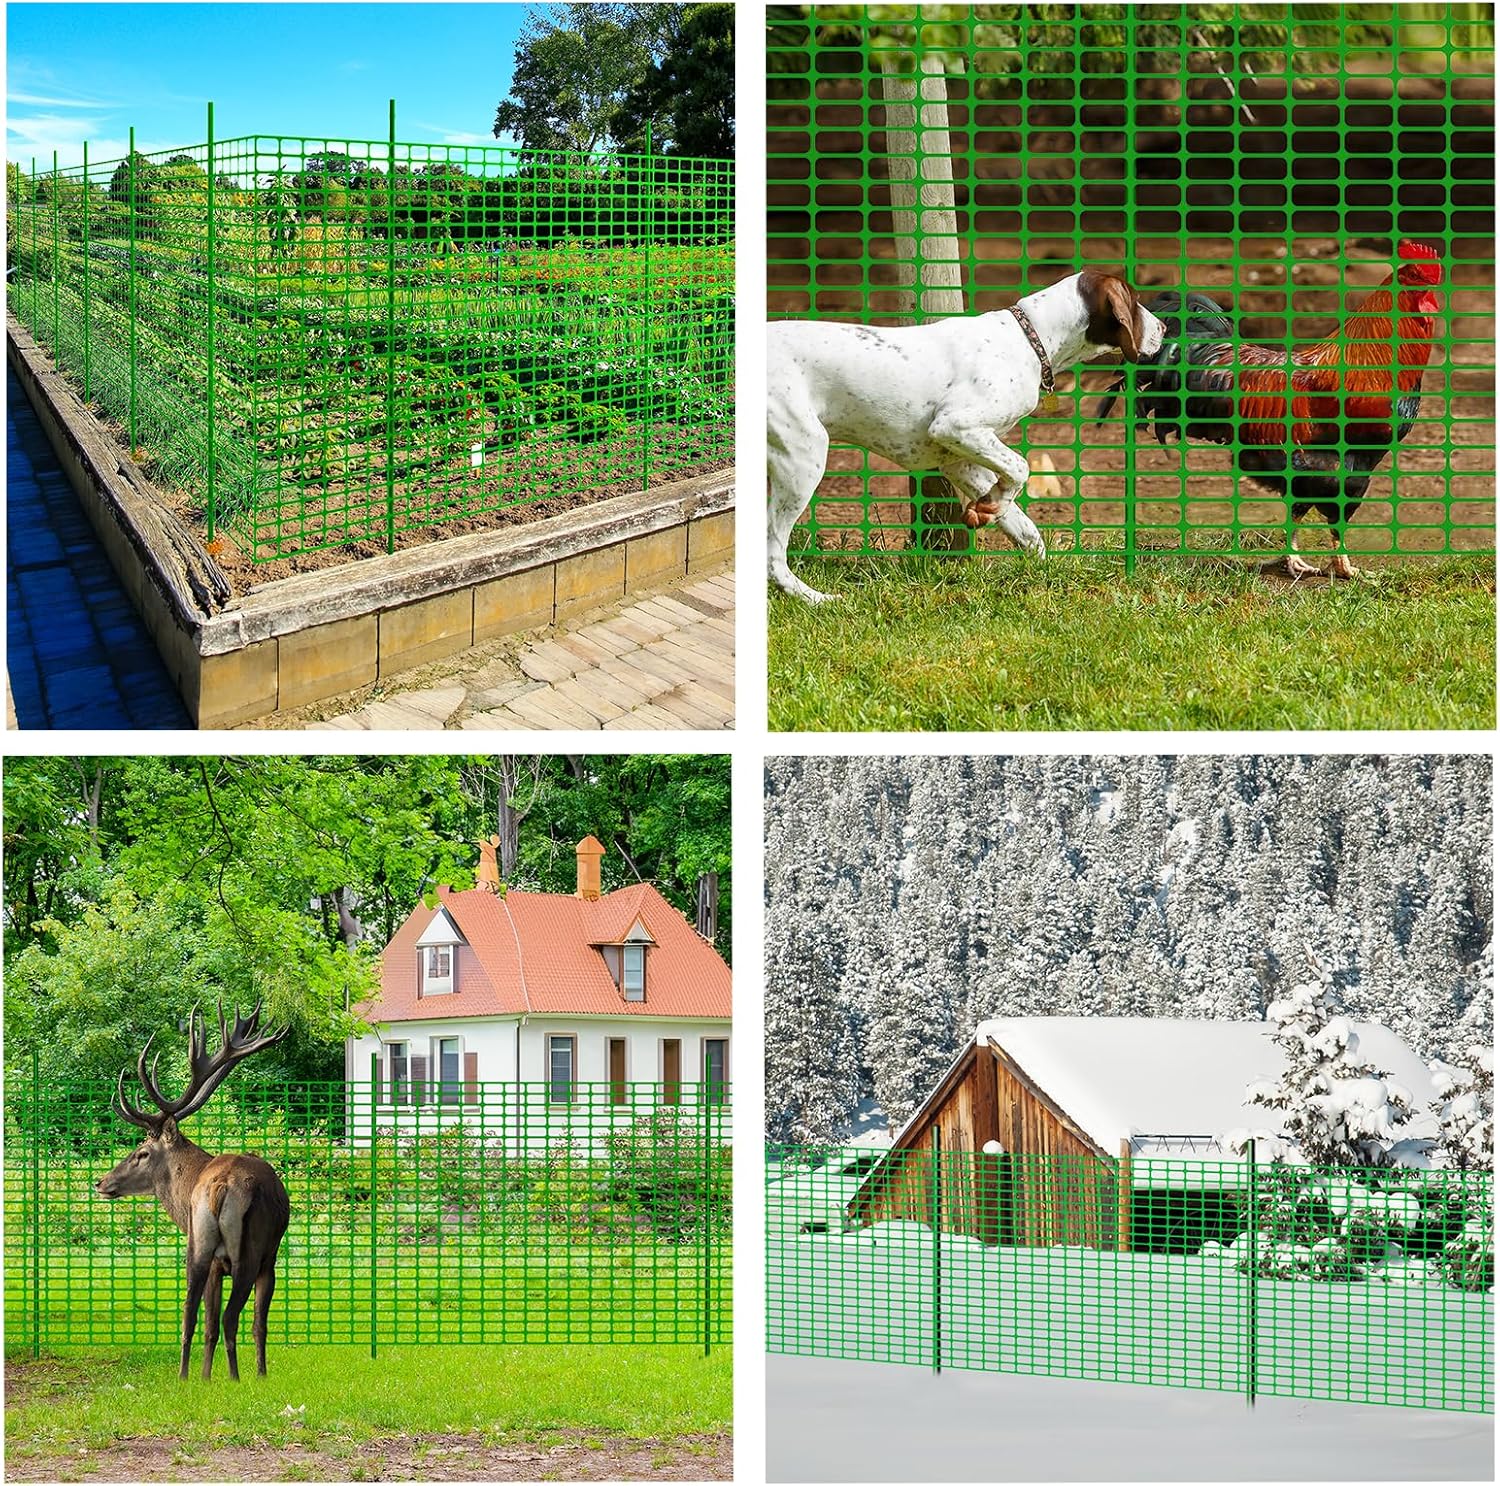
Image: Examples of the temporary fence in use for garden protection, pet separation, wildlife deterrence, and snow management.
Maintenance
The HIDALIFE Temporary Fence requires minimal maintenance due to its durable construction.
- Cleaning: If the fence becomes dirty, it can be cleaned with water and a mild detergent. Rinse thoroughly and allow to air dry.
- Inspection: Periodically inspect the fence mesh and posts for any signs of damage, such as tears in the mesh or bent posts. Replace damaged components as necessary to maintain effectiveness.
- Storage: When not in use, the fence can be easily rolled up and stored in a dry place. This portability allows for convenient reuse.
Troubleshooting
| Problem | Possible Cause | Solution |
|---|---|---|
| Fence sagging or collapsing | Insufficient post depth; posts spaced too far apart; strong winds; soft soil. | Ensure posts are inserted at least 3 inches deep into firm ground. Reduce spacing between posts to 3 feet. Add additional posts or reinforce existing ones in areas prone to high wind or soft soil. Ensure zip ties are securely fastened and taut. |
| Animals breaching the fence | Fence not tall enough; gaps at the bottom; determined animals. | Ensure the fence height is adequate for the animals you are deterring. Bury the bottom edge of the fence slightly or secure it to the ground with additional stakes (not included) to prevent animals from going underneath. |
| Difficulty inserting posts | Hard or dry soil. | Water the ground in the intended post locations a few hours before installation to soften the soil. |
Specifications
| Feature | Detail |
|---|---|
| Brand | HIDALIFE |
| Model Number | Garden fence 100 |
| Material | High-Density Polyethylene (HDPE), Plastic, Steel |
| Color | Light Green |
| Fence Dimensions | 40 inches (Height) x 82 feet or 100 feet (Length) |
| Post Height | 47 inches |
| Post Diameter | 0.45 inches |
| Assembly Required | Yes |
| Included Components | Plastic fence roll, Steel posts, Zip ties |
| Item Weight | Approximately 14.17 pounds (for 100ft version) |
Warranty and Support
Specific warranty information for the HIDALIFE Temporary Fence is not provided in the product details. For any questions regarding warranty, product support, or replacement parts, please contact HIDALIFE customer service directly through their official channels or the retailer where the product was purchased.


