1. Introduction
The ILIHOME I22 Endoscope Camera is a versatile inspection tool designed for examining hard-to-reach areas. It features a 4.5-inch IPS display, a 5-meter detachable cable with an IP67 waterproof lens, 1080p HD resolution, and 8 adjustable LED lights for optimal illumination. This manual provides essential instructions for the safe and effective use of your device.

The ILIHOME I22 Endoscope Camera system, including the main display unit, the flexible inspection cable with camera, and a protective carrying case.
2. Package Contents
Please check the package contents upon receipt to ensure all items are present:
- ILIHOME I22 Digital Endoscope Unit
- 5-meter Detachable Camera Cable with 8mm Lens
- Accessories: Hook, Side Mirror, Magnet
- USB Charging Cable
- Multi-language User Manual
- Carrying Bag
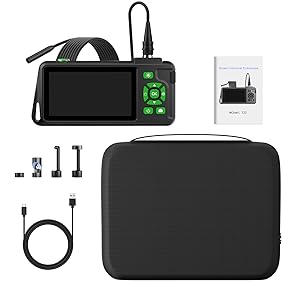
A comprehensive view of all items included in the package: the main unit, flexible cable, accessories, USB charging cable, and user manual, all neatly arranged with the carrying case.
3. Product Overview
The ILIHOME I22 Endoscope Camera is equipped with several features to enhance your inspection tasks:
- 4.5-inch IPS Screen: Provides a clear, wide-angle view of the inspection area.
- 1080p HD Resolution: Captures high-definition images and videos.
- 5-meter Detachable Cable: Offers flexibility and reach for various applications.
- IP67 Waterproof Lens: Allows for inspection in wet or submerged environments.
- 8 Adjustable LED Lights: Ensures adequate illumination in dark spaces.
- 3000mAh Battery: Provides extended operating time.
- Memory Card Support: Enables saving photos and videos for later review and sharing.
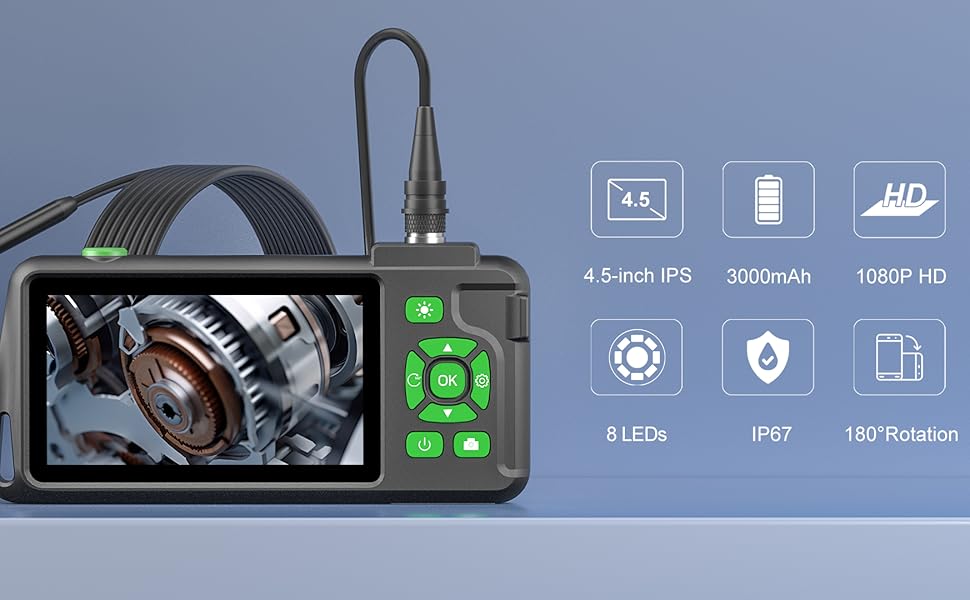
A visual summary of the endoscope camera's main features, including its 4.5-inch IPS screen, 3000mAh battery, 1080p HD resolution, 8 adjustable LEDs, IP67 waterproof rating, and 180-degree image rotation capability.
4. Setup
4.1 Charging the Device
- Connect the USB charging cable to the device's charging port.
- Plug the other end of the USB cable into a standard 5V/1A USB power adapter (not included).
- The charging indicator light will illuminate. The device is fully charged when the light changes or turns off (refer to the device's specific indicator behavior).
4.2 Attaching the Camera Cable
- Align the connector of the camera cable with the port on the main display unit.
- Gently push and twist the connector until it is securely fastened. Ensure a firm connection to prevent signal loss.

This image highlights the detachable cable feature, showing the secure connection point between the camera probe and the main display unit, allowing for easy storage and replacement.
4.3 Inserting a Memory Card
- Locate the memory card slot on the side of the device.
- Insert a compatible SD card (up to 32GB, Class 10 recommended) into the slot with the contacts facing down until it clicks into place.
- To remove, gently push the card in until it springs out.
5. Operating Instructions
5.1 Powering On/Off
- Power On: Press and hold the power button for a few seconds until the screen illuminates.
- Power Off: Press and hold the power button again until the screen turns off.
5.2 Adjusting LED Lights
The camera probe is equipped with 8 adjustable LED lights to illuminate dark inspection areas.
- Use the dedicated light adjustment button (often marked with a light bulb icon) on the main unit to cycle through different brightness levels.
- The main unit also features a high-brightness LED fill light for additional ambient illumination.
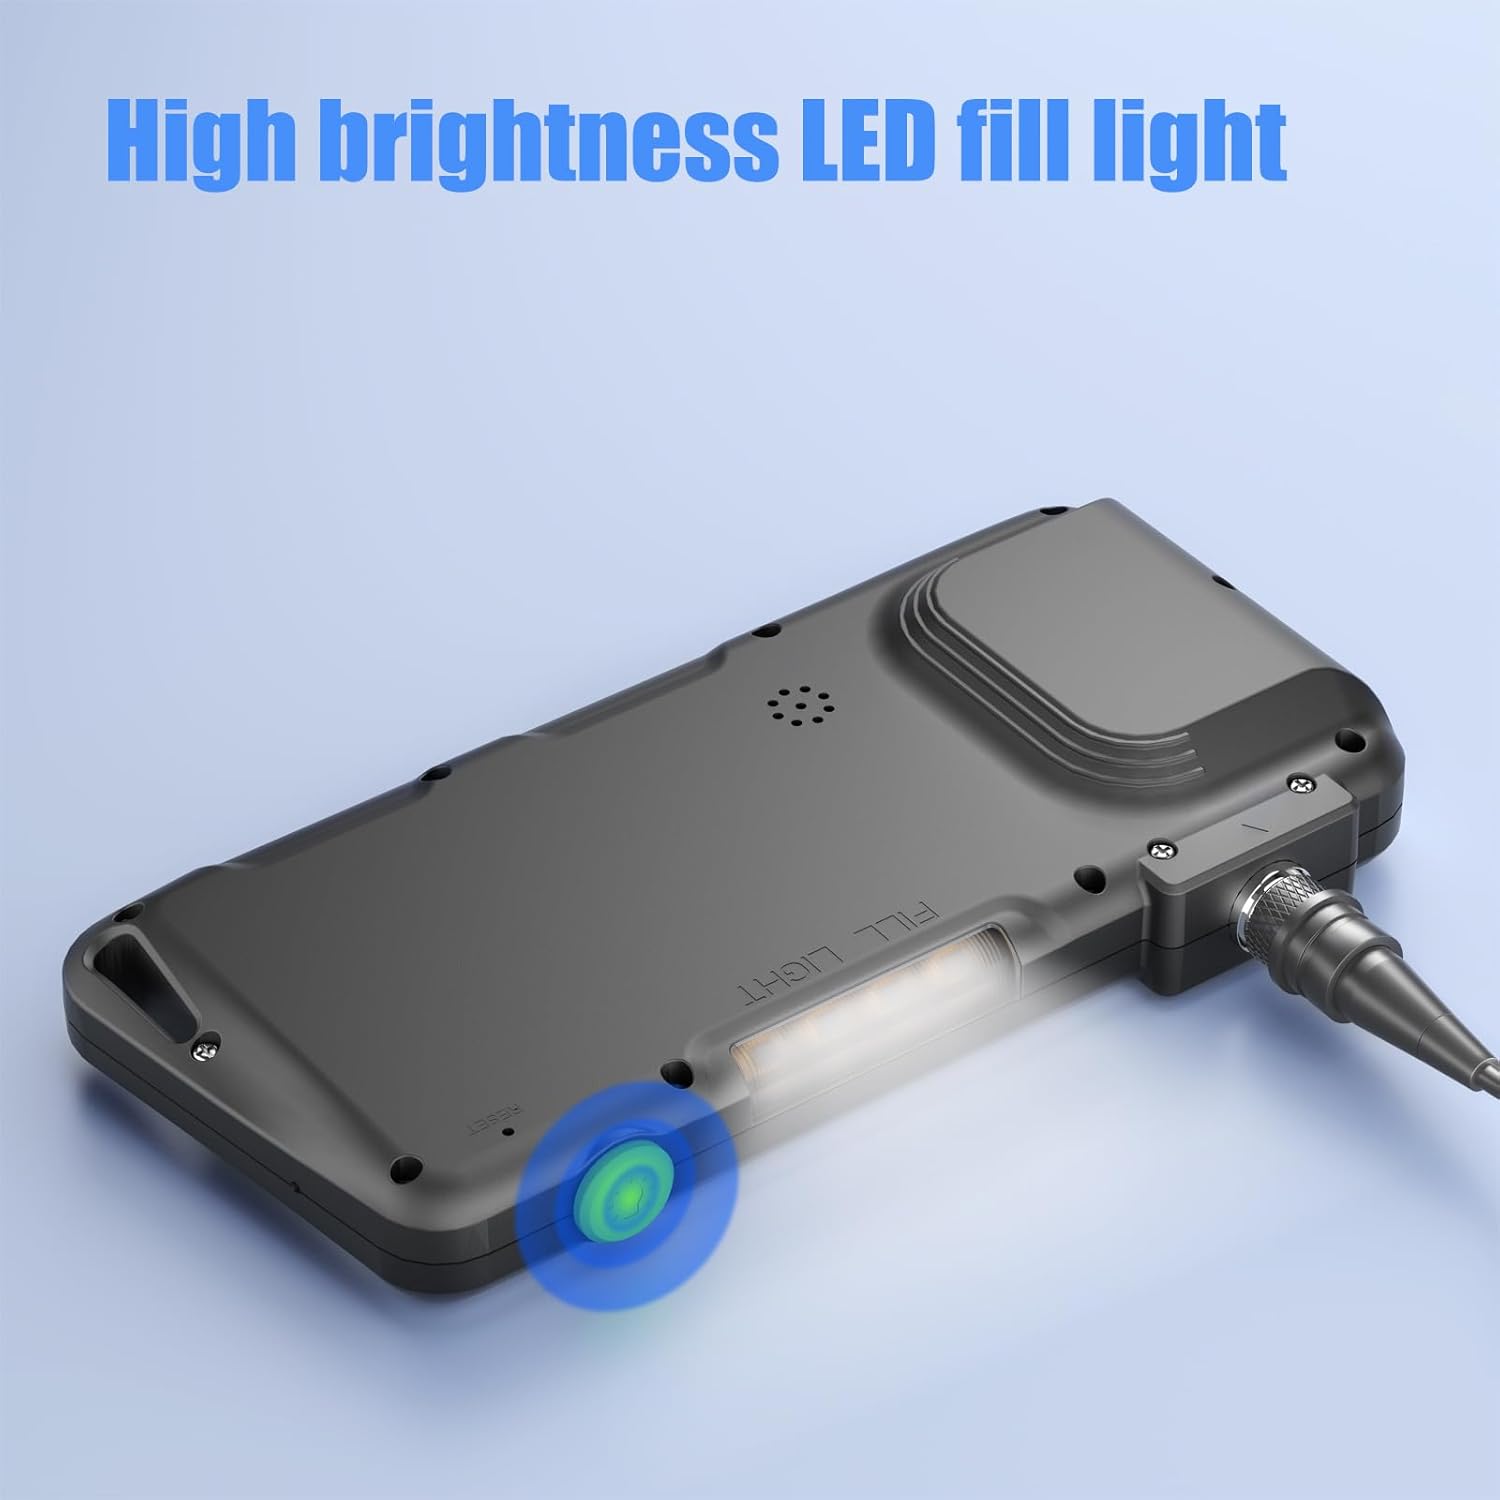
The underside of the main unit features a high-brightness LED fill light, providing additional illumination for the inspection area, enhancing visibility in dark environments.
5.3 Capturing Photos and Videos
Ensure a memory card is inserted before attempting to capture media.
- Take Photo: Press the photo button (often marked with a camera icon) to capture a still image.
- Record Video: Press the video button (often marked with a video camera icon) to start recording. Press it again to stop recording.
- All captured media will be saved to the inserted memory card.
5.4 Viewing Media
- Access the playback mode from the main menu to view saved photos and videos directly on the 4.5-inch IPS screen.
- Alternatively, remove the memory card and insert it into a computer or card reader to view files.
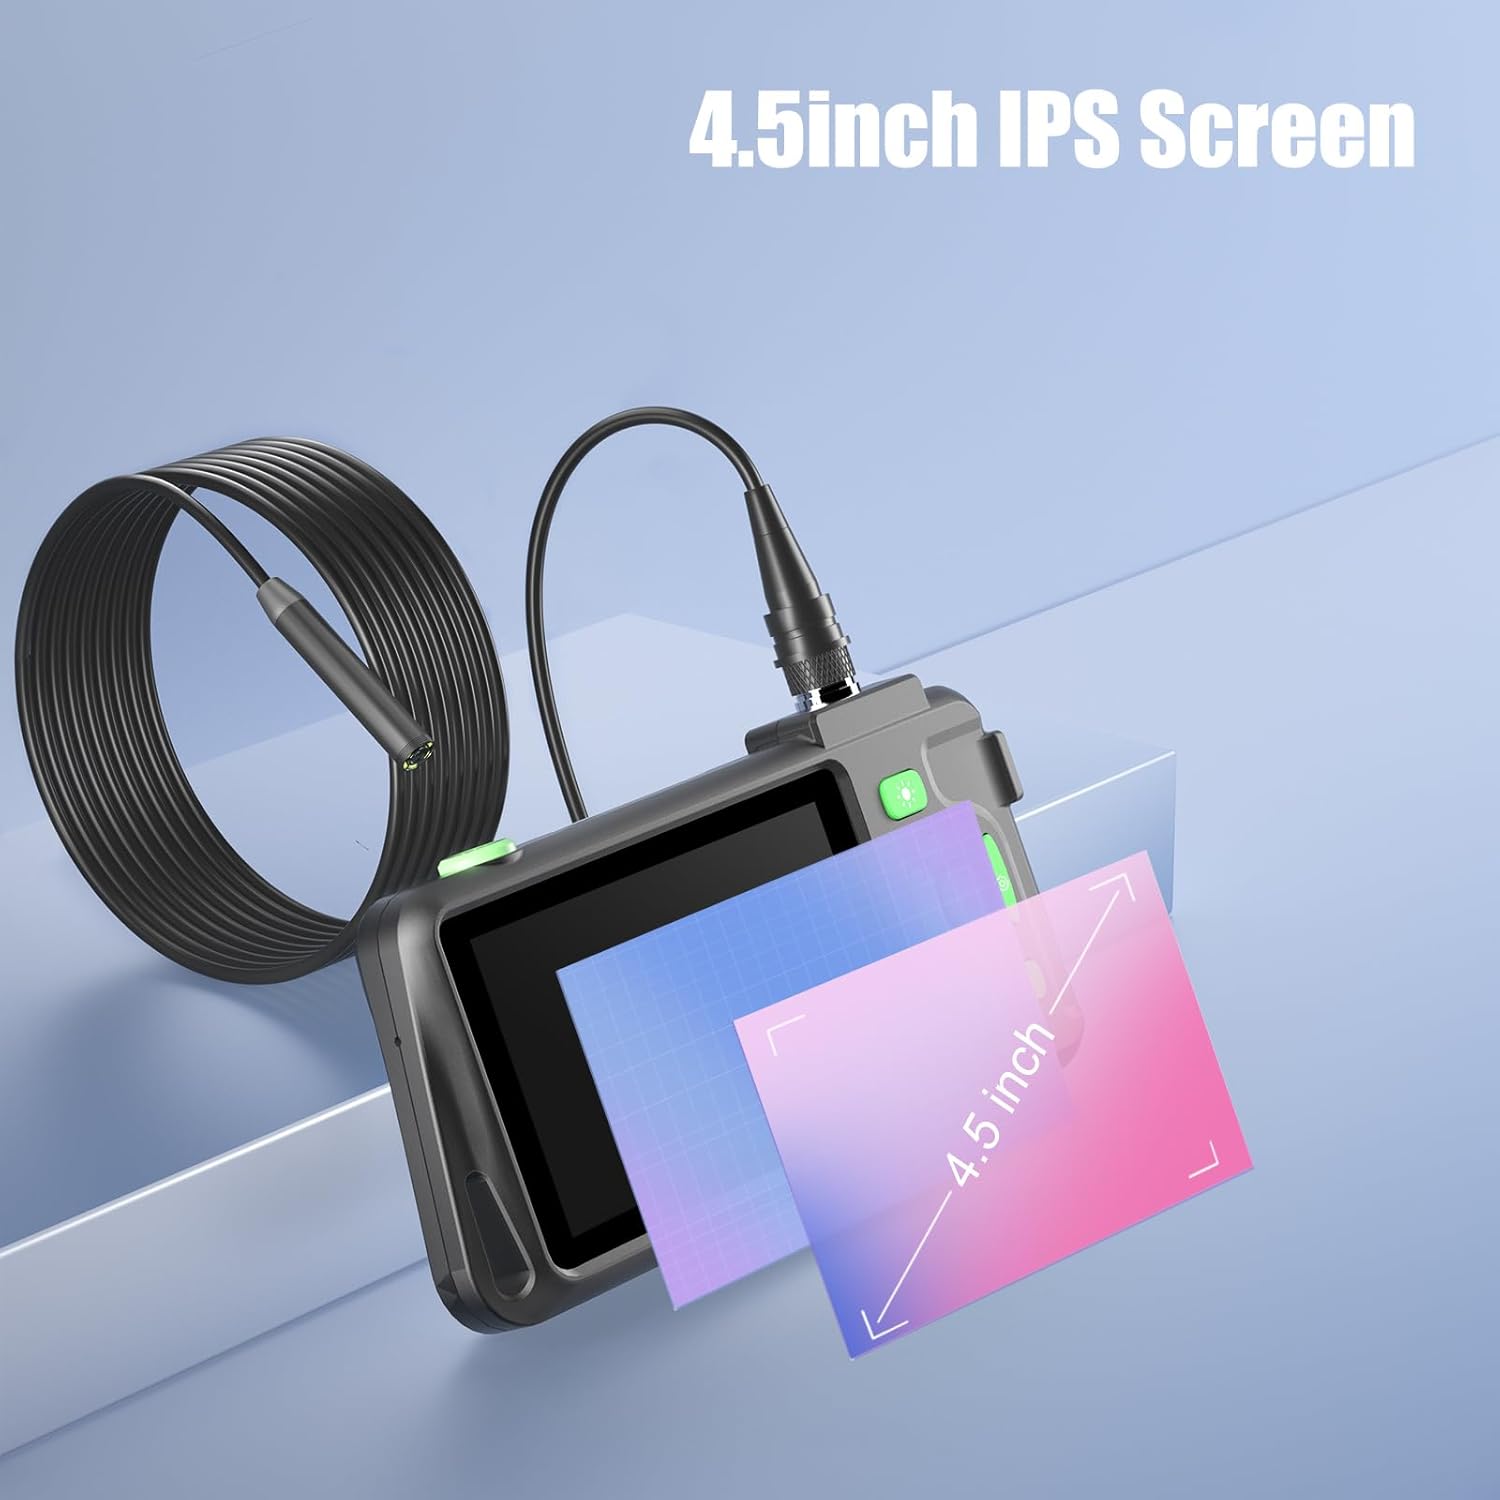
The 4.5-inch IPS screen provides a clear and wide viewing angle for inspecting hard-to-reach areas. The image illustrates the screen size relative to a common object.
5.5 Using Accessories
The included accessories can be attached to the camera lens for specialized tasks:
- Hook: For retrieving small objects from confined spaces.
- Side Mirror: Provides a 90-degree viewing angle for inspecting walls or sides of cavities.
- Magnet: For picking up metallic items.

The image displays the practical accessories provided with the endoscope: a hook for retrieving objects, a side mirror for angled views, and a magnet for picking up metallic items.
6. Maintenance
6.1 Cleaning
- Wipe the main unit and screen with a soft, dry cloth.
- For the camera lens, use a soft, lint-free cloth, possibly dampened with a small amount of lens cleaner, to remove dirt or debris.
- Ensure the camera lens is dry before submerging it in water, despite its IP67 rating.
6.2 Storage
- Store the device and its accessories in the provided carrying bag to protect them from dust and damage.
- Keep the device in a cool, dry place, away from direct sunlight and extreme temperatures.
7. Troubleshooting
- Device won't turn on: Ensure the battery is charged. Connect to a power source and try again.
- No image on screen: Check if the camera cable is securely connected to the main unit.
- Poor image quality: Adjust the LED brightness. Clean the camera lens if it's dirty. Ensure the object is within the optimal focal distance (typically 4-12cm).
- Cannot save photos/videos: Verify that a memory card is inserted correctly and has sufficient free space. The card may need to be formatted (refer to device settings).
- Device freezes: Press the reset button (if available, often a small pinhole) or hold the power button for an extended period to force a restart.
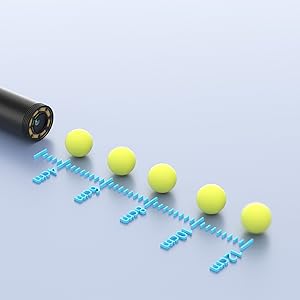
This graphic illustrates the optimal focal distances for the endoscope camera, showing how objects at various distances (e.g., 4cm, 8cm, 10cm, 12cm) appear in focus.
8. Specifications
| Feature | Specification |
|---|---|
| Brand | ILIHOME |
| Model Number | I22 |
| Screen | 4.5-inch IPS LCD |
| Video Resolution | 1080p |
| Camera Diameter | 8mm |
| Cable Length | 5 meters |
| Waterproof Level | IP67 (Lens only) |
| LED Lights | 8 adjustable LEDs |
| Battery Capacity | 3000mAh Lithium-polymer |
| Connectivity | USB |
| Supported Media | SD Card |
| Focal Length | 8 millimeters (optimal focus range typically 4-12cm) |
| Color | Black |
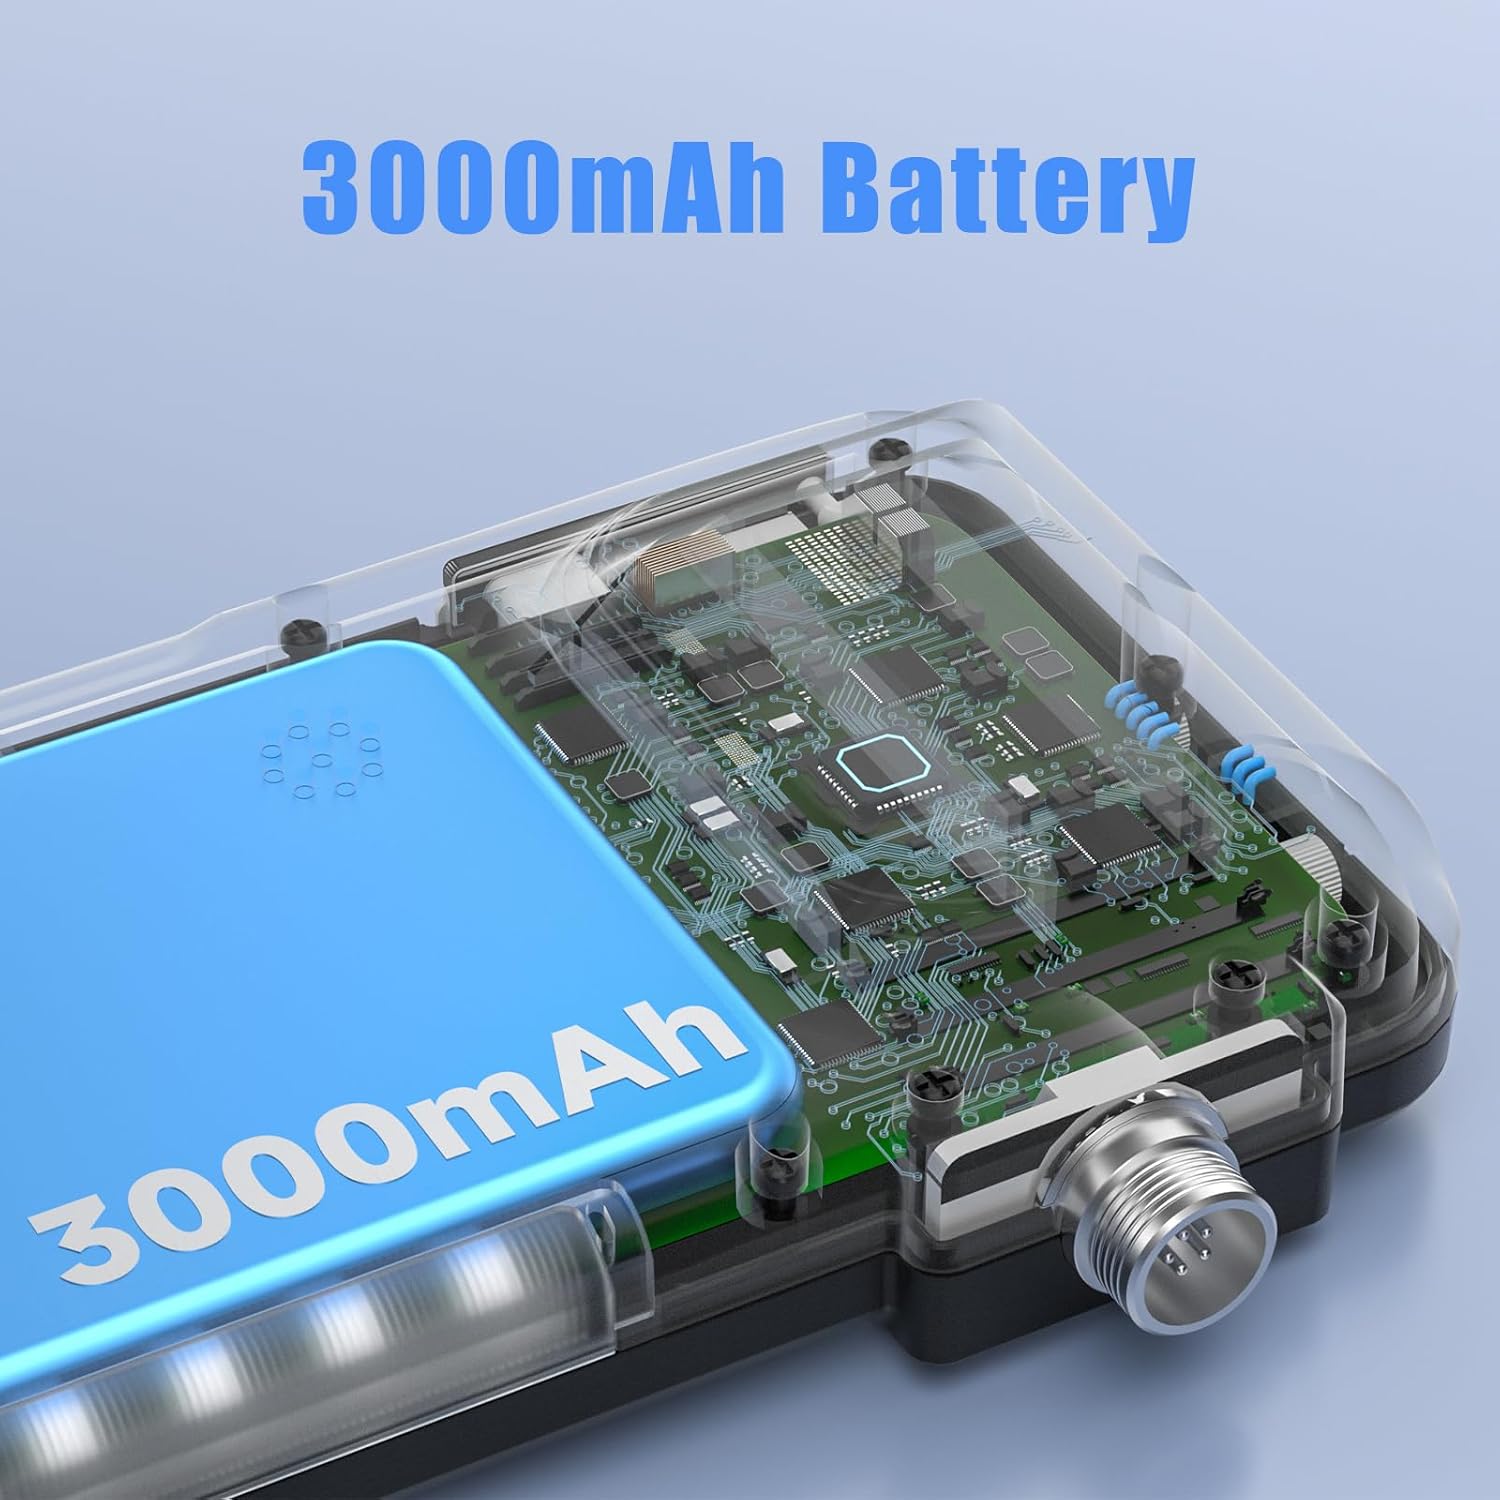
An internal view revealing the integrated 3000mAh battery, which provides extended operating time for the endoscope camera.
9. Warranty and Support
For warranty information and technical support, please refer to the contact details provided with your purchase or visit the official ILIHOME website. Keep your proof of purchase for warranty claims.