1. Product Overview
The Hilitand LCD PTZ Camera Keyboard 3D PTZ Controller is a robust device designed for comprehensive control of PTZ (Pan-Tilt-Zoom) speed dome cameras. It offers seamless integration with various surveillance systems, providing precise and efficient camera management. Its design prioritizes ease of use and broad compatibility, making it suitable for a wide range of professional surveillance environments.
Key features include:
- Standard Network Monitoring Protocol Support: Ensures good compatibility and strong scalability.
- Broad Compatibility: Based on Linux, compatible with most dome security and monitoring IP cameras. Supports preset patrol mode and AB scanning.
- User-Friendly Operation: Equipped with a 3D joystick and an LCD display for accurate and stable control.
- Versatile Application: Ideal for public security, surveillance, government, telecommunications, courts, banks, education, and taxation departments.
- Easy Integration: All input and output communication interfaces are designed for easy matching with existing equipment.

Figure 1.1: Hilitand LCD PTZ Camera Keyboard 3D PTZ Controller with included power adapter.
2. Setup Guide
2.1 Package Contents
Before beginning installation, please verify that all items are present in the package:
- 1 x PTZ Camera Joystick Controller Keyboard
- 1 x Power Plug (US Plug)
- 1 x User Manual
2.2 Connecting the Controller
Follow the diagram below to connect the PTZ controller to your dome cameras. Ensure proper wiring for RS485 communication.

Figure 2.1: Connection diagram for the PTZ controller with multiple dome cameras via RS485.
2.3 Interface Description
Familiarize yourself with the various interfaces on the controller for proper setup and operation.

Figure 2.2: Rear view of the controller detailing the extension interface, power source input, and communication interface (RS485).
The keyboard control DVR communication baud rate is fixed at 9600bps. The DVR internal communication baud rate must also be set to 9600bps for proper operation.

Figure 2.3: Detailed view of the RS485 communication ports and DC12V power input.
3. Operating Instructions
3.1 Joystick Control
The 3D joystick provides intuitive control over your PTZ camera's movements and zoom functions.
- Pan/Tilt: Move the joystick left, right, up, or down to control the camera's horizontal (pan) and vertical (tilt) movements.
- Zoom: Twist the joystick clockwise or counter-clockwise to zoom in (Tele) or zoom out (Wide).
- Iris: The IRIS function can be controlled via specific buttons or settings on the keyboard, allowing adjustment of the camera's aperture.

Figure 3.1: Illustration of the 3D joystick's control capabilities for PTZ camera functions.

Figure 3.2: Detailed view of the 3D joystick.
3.2 Keyboard Functions
The keyboard features a numeric keypad and dedicated function buttons for various camera and system controls.
- Numeric Keys (0-9): Used for entering camera IDs, preset numbers, and other numerical inputs.
- CALL/Menu: Accesses the camera's OSD (On-Screen Display) menu or calls a specific function.
- AUX: Auxiliary function control.
- PRESET/Ptz: Sets or recalls camera presets.
- HOTKEY: Activates programmable hotkeys.
- MON/dvr: Monitor selection or DVR control.
- ACK: Acknowledge or confirm action.
- ON/Enter: Power on or confirm entry.
- OFF/Close: Power off or close function.
- OPEN/Far: Opens iris or adjusts focus to far.
- CLOSE/Near: Closes iris or adjusts focus to near.
- WIDE/Tele: Zoom wide (out) or zoom tele (in).
- CAM: Camera selection.
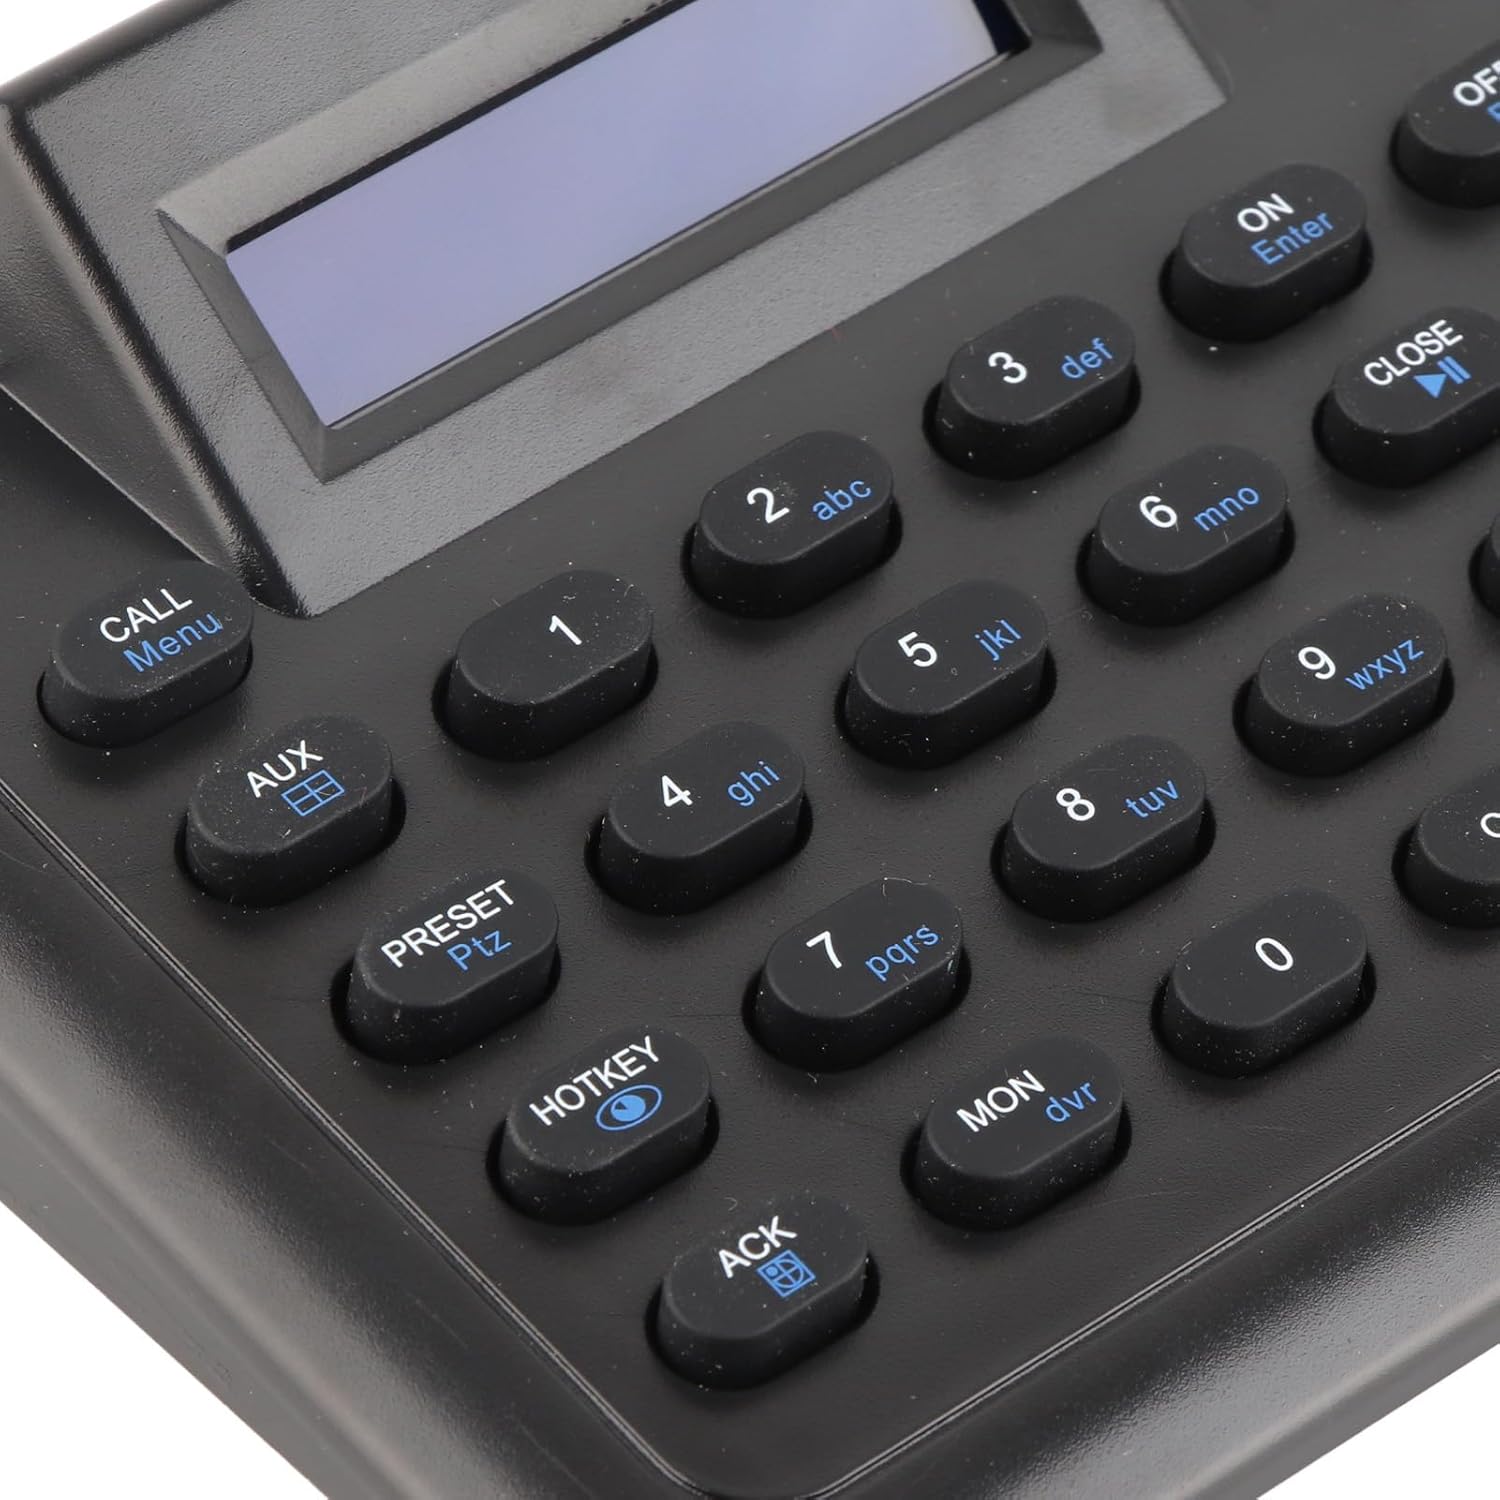
Figure 3.3: Detailed view of the keyboard buttons and LCD display.
3.3 Communication Settings
The controller communicates with cameras via the RS485 bus. Ensure your camera settings match the controller's communication parameters.
- Communication Interface: RS485 bus
- Communication Distance: Approx. 1500m / 4921.3ft (using 0.5mm twisted pair cable)
- Communication Protocols: Supports PELCO D, PELCO P, SAMSUNG, AD
- Baud Rates: 1200, 2400, 4800, 9600, 19200 (Default for DVR communication is 9600bps)
- Communication Parameters: 8 data bits, 1 stop bit, no verification
4. Maintenance
To ensure the longevity and optimal performance of your Hilitand PTZ Camera Joystick Controller, follow these maintenance guidelines:
- Cleaning: Use a soft, dry cloth to clean the exterior of the controller. For stubborn dirt, slightly dampen the cloth with water. Avoid using harsh chemicals, solvents, or abrasive cleaners, as these can damage the finish or internal components.
- Environment: Operate and store the controller in a clean, dry environment, away from direct sunlight, extreme temperatures, and high humidity.
- Handling: Handle the joystick and buttons gently. Avoid excessive force or sudden impacts, which can cause mechanical damage.
- Power Supply: Always use the provided power adapter. Disconnect the power supply when the unit is not in use for extended periods.
- Ventilation: Ensure that the ventilation openings (if any) are not blocked to prevent overheating.
5. Troubleshooting
If you encounter issues with your Hilitand PTZ Camera Joystick Controller, refer to the following common problems and solutions:
- Controller Not Powering On:
- Ensure the power adapter is securely connected to both the controller and a working power outlet.
- Verify that the power outlet is active. Try plugging in another device. - No Camera Response:
- Check all RS485 communication cable connections between the controller and the cameras. Ensure polarity (A+ to A+, B- to B-) is correct.
- Verify that the communication protocol (PELCO D, PELCO P, etc.) selected on the controller matches the protocol set on the camera.
- Confirm that the baud rate on the controller matches the camera's baud rate (e.g., 9600bps).
- Ensure the camera ID set on the controller matches the camera's actual ID.
- Check if the camera itself is powered on and functioning correctly. - Joystick Not Responding or Inaccurate:
- Ensure the controller is powered on and properly connected.
- Check for any physical obstructions around the joystick.
- If the issue persists, a reset of the controller (power cycle) might be necessary. - LCD Display Not Working:
- Ensure the controller is powered on.
- If the display remains blank or shows garbled text, power cycle the device. - Buttons Not Responding:
- Ensure the controller is powered on.
- Check for any physical debris or stickiness preventing button presses.
- A power cycle may resolve temporary button unresponsiveness.
If the problem persists after attempting these troubleshooting steps, please refer to the customer support section.
6. Product Specifications
| Feature | Specification |
|---|---|
| Brand | Hilitand |
| Model Number | Hilitandeq70ntf1vw-11 |
| Input Voltage | DC12V 500mA |
| Power Consumption | Less than 5W |
| Communication Interface | RS485 bus |
| Communication Distance | Approx. 1500m / 4921.3ft (0.5mm twisted pair) |
| Communication Protocols | For PELCO D, for PELCO P, for SAMSUNG, for AD |
| Baud Rates | 1200, 2400, 4800, 9600, 19200 |
| Communication Parameters | 8 data bits, 1 stop bit, no verification |
| Joystick | 3D (controls up, down, left, right; twist for zoom) |
| Display | LCD |
| Voltage | 100-240V (for power adapter) |
| Color | Black |
| Package Dimensions | 11.31 x 5.71 x 5 inches |
| Item Weight | 1.84 Pounds |
| Date First Available | July 25, 2023 |
7. Warranty Information
This Hilitand product is covered by a standard manufacturer's warranty. Please refer to the specific warranty terms and conditions provided at the time of purchase or contact your retailer for detailed information regarding warranty duration and coverage. The warranty typically covers defects in materials and workmanship under normal use.
8. Customer Support
For technical assistance, troubleshooting beyond this manual, or warranty inquiries, please contact Hilitand customer support through the retailer where the product was purchased. You may also visit the official Hilitand brand store or website for additional resources and contact information.