1. Product Overview
The ATTACK SHARK X3 is an ultra-lightweight wireless gaming mouse designed for high performance and versatility. It features a PixArt PAW3395 sensor, multi-mode connectivity (wired, 2.4G wireless, Bluetooth), and a long-lasting battery, making it suitable for various computing environments and gaming needs.
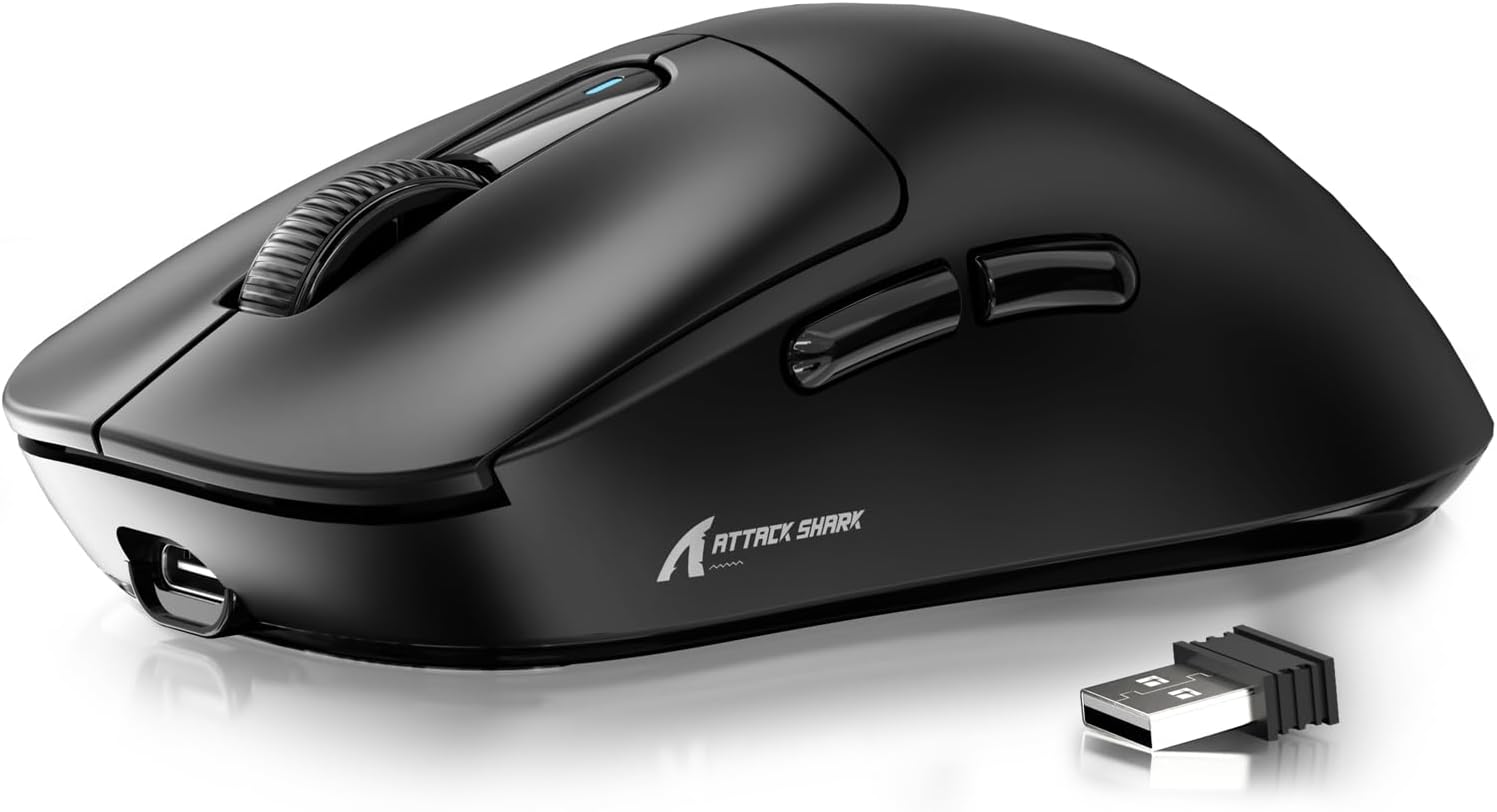
Figure 1: ATTACK SHARK X3 Wireless Gaming Mouse (Black)
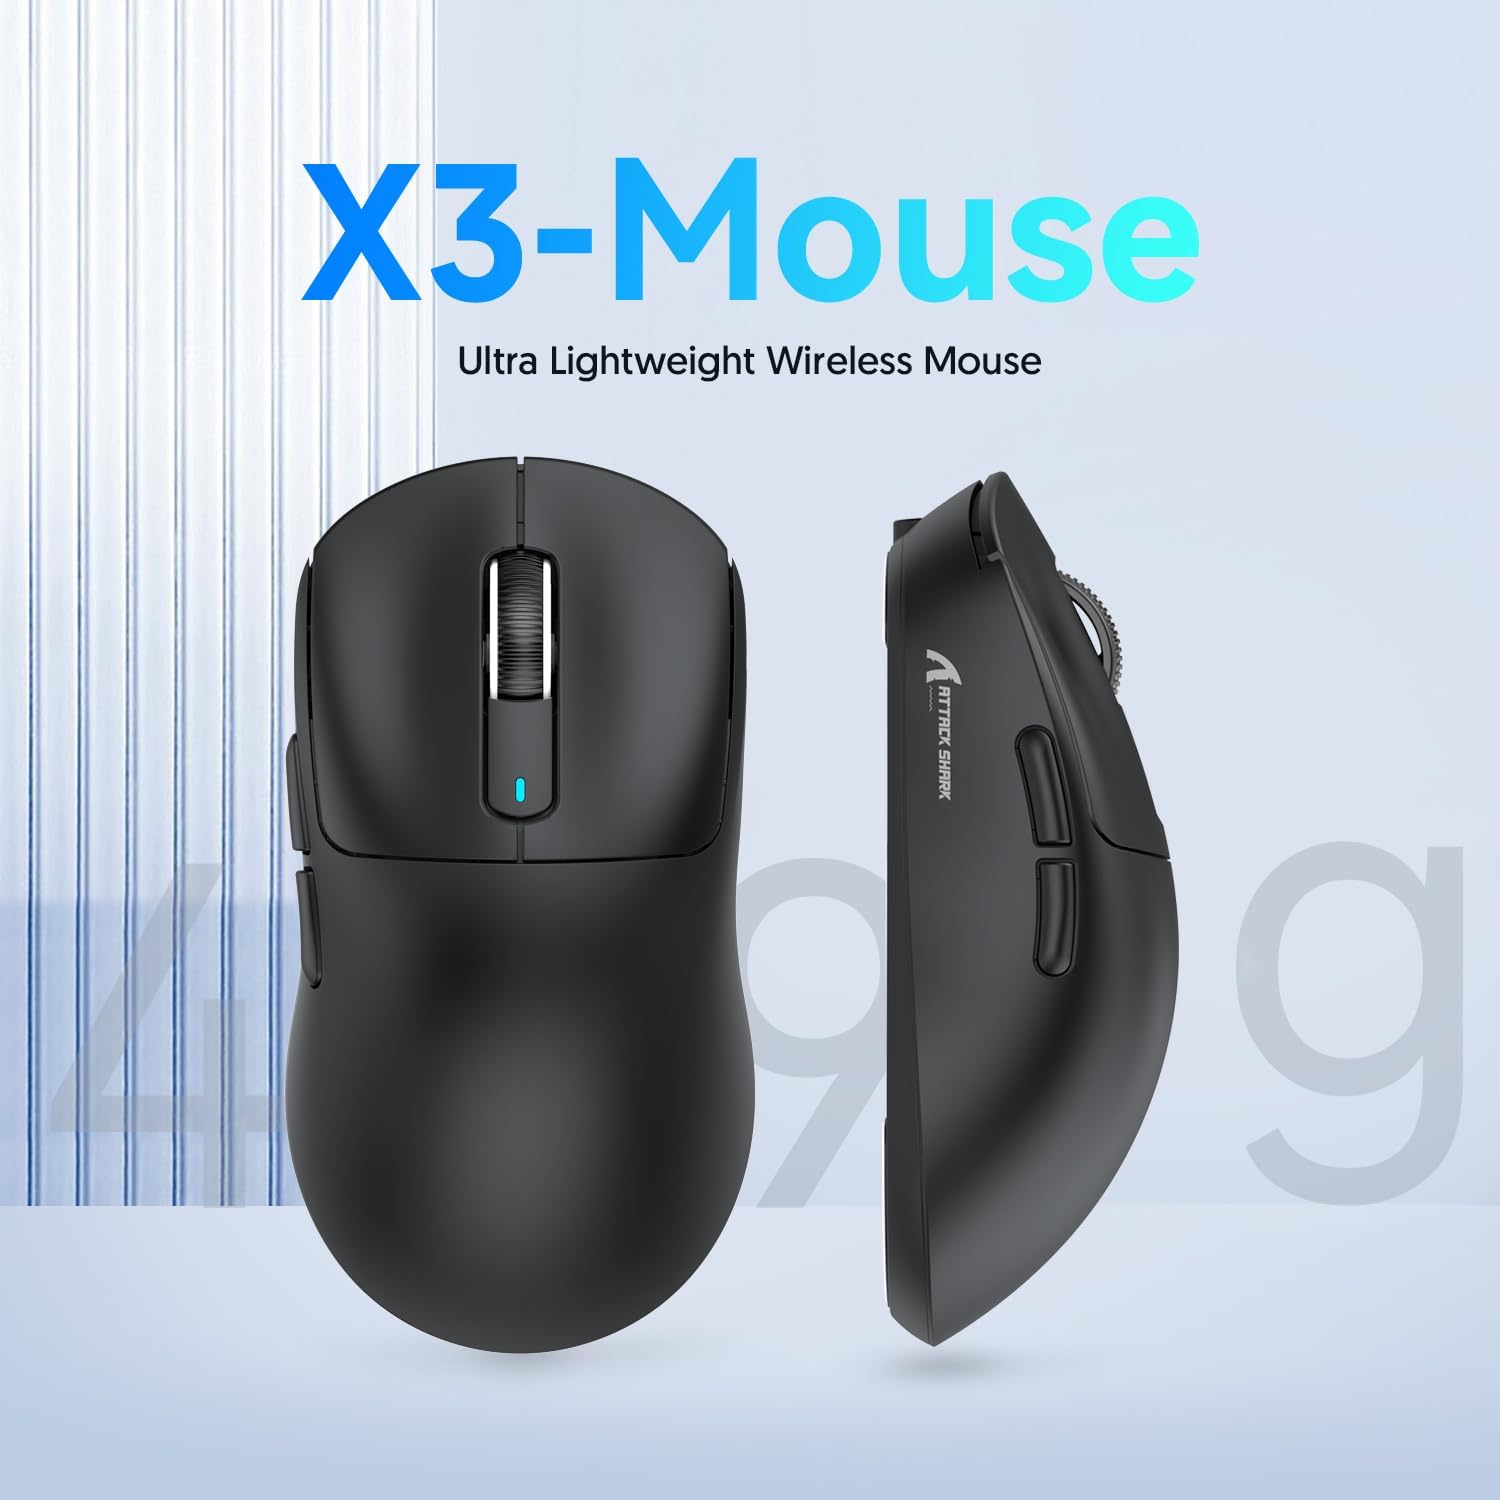
Figure 2: X3-Mouse Ultra Lightweight Design
2. Key Features
- Ultra-Lightweight Design: Weighing approximately 49g, designed for comfortable and agile movement.
- PixArt PAW3395 Sensor: Flagship gaming sensor offering up to 26000 DPI for precise tracking.
- Tri-Mode Connectivity: Supports wired (Type-C), 2.4G wireless, and Bluetooth (BT5.2) connections.
- Long Battery Life: Up to 200 hours of continuous use on a single charge.
- Durable Switches: Equipped with Kailh GM8.0 switches, rated for 80 million clicks.
- Customizable DPI: 6 adjustable DPI levels.
- Macro Drivers: Software support for macro customization and button remapping.

Figure 3: X3-Mouse Feature Overview

Figure 4: PixArt PAW3395 Flagship Sensor Details
3. Setup
3.1 Package Contents
- ATTACK SHARK X3 Wireless Gaming Mouse
- USB Type-C Cable
- 2.4G USB Receiver
- User Manual (this document)
- Optional: Grip Tapes (may vary by package)
3.2 Initial Charging
Before first use, it is recommended to fully charge the mouse. Connect the provided USB Type-C cable to the mouse's front port and the other end to a USB power source (e.g., computer USB port, USB wall adapter). The DPI indicator light will show charging status.
3.3 Connecting the Mouse
The X3 mouse supports three connection modes: Wired, 2.4G Wireless, and Bluetooth.
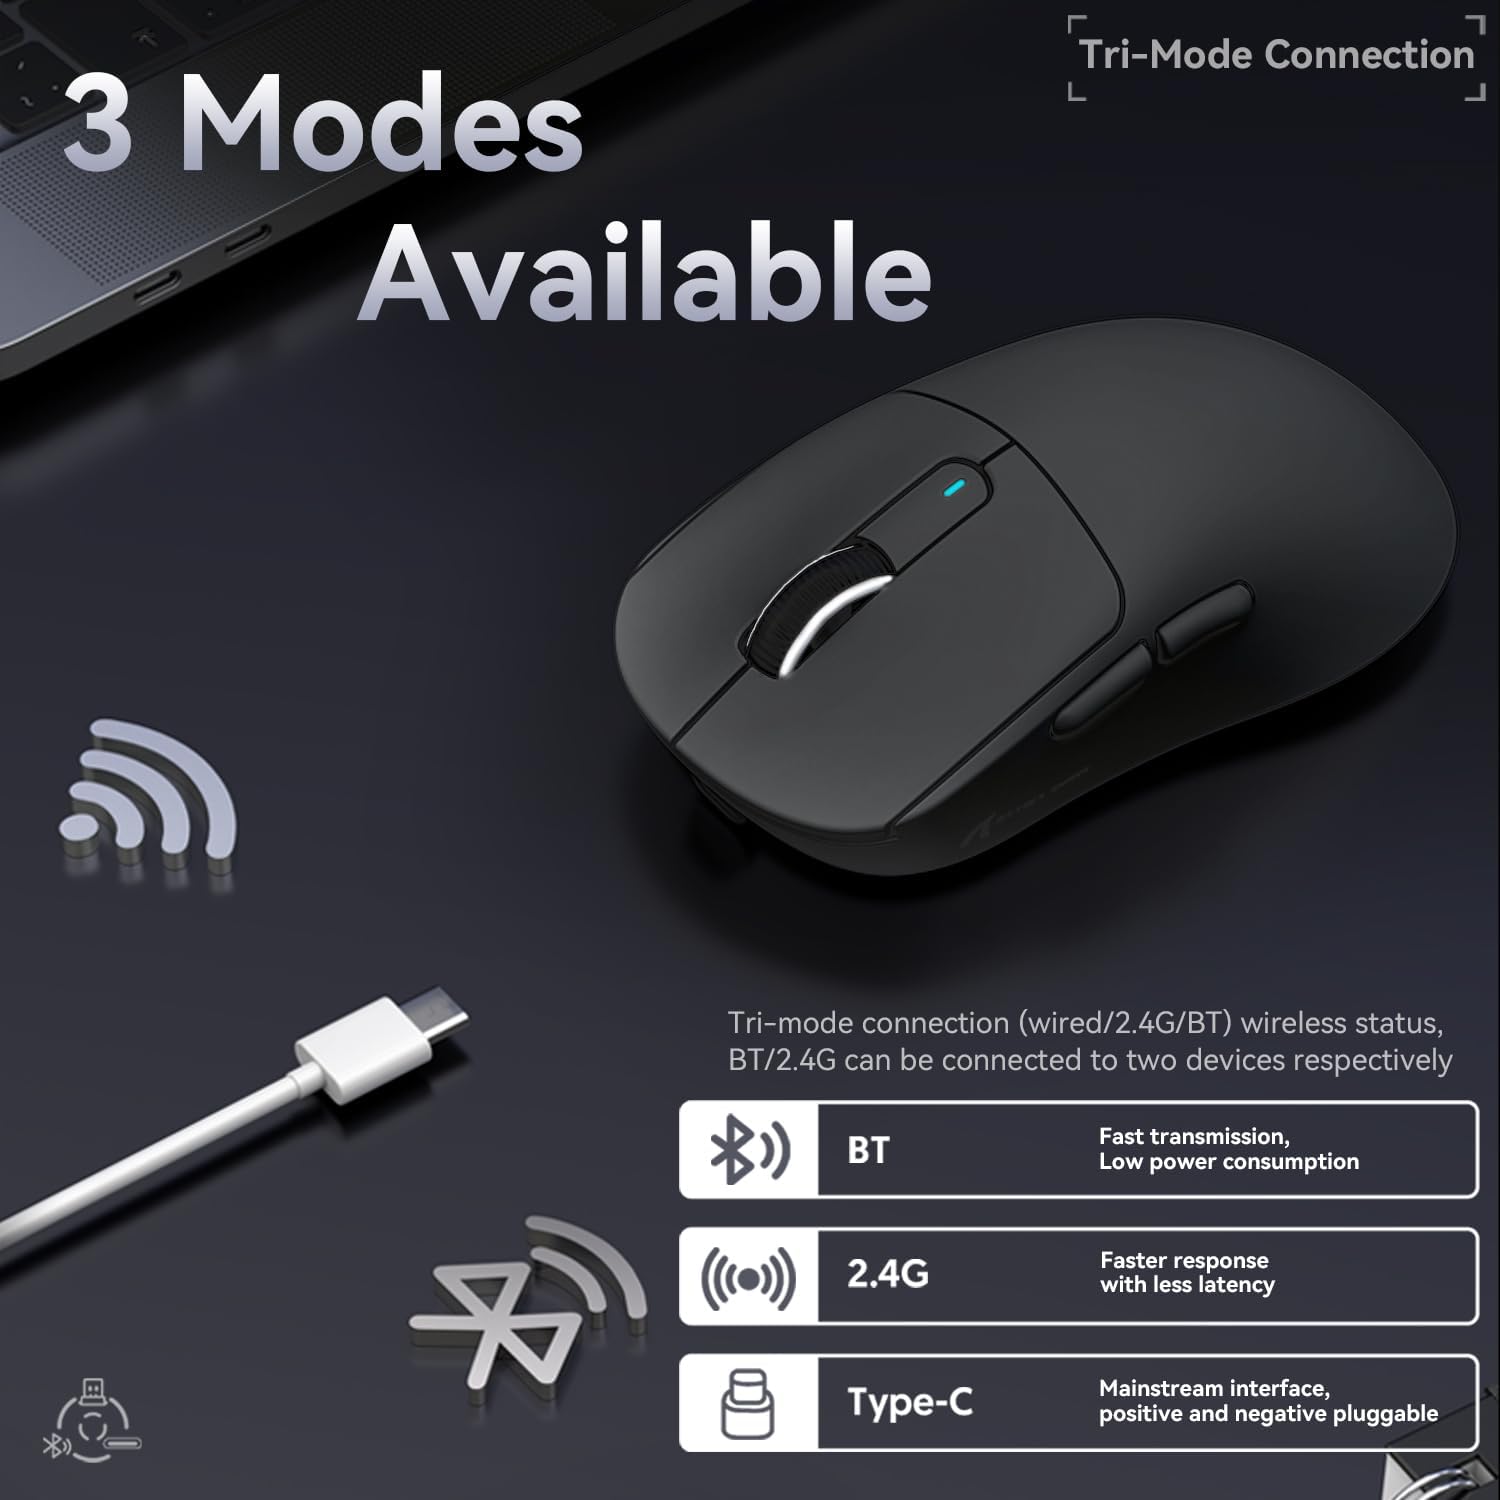
Figure 5: Tri-Mode Connection Options
- Wired Mode:
Connect the USB Type-C cable directly from the mouse to your computer. The mouse will automatically switch to wired mode and begin charging.
- 2.4G Wireless Mode:
Locate the 2.4G USB receiver stored in the magnetic compartment on the bottom of the mouse. Plug the receiver into an available USB port on your computer. Slide the switch on the bottom of the mouse to the "2.4G" position. The mouse should connect automatically. If not, press and hold the mode switching key on the bottom for 3 seconds to initiate pairing.

Figure 6: Mouse Bottom Layout with Switch and Receiver Slot
- Bluetooth Mode:
Slide the switch on the bottom of the mouse to the "BT" position. On your computer or device, open Bluetooth settings and search for new devices. Select "ATTACK SHARK X3" from the list to pair. If pairing fails, press and hold the mode switching key on the bottom for 3 seconds to enter pairing mode.
4. Operating Instructions
4.1 DPI Adjustment
The mouse features a dedicated DPI switch button on the bottom (or top, depending on model variant) to cycle through preset DPI levels. The DPI indicator light will change color to indicate the current DPI setting. You can customize these levels using the official software.
4.2 Macro Customization
For advanced customization, download the official ATTACK SHARK software from the manufacturer's website. This software allows you to:
- Remap mouse buttons.
- Create and assign macros for complex actions.
- Adjust DPI levels and polling rate.
- Monitor battery status.

Figure 7: Macro Drivers and Software Interface
5. Battery Management
The ATTACK SHARK X3 mouse is equipped with a high-capacity lithium battery providing up to 200 hours of usage. To preserve battery life:
- Turn off the mouse using the switch on the bottom when not in use for extended periods.
- Charge the mouse when the battery indicator shows low power.
- Avoid exposing the mouse to extreme temperatures.
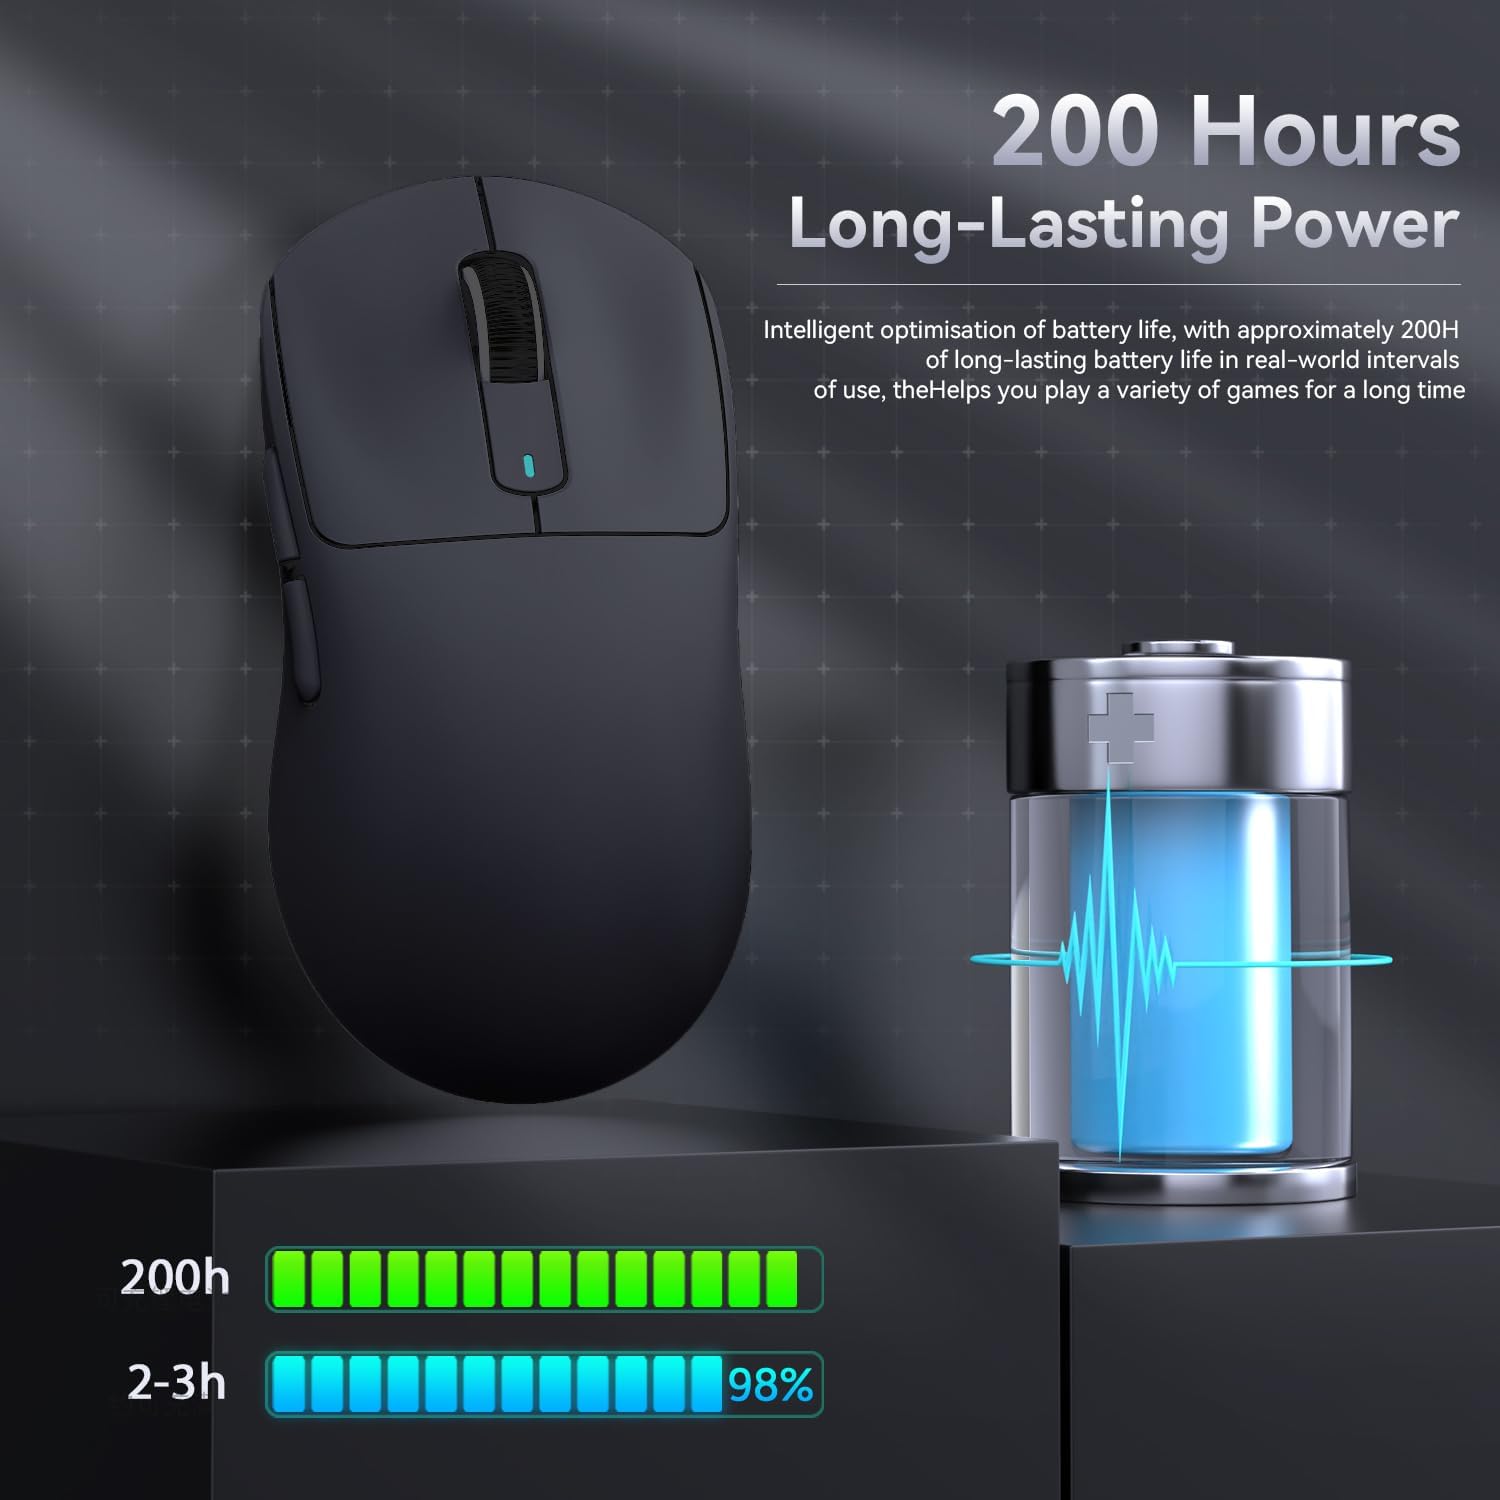
Figure 8: Battery Life Indication
6. Maintenance
- Cleaning: Use a soft, dry cloth to clean the mouse. Do not use harsh chemicals or abrasive materials.
- Storage: Store the mouse in a cool, dry place away from direct sunlight and extreme temperatures.
- Sensor Care: Keep the optical sensor on the bottom of the mouse clean and free from dust or debris for optimal tracking performance.
7. Troubleshooting
| Problem | Possible Cause | Solution |
|---|---|---|
| Mouse not responding | Low battery; Incorrect connection mode; USB receiver not plugged in (2.4G); Bluetooth not paired. | Charge the mouse; Ensure the switch on the bottom is in the correct mode (2.4G/BT); Re-insert USB receiver; Re-pair Bluetooth. |
| Lag or intermittent connection | Interference; Distance from receiver/device; Low battery. | Move closer to the receiver/device; Ensure no strong interference sources nearby; Charge the mouse. |
| DPI not changing | DPI button malfunction; Software conflict. | Ensure the DPI button is pressed correctly; Restart the mouse and computer; Reinstall mouse software. |
| Software not detecting mouse | Driver issue; Connection problem. | Ensure mouse is connected via wired or 2.4G mode (Bluetooth might not be supported by all software features); Reinstall drivers/software. |
8. Specifications
| Feature | Detail |
|---|---|
| Model | X3 |
| Sensor | PixArt PAW3395 |
| DPI | Up to 26000 (Adjustable) |
| Tracking Speed | 650 IPS |
| Acceleration | 50G |
| Polling Rate | 1000Hz (Adjustable via software) |
| Connectivity | Wired (Type-C), 2.4G Wireless, Bluetooth 5.2 |
| Switches | Kailh GM8.0 (80 Million Clicks) |
| Battery Life | Approx. 200 hours |
| Weight | Approx. 49g |
| Dimensions | 118.5mm x 61mm x 39.7mm (approx.) |
| Compatible OS | Windows 11, Xbox, PS, Mac (functionality may vary) |

Figure 9: ATTACK SHARK X3 Super Light Mouse Overview

Figure 10: X3MAX Exploded Diagram (Illustrative of X3 series internal components)
9. Official Product Video
Video 1: ATTACK SHARK X3 Mouse Product Overview. This video provides a visual demonstration of the mouse's features, unboxing, and usage scenarios.
10. Warranty and Support
For warranty information, technical support, or to download the latest software and drivers, please visit the official ATTACK SHARK website or contact their customer service. Keep your purchase receipt for warranty claims.
Official Brand Store: ATTACK SHARK Store


