
Introduction
This manual provides detailed instructions for the setup, operation, and maintenance of your HOMVILLA Digital Mirror Alarm Clock, Model 8821. Please read this manual thoroughly before using the product to ensure proper function and longevity.
Package Contents
Verify that all items listed below are included in your package:
- HOMVILLA Digital Alarm Clock
- USB Power Cable
- Power Adapter
- CR2032 Battery (for memory backup)
- User Manual

Image: Package contents including the alarm clock, USB cable, adapter, CR2032 battery, and user manual.
Product Overview
The HOMVILLA Digital Mirror Alarm Clock features a large LED display with a mirror surface, dual alarms, multiple alarm schedules, adjustable brightness, and dual USB charging ports.
Key Features:
- Large LED Mirror Display: 6.6 x 3 inch screen for clear time and day display.
- Dual Alarms with 3 Schedules: Set two independent alarms with options for daily, weekday, or weekend activation.
- Adjustable Brightness: 6 levels of manual dimming for optimal viewing comfort.
- Dual USB Charging Ports: Conveniently charge other electronic devices.
- Snooze Function: Provides an additional 5 minutes of sleep.
- 12H/24H Time Format: Switch between preferred time display.
- Power Source: AC powered with battery backup for settings.
Component Identification:

Image: Top view of the alarm clock with labels for ALARM 1, ALARM 2, TIME SET, SNOOZE, BRIGHTNESS, UP, and DOWN buttons. Dimensions are also indicated.
- Time Set Button: Press to enter time setting mode.
- Alarm 1 Button: Press to set Alarm 1.
- Alarm 2 Button: Press to set Alarm 2.
- Snooze Button: Activates snooze function when alarm sounds.
- Brightness Button: Adjusts display brightness.
- UP Button: Increases values during setting.
- DOWN Button: Decreases values during setting.
- USB Charging Ports: Located on the right side for device charging.
Setup
1. Power Connection:
The alarm clock requires continuous AC power to operate. Connect the provided USB power cable to the clock and then to the power adapter. Plug the adapter into a standard wall outlet.
Note: The included CR2032 battery is for memory backup only. It preserves time and alarm settings during a power outage but does not power the display or alarm functions.

Image: The alarm clock is shown powered by a USB cable connected to a wall adapter, emphasizing that it requires continuous power.
2. Battery Installation (Memory Backup):
Open the battery compartment on the back of the clock and insert the CR2032 battery, ensuring correct polarity. This battery maintains your settings in case of a power interruption.
3. Base Installation (Optional):
The clock can be placed on a flat surface using the detachable base or mounted on a wall using the hanging hole on the back. To install the base, align it with the slot at the bottom of the clock and slide it into place.

Image: Step-by-step visual guide for installing the base, inserting the CR2032 battery, and connecting the power cable to the alarm clock.
Operating Instructions
1. Setting the Time:
- Press and hold the TIME SET button (usually marked with a clock icon) until the hour digits flash.
- Use the UP and DOWN buttons to adjust the hour.
- Press TIME SET again to confirm the hour and move to minute setting.
- Use the UP and DOWN buttons to adjust the minutes.
- Press TIME SET one more time to confirm and exit time setting mode.
- To switch between 12-hour and 24-hour format, briefly press the TIME SET button when not in setting mode.

Image: The alarm clock display showing both 12-hour (8:20 AM) and 24-hour (20:30) time formats, illustrating the switch function.
2. Setting Alarms (Alarm 1 & Alarm 2):
The clock supports two independent alarms (Alarm 1 and Alarm 2) with three scheduling options.
- Press and hold the ALARM 1 or ALARM 2 button until the hour digits flash.
- Use the UP and DOWN buttons to adjust the alarm hour.
- Press the respective ALARM button again to confirm the hour and move to minute setting.
- Use the UP and DOWN buttons to adjust the alarm minutes.
- Press the ALARM button again to confirm minutes and select the alarm schedule:
- 1-5: Monday to Friday
- 6-7: Saturday to Sunday
- 1-7: Monday to Sunday (Daily)
- Press the ALARM button one more time to confirm the schedule and exit alarm setting mode.
- To activate/deactivate an alarm, briefly press the ALARM 1 or ALARM 2 button when not in setting mode. An alarm icon will appear/disappear on the display.

Image: The alarm clock showing different alarm schedules (1-5, 6-7, 1-7) for weekdays, weekends, and daily alarms.
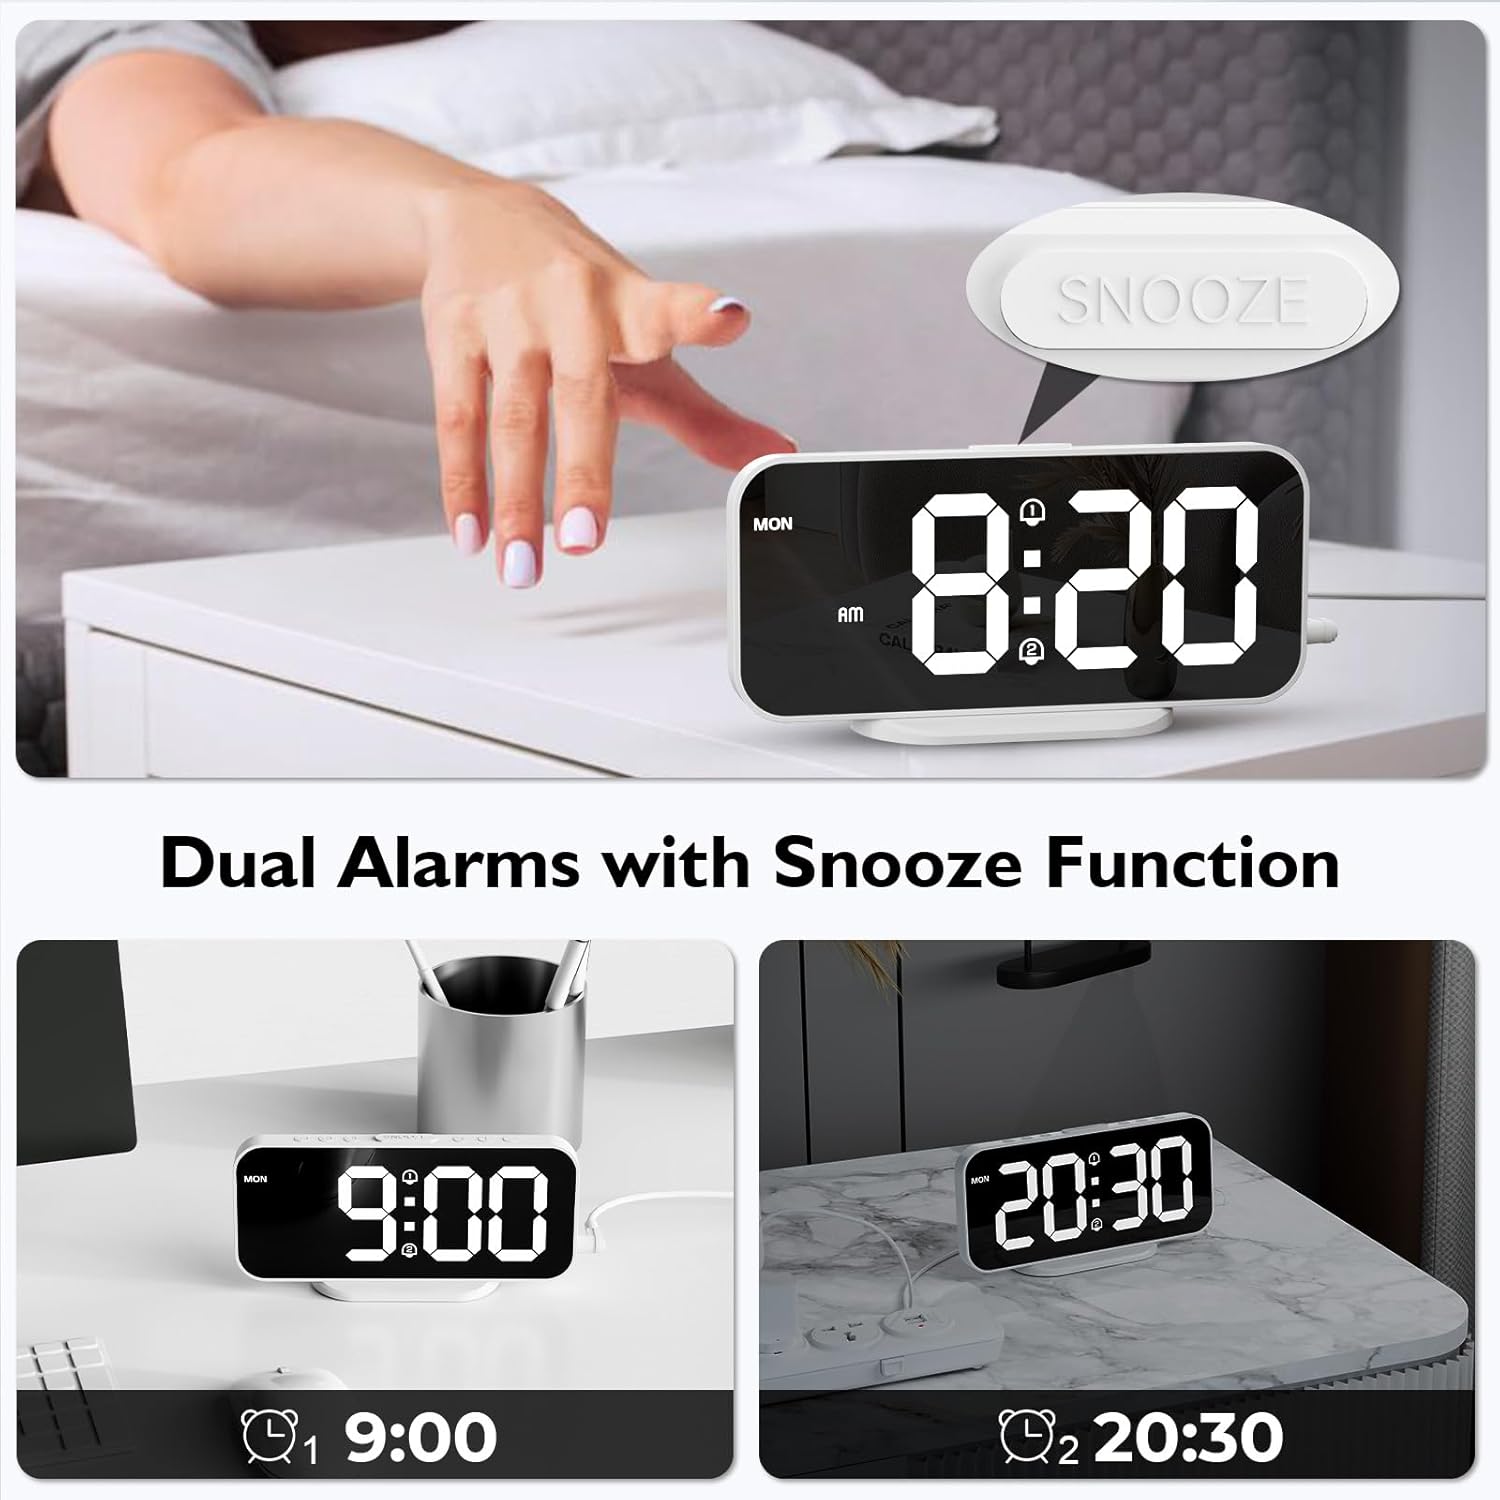
Image: The alarm clock displaying two separate alarm times (9:00 and 20:30), indicating the dual alarm functionality.
3. Snooze Function:
When an alarm sounds, press the large SNOOZE button located on the top of the clock. The alarm will pause for 5 minutes and then sound again. To turn off the alarm completely, press any other button.

Image: A hand pressing the SNOOZE button on the alarm clock, illustrating the 5-minute snooze feature.
4. Adjusting Brightness:
The display has 6 levels of brightness. Briefly press the BRIGHTNESS button (usually marked with a sun icon) to cycle through the brightness levels, from brightest to dimmest, and then off.

Image: A visual representation of the alarm clock's display at six different brightness levels, from off to maximum brightness.
5. USB Charging Ports:
The two USB ports on the right side of the clock can be used to charge other electronic devices (e.g., smartphones, earbuds). Connect your device's USB charging cable to one of these ports. The output is 5V/1A.

Image: The alarm clock with a smartphone and wireless earbuds connected to its dual USB charging ports, demonstrating their use.
Maintenance
- Cleaning: Wipe the clock with a soft, dry cloth. Do not use abrasive cleaners or solvents.
- Mirror Surface: Handle the mirror surface carefully to avoid scratches.
- Power: Always disconnect the power adapter before cleaning or if the clock will not be used for an extended period.
- Battery: Replace the CR2032 backup battery annually or if settings are not retained during power outages.
Troubleshooting
| Problem | Possible Cause | Solution |
|---|---|---|
| Display is off or blank. | No power connection. | Ensure the USB power cable and adapter are securely connected to the clock and a working power outlet. The clock requires continuous AC power. |
| Settings are lost after power outage. | CR2032 backup battery is dead or missing. | Replace the CR2032 battery in the battery compartment. Ensure correct polarity. |
| Alarm does not sound. | Alarm is not activated or incorrect alarm schedule. | Ensure the alarm icon is displayed, indicating activation. Check the alarm schedule (daily, weekday, weekend). |
| USB charging ports not working. | Clock not powered. Device cable faulty. Device incompatible. | Ensure the alarm clock is powered. Try a different USB cable or device. |
| Display too dim or too bright. | Brightness level needs adjustment. | Press the BRIGHTNESS button to cycle through the 6 brightness levels. |
Specifications
| Brand | HOMVILLA |
| Model Number | 8821 |
| Color | White |
| Dimensions (L x W x H) | 16.8 cm x 7.6 cm x 3.81 cm (6.61 in x 2.99 in x 1.5 in) |
| Weight | 105 grams (0.23 lbs) |
| Display Type | Digital LED with Mirror Surface |
| Power Source | AC Powered (USB Cable & Adapter included) |
| Backup Battery | 1 x CR2032 (included, for memory backup only) |
| USB Output | 2 ports, 5V/1A each |
| Special Features | Dual Alarms, Snooze Function, 6 Brightness Levels, 12/24H Format, Wall Mountable |
Warranty and Support
For warranty information or technical support, please refer to the contact details provided in the original product packaging or visit the official HOMVILLA website. Please retain your proof of purchase for warranty claims.
If you encounter any issues not covered in this manual, please contact HOMVILLA customer service for assistance.

