Introduction
Thank you for choosing the UKSUP 5-inch Video Baby Monitor. This manual provides essential information for the safe and effective use of your new baby monitor. Please read these instructions carefully before use and retain them for future reference.

Image: The UKSUP 5-inch Video Baby Monitor, featuring the parent unit with a 5-inch LCD screen displaying a baby, and the camera unit with a pan/tilt head.
Important Safety Information
- Strangulation Hazard: Keep all cords out of reach of children. Never place the camera or cords within 3 feet (1 meter) of the crib or playpen. Secure cords to a wall or floor using cord clips.
- Choking Hazard: This product contains small parts. Keep out of reach of children.
- Overheating: Do not cover the monitor or camera with clothing, blankets, or other objects. Ensure proper ventilation.
- Water Exposure: Do not expose the product to water or moisture.
- Power Source: Use only the provided power adapters.
- Interference: Keep the monitor away from other electronic devices that may cause interference.
Package Contents
- Parent Unit (5-inch LCD Monitor)
- Baby Unit (Camera)
- Power Adapter for Parent Unit
- Power Adapter for Baby Unit
- User Manual
Product Overview
Parent Unit (Monitor)
The parent unit features a 5-inch LCD display for clear video monitoring. It includes controls for camera movement, volume, brightness, and menu navigation.
Baby Unit (Camera)
The baby unit is equipped with a camera that offers remote pan, tilt, and zoom capabilities. It also includes infrared LEDs for night vision, a microphone for audio detection, and a temperature sensor.
Setup
- Charge the Parent Unit: Connect the parent unit to a power outlet using its dedicated power adapter. Charge for at least 4 hours before first use to ensure optimal battery performance.
- Power the Baby Unit: Connect the baby unit (camera) to a power outlet using its dedicated power adapter. The camera will power on automatically.
- Placement: Place the baby unit in a secure location that provides a clear view of your baby in the crib or play area. Ensure the camera is at least 3 feet (1 meter) away from your baby to prevent strangulation hazards from the power cord.
- Automatic Connection: The parent unit and baby unit are pre-paired at the factory. Once both units are powered on, they should automatically connect. If they do not connect, refer to the Troubleshooting section for pairing instructions.
Operating Instructions
Remote Pan, Tilt, and Zoom
Use the directional buttons on the parent unit to remotely adjust the camera's viewing angle. Press the zoom button to magnify the image (2x zoom available).

Image: The parent unit displaying a baby in a crib, with arrows indicating remote pan and tilt functionality of the camera unit.

Image: The parent unit screen illustrating the 1x and 2x zoom functions, showing a baby in a towel.
Two-Way Talk
Press and hold the microphone button on the parent unit to speak to your baby through the camera's speaker. Release the button to listen.
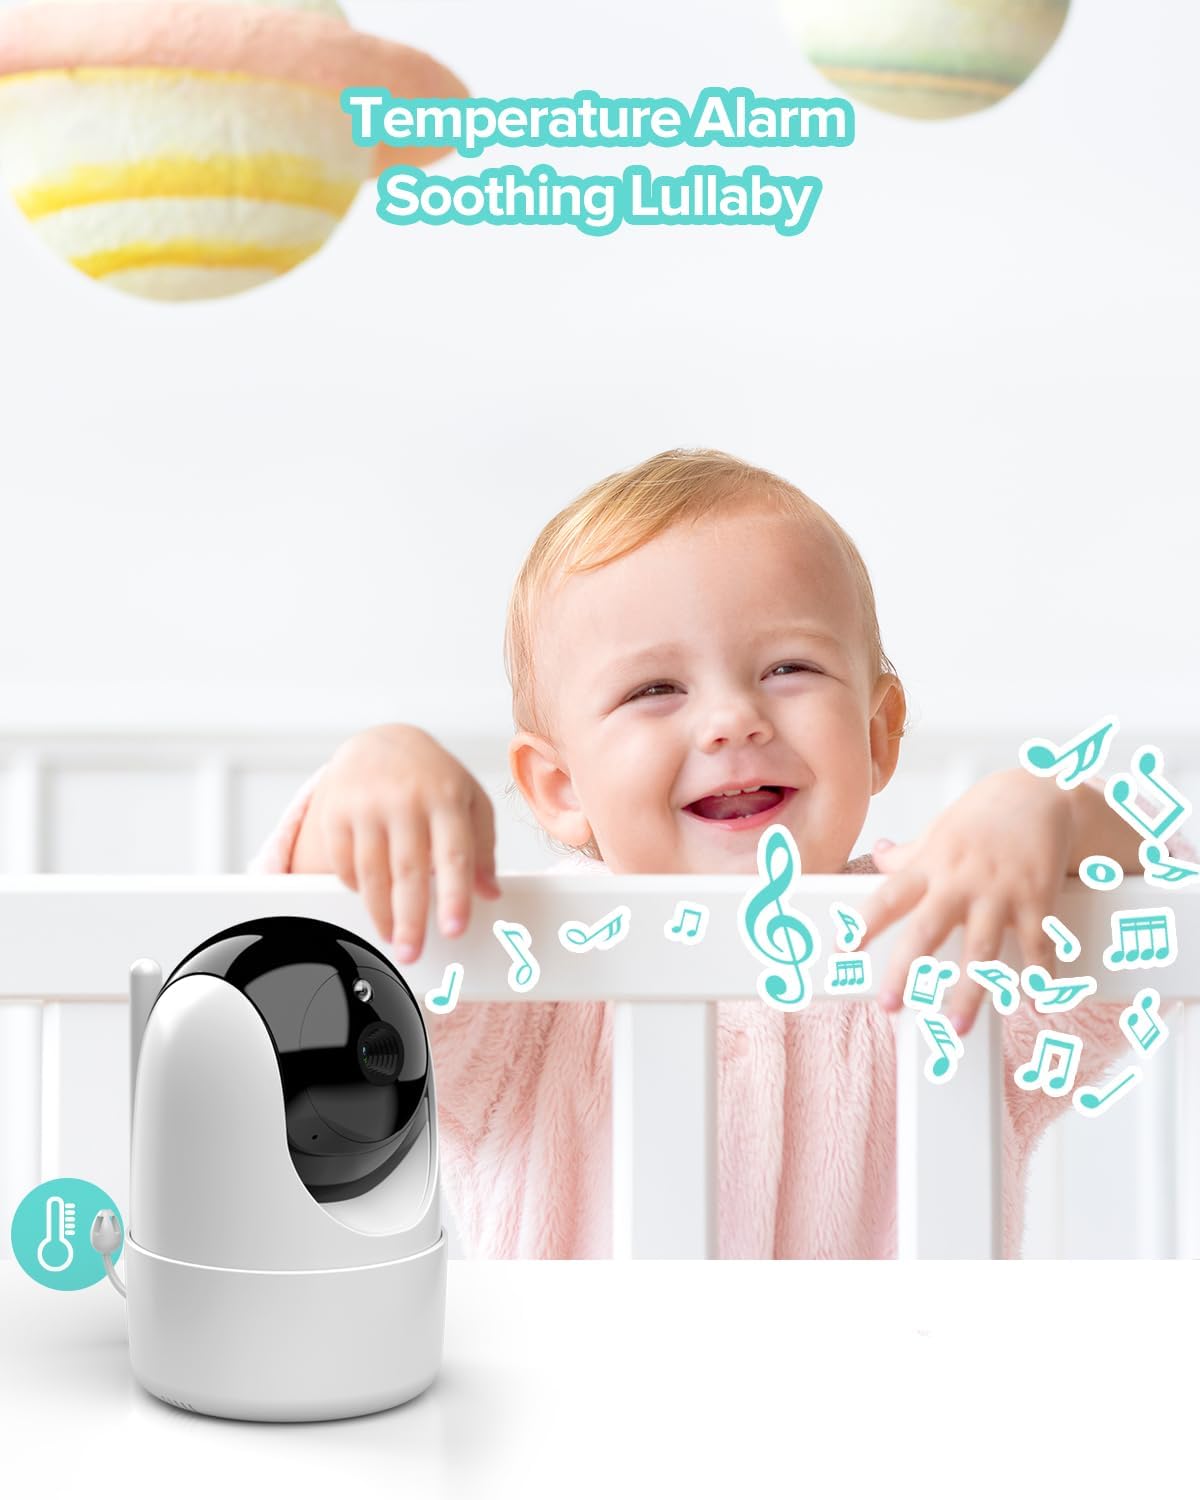
Image: A hand holding the parent unit, which displays a baby. Speech bubbles indicate the two-way talk function, with text like "Mommy..." and "I'm here, baby".
Infrared Night Vision
The baby unit automatically activates infrared night vision in low-light conditions, providing a clear black-and-white image on the parent unit.

Image: The parent unit displaying a sleeping baby in a crib, demonstrating the clear infrared night vision capability in a dark room.
VOX Mode (Voice Operated Exchange)
In VOX mode, the monitor screen will automatically activate when sound is detected from the baby's room, conserving battery life. You can adjust the sensitivity level in the menu.

Image: The parent unit displaying a sleeping baby, with a sound wave graphic indicating the activation of VOX mode based on detected audio.
Temperature Monitoring
The baby unit includes a built-in temperature sensor. The room temperature will be displayed on the parent unit, and an alert can be set if the temperature goes outside a predefined range.

Image: A happy baby in a crib, with music notes floating around and a temperature icon, representing the lullaby and temperature monitoring features.
Lullabies
Select from 8 pre-programmed lullabies to play through the baby unit to soothe your child. Access this feature through the parent unit's menu.
Feeding Reminder
Set a feeding alarm on the parent unit to remind you of scheduled feeding times. This feature helps maintain a consistent feeding schedule for your baby.

Image: A baby drinking from a bottle, with the parent unit in the foreground displaying an alarm clock icon, indicating the feeding reminder function.
Multiple Camera Support
The monitor supports up to 4 camera units. You can switch between cameras or view multiple cameras simultaneously on the parent unit (additional cameras sold separately).

Image: The parent unit screen divided into four sections, each showing a different camera view of children in various activities, illustrating multi-camera support.
Long Range & Secure Connection
The monitor utilizes FHSS technology for a secure, interference-free 2.4GHz channel transmission, offering a range of up to 960 feet (open space).

Image: An illustration of a large house with the parent unit and camera unit icons placed at different locations, demonstrating the monitor's long-range capability.

Image: A graphic showing the camera and parent unit connected by a dotted line with an "FHSS" icon, symbolizing a hack-proof and secure connection.
Maintenance
- Cleaning: Use a soft, dry cloth to clean the monitor and camera units. Do not use abrasive cleaners or solvents.
- Battery Care: To prolong battery life, avoid fully discharging the parent unit's battery frequently. If storing for extended periods, charge the battery every few months.
- Storage: Store the device in a cool, dry place away from direct sunlight and extreme temperatures.
Troubleshooting
| Problem | Possible Solution |
|---|---|
| No image/sound on parent unit |
|
| Poor image quality |
|
| Parent unit battery drains quickly |
|
| Temperature reading inaccurate |
|
Specifications
| Feature | Detail |
|---|---|
| Model | B0CCH7LXVN |
| Display Size | 5 inches LCD |
| Connectivity Technology | Wireless (2.4GHz FHSS) |
| Range | Up to 960 feet (open space) |
| Camera Features | Remote Pan (355°), Tilt (120°), 2x Zoom, Infrared Night Vision |
| Audio Features | Two-Way Talk, VOX Mode, Lullabies (8) |
| Additional Features | Room Temperature Sensor, Feeding Reminder, Multi-Camera Support (up to 4) |
| Parent Unit Battery | 3000 mAh (30 hours in VOX mode, 10 hours with screen on) |
| Power Source | Corded Electric |
| Material | Plastic |
| Item Weight | 1.54 pounds (0.7 Kilograms) |
Warranty and Support
UKSUP products are designed for reliability and performance. For warranty information, technical support, or customer service inquiries, please refer to the contact information provided on the product packaging or visit the official UKSUP website. Please retain your proof of purchase for warranty claims.