
hygger HG088
Hygger 30 Watts Aquarium LED Reef Light Instruction Manual
Model: HG088 | Brand: hygger
1. Introduction
The hygger 30 Watts Aquarium LED Reef Light (Model HG088) is a full-spectrum lighting solution designed for marine aquariums, including saltwater fish, live rock, and various corals (LPS and SPS). This dimmable light features a flexible metal arm for easy positioning, a silent fan for efficient heat dissipation, and an intuitive inline controller for adjusting brightness, color spectrum, and timing. It promotes healthy coral growth and enhances the vibrant colors of your aquatic environment.

Figure 1: Hygger 30W LED Reef Light installed on an aquarium.
2. Package Contents
Please check the package contents upon opening to ensure all items are present:
- 1 x Hygger 30 Watts Aquarium LED Reef Light Unit
- 1 x Inline Controller (integrated with the light unit cable)
- 1 x Power Adapter
- 1 x Mounting Clamp with Flexible Arm
- 1 x User Manual (this document)
3. Specifications
| Feature | Specification |
|---|---|
| Model | HG088 |
| Wattage | 30 Watts |
| Output Voltage | DC12V |
| LED Quantity | 36 PCS |
| Light Size | 3.27 inches diameter |
| Suitable Tank Size | Recommended for 18" x 18" aquariums |
| Max Tank Glass Thickness | Less than or equal to 1 inch (0.95 inches / 0.78 inches) |
| Power Cord Length | 5.0 ft + 2.2 ft (total 7.2 ft) |
| Light Diffusion Range | 20" x 20" |
| Peak PAR | 60 µMol at a depth of 24" |
| Light Service Life | More than 50,000 hours |
| Fan Noise Standard | Lower than 44.7db(A) |
| Material | Aluminum, Glass, Metal |
4. Setup Guide
4.1 Mounting the Light
- Unpack all components from the box.
- Attach the flexible gooseneck arm to the light head.
- Secure the mounting clamp to the edge of your aquarium. The clamp is designed to fit tank glass thickness up to 1 inch (0.95 inches). Ensure the screw is on the inside for rimmed tanks to maintain stability.
- Adjust the flexible arm to position the light head directly above your desired area in the aquarium. The 360° adjustment allows for precise light placement.
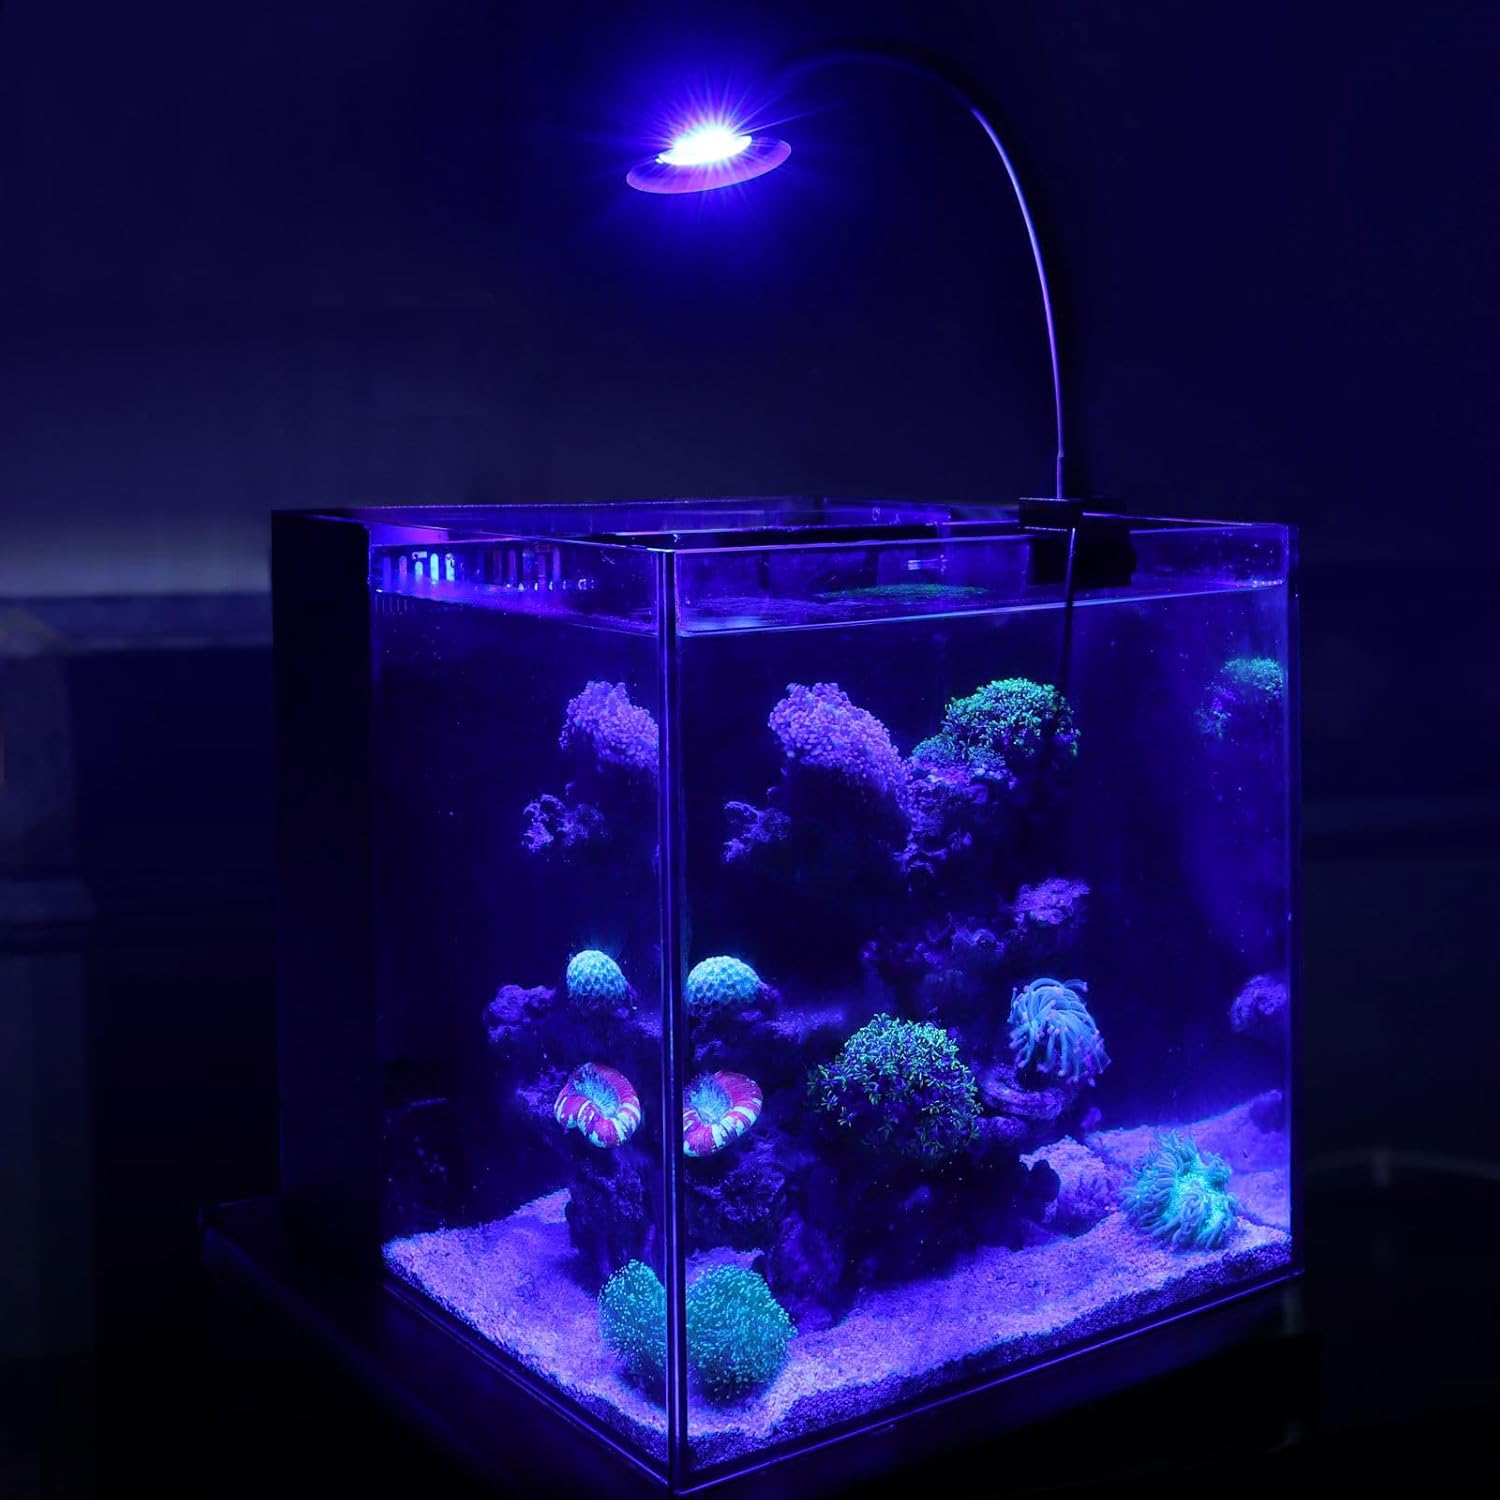
Figure 2: Flexible light neck and mounting clamp for easy installation.
4.2 Power Connection
- Connect the power adapter to the inline controller cable.
- Plug the power adapter into a suitable electrical outlet.
- Ensure all connections are secure before powering on the unit.
5. Operating Instructions
5.1 Inline Controller Overview
The light is controlled via an inline remote with several buttons:
- Power Button: Turns the light ON/OFF.
- Brightness Adjustment (+/-): Adjusts the light intensity.
- Color Button: Cycles through different light spectrums.
- Timer Button: Sets the operating duration (6H, 9H, 12H).

Figure 3: Inline Controller with button functions.
5.2 Brightness Adjustment
The light offers 5 levels of brightness adjustment. Press the '+' or '-' buttons to cycle through the intensity levels: 100% → 77% → 55% → 32% → 10%. This allows you to easily dim the light to suit different marine pets and their specific lighting requirements.

Figure 4: Visual representation of 5-level brightness adjustment.
5.3 Full Spectrum and Color Control
The Hygger Reef Light provides a proven full spectrum including UV, purple, blue, red, white, and green light. This comprehensive spectrum supports optimal growth and vibrant coloration for corals and fish.
- Blue Light: Promotes Vitamin D3 production, aiding calcium absorption in corals and enhancing vivid colors.
- UV Light: Supports plant defense mechanisms.
- Purple Light: Beneficial for fish growth.
- White & Red Light: Helps corals grow faster.
Press the 'Color Button' to switch between 3 main light color options: Blue, Warm White, and White. This allows you to customize the visual appearance of your aquarium.

Figure 5: Three light color options: Blue, Warm White, and White.

Figure 6: Light spectrum distribution for optimal reef health.
5.4 Timer Function
The internal timer allows you to select the light running duration. Press the 'Timer Button' to choose between 6 hours, 9 hours, or 12 hours of operation. The light will automatically turn off after the selected duration.
5.5 PAR Distribution and Coral Suitability
The 30W LED light features a 60-degree lens for strong penetrating power, reaching deeper water. The ultra-bright Nano LED aquarium light has a diffusion range of 20" x 20". The peak PAR (Photosynthetically Active Radiation) is 60 µMol at a depth of 24". This light is recommended for 18" x 18" aquariums and is suitable for small aquariums with saltwater fish, live rock, low-light soft corals, and reef aquariums.
Most corals can adapt to a wide range of light levels. It is recommended to acclimate corals gradually to new lighting conditions. Observe coral growth and adjust the spectrum and intensity as needed.

Figure 7: PAR (Photosynthetically Active Radiation) distribution at various depths.

Figure 8: Recommended PAR levels for Soft, LPS, and Hard Corals.
5.6 Official Product Video
Watch the official product video for a visual guide on the Hygger 30 Watts Aquarium LED Reef Light's features and operation.
Video 1: Hygger 30 Watts Aquarium LED Reef Light - Official Product Overview. This video demonstrates the light's features, installation, and various lighting modes in an aquarium setting.
6. Maintenance
Regular maintenance ensures optimal performance and longevity of your Hygger LED Reef Light.
- Cleaning the Lens: Periodically wipe the light lens with a soft, damp cloth to remove salt creep or water spots. Ensure the light is unplugged before cleaning.
- Fan Operation: The light features a two-roller silent fan for rapid heat transfer, ensuring a long service life of over 50,000 hours. Ensure the fan vents are not obstructed to allow proper airflow.
- General Care: Avoid submerging the light unit or controller in water. Keep the power adapter and connections dry.
7. Troubleshooting
7.1 Light Not Turning On
- Check if the power adapter is securely plugged into both the light cable and the electrical outlet.
- Ensure the electrical outlet is functioning correctly by testing it with another device.
- Verify that the power button on the inline controller has been pressed.
7.2 Light is Dim or Flickering
- Adjust the brightness using the '+' button on the inline controller to increase intensity.
- Ensure the light lens is clean and free from obstructions or buildup.
- If flickering persists, try unplugging the light for a few minutes and then plugging it back in.
7.3 Fan Noise
- A low-level fan noise (below 44.7db(A)) is normal for heat dissipation.
- If the noise is excessive, ensure the fan vents are clear of any dust or debris.
8. Warranty and Support
Hygger products typically come with a manufacturer's warranty. Please refer to the warranty card included in your package or visit the official hygger website for detailed warranty information and terms.
For technical support, troubleshooting assistance, or warranty claims, please contact hygger customer service through their official channels. Keep your purchase receipt or order number handy for faster service.
Related documentsHG088


Ask a question about this manual
Ask about setup, troubleshooting, compatibility, parts, safety, or missing instructions. Manuals+ will review the question and use this page’s manual context to help answer it.