1. Introduction
This manual provides detailed instructions for the setup, operation, maintenance, and troubleshooting of your PERFASCIN GZ-12A-E1 replacement remote control. This remote is designed to be compatible with various York Air Conditioning models, offering a convenient way to manage your unit's functions.
2. Setup
2.1 Battery Installation
The remote control requires two AAA/1.5V alkaline batteries for operation. Ensure correct polarity during installation.
- Locate the battery compartment on the back of the remote control.
- Slide the battery cover downwards to open.
- Insert two AAA/1.5V alkaline batteries, matching the (+) and (-) terminals inside the compartment.
- Slide the battery cover back into place until it clicks securely.
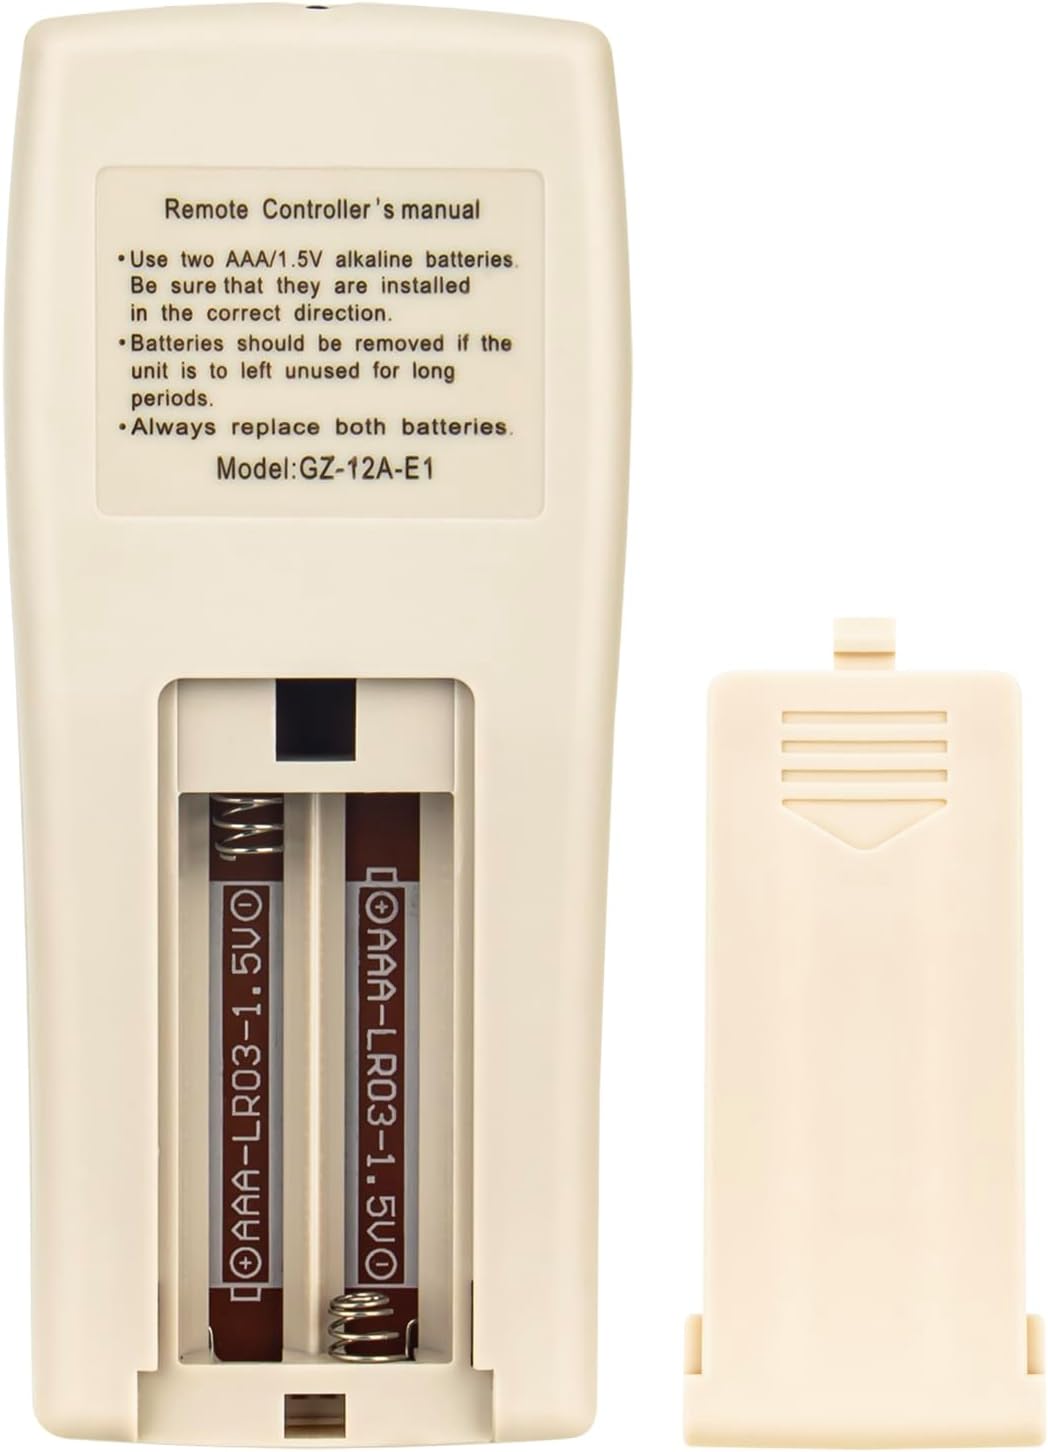
Image: Back of the remote control showing the battery compartment with batteries inserted. Ensure correct polarity when installing batteries.
2.2 Compatibility
This remote control is compatible with the following York Air Conditioning models:
- YJDC07FS-AAA, YJDC09FS-AAA, YJDC12FS-AAA, YJDC18FS-AAA
- YJJC07FS-AAA, YJJC09FS-AAA, YJJC12FS-AAA, YJJC18FS-AAA, YJJC24FS-AAA
- YJKEC07FS-AAA, YJKEC12FS-AAA, YJKEC09FS-AAA
- YJKC07FS-AAA, YJKC12FS-AAA, YJKC09FS-AAA, YJKC18FS-AAA, YJKC24FS-AAA
- GZ-12B-E1
No programming is required for this replacement remote control. Simply insert batteries and it is ready for use with compatible models.
3. Operating Instructions
Familiarize yourself with the buttons and their functions on your remote control.
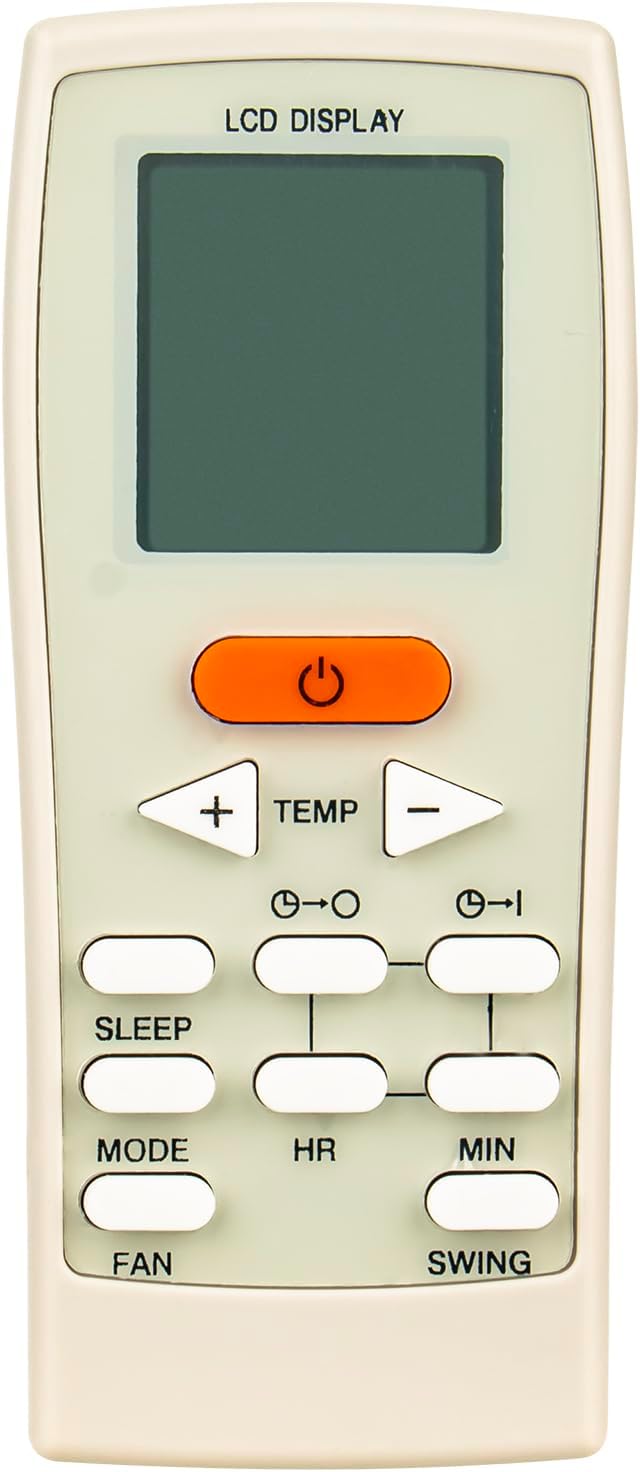
Image: Front view of the remote control, displaying the LCD screen and various function buttons.
3.1 Button Functions
- Power Button (U): Turns the air conditioner unit ON or OFF.
- TEMP + / - Buttons: Adjusts the desired temperature setting.
- MODE Button: Cycles through available operating modes (e.g., Cool, Heat, Fan, Dry, Auto).
- FAN Button: Adjusts the fan speed (e.g., Low, Medium, High, Auto).
- SWING Button: Controls the louver swing function for air direction.
- SLEEP Button: Activates or deactivates the sleep mode, which adjusts temperature and fan speed for comfortable sleep.
- HR (Hour) / MIN (Minute) Buttons: Used to set the clock and timer functions.
- Timer ON / Timer OFF Buttons: Sets the time for the unit to automatically turn ON or OFF.
3.2 Setting the Clock and Timer
The remote control features a built-in clock and timer function for scheduled operation.
- To set the current time, use the HR and MIN buttons.
- To set a timer for the unit to turn ON, press the Timer ON button, then use HR and MIN to set the desired ON time. Press Timer ON again to confirm.
- To set a timer for the unit to turn OFF, press the Timer OFF button, then use HR and MIN to set the desired OFF time. Press Timer OFF again to confirm.
4. Maintenance
4.1 Cleaning the Remote Control
To maintain the remote control's appearance and functionality:
- Wipe the surface with a soft, dry cloth.
- Do not use abrasive cleaners, solvents, or alcohol, as these can damage the surface.
4.2 Battery Care
- Always replace both batteries simultaneously. Do not mix old and new batteries.
- If the remote control will not be used for an extended period, remove the batteries to prevent leakage and potential damage.
- Dispose of used batteries responsibly according to local regulations.
5. Troubleshooting
If you encounter issues with your remote control, refer to the following common problems and solutions:
- Remote is not responding:
- Check if the batteries are correctly installed with the correct polarity.
- Replace old batteries with new AAA/1.5V alkaline batteries.
- Ensure there are no obstructions between the remote control and the air conditioner unit's receiver.
- Confirm you are within the effective operating range of the air conditioner.
- Display is dim or blank:
- This usually indicates low battery power. Replace the batteries.
- Specific functions are not working:
- Verify that your air conditioner model is listed as compatible in Section 2.2.
- Ensure the air conditioner unit itself is powered on and functioning correctly.
6. Specifications
| Feature | Detail |
|---|---|
| Model Number | GZ-12A-E1 |
| Brand | PERFASCIN |
| Product Dimensions | 6 x 3 x 0.5 inches |
| Item Weight | 2 ounces |
| Power Source | 2 x AAA/1.5V Alkaline Batteries (not included) |
| Special Feature | No Programming Required |
| Color | White |
| Compatible Devices | York Air Conditioner Units |
7. Warranty and Support
For warranty information or technical support regarding your PERFASCIN GZ-12A-E1 remote control, please refer to the documentation provided with your purchase or contact the manufacturer directly. Details are typically available on the product packaging or the seller's website.


