Important Safety Instructions
Please read all instructions carefully before beginning installation and retain this manual for future reference. Improper installation can lead to electric shock, fire, or personal injury.
- Always disconnect power at the main fuse box or circuit breaker before installing or servicing the fan.
- All electrical wiring must be performed by a qualified electrician and comply with local and national electrical codes.
- Ensure the installation site can support the fan's weight.
- Do not install this fan in locations directly exposed to rain. It is suitable for covered outdoor areas like patios or porches, but not direct rain exposure.
- Ensure fan blades are at least 7 feet (2.13 meters) from the floor.
- Do not insert objects into the path of the fan blades.
Package Contents
Verify that all components listed below are included in your package:
- 3 Solid Wood Ceiling Fan Blades
- DC Motor Assembly
- Mounting Bracket
- Downrods (5-inch and 10-inch options)
- Canopy
- Light Kit (Dimmable LED)
- Remote Control
- Hardware Pack (screws, wire nuts, etc.)
- Instruction Manual

Image: All components of the Ceversa 42 Inch Wood Ceiling Fan, including blades, motor, downrods, light kit, and remote control, laid out for inspection.
Specifications
| Feature | Detail |
|---|---|
| Brand | Ceversa |
| Model Name | 42-304 |
| Size | 42 Inch |
| Color | Redwood |
| Electric Fan Design | Ceiling Fan |
| Power Source | AC/DC |
| Style | Modern |
| Product Dimensions | 42"D x 42"W x 20"H |
| Room Type | Bedroom, Dining Room, Living Room, Study Room |
| Special Feature | 100% solid wood fan blades, 3 color dimmable LED, Timer |
| Noise Level | 30 Decibels |
| Wattage | 35 watts |
| Number of Blades | 3 |
| Speed | 210 RPM |
| Voltage | 120 Volts |
| Control Method | Remote |
| Indoor/Outdoor Usage | Indoor (covered outdoor/patios/porch, not direct rain) |

Image: Diagram illustrating the dimensions of the 42-inch ceiling fan and recommended room sizes for optimal performance, including downrod options for flat and sloped ceilings.
Setup & Installation
Follow these steps for proper installation of your Ceversa ceiling fan. It is recommended to have two people for installation.
1. Assemble Fan Blades and Light Kit
- Attach the solid wood blades to the motor housing using the provided screws. Ensure they are securely tightened.
- Install the LED light board into the light kit housing. Connect the wiring as instructed.
- Attach the light cover to the light kit housing.
Video: A general installation guide for ceiling fans with lights, demonstrating the assembly of blades and light components. This video provides a visual aid for the initial assembly steps.
2. Install Mounting Bracket and Downrod
- Secure the mounting bracket to the ceiling junction box. Ensure it is firmly attached to a structural support.
- Select the appropriate downrod (5-inch or 10-inch) based on your ceiling height. Feed the motor wires through the downrod.
- Attach the downrod to the motor assembly, securing it with the pin and screws.
- Slide the canopy over the downrod.
Video: Detailed installation steps for a 52-inch ceiling fan with light, demonstrating how to secure the mounting bracket, attach the downrod, and prepare for wiring.
3. Wiring Connections
- Carefully connect the fan's wiring to the household wiring according to the wiring diagram in the manual. Match color-to-color wires (e.g., black to black, white to white, ground to ground).
- Ensure all connections are secure using wire nuts.
- Tuck all wires neatly into the junction box.
Video: A simple installation guide for a ceiling fan, focusing on the wiring connections and securing the fan to the ceiling mount.
4. Final Assembly
- Carefully lift the fan assembly and hang it onto the mounting bracket.
- Slide the canopy up and secure it to the mounting bracket with screws.
- Restore power at the circuit breaker.
Video: Demonstrates the installation of a 42-inch flush mount ceiling fan, including hanging the fan and securing the canopy.
Operating Instructions
Your Ceversa ceiling fan comes with a multi-function remote control for convenient operation.

Image: The remote control displaying buttons for 6 fan speeds, 1/4/8 hour timer settings, reversible motor function, and LED light control.
Remote Control Functions:
- Power On/Off: Press the power button to turn the fan and light on or off.
- Fan Speed: Select from 6 fan speeds (1-6) to adjust airflow. Speed 1-2 for sleeping/reading, 3-4 for work/gatherings, 5-6 for sports/fitness.
- Light Control: Turn the LED light on/off.
- Dimmable LED Light: Adjust brightness from 10% to 100%.
- Color Temperature: Cycle through Warm White (3000K), Neutral Light (4500K), and Cool White (6000K) options.
- Reversible DC Motor: Switch between Summer mode (downward airflow for cooling) and Winter mode (upward airflow for circulating warm air).
- Timer Settings: Set the fan to turn off automatically after 1, 4, or 8 hours.
- Power-off Memory Function: The fan will resume its last settings (speed and light) when powered on again.

Image: Visual representation of the dimmable LED light feature, showing adjustable brightness from 10% to 100% and three color temperature options: Warm (3000K), Neutral (4500K), and Cool White (6000K).
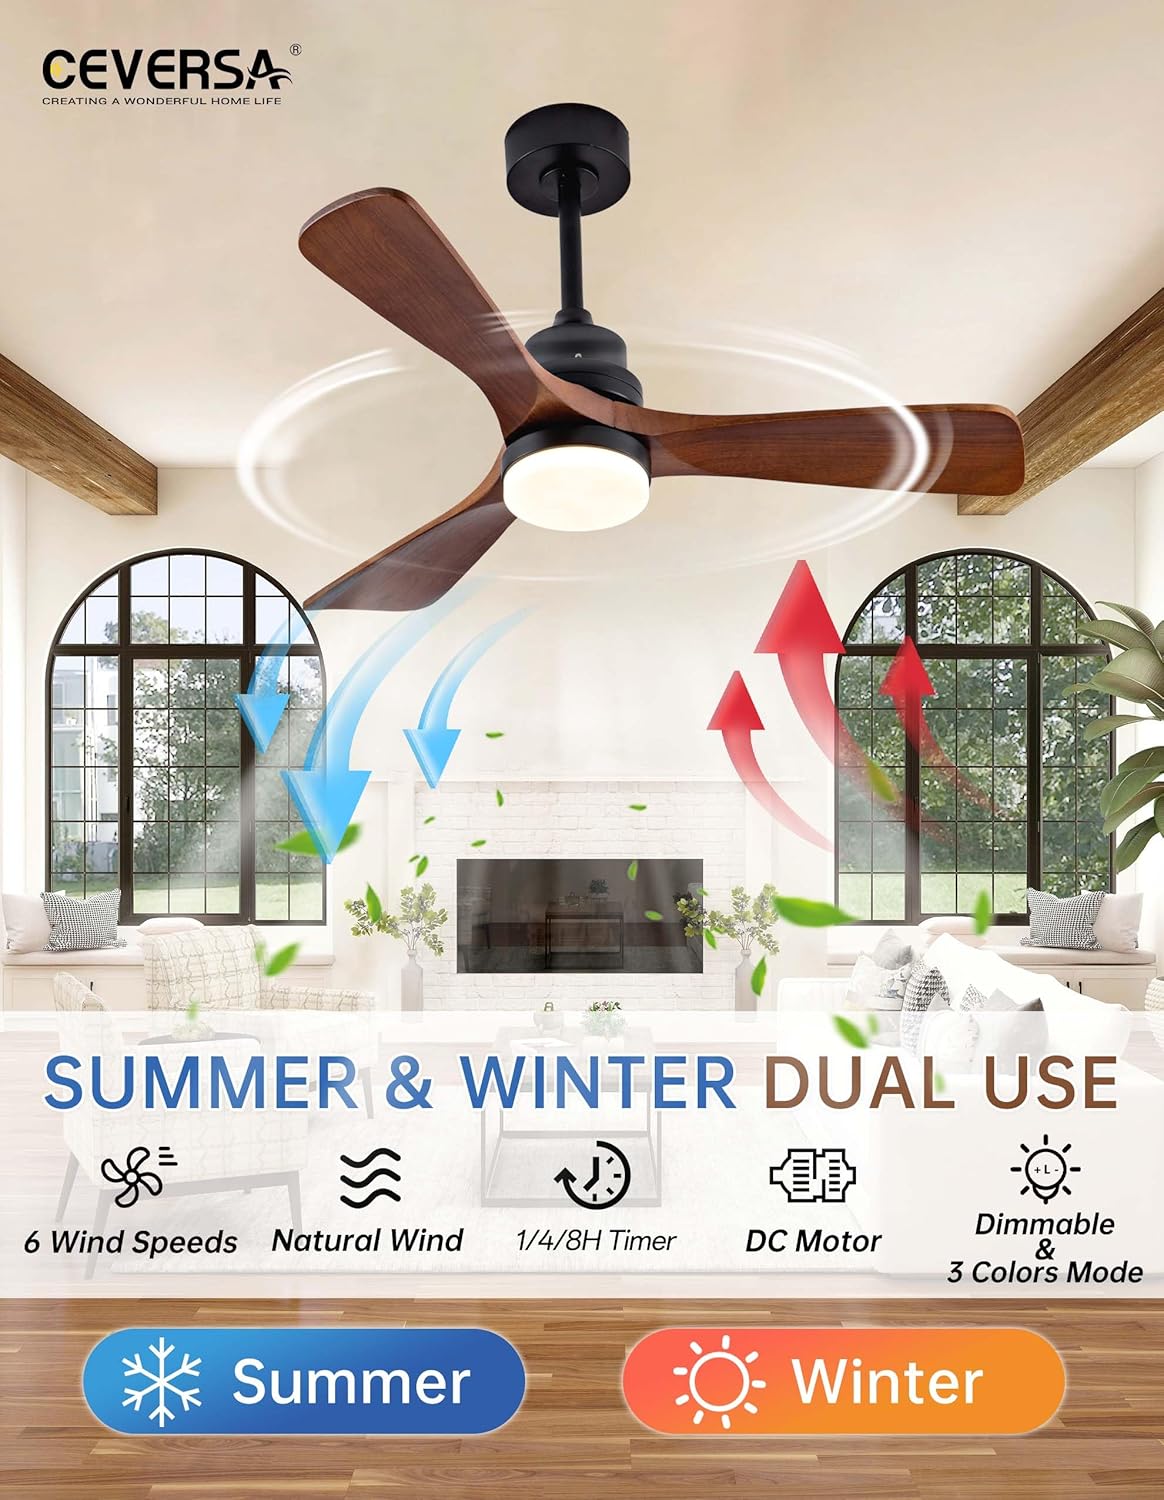
Image: Illustration of the reversible airflow function, depicting downward airflow for cooling in Summer mode and upward airflow for circulating warm air in Winter mode.
Video: Demonstrates the remote control functions of the Ceversa ceiling fan, including fan speed adjustments and light control.
Maintenance
Regular maintenance ensures optimal performance and longevity of your ceiling fan.
- Cleaning: Periodically wipe the fan blades and motor housing with a soft, damp cloth. Do not use abrasive cleaners or solvents.
- Blade Care: The solid wood blades should not be directly exposed to water. Clean with a dry or slightly damp cloth.
- Tightness: Check all screws and connections annually to ensure they are secure.
- Power Off: Always turn off the fan when not in use to conserve energy and prolong its lifespan.
Troubleshooting
If you experience issues with your fan, refer to the following common problems and solutions:
- Fan Does Not Start:
- Check if the power is on at the circuit breaker and wall switch.
- Ensure all wire connections are secure.
- Verify remote control batteries are installed correctly and are not depleted.
- Light Does Not Work:
- Check light switch on remote.
- Ensure light kit wiring is properly connected.
- Fan is Noisy:
- Ensure all screws on the motor housing and blades are tightened.
- Check if the mounting bracket is securely installed.
- Verify that the canopy is not touching the ceiling.
- Remote Control Not Responding:
- Replace remote control batteries.
- Ensure there are no obstructions between the remote and the fan receiver.
For further assistance, please contact Ceversa customer support.
Warranty & Support
Ceversa is committed to providing high-quality products and services.
- Motor Warranty: The DC motor is guaranteed for 10 years.
- Component Warranty: Ceiling fan light components come with a 2-year warranty.
- Remote Replacement: If your remote control is lost or damaged, replacement service is provided within 3 years.
- Customer Support: Customer support is always available to assist you with any installation or usage issues. Please refer to the contact information provided in your original packaging or on the Ceversa website.


