1. Introduction
This manual provides essential information for setting up, operating, and maintaining your GOODTEL G2 10-inch Android 13 Tablet. Please read it thoroughly to ensure proper usage and to maximize your device's performance.
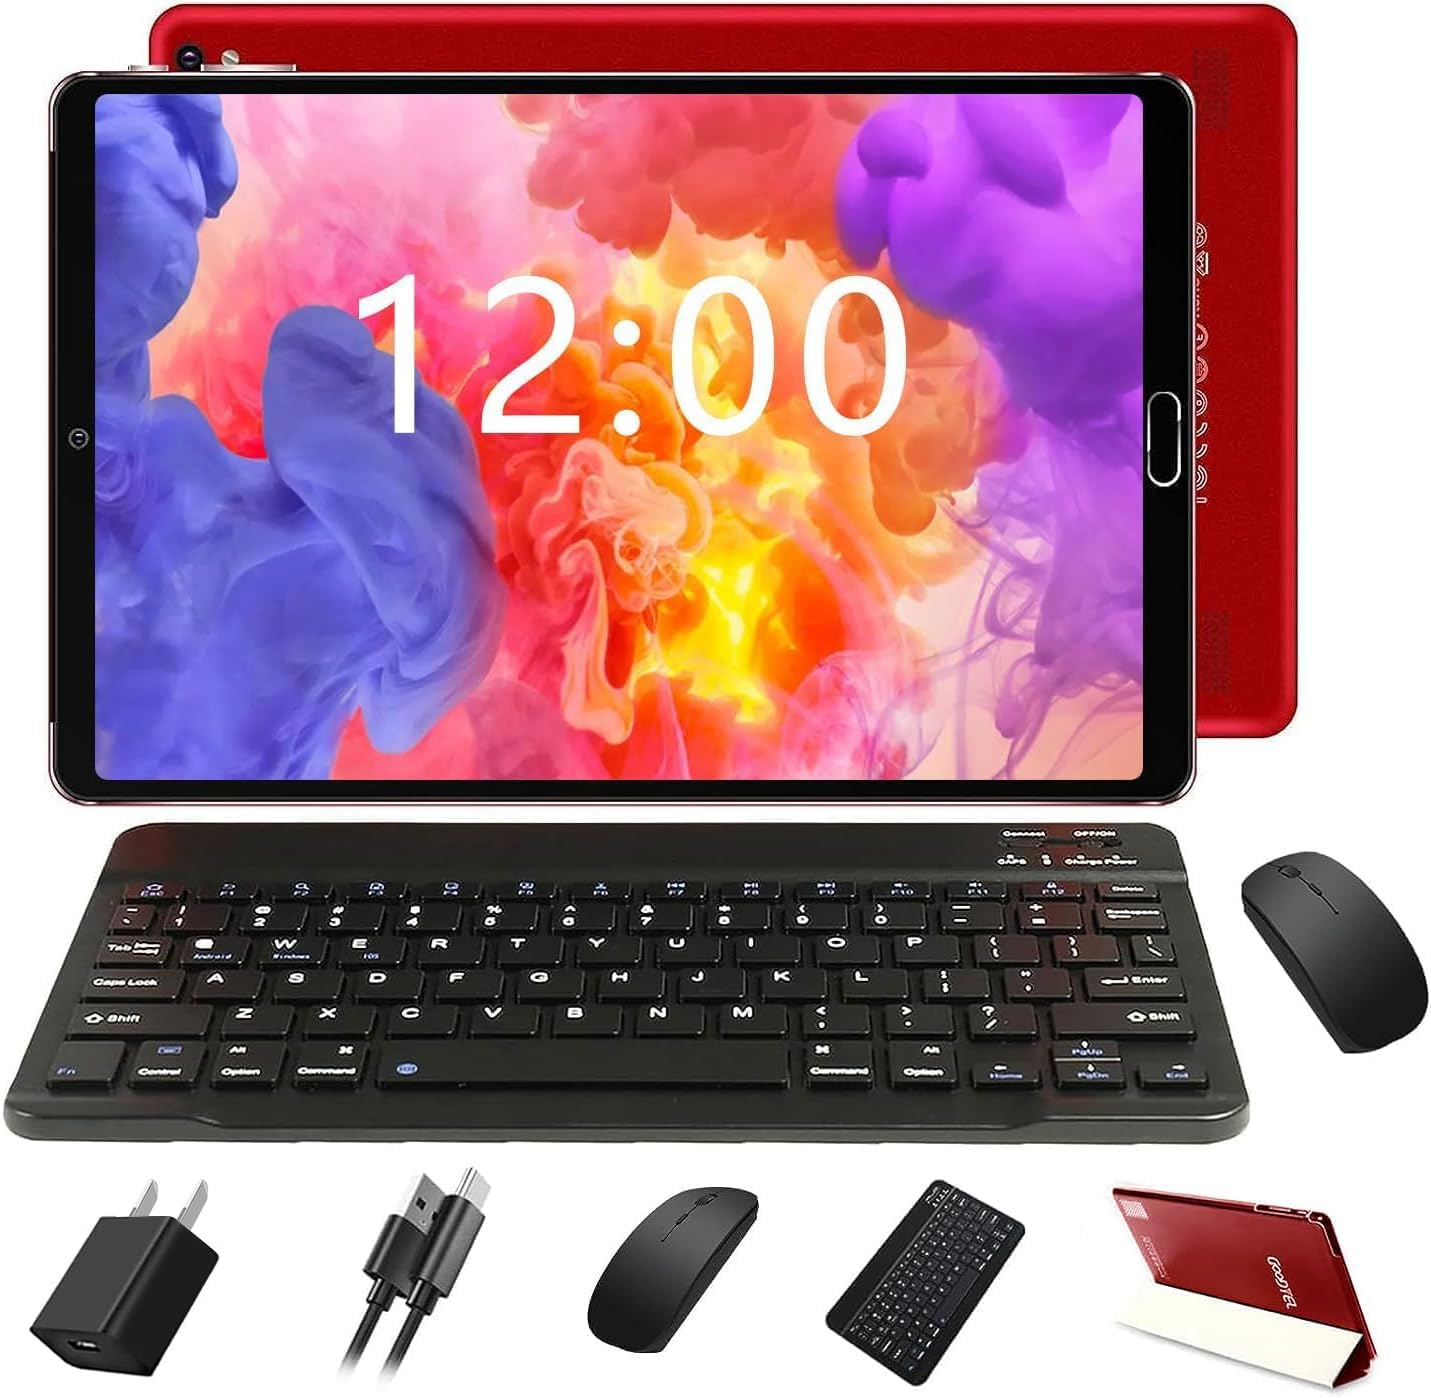
Figure 1: GOODTEL G2 Tablet with included accessories.
2. What's in the Box
The GOODTEL G2 Tablet package includes the following items:
- GOODTEL G2 10-inch Android 13 Tablet
- Tablet Case
- Bluetooth Keyboard
- Wireless Mouse
- OTG Adapter
- Charging Device (Adapter and USB-C Cable)
- Screen Protective Film (pre-applied and an extra one)
- Stylus Pen
- User Manual
Video 1: Unboxing the GOODTEL G2 Tablet and its accessories.
3. Product Overview
Familiarize yourself with the physical components of your GOODTEL G2 Tablet.

Figure 2: Rear view of the GOODTEL G2 Tablet highlighting key features.
3.1 Physical Components
- Two Speakers: Located on the top edge (when held horizontally).
- Camera Flash: Next to the rear camera module.
- 8 MP Camera: Rear-facing camera.
- Volume - / Volume +: Buttons to adjust audio volume.
- Power Button: Used to turn the device on/off or wake/sleep the screen.
- 3.5 mm Headphone Jack: For connecting wired headphones.
- Micro SD Card Slot: Supports expandable memory from 4GB to 1TB.
- Charging Port and OTG Data (Type-C): For charging and connecting OTG devices.
- Front Camera (5 MP): Located on the front bezel.
4. Setup
4.1 Charging the Tablet
Before first use, fully charge your tablet using the provided charging adapter and USB-C cable. Connect the USB-C cable to the tablet's charging port and the adapter to a power outlet. The battery indicator on the screen will show charging status.
4.2 Inserting a MicroSD/TF Card
To expand storage, locate the Micro SD card slot on the side of the tablet. Gently insert a compatible MicroSD/TF card (up to 1TB) into the slot until it clicks into place. Ensure the tablet is powered off before inserting or removing the card.
4.3 Powering On/Off
- To Power On: Press and hold the Power Button until the GOODTEL logo appears.
- To Power Off: Press and hold the Power Button until a menu appears, then select "Power off".
- To Sleep/Wake: Briefly press the Power Button.
4.4 Initial Setup
Upon first power-on, follow the on-screen prompts to:
- Select your language.
- Connect to a Wi-Fi network.
- Sign in with your Google Account or create a new one.
- Set up date, time, and other preferences.
4.5 Connecting the Wireless Mouse
The tablet supports a wireless mouse for enhanced navigation.
- Open the battery compartment of the mouse and insert the required batteries (not always included, check packaging).
- Locate the USB dongle inside the mouse's battery compartment.
- Connect the USB dongle to the provided OTG adapter.
- Plug the OTG adapter into the tablet's USB-C port. The tablet should automatically detect the mouse.
Video 2: Demonstrating the installation of the mouse and connecting it to the tablet.
4.6 Connecting the Bluetooth Keyboard
The included keyboard connects via Bluetooth.
- Turn on the keyboard using its power switch.
- Press the "Connect" button on the keyboard to enter pairing mode.
- On your tablet, go to Settings > Connected devices > Bluetooth.
- Ensure Bluetooth is enabled.
- Tap "Pair new device" and select the keyboard from the list of available devices (e.g., "3.0 keyboard").
- Confirm the pairing code if prompted.
Video 3: Guide on connecting the Bluetooth keyboard to the tablet.
4.7 Using the Stylus Pen
The stylus pen can be used for precise input, drawing, or navigating the touchscreen. Simply touch the pen to the screen as you would with your finger.
5. Operating the Tablet
5.1 Touchscreen Navigation
The tablet features a responsive IPS touchscreen. Use standard Android gestures:
- Tap: Select an item or open an app.
- Touch & Hold: Access contextual menus or move items.
- Swipe: Scroll through pages or content.
- Pinch-to-Zoom: Zoom in or out on images and web pages.

Figure 3: The tablet's IPS screen provides clear visuals.
5.2 Home Screen
The Home screen provides access to your apps, widgets, and notifications. You can customize it by adding or removing app icons and widgets.
5.3 Notifications and Quick Settings
Swipe down from the top of the screen to access notifications and quick settings (Wi-Fi, Bluetooth, brightness, etc.).
5.4 Apps
- Installing Apps: Use the Google Play Store to download and install applications.
- Uninstalling Apps: Touch and hold an app icon, then drag it to the "Uninstall" option, or go to Settings > Apps.
- Managing Apps: In Settings > Apps, you can manage permissions, storage, and data usage for each app.
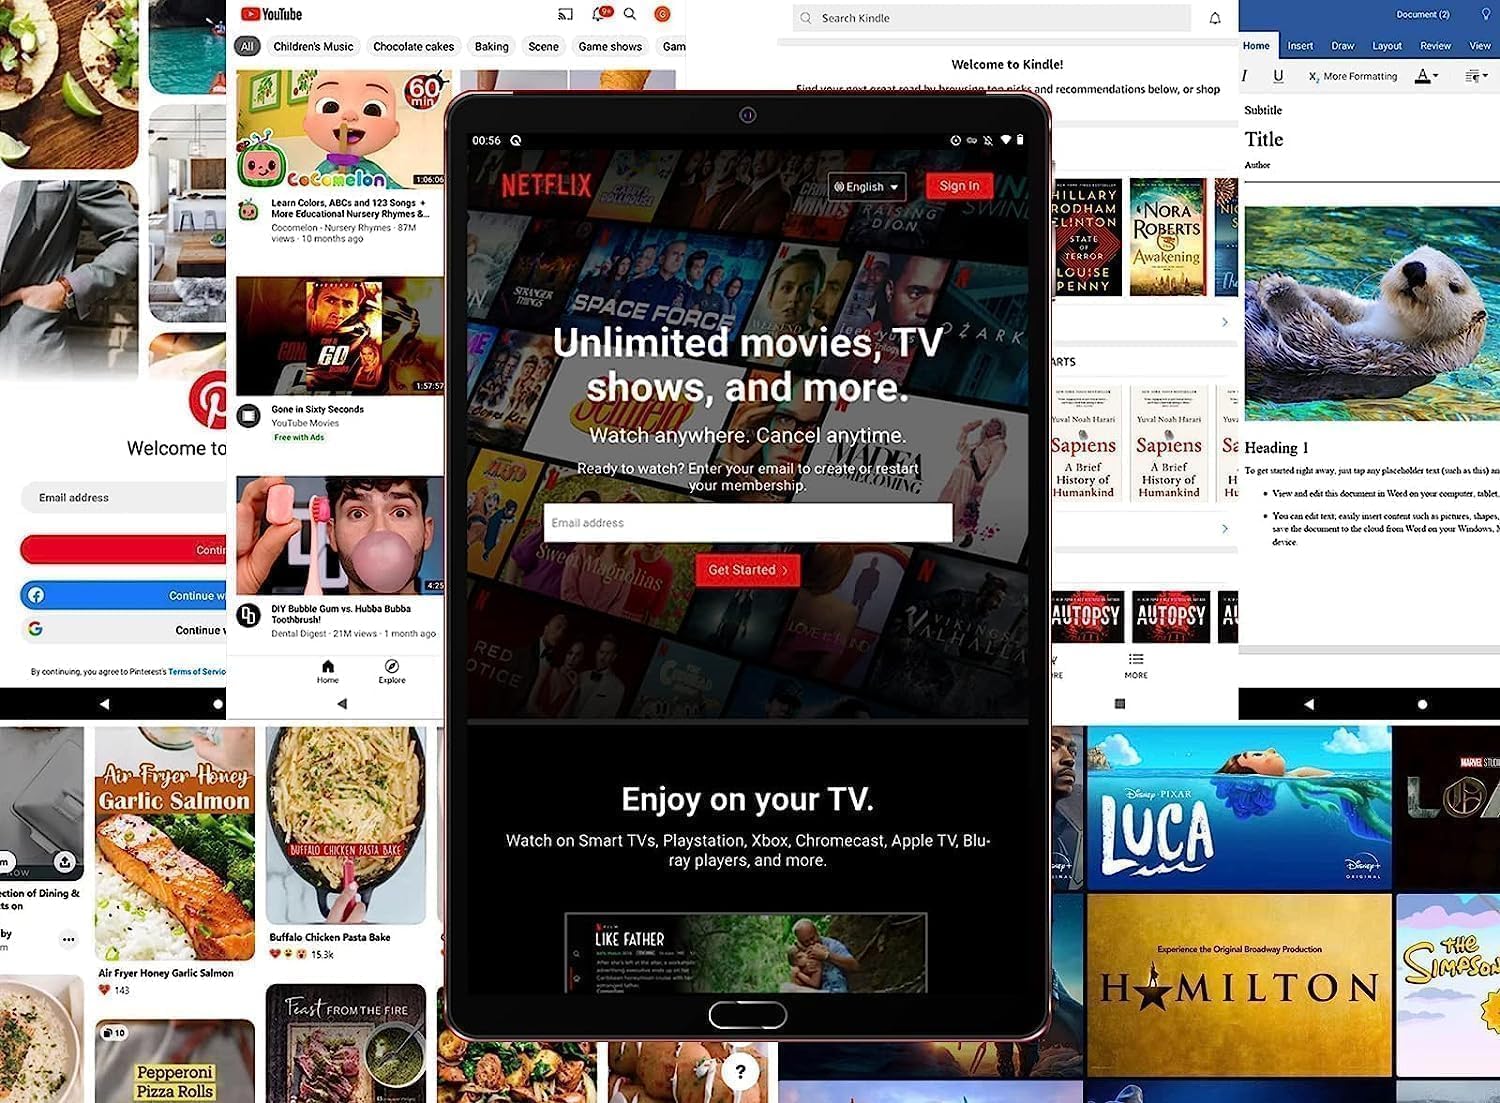
Figure 4: The tablet is suitable for various applications, including streaming services.
5.5 Internet Connectivity
- Wi-Fi: Go to Settings > Network & internet > Wi-Fi to connect to available networks. The tablet supports 5G/2.4G Wi-Fi.
- Hotspot: You can use the tablet as a Wi-Fi hotspot if your service provider supports it.
5.6 Bluetooth Connectivity
Connect Bluetooth devices like headphones, speakers, or other peripherals via Settings > Connected devices > Bluetooth.
5.7 Camera Usage
The tablet features an 8MP rear camera and a 5MP front camera. Open the Camera app to take photos or record videos. Adjust settings like flash, timer, and mode within the app.
5.8 OTG Functionality
The tablet supports On-The-Go (OTG) functionality, allowing you to connect USB devices like flash drives, external hard drives, or other peripherals using the provided OTG adapter.
6. Maintenance
6.1 Battery Care
- Avoid extreme temperatures.
- Do not let the battery completely drain frequently.
- Use only the provided charger.
6.2 Cleaning the Tablet
Use a soft, lint-free cloth to clean the screen and body of the tablet. Avoid using harsh chemicals or abrasive materials.
6.3 Software Updates
Regularly check for system updates in Settings > System > System update to ensure your tablet has the latest features and security patches.
6.4 Storage Management
Monitor your storage usage in Settings > Storage. Delete unnecessary files or apps, or move media to a MicroSD card to free up space.
7. Troubleshooting
If you encounter issues with your tablet, refer to the following common solutions:
| Problem | Solution |
|---|---|
| Tablet won't turn on | Ensure the battery is charged. Connect to charger for at least 30 minutes, then try powering on. |
| Screen is unresponsive | Restart the tablet. If unresponsive, force restart by holding the Power button for 10-15 seconds. |
| Wi-Fi connection issues | Check router, restart tablet, forget and reconnect to the network in Settings. |
| Bluetooth device won't pair | Ensure the device is in pairing mode and within range. Restart Bluetooth on both devices. |
| Apps crashing or freezing | Clear app cache/data (Settings > Apps), update the app, or uninstall and reinstall. |
8. Specifications
| Feature | Detail |
|---|---|
| Model Name | G2 |
| Operating System | Android 13 |
| Screen Size | 10 Inches |
| Display Type | IPS LCD |
| Display Resolution | 1280x800 pixels |
| RAM | 10GB (4GB physical + 6GB expanded) |
| ROM (Internal Storage) | 64GB |
| Expandable Memory | Up to 1TB via MicroSD/TF card |
| Processor Speed | 2 GHz |
| Processor Description | ARM Cortex Octa-Core |
| Connectivity | Wi-Fi 5G/2.4G, Bluetooth 5.0, Hotspot, AGPS, OTG |
| Rear Camera | 8 MP |
| Front Camera | 5 MP |
| Battery Capacity | 6000 mAh Lithium Battery |
| Battery Average Life | Up to 9 Hours |
| Audio | Built-in dual channel stereo speakers, Built-in microphone |
9. Warranty and Support
The GOODTEL G2 Tablet comes with a manufacturer's warranty. For specific warranty terms, conditions, and duration, please refer to the warranty card included in your product packaging or contact GOODTEL customer support directly.
For further assistance, technical support, or service inquiries, please visit the official GOODTEL website or contact their customer service channels.


