1. Introduction
This manual provides essential information for the safe and efficient use of your Dell PowerEdge R640 server. The PowerEdge R640 is designed for demanding workloads, offering high scalability and efficiency for virtualization, private cloud, and high-performance computing environments. It features powerful Xeon processors and DDR4 memory, along with hot-swappable power supplies for continuous operation.
2. Setup and Installation
2.1 Unboxing and Initial Inspection
Carefully unpack the server and all components. Inspect for any signs of damage during transit. Ensure all listed components are present.

Figure 2.1: Dell PowerEdge R640 Server and accessories as received in packaging. Verify all components are present and undamaged.
2.2 Physical Installation
The Dell PowerEdge R640 is a rack-mountable server. Install the server into a standard server rack using the provided rail kit. Ensure adequate ventilation around the server for optimal cooling.

Figure 2.2: Exploded view of the Dell PowerEdge R640 server, showing the chassis, cover, power supplies, and internal components. This illustrates the modular design for installation and maintenance.
2.3 Component Installation (Hard Drives, Memory)
Hard drives and memory upgrades are typically included separately and require installation. Refer to the specific instructions provided with your components for proper installation. The server supports 4x 1.92TB SSDs and 256GB DDR4 RAM.
2.4 Connecting Peripherals
Connect network cables to the Broadcom BCM5720 Quad Port 1GbE BASE-T network controller. Connect power cables to the redundant power supplies. Connect a monitor, keyboard, and mouse if direct console access is required.

Figure 2.3: Rear panel of the Dell PowerEdge R640 server, highlighting the network ports, video output, USB ports, and redundant power supply bays.
2.5 Initial Power-On
After all connections are secure, press the power button on the front panel to initiate the server startup sequence.
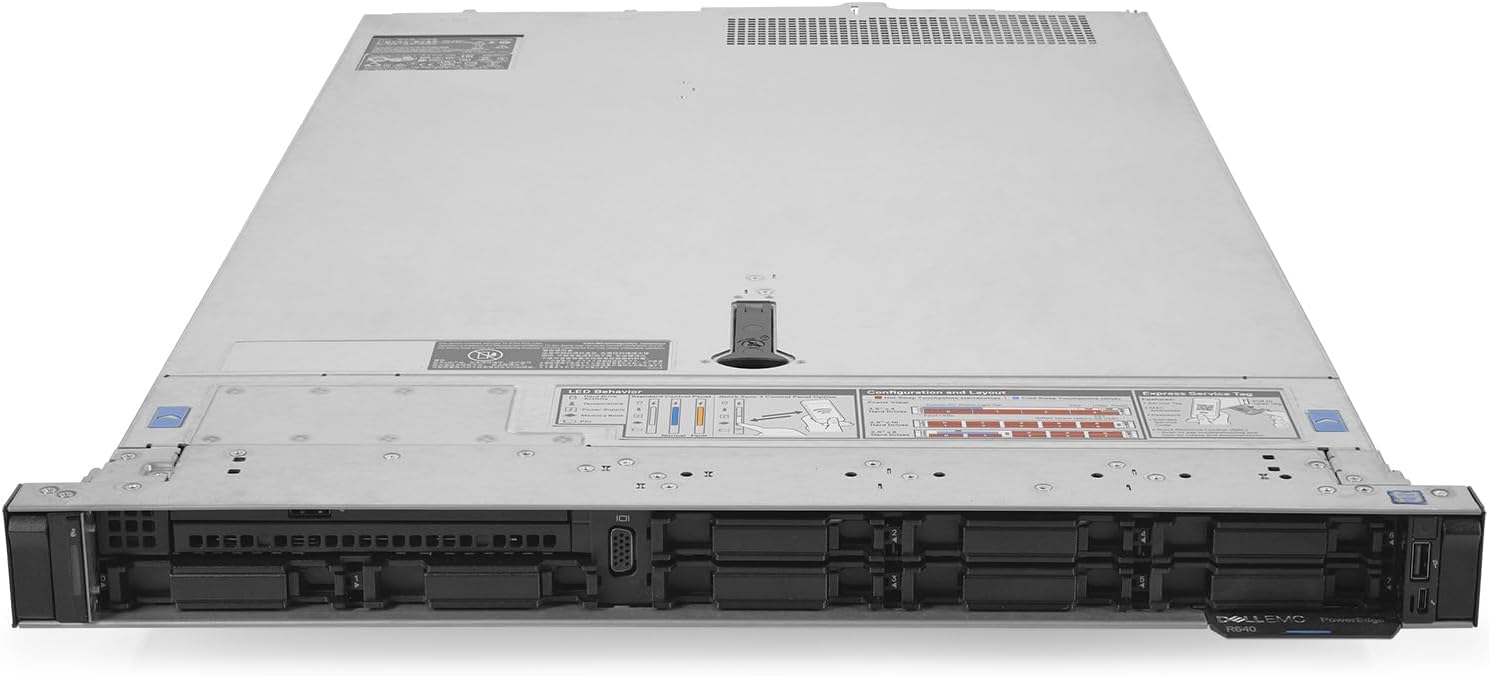
Figure 2.4: Front view of the Dell PowerEdge R640 server, displaying the drive bays, control panel, and power button.
3. Operating Instructions
3.1 Power On/Off Procedures
- Power On: Press the power button on the front panel.
- Normal Shutdown: Initiate a graceful shutdown through the installed operating system.
- Forced Shutdown: Press and hold the power button for approximately 5 seconds. Use this only when a graceful shutdown is not possible.
3.2 Operating System Installation
The server supports Linux and Windows Server operating systems. Insert the installation media (USB or optical drive) and follow the on-screen prompts to install your preferred operating system.
3.3 Remote Management (iDRAC9)
The Dell PowerEdge R640 includes iDRAC9 Express for remote management. Connect the iDRAC network port to your management network. Access the iDRAC web interface via a web browser using the assigned IP address to monitor server health, perform remote power operations, and manage virtual media.
4. Maintenance
4.1 Hot-Swappable Components
The server features hot-swappable power supplies, allowing replacement of a faulty unit without powering down the server. Hard drives are also hot-swappable. Always refer to the Dell documentation for specific hot-swap procedures.
4.2 Cleaning
Regularly clean the server's exterior and ventilation openings to prevent dust buildup, which can impede airflow and lead to overheating. Use a soft, dry cloth. For internal cleaning, consult a qualified technician.
4.3 Firmware Updates
Periodically check the Dell support website for updated firmware for the server, iDRAC, RAID controller (PERC H730), and other components. Keeping firmware up-to-date ensures optimal performance and security.
5. Troubleshooting
This section provides general guidance for common issues. For detailed troubleshooting, refer to the official Dell PowerEdge R640 documentation.
5.1 No Power
- Verify power cables are securely connected to both the server and the power source.
- Check power supply status indicators.
- Ensure the power source is active.
5.2 Server Not Booting
- Check for any error messages on the console or via iDRAC.
- Verify that memory modules and hard drives are correctly seated.
- Reset the server.
5.3 Network Connectivity Issues
- Verify network cables are properly connected.
- Check network adapter status lights.
- Confirm network configuration within the operating system.
6. Specifications
Key technical specifications for the Dell PowerEdge R640 Server:

Figure 6.1: The Dell PowerEdge R640 server in its assembled state, ready for rack deployment.
| Feature | Detail |
|---|---|
| Brand | Dell |
| Model | PowerEdge R640 |
| Processor | 2.1 GHz Xeon Gold 6130 (32-Core) |
| RAM | 256 GB DDR4 |
| Hard Drive | 7.7 TB SSD (4x 1.92TB SSD) |
| Storage Controller | PERC H730 12Gb/s RAID Controller w/2GB NV Cache |
| Network Controller | Broadcom BCM5720 Quad Port 1GbE BASE-T, rNDC |
| Remote Management | iDRAC9 Express |
| Operating System | Linux/Windows Server (not pre-installed) |
| Item Weight | 46.7 pounds |
| Product Dimensions | 28 x 10 x 20 inches |
| Power Supply | Redundant Power Supply |
7. Warranty and Support
This Dell PowerEdge R640 server is a renewed product. Warranty terms and support services are typically provided by the seller or the renewed product provider. Please refer to your purchase documentation for specific warranty details and contact information for technical support.
For general Dell product information and resources, visit the official Dell support website.