1. Introduction
This manual provides essential information for the proper setup, operation, and maintenance of your Camojojo Solar Panel with 5000 mAh Built-in Battery. This device is designed to provide external power to wireless/cellular trail cameras and security cameras, extending their operational time through solar energy conversion. Please read this manual thoroughly before use to ensure optimal performance and longevity of your product.
2. Safety Information
- Do not attempt to disassemble or modify the solar panel. Unauthorized modifications can lead to damage, electric shock, or fire.
- Keep the device away from open flames, excessive heat, and corrosive materials.
- Ensure all connections are secure before operation. Loose connections can cause power interruptions or damage.
- Avoid submerging the solar panel in water, despite its IP66 waterproof rating. The rating indicates resistance to strong jets of water, not submersion.
- Handle the solar panel with care to prevent physical damage to the solar cells.
- Dispose of the product and its battery responsibly according to local regulations.
3. Package Contents
Verify that all items are present in your package:
- Camojojo Solar Panel with Built-in Battery
- Adjustable Mounting Bracket
- Mounting Strap
- 4 x Mounting Screws
- 1 x 1.5m DC (4.0*1.7mm) to DC (5.5*2.1mm) Cable
- 1 x 1.5m DC (4.0*1.7mm) to DC (4.0*1.7mm) Cable
- 1 x 1.0m USB to DC (4.0*1.7mm) Cable
- Hex Key (for bracket adjustment)
- Instruction Manual

4. Product Overview
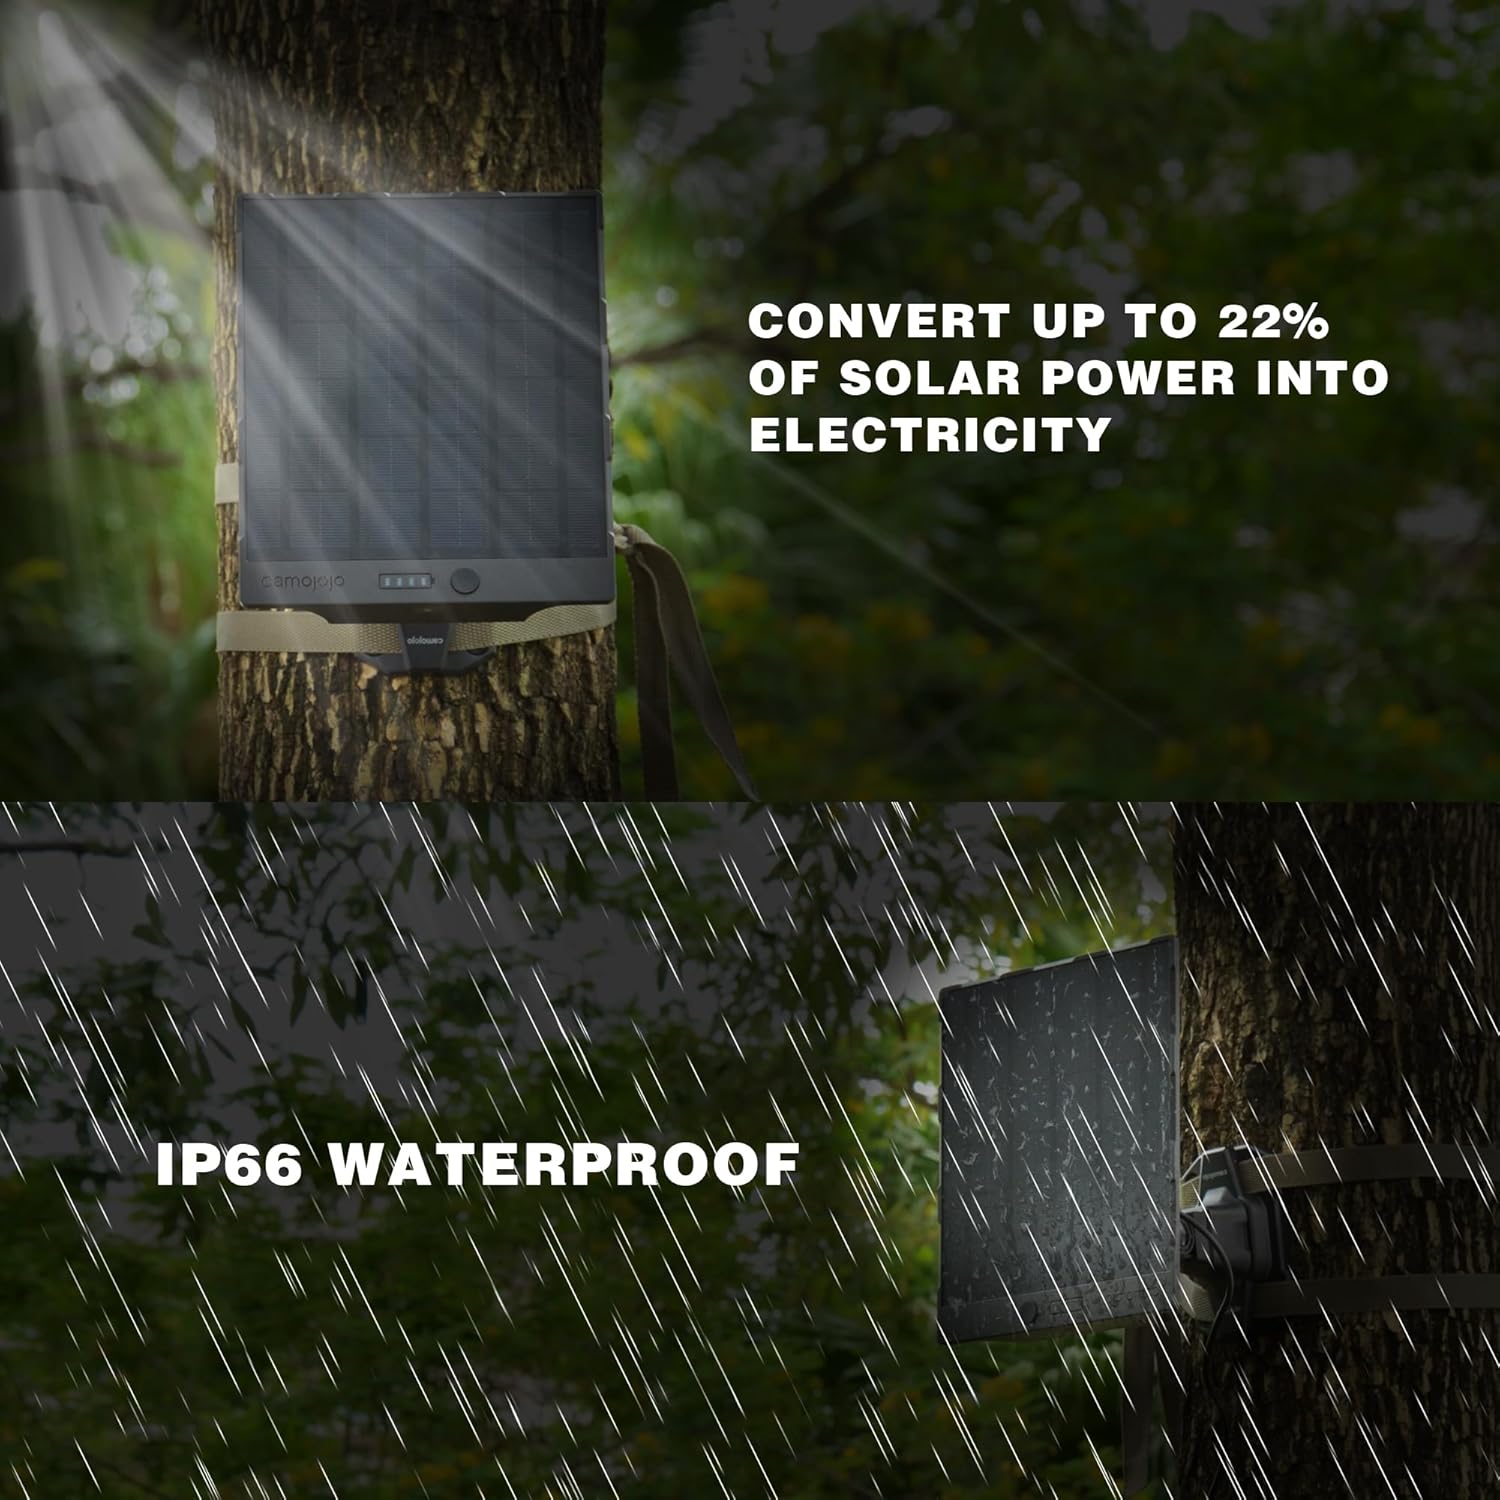
The Camojojo Solar Panel is an external power solution featuring a 5000 mAh built-in lithium-ion battery and high-efficiency monocrystalline silicon solar cells, capable of converting up to 22% of solar power into electricity. It is designed for outdoor use with an IP66 waterproof and dust-resistant rating, ensuring reliable operation in various weather conditions.
Key Features:
- High Conversion Efficiency: Up to 22% solar conversion rate.
- Integrated Battery: 5000 mAh built-in rechargeable battery for continuous power.
- Durable Construction: PET surface material and IP66 waterproof rating for outdoor resilience.
- Wide Compatibility: Supports 6V/1.5A and 12V/1A DC output for various trail and security cameras.
- Flexible Mounting: Adjustable bracket for optimal sun exposure.


5. Setup and Installation
Proper installation is crucial for maximizing solar charging efficiency and ensuring device stability.
5.1 Choosing a Location
Select a location that receives direct sunlight for the majority of the day. Avoid areas with heavy shade from trees, buildings, or other obstructions. The panel should be oriented towards the sun's path for optimal energy capture.
5.2 Mounting Options
The solar panel can be mounted using the provided bracket and screws or the mounting strap.
Wall/Tree Mounting with Screws:
- Attach the mounting bracket to a wall or tree using the four provided screws. Ensure the surface is stable and can support the weight of the panel.
- Secure the solar panel to the mounting bracket.
Strap Mounting (for trees/poles):
- Thread the mounting strap through the designated slots on the back of the mounting bracket.
- Wrap the strap around a tree or pole and secure it tightly.
- Attach the solar panel to the mounting bracket.

5.3 Adjusting the Angle
The mounting bracket allows for 180° horizontal and vertical rotation, and angle adjustment. Use the hex key to loosen the adjustment points, position the panel for optimal sun exposure, and then tighten securely.

6. Operation
6.1 Initial Charging
Before first use, it is recommended to fully charge the built-in 5000 mAh battery using the provided USB to DC cable and a standard 5V USB power adapter (not included). Connect the USB end to the power adapter and the DC end (4.0*1.7mm) to the input port on the solar panel. The LED indicators will show charging status.
6.2 Connecting to Your Device
The solar panel provides two DC output ports: 6V/1.5A and 12V/1A. Use the appropriate cable (DC to DC) to connect the solar panel to your trail camera or security camera. Ensure the voltage output matches your device's requirements to prevent damage.
- For 6V devices: Use the 6V/1.5A output port.
- For 12V devices: Use the 12V/1A output port.
Both output ports can be used simultaneously if needed. The solar panel will automatically charge its internal battery while also powering the connected device when sufficient sunlight is available.

6.3 LED Indicators
The solar panel features LED indicators to show the battery charge level. Refer to the product's specific indicator behavior for detailed information on charging status and battery capacity.
7. Maintenance
7.1 Cleaning
Regularly clean the surface of the solar panel to ensure maximum light absorption. Use a soft, damp cloth to wipe away dust, dirt, and debris. Avoid abrasive cleaners or harsh chemicals that could damage the PET surface material.
7.2 Environmental Conditions
The solar panel is designed to operate in temperatures ranging from -25°C to 60°C (-13°F to 140°F). While it is IP66 waterproof, prolonged exposure to extreme conditions outside this range may affect performance and lifespan.
8. Troubleshooting
- Device not charging:
- Ensure the solar panel is receiving direct sunlight.
- Check all cable connections to ensure they are secure and correctly inserted.
- Verify that the output voltage selected on the solar panel matches the input requirements of your connected device.
- Confirm the solar panel's internal battery has sufficient charge. If not, pre-charge it via USB.
- LED indicators not working:
- The battery may be fully discharged. Connect to a USB power source for initial charging.
- Ensure the power button (if present) is activated.
- Reduced charging efficiency:
- Clean the solar panel surface to remove any dirt or debris.
- Adjust the panel's angle and orientation to optimize sun exposure.
- Ensure no obstructions are casting shadows on the panel.
9. Specifications
| Feature | Specification |
|---|---|
| Product Dimensions | 8.11 x 6.82 x 1.1 inches |
| Item Weight | 2.31 pounds |
| Model Number | 1e018897-9674-4cbb-a95b-c2b0028774d8 |
| Battery Type | 1 Lithium Ion battery required (built-in) |
| Battery Capacity | 5000 mAh |
| Solar Conversion Efficiency | Up to 22% |
| Input Voltage | DC 5V (via USB) |
| Output Voltage/Amperage | DC 6V/1.5A, DC 12V/1A |
| Total USB Ports | 3 (referring to various cable types, not physical ports on panel) |
| Wattage | 18 watts (max output) |
| Waterproof Rating | IP66 |
| Operating Temperature | -25℃ to 60℃ (-13°F to 140°F) |
| Color | Black |
| Compatible Devices | Cameras (Trail Camera, Security Camera, Bird Camera) |
10. Warranty and Support
Camojojo offers customer service to assist with any issues or inquiries regarding your product. If you encounter any trouble with using the item or have quality concerns, please contact us. We provide 24-hour after-sale customer service.
Note: If you intend to power a bird feeder camera that requires a USB-C charging cable, please be aware that a DC to USB-C charging cable is not included in this package and must be purchased separately.
For support, please refer to the contact information provided with your purchase or visit the official Camojojo website.