Cubiker CUB-B0.2
Cubiker L-Shaped Gaming Desk (Model CUB-B0.2) Instruction Manual
Brand: Cubiker | Model: CUB-B0.2
1. Introduction
Thank you for choosing the Cubiker L-Shaped Gaming Desk. This manual provides essential information for the safe assembly, operation, and maintenance of your new desk. Please read these instructions carefully before beginning assembly and retain them for future reference.

Image 1.1: The Cubiker L-Shaped Gaming Desk, featuring a monitor, speaker, tablet, and side storage bag, demonstrating its functional layout.
2. Safety Information
- Read all instructions before assembly.
- Keep children and pets away during assembly.
- Assemble on a soft, clean surface to prevent scratches.
- Ensure all connections are secure before use.
- Do not exceed the maximum weight capacity of 50 lbs (approximately 22.68 kg).
- Avoid placing hot items directly on the desk surface.
3. Package Contents
Please verify that all components listed below are present before beginning assembly. If any parts are missing or damaged, please contact customer support.
- 1 x L-Shaped Desktop Panel (White)
- 2 x Metal Leg Frames
- 2 x Metal Connecting Rods
- 1 x Movable Monitor Shelf
- 1 x Fabric Storage Bag
- 1 x Iron Hook
- Adjustable Feet (quantity as needed)
- Assembly Hardware (screws, L-key)
- Instruction Manual

Image 3.1: Example of metal frame components included in the package.
4. Assembly Instructions
Follow these steps carefully to assemble your Cubiker L-Shaped Gaming Desk.
- Unpack Components: Carefully remove all parts from the packaging and lay them out on a clean, soft surface to prevent damage. Verify all parts against the package contents list.
- Assemble Leg Frames: Attach the metal connecting rods to the metal leg frames using the provided screws and L-key. Ensure all screws are finger-tight at this stage.
- Attach Desktop Panels: Carefully place the L-shaped desktop panel onto the assembled leg frames. Align the pre-drilled holes on the desktop with the holes on the leg frames. Secure the desktop to the frames using the appropriate screws.
- Tighten All Screws: Once the desktop is in place, fully tighten all screws to ensure stability. Do not overtighten.
- Install Adjustable Feet: Screw the adjustable feet into the bottom of the leg frames. These feet help stabilize the desk on uneven surfaces.
- Attach Storage Bag and Hook: The fabric storage bag can be attached to either side of the desk using its integrated hooks. The iron hook can also be installed on the left or right side as preferred.
- Position Monitor Shelf: Place the movable monitor shelf on the desktop in your desired location.

Image 4.1: The desk features a reversible design, allowing the L-shape to be configured in two directions to suit your space.

Image 4.2: Adjustable feet allow for leveling the desk on uneven floors, enhancing stability.
5. Operating Instructions
Your Cubiker L-Shaped Gaming Desk is designed for versatility and comfort.
- L-Shaped Configuration: The desk's L-shape is ideal for corner placement, maximizing your workspace. The design is reversible, allowing you to choose the orientation that best fits your room layout.
- Movable Monitor Shelf: Use the included monitor shelf to elevate your screen to an ergonomic height, which can help reduce neck and shoulder strain. The shelf can be moved freely across the desktop to suit your setup.

Image 5.1: The movable monitor shelf provides an elevated surface for screens or other items, promoting better posture.
- Storage Bag and Hook: Utilize the fabric storage bag for organizing books, documents, or other office supplies, keeping your desktop clear. The iron hook is convenient for hanging headphones or bags.
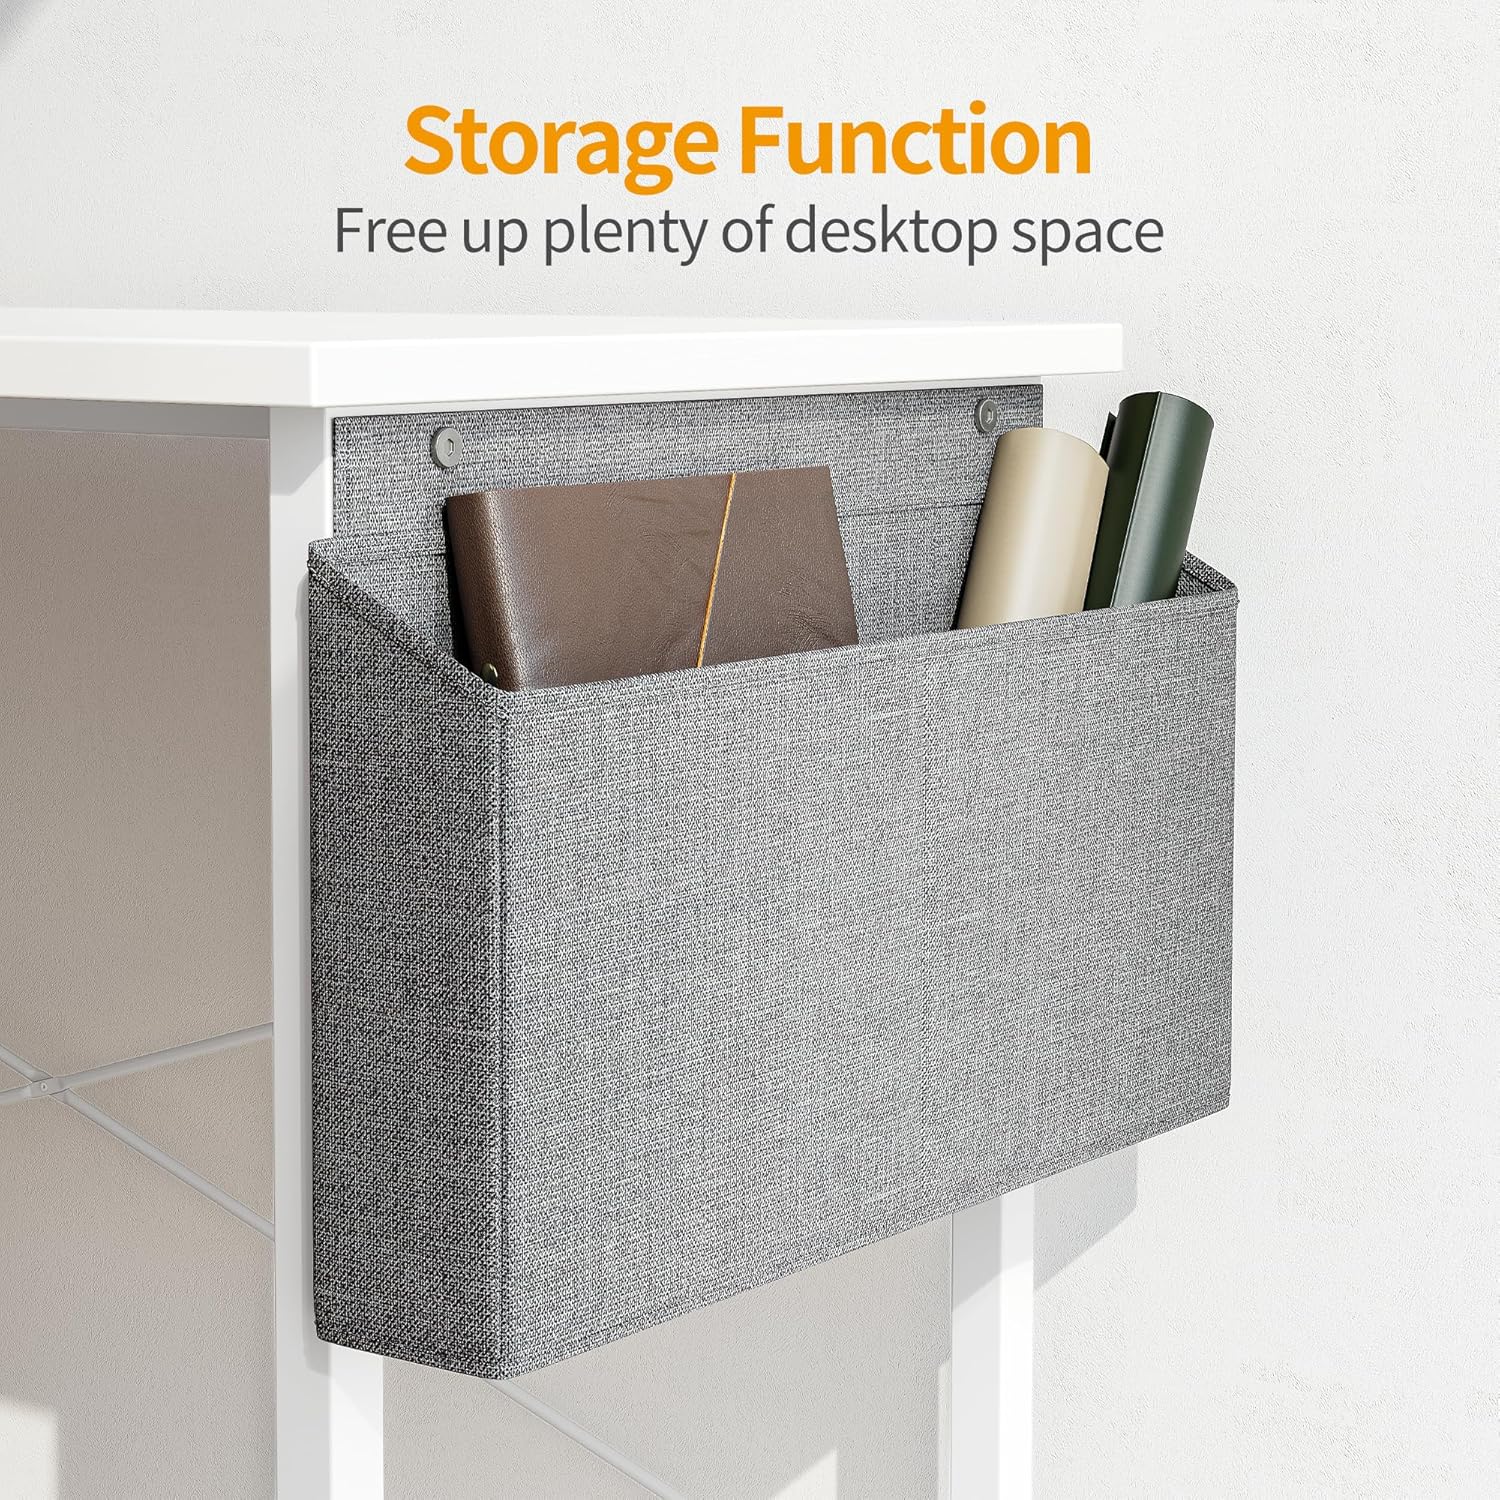
Image 5.2: The side storage bag offers convenient access to frequently used items, helping to declutter the main desk surface.
- Spacious Desktop: The generous desktop area (120 cm + 120 cm L x 50 cm D) accommodates multiple monitors, laptops, and other peripherals, providing ample space for work or gaming.
6. Maintenance
- Cleaning: Wipe the desk surface with a soft, damp cloth. Avoid abrasive cleaners or harsh chemicals that may damage the finish.
- Spills: Clean up spills immediately to prevent staining or damage to the desktop material.
- Hardware Check: Periodically check all screws and connections to ensure they remain tight. Retighten if necessary.
- Avoid Overloading: Do not place excessive weight on the desk. Adhere to the maximum weight recommendation of 50 lbs.
7. Troubleshooting
- Desk is wobbly:
- Ensure all assembly screws are fully tightened.
- Adjust the leveling feet at the bottom of the desk legs to compensate for uneven flooring.
- Parts are missing or damaged:
- Carefully re-check the package contents against the list in Section 3.
- Contact Cubiker customer support for assistance.
- Difficulty with assembly:
- Review the assembly instructions in Section 4 step-by-step.
- Ensure you are using the correct hardware for each step.
8. Specifications
| Brand | Cubiker |
| Model Number | CUB-B0.2 |
| Color | White |
| Material | Metal frame, Wood desktop |
| Overall Dimensions (L x W x H) | 120 cm x 120 cm x 75 cm (47.2" x 47.2" x 29.5") |
| Desktop Depth | 50 cm (19.7") |
| Item Weight | 15.14 kg (33.38 lbs) |
| Maximum Weight Recommendation | 50 lbs (approximately 22.68 kg) |
| Assembly Required | Yes |

Image 8.1: Detailed dimensions and weight load distribution for the Cubiker L-Shaped Gaming Desk.
9. Warranty and Support
Cubiker products are designed for quality and durability. For specific warranty details, please refer to the warranty card included with your purchase or visit the official Cubiker website.
If you encounter any issues during assembly or use, or if you have questions about your product, please contact Cubiker customer support:
- Customer Service: Refer to your purchase documentation for contact information.
- Online Support: Visit the official Cubiker website for FAQs and support resources.

Image 9.1: Cubiker's commitment to customer satisfaction and product quality.
Ask a question about this manual
Ask about setup, troubleshooting, compatibility, parts, safety, or missing instructions. Manuals+ will review the question and use this page’s manual context to help answer it.