SEASONBLOW CHX23084-240
SEASONBLOW 8 FT Christmas Inflatable Archway with Gift Boxes and Candy Canes
Model: CHX23084-240
Introduction
This manual provides instructions for the safe and proper setup, operation, and maintenance of your SEASONBLOW 8 FT Christmas Inflatable Archway. This product is designed for both indoor and outdoor holiday decoration, featuring an archway adorned with gift boxes and candy canes, illuminated by LED lights.
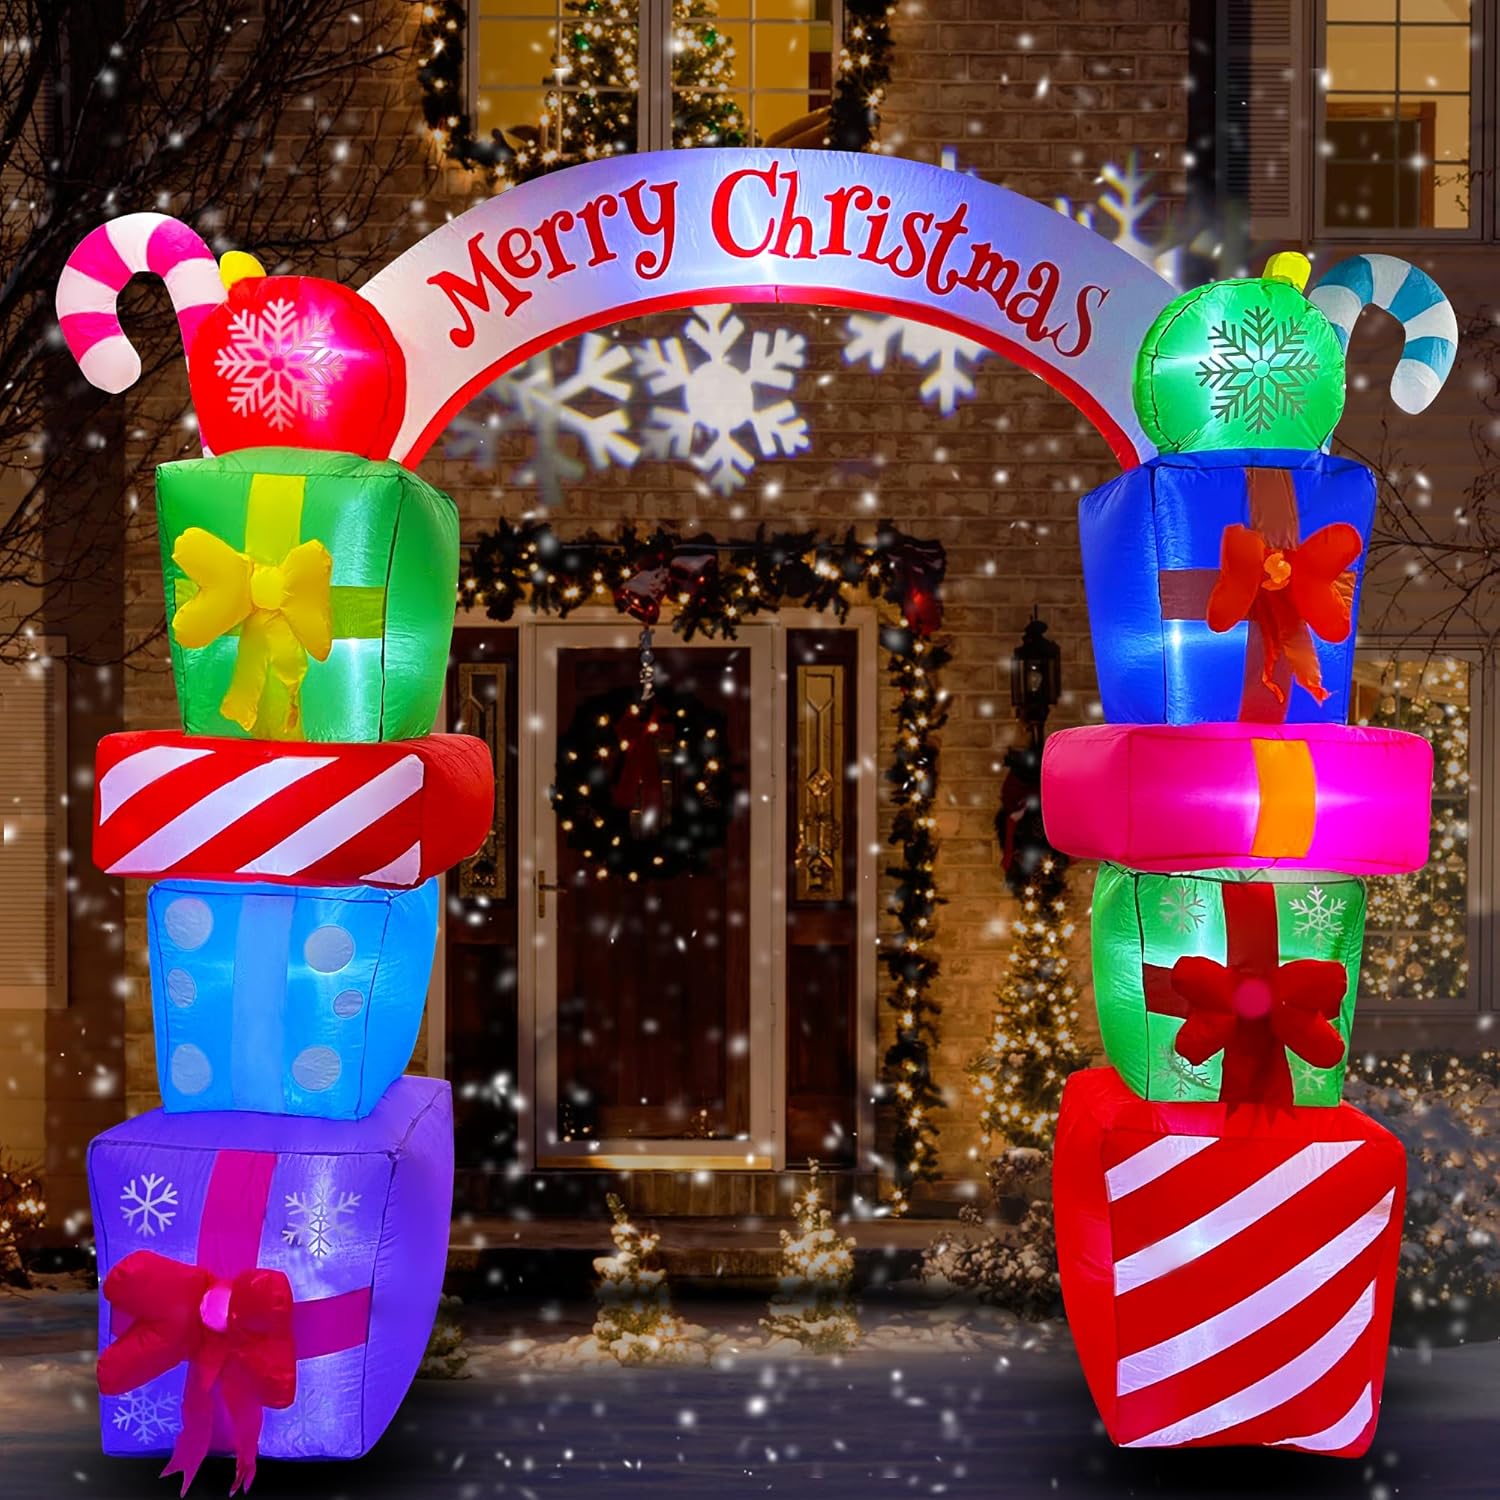
Image: The fully inflated 8-foot Christmas archway, featuring colorful stacked gift boxes on either side and candy canes, with a 'Merry Christmas' banner across the top, illuminated at night.
Safety Information
- Keep the inflatable away from all heat sources, open flames, and combustible materials.
- Ensure adequate ventilation around the blower during operation to prevent overheating.
- Always anchor the product securely when in use outdoors to prevent it from being blown away by wind.
- Do not operate the inflatable in strong winds or heavy rain.
- Keep children and pets away from the blower and electrical connections.
- Inspect the product for damage before each use. Do not use if damaged.
Package Contents
Verify that all components are present before beginning assembly:
- 1 x Inflatable Archway
- 1 x Built-in Blower
- 1 x UL Adapter (US Standard Plug)
- 6 x Ground Stakes
- 2 x Ropes
- 3 x Sandbags (pre-installed or included separately)

Image: A line drawing illustrating the components included in the package: the deflated inflatable, a box representing the packaging, ground stakes, ropes, and the blower with its power cord.
Setup Instructions
- Unpack and Position: Carefully remove the inflatable from its packaging. Lay it flat on a clean, dry surface in the desired location. Ensure the air intake on the blower is clear of obstructions and the zipper on the inflatable is fully closed.
- Connect Power: Connect the blower's power connector to the round jack of the UL adapter. Fix the nut to secure the connection.
- Inflate: Plug the UL adapter into a standard electrical outlet. The built-in fan will begin to inflate the archway automatically. Allow a few minutes for the inflatable to reach its full size and stand upright.
- Add Stability (Sandbags): If your unit includes separate sandbags, fill them with water or sand as indicated and place them inside the base of the inflatable for added stability. Some units may have pre-installed sandbags.
- Secure with Stakes: Once inflated, use the provided ground stakes to secure the base of the inflatable to the ground. Insert the stakes through the loops at the bottom of the inflatable.
- Use Tethers/Ropes: Attach the ropes to the designated tether points on the inflatable (usually loops on the sides or top). Angle the ropes outwards and secure them to the ground using additional stakes. Adjust the tension to ensure the archway stands firm and upright.

Image: A line drawing demonstrating how to fill the included sandbag with water using a faucet, labeled 'water inlet'.

Image: A line drawing illustrating the process of placing a filled water bag (sandbag) inside the base of the inflatable.

Image: A line drawing detailing how to insert a ground stake through a loop at the base of the inflatable to secure it to the ground.

Image: A line drawing illustrating the complete setup of the inflatable archway, showing ropes attached to the upper sections and secured to the ground with stakes, providing stability.
Operating Instructions
To operate the inflatable archway, simply plug the UL adapter into a standard electrical outlet. The built-in blower will automatically inflate the decoration and activate the internal LED lights. To turn off and deflate the archway, unplug the adapter from the electrical outlet.
Maintenance
- Cleaning: To clean the inflatable, wipe it with a damp cloth and mild soap. Do not use harsh chemicals or abrasive cleaners. Ensure the inflatable is completely dry before storing.
- Storage: When not in use, deflate the archway completely. Fold it neatly and store it in its original packaging or a suitable storage bag in a cool, dry place, away from direct sunlight and pests.
- Inspection: Periodically check the fabric for tears or punctures, and the electrical cord for damage. Repair small tears with a patch kit (not included) or contact customer support for larger damages.
Troubleshooting
| Problem | Possible Cause | Solution |
|---|---|---|
| Inflatable does not inflate or inflates slowly. |
|
|
| Inflatable falls over or is unstable. |
|
|
| Lights are not working. |
|
|
Specifications
| Feature | Detail |
|---|---|
| Brand | SEASONBLOW |
| Model Number | CHX23084-240 |
| Dimensions (L x W x H) | 78 x 28 x 96 inches (6.5 ft x 2.3 ft x 8 ft) |
| Item Weight | 5.81 pounds |
| Material | Polyvinyl Chloride (PVC) |
| Light Color | Bright White |
| Special Features | Easy Setup, Lighted, Self Inflating |
| Power Source | Standard Electrical Outlet (UL Adapter) |
Warranty and Support
For warranty information or technical support, please refer to the product packaging or contact the manufacturer directly. Keep your purchase receipt for warranty claims.
Ask a question about this manual
Ask about setup, troubleshooting, compatibility, parts, safety, or missing instructions. Manuals+ will review the question and use this page’s manual context to help answer it.