1. Product Overview
The PERSUPER RGB Digital Alarm Clock (Model 010-white) is designed to provide a reliable and customizable wake-up experience. It features a super loud alarm, 15 wake-up sounds, a dynamic RGB digital display, a 7-color night light, and a 0-100% adjustable dimmer. This manual provides detailed instructions for setup, operation, and maintenance.

Image 1.1: Front view of the PERSUPER RGB Digital Alarm Clock, displaying time, date, and dynamic RGB lighting.
2. Package Contents
Upon opening the package, please ensure all items are present:
- PERSUPER RGB Digital Alarm Clock (Model 010-white)
- Power Adapter
- Power Cord (USB cable)
- User Manual
- 2 x AAA Batteries (pre-installed for backup function)
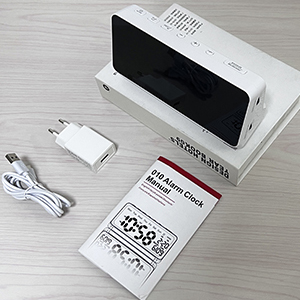
Image 2.1: The alarm clock, power adapter, USB cable, and user manual included in the package.
3. Setup Instructions
3.1 Power Connection
- Connect the power cord to the DC 5V input port on the back of the alarm clock.
- Plug the power adapter into a standard electrical outlet.
- The clock display will illuminate, indicating it is powered on.
3.2 Battery Backup
The alarm clock includes 2 AAA batteries for backup. These batteries preserve your time and alarm settings during a power outage. The clock will not display time or function without external power, but settings will be retained.
3.3 Initial Time Setting
Refer to the 'Operating Instructions' section for detailed steps on setting the time, date, and other preferences.
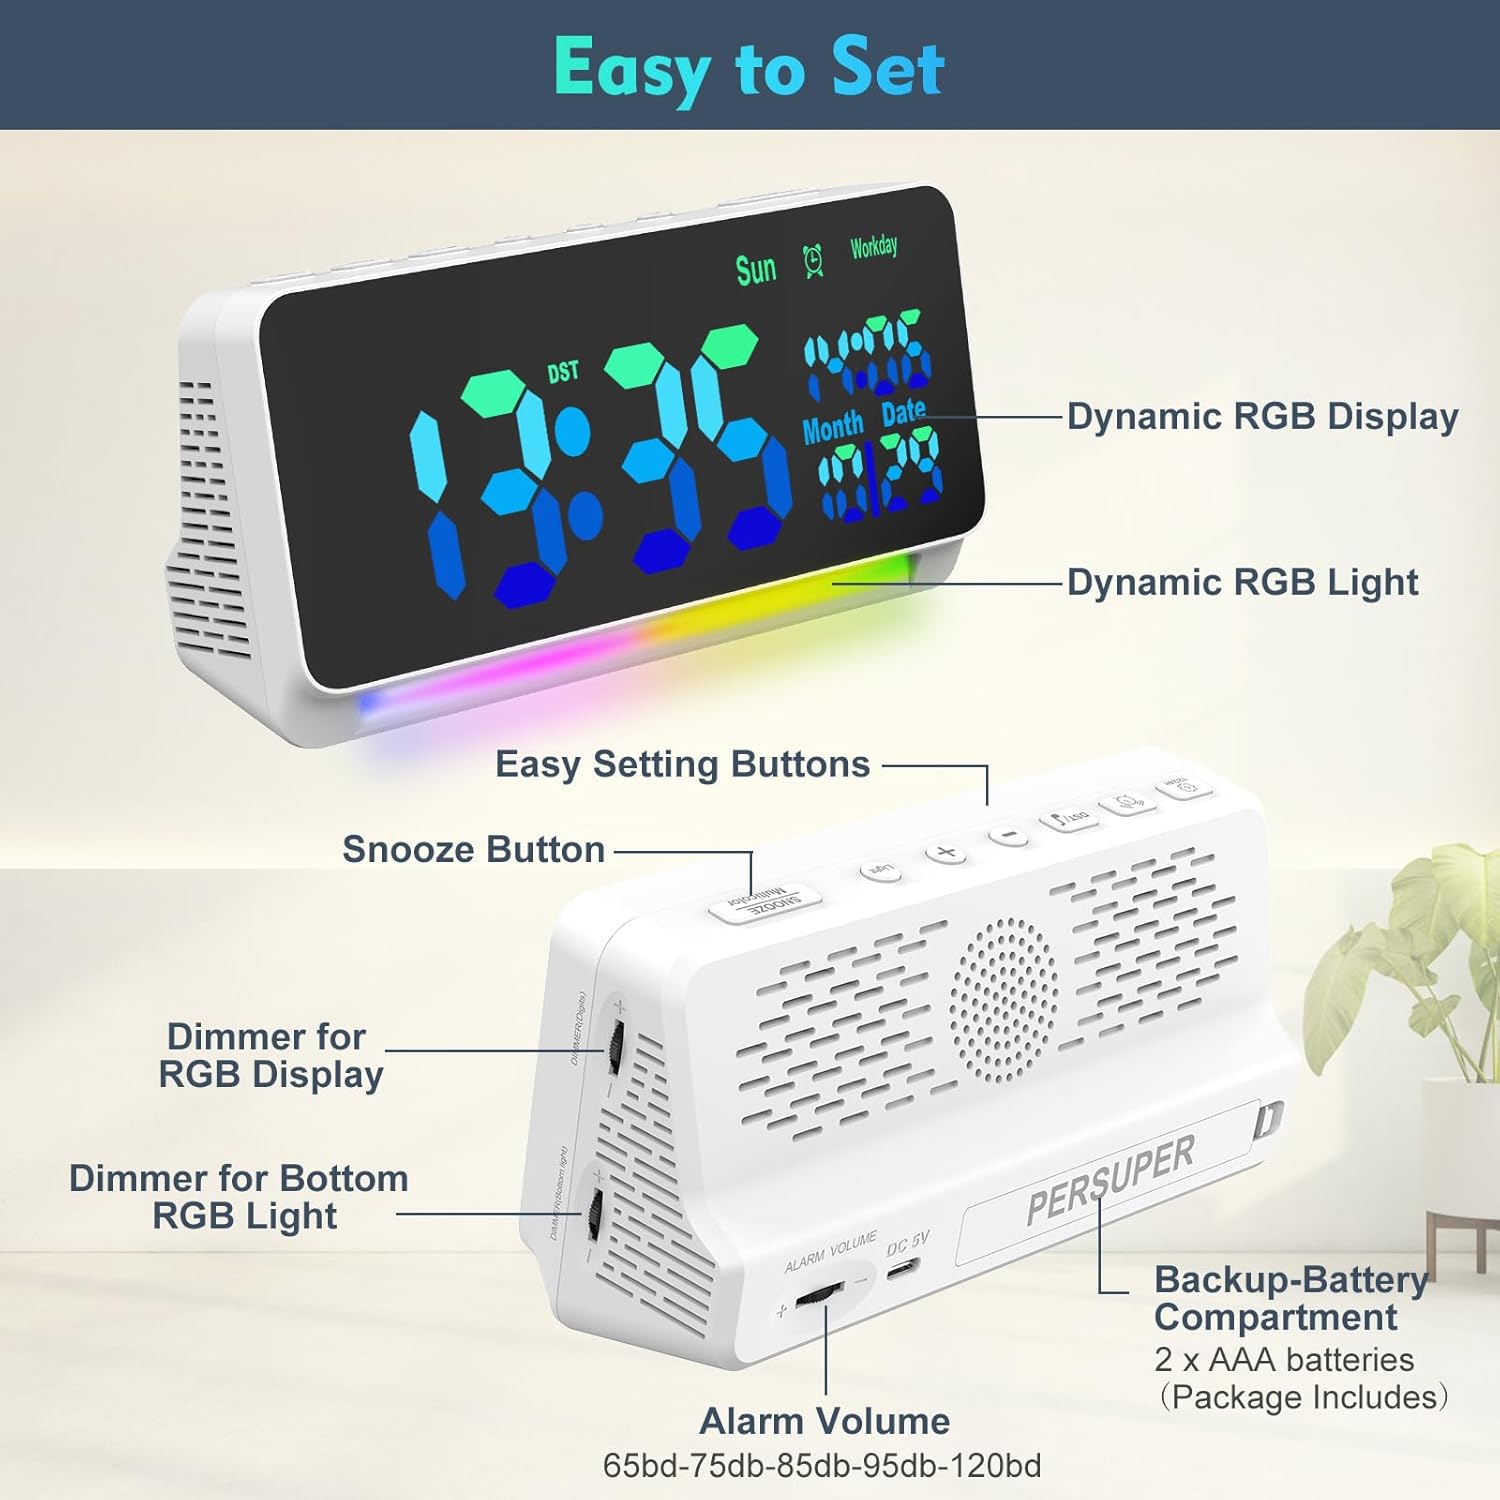
Image 3.1: Rear view of the alarm clock showing the DC 5V input, alarm volume wheel, and backup battery compartment.
4. Operating Instructions
4.1 Setting Time and Date
Specific buttons for time and date setting are located on the top of the device. Consult the included physical manual for exact button functions. Generally, a 'SET' or 'TIME' button is pressed and held to enter setting mode, then '+' and '-' buttons are used to adjust values.
4.2 12/24-Hour Format
You can easily switch between 12-hour and 24-hour time formats. This is typically done by pressing a dedicated button or cycling through options during time setting.
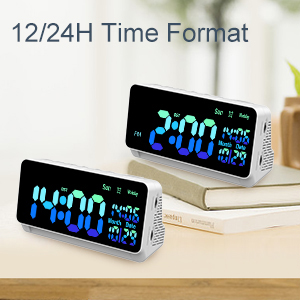
Image 4.1: The alarm clock showing both 12-hour (PM) and 24-hour time displays.
4.3 Setting Alarms
The clock supports setting alarms with various wake-up sounds and modes. Press and hold the 'ALARM' button to enter alarm setting mode. Use the '+' and '-' buttons to adjust the alarm time. Select your preferred wake-up sound from the 15 available options.
4.4 Alarm Modes (Daily/Weekday)
Choose between two alarm operating modes:
- Daily Mode: The alarm will sound every day.
- Weekday Mode: The alarm will sound only on weekdays (Monday-Friday).

Image 4.2: Visual representation of the 'Everyday' and 'Workday' alarm modes.
4.5 Snooze Function
When the alarm sounds, press the 'SNOOZE' button (typically a large button on top) to temporarily silence the alarm for an additional 9 minutes of sleep. The alarm will sound again after 9 minutes.

Image 4.3: An illustration of the snooze function, providing 9 extra minutes of sleep.
4.6 Daylight Saving Time (DST)
The alarm clock automatically adjusts for Daylight Saving Time. No manual adjustment is typically required.

Image 4.4: Graphic indicating the automatic Daylight Saving Time adjustment feature.
4.7 Wake-Up Sounds and Volume
The clock offers 15 different wake-up sounds. You can select your preferred sound during alarm setup. The alarm volume can be adjusted from 65dB to 120dB using the volume wheel located on the side of the clock.

Image 4.5: A person waking up to the alarm clock, illustrating the 15 wake-up sounds and volume adjustment range (65dB-120dB).
4.8 Display Colors and Brightness
The digital display features 6 regular colors and 4 dynamic RGB colors. You can customize the display color to match your preference. The display brightness is 0-100% adjustable via a dimmer control, allowing you to set the most comfortable brightness level for day or night.
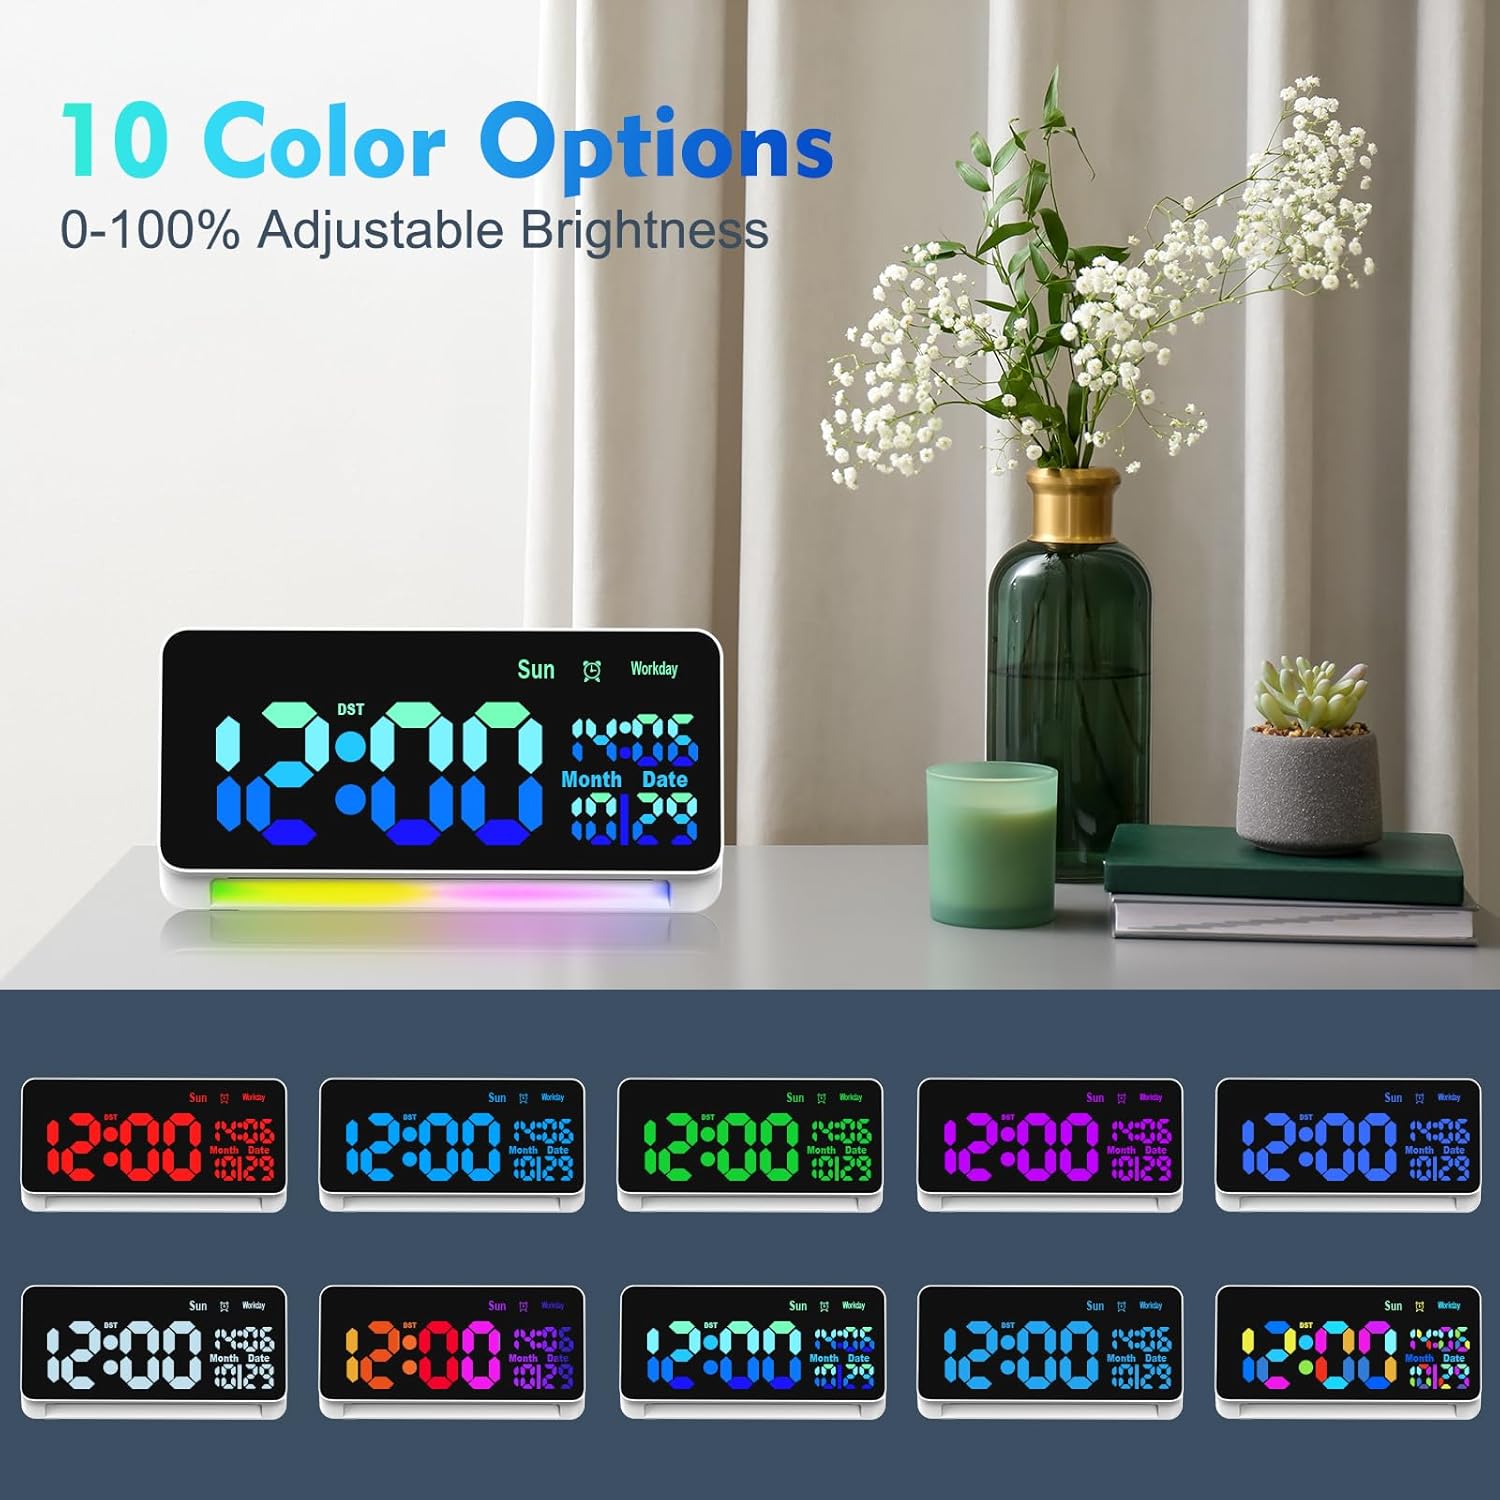
Image 4.6: The alarm clock showcasing 10 different color options for the digital time display.

Image 4.7: The alarm clock demonstrating the 0-100% adjustable dimmer for display brightness.
4.9 RGB Night Light
The clock includes a night light feature with 4 solid color lights and 3 dynamic, colorful ambiance lights. The brightness of the night light is also adjustable, providing a soft glow for relaxation or as a low-level light source.

Image 4.8: A person sleeping with the alarm clock's 7-color night light providing a gentle ambiance.
5. Maintenance
5.1 Cleaning
To clean the alarm clock, gently wipe the surface with a soft, dry cloth. Avoid using abrasive cleaners, solvents, or harsh chemicals, as these may damage the finish or electronic components.
5.2 Battery Replacement
The backup AAA batteries should be replaced periodically, especially if the clock frequently experiences power outages or if settings are not retained. Open the battery compartment on the back of the unit, remove the old batteries, and insert new ones, ensuring correct polarity.

Image 5.1: The backup battery compartment of the alarm clock, showing two AAA batteries.
6. Troubleshooting
If you encounter issues with your PERSUPER RGB Digital Alarm Clock, please refer to the following common problems and solutions:
- Clock not powering on: Ensure the power adapter is securely plugged into both the clock and a working electrical outlet. Check if the outlet is functional.
- Alarm not sounding: Verify that the alarm is set and activated. Check the alarm volume setting using the volume wheel on the side of the clock. Ensure the alarm mode (Daily/Weekday) is correctly configured.
- Display flickering or changing unexpectedly: Try unplugging the clock from power for a few minutes, then plug it back in to perform a soft reset. If the issue persists, contact customer support.
- Time inaccuracy (losing or gaining time): While the clock is designed for accuracy, significant time drift may indicate a defect. Try resetting the time. If the problem continues, contact customer support.
- Settings lost after power outage: Ensure the backup AAA batteries are correctly installed and have sufficient charge. Replace them if necessary.
- Difficulty setting functions: Refer to the detailed instructions in the included physical user manual for precise button operations.
7. Specifications
| Feature | Specification |
|---|---|
| Brand | PERSUPER |
| Model Number | 010-white |
| Display Type | Digital LED |
| Display Colors | 6 regular, 4 dynamic RGB |
| Night Light Colors | 4 solid, 3 dynamic ambiance |
| Alarm Volume | Adjustable (65dB - 120dB) |
| Wake-Up Sounds | 15 options |
| Snooze Duration | 9 minutes |
| Time Format | 12-hour / 24-hour switchable |
| Special Features | Adjustable Brightness, Calendar Display, Loud Alarm, Snooze, Auto DST |
| Power Source | Requires Power Supply (DC 5V) |
| Battery Backup | 2 x AAA batteries (included) |
| Product Dimensions | 7.28"W x 3.7"H |
| Item Weight | 13.7 ounces |
| Material | Acrylonitrile Butadiene Styrene |
8. Warranty and Support
PERSUPER is committed to providing quality products and customer satisfaction. If you have any questions, concerns, or require assistance with your digital alarm clock, please contact our customer service team. We aim to respond as soon as possible within business days.
Please refer to your purchase documentation for specific warranty details.