Introduction
This manual provides detailed instructions for the installation, operation, and maintenance of your RexingUSA M1 HD Dual Channel Mirror Dash Cam. Please read this manual thoroughly before using the device to ensure proper functionality and to maximize your driving safety and recording experience.
The RexingUSA M1 HD Mirror Dash Cam offers high-definition dual-channel recording, capturing 1296p video from the front camera and 720p from the rear. It features a 10-inch IPS touch screen, a rear camera that also functions as a backup camera, continuous loop recording, and a built-in G-Sensor for accident detection.
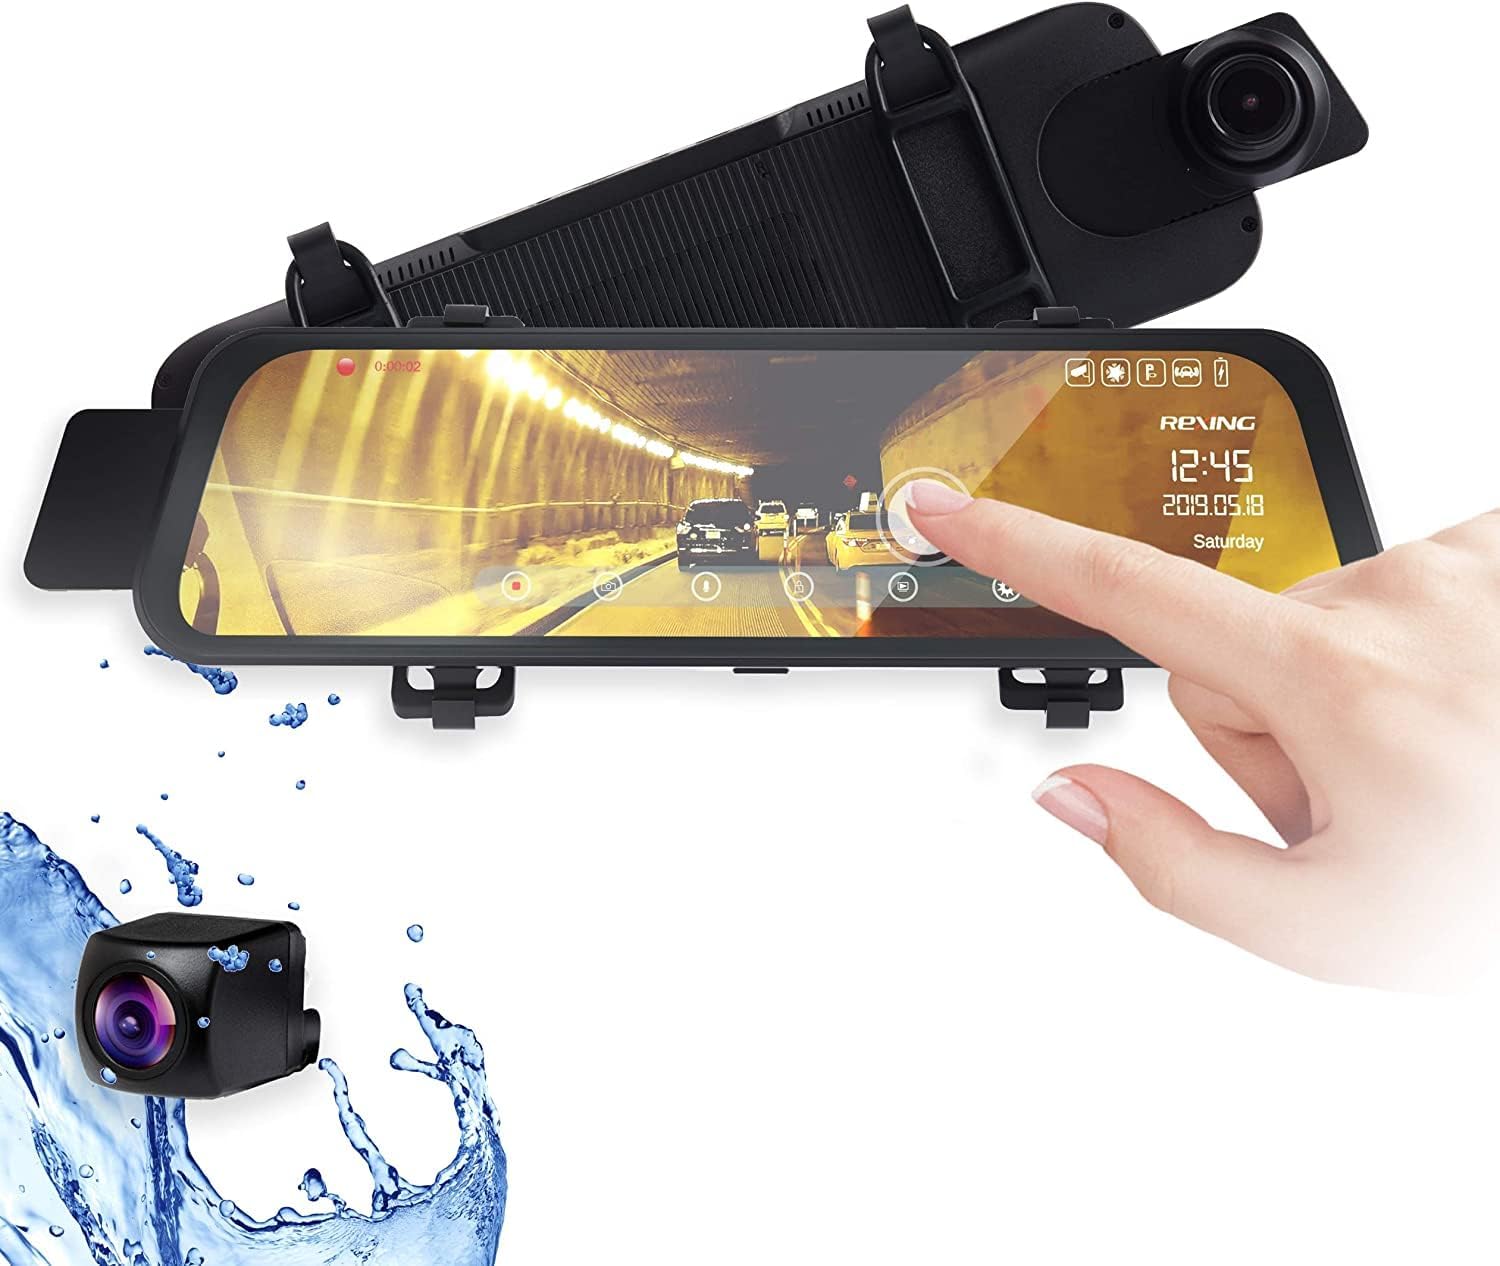
Image: The RexingUSA M1 Mirror Dash Cam unit, showing the main mirror unit with integrated front camera and a separate rear camera module. A hand is interacting with the touch screen interface.
Package Contents
Ensure all items are present in the package:
- RexingUSA M1 Mirror Dash Cam
- Rear Camera
- Car Charger
- Charging Cable
- Installation Tool
- Quick Guide
- Warranty Card
Setup and Installation
1. MicroSD Card Installation
The RexingUSA M1 requires a MicroSD card (not included) for recording. Use a UHS-I / Class 10 or higher MicroSD card with a capacity of up to 256GB.
- Locate the MicroSD card slot on the dash cam unit.
- Insert the MicroSD card into the slot until it clicks into place.
- Once the device is powered on, navigate to the settings menu to format the MicroSD card. Formatting ensures optimal performance and compatibility.
2. Mounting the Dash Cam
The M1 mirror dash cam is designed to attach over your existing rearview mirror.
- Secure the dash cam to your vehicle's rearview mirror using the provided elastic straps. Ensure it is firmly attached and does not obstruct your view.
- Adjust the front camera lens to capture the desired field of view.

Image: The RexingUSA M1 Mirror Dash Cam installed over a vehicle's existing rearview mirror, displaying a live feed on its screen.
3. Rear Camera Installation
The rear camera provides a second recording channel and backup camera functionality.
- Mount the rear camera at the back of your vehicle, typically near the license plate or inside the rear window, ensuring a clear view.
- Route the rear camera cable to the main dash cam unit. Use the provided installation tool to neatly tuck the cable along the vehicle's trim.
- Connect the rear camera cable to the designated port on the main dash cam unit.
4. Power Connection
Connect the provided car charger to your vehicle's 12V power outlet (cigarette lighter socket) and then to the dash cam unit. The device will typically power on automatically when the vehicle starts.
Operating Instructions
Basic Operation
- Power On/Off: The dash cam will automatically power on and begin recording when your vehicle starts, and power off when the vehicle is turned off.
- Start/Stop Recording: To manually stop recording, tap the screen once, then tap the red record button. Tap it again to resume recording.
- Accessing Menus: Tap the screen once to reveal the on-screen icons. Select the desired icon to access settings or playback options.

Image: A hand interacting with the 10-inch IPS touch screen of the RexingUSA M1 Mirror Dash Cam, demonstrating its touch functionality.
Dual Channel Recording
The M1 records simultaneously from both the front (1296p) and rear (720p) cameras, providing comprehensive coverage of your journey. The live feed from both cameras can be viewed on the 10-inch IPS touch screen.
Rear View and Backup Camera Functionality
The rear camera not only records the view behind your vehicle but also serves as a backup camera. When reversing, the live feed from the rear camera is displayed prominently on the large touch screen, assisting with parking and reducing blind spots.

Image: The RexingUSA M1 Mirror Dash Cam screen showing a simulated backup camera view with parking guidelines, illustrating its function to reduce blind spots during parking.
Continuous Loop Recording
The M1 features continuous loop recording. When the MicroSD card reaches its storage limit, the system automatically overwrites the oldest recordings to make space for new footage. This ensures that the camera is always recording without manual intervention.
G-Sensor (Accident Auto-Detection)
The built-in G-Sensor detects sudden impacts or collisions. When an event is detected, the current video segment is automatically locked and saved to a protected folder on the MicroSD card, preventing it from being overwritten by loop recording.
Maintenance
- Cleaning: Use a soft, dry cloth to clean the dash cam screen and lenses. Avoid using abrasive cleaners or solvents.
- MicroSD Card: Regularly format your MicroSD card (e.g., once a month) through the dash cam's settings menu to maintain optimal performance and prevent data corruption. Back up any important footage before formatting.
- Firmware Updates: Check the RexingUSA website periodically for any available firmware updates for your M1 dash cam. Follow the instructions provided with the update carefully.
Troubleshooting
| Problem | Possible Cause / Solution |
|---|---|
| Dash cam does not power on. |
|
| Recording stops or footage is corrupted. |
|
| Touch screen is unresponsive. |
|
| Rear camera not displaying or recording. |
|
Specifications
| Feature | Detail |
|---|---|
| Model Name | M1 |
| Front Video Capture Resolution | 1296p |
| Rear Video Capture Resolution | 720p |
| Display | 10-inch IPS Touch Screen |
| Special Features | G-Sensor, Loop Recording, Touch Screen |
| Connectivity Technology | USB |
| Mounting Type | Rearview Mirror Mount |
| Supported MicroSD Card | Up to 256GB, UHS-I / Class 10 or higher |
| Power Source | 12V Car Charger |
| Product Dimensions | 10 x 0.75 x 2.75 inches |
| Item Weight | 1.92 pounds |
| Batteries | 1 Lithium Ion battery (included) |
| Color | Black |

Image: A visual representation of the RexingUSA M1's key features, including 10" IPS Screen, Wide Angle, High Definition, Loop Recording, Auto On/Off, Touch Screen, Collision Detection, Stream Media, Dual Channel, and Temperature Resistant.
Warranty and Support
For detailed warranty information, please refer to the Warranty Card included in your package.
Should you encounter any issues or have questions regarding your RexingUSA M1 Dash Cam, our customer care team is available to assist you. Please refer to the contact information provided in your Quick Guide or on the official RexingUSA website for support.