LODADRA Low Profile Ceiling Fan with Light
LODADRA 20-inch Low Profile Ceiling Fan with Light and Remote User Manual
Model: Low Profile Ceiling Fan with Light (ASIN: B0CBTYJ427)
1. Introduction
This manual provides detailed instructions for the installation, operation, and maintenance of your LODADRA 20-inch Low Profile Ceiling Fan with Light and Remote. Please read this manual thoroughly before installation and use to ensure safe and efficient operation. Keep this manual for future reference.
2. Safety Information
- Ensure power is disconnected at the circuit breaker before installation or maintenance.
- All wiring must be in accordance with national and local electrical codes. If you are unsure, consult a qualified electrician.
- Mount the fan to a ceiling joist or a securely anchored outlet box capable of supporting the fan's weight.
- Do not insert objects into the fan's enclosure while it is operating.
- This appliance is for indoor use only.
- Keep children away from the fan during operation and installation.
3. Package Contents
Verify that all components are present before beginning installation:
- Ceiling Fan Unit with Integrated Light
- Remote Control
- Mounting Hardware (screws, wire nuts, etc.)
- Instruction Manual (this document)
4. Product Overview
The LODADRA 20-inch Low Profile Ceiling Fan features a modern design with an integrated LED light, remote control operation, and a reversible DC motor for year-round comfort.
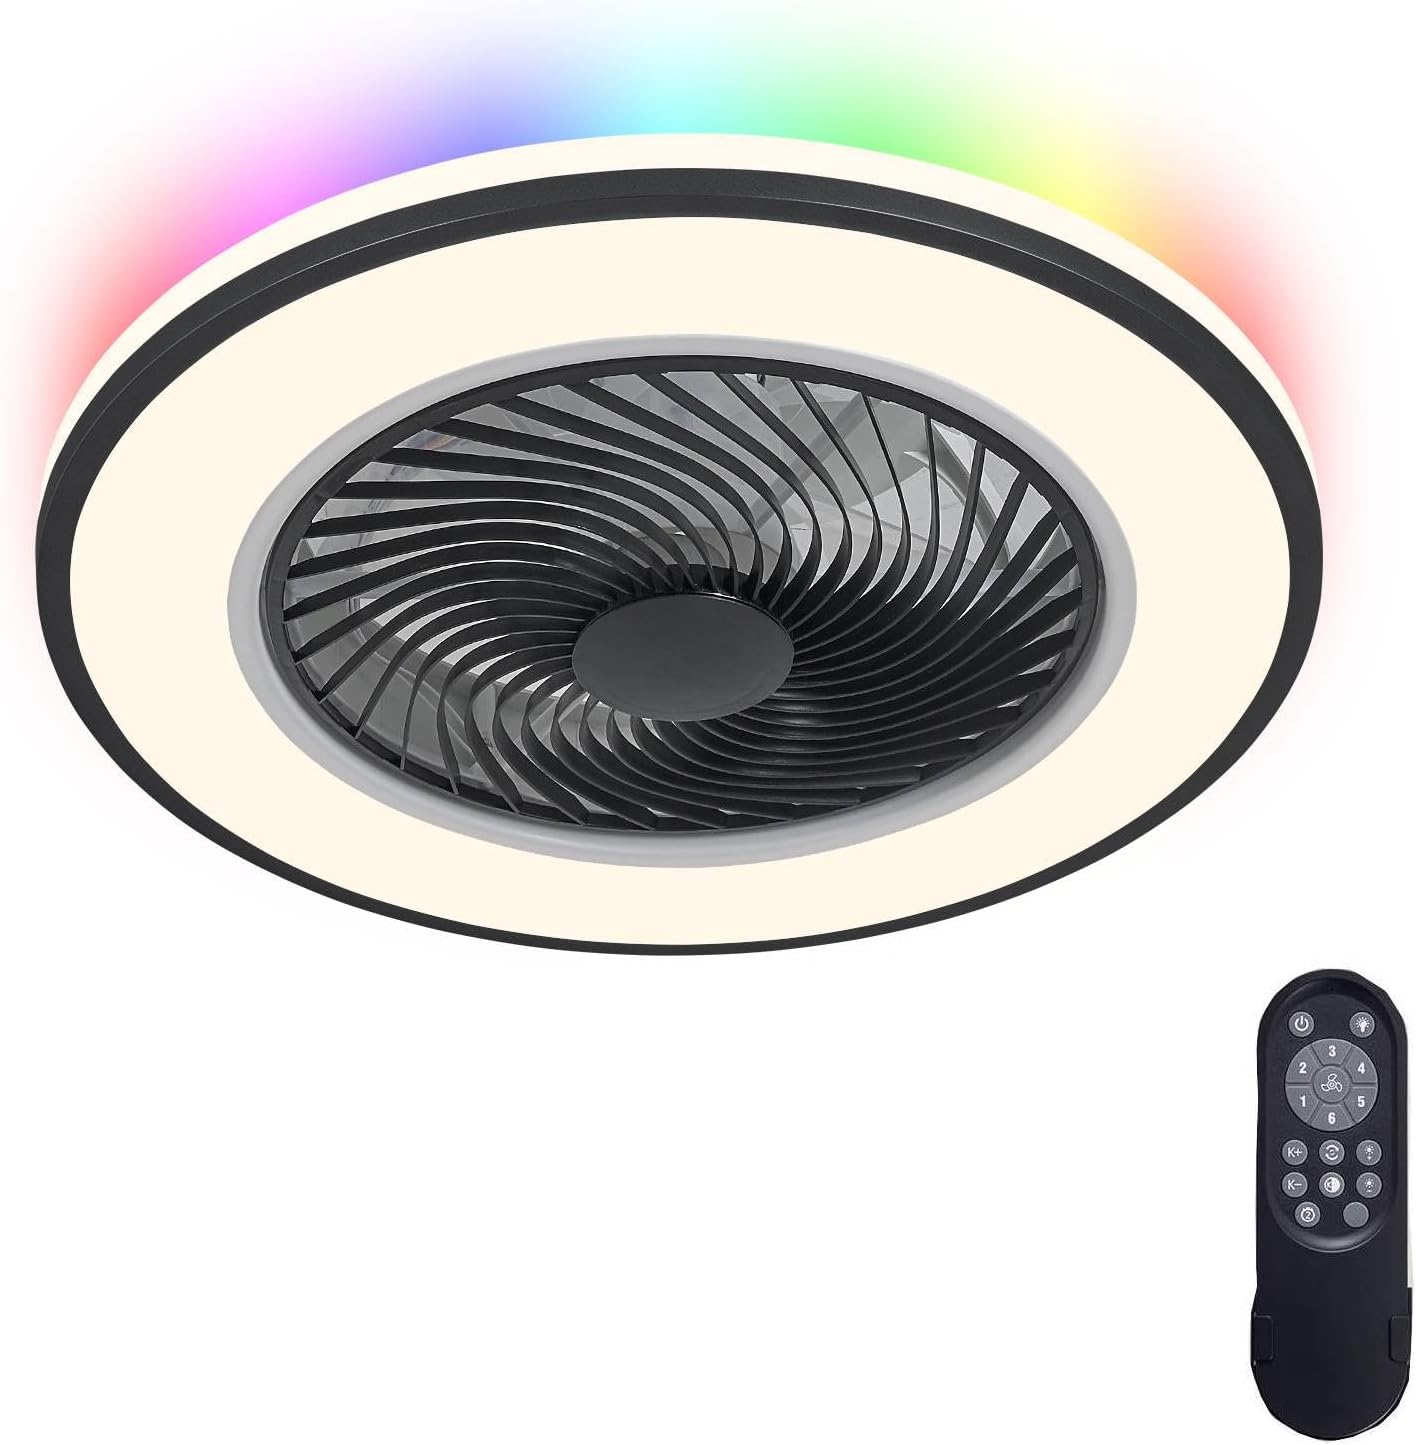
Figure 4.1: LODADRA 20-inch Low Profile Ceiling Fan and Remote Control.

Figure 4.2: Product dimensions (19.6 inches diameter, 5.9 inches height) and recommended room size (up to 15ft x 15ft).
5. Setup and Installation
Most functional parts of this semi-flush mount fan are pre-assembled. Follow these steps for installation:
- Turn Off Power: Before starting, ensure the power supply to the installation area is completely turned off at the main circuit breaker.
- Mounting Bracket Installation: Secure the mounting bracket to the ceiling outlet box. Ensure the outlet box is securely fastened to the building structure and can support the fan's weight. Use appropriate screws and anchors provided, or suitable alternatives if necessary for your ceiling type.
- Wiring Connections: Connect the fan's electrical wires to the household wiring according to local electrical codes. Typically, this involves connecting live, neutral, and ground wires. Use the provided wire nuts to secure connections.
- Attach Fan Unit: Carefully lift the fan unit and attach it to the mounting bracket. Ensure all connections are secure and no wires are pinched.
- Final Assembly: Secure any covers or decorative elements as per the specific design of your fan.
- Restore Power: Once installation is complete and all connections are checked, restore power at the circuit breaker.
Note: If you are unfamiliar with electrical installations, it is recommended to consult a qualified electrician.
6. Operating Instructions
Your LODADRA ceiling fan is operated using the included remote control.
6.1 Remote Control Functions
The remote control allows you to manage all fan and light settings:
- Power On/Off: Turns the fan and light on or off.
- Fan Speed: Adjusts between 6 fan speeds.
- Light On/Off: Controls the light independently.
- Color Temperature Adjustment: Cycles through 3 color temperatures (3000K Warm, 4000K Neutral, 6000K Cool White).
- Brightness Adjustment: Stepless dimming from 10% to 100%. Hold the light button to change brightness.
- Reversible Mode: Changes fan direction for summer (downdraft) or winter (updraft) operation.
- Night Light Mode: Activates a low-intensity light setting.
- Sleep Timer: Sets a timer for the fan to turn off automatically.

Figure 6.1: Light color temperature (3000K-6000K) and brightness (10%-100%) adjustment options.

Figure 6.2: Reversible fan function for Summer (downdraft) and Winter (updraft) modes.
6.2 Memory Function
The fan's light settings (color temperature and brightness) are memorized. The next time you turn on the light with the remote control, it will resume the last used setting.

Figure 6.3: The light memory function retains the last brightness and color setting.
7. Maintenance
- Cleaning: Ensure the fan is turned off and power is disconnected before cleaning. Use a soft, damp cloth to wipe down the exterior surfaces. Do not use abrasive cleaners or solvents.
- Fan Net: The fan features a removable fan net for easy cleaning and maintenance. Refer to the assembly instructions for details on how to safely remove and reattach the net.
- Light Source: The integrated LED light source is designed for long life and typically does not require replacement.

Figure 7.1: The LODADRA fan features a 360° wind deflector and removable fan net for easy cleaning, unlike some traditional designs.
8. Troubleshooting
| Problem | Possible Cause | Solution |
|---|---|---|
| Fan does not turn on. | No power supply; Remote control battery low; Incorrect wiring. | Check circuit breaker; Replace remote battery; Verify wiring connections. |
| Light does not turn on. | No power supply; Remote control battery low; Light function off. | Check circuit breaker; Replace remote battery; Ensure light is activated via remote. |
| Fan makes unusual noise. | Loose mounting screws; Obstruction in fan blades. | Tighten all mounting screws; Ensure no objects are obstructing the fan. |
| Remote control not working. | Battery depleted; Remote not paired (if applicable). | Replace remote battery; Refer to remote pairing instructions (if provided separately). |
9. Specifications
- Brand: LODADRA
- Model Name: Low Profile Ceiling Fan with Light
- Size: 20 inches
- Color: Back RGB+Black (Note: Specific variant color)
- Material: Plastic
- Installation Type: Flush Mount
- Control Method: Remote Control
- Light Source Type: LED
- Color Temperature: 3000K-6000K (Adjustable)
- Brightness: 10%-100% Stepless Dimming
- Fan Speeds: 6 Speeds
- Special Features: Bladeless design, Reversible DC Motor, Memory Function, Night Light Mode, Sleep Timer
- Wattage: 36 watts
- Voltage: 12 Volts (DC)
- Item Weight: 6.49 pounds
- Recommended Room Size: Up to 15ft x 15ft
10. Warranty and Support
For warranty information and customer support, please refer to the seller's policy on the purchase platform or contact LODADRA customer service directly. Keep your purchase receipt as proof of purchase.
Ask a question about this manual
Ask about setup, troubleshooting, compatibility, parts, safety, or missing instructions. Manuals+ will review the question and use this page’s manual context to help answer it.