JESIMAIK Pearl Powder
JESIMAIK Mini Hat Press User Manual
Model: Pearl Powder (JM-H01)
1. Product Overview
The JESIMAIK Mini Hat Press is a compact and efficient heat press machine designed for customizing various items, primarily hats, but also suitable for small bags, socks, and shirts. It features a curved heating plate for even heat distribution, precise digital temperature and timer controls, and safety features like auto shut-off. Its portable design makes it ideal for both personal crafting and small business use.
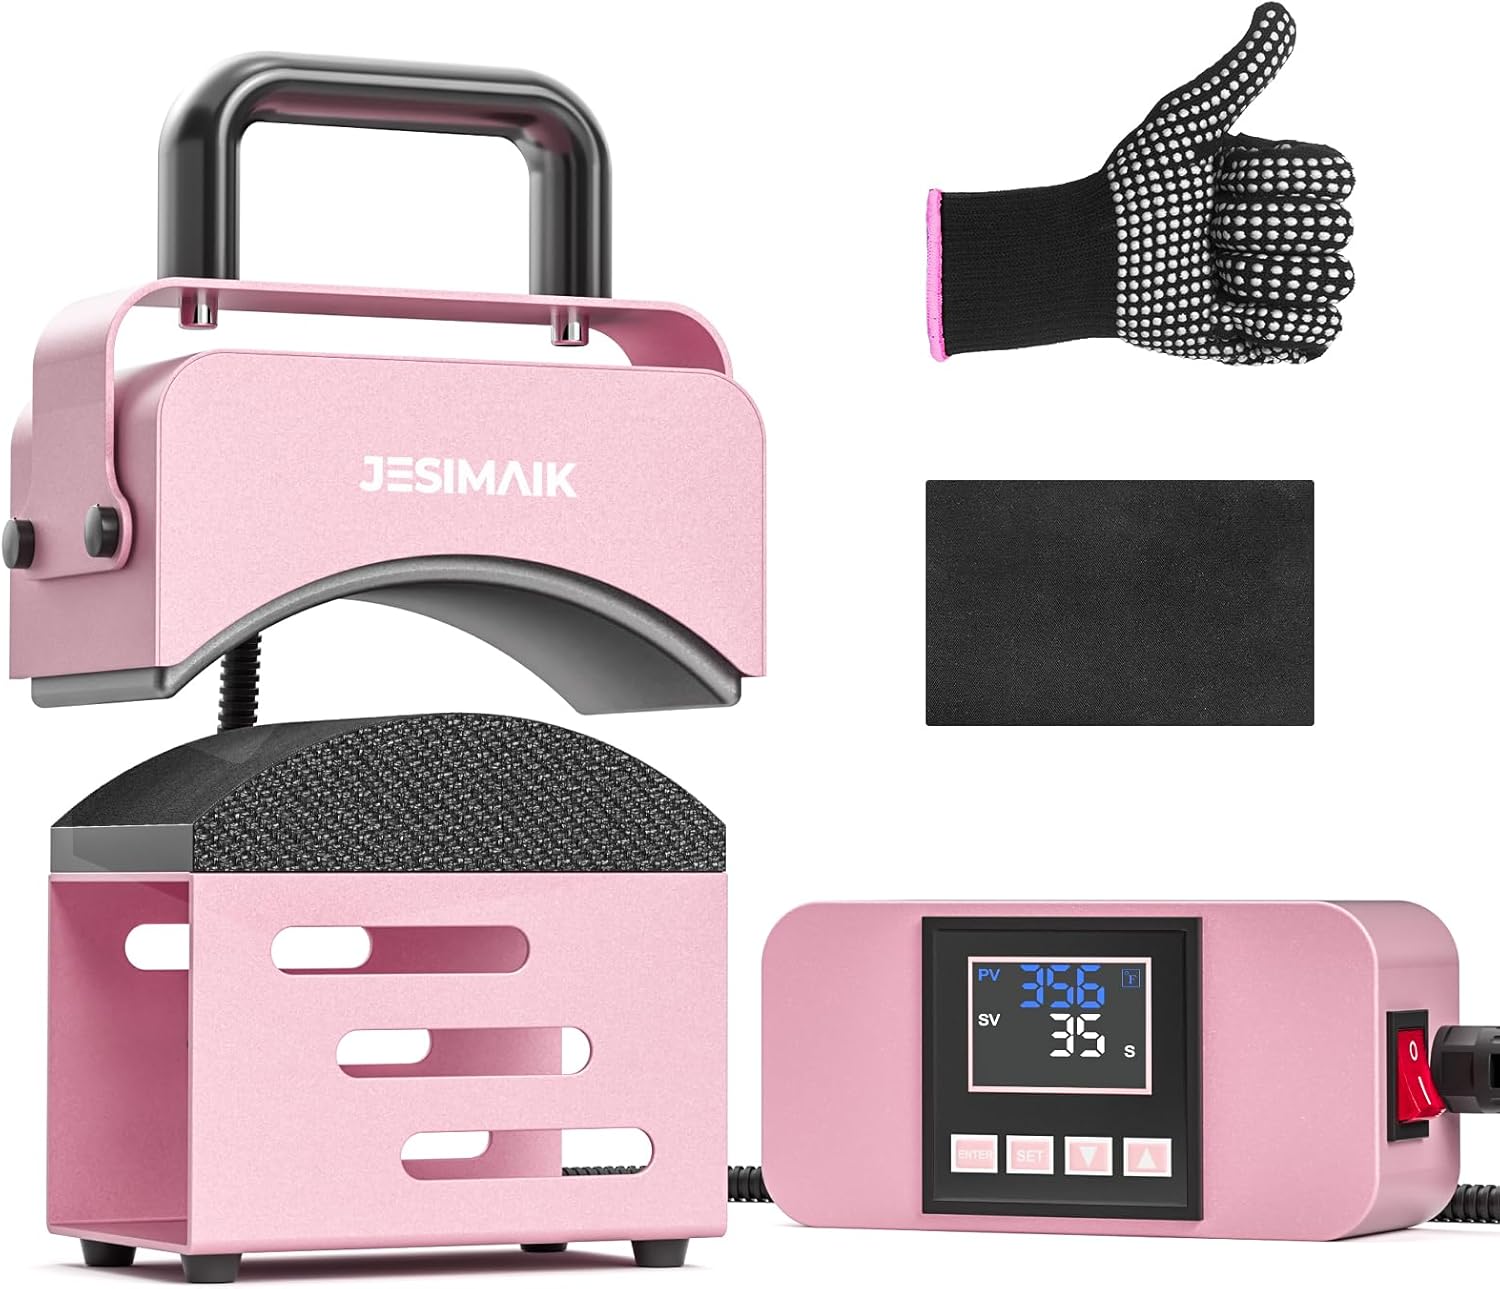
Figure 1.1: JESIMAIK Mini Hat Press with included heat-resistant glove and pad, and the main controller.
Video 1.1: Overview of the JM-H01 Hat Press Machine, demonstrating its components and compact design.
2. What's in the Box
- 1 x Hat Press Machine
- 1 x Press Base (Silicone Pad)
- 1 x Main Controller with LCD Digital Display
- 1 x AC Power Cord
- 1 x Heat Resistant Pad
- 1 x Heat Resistant Glove
- 1 x User Manual
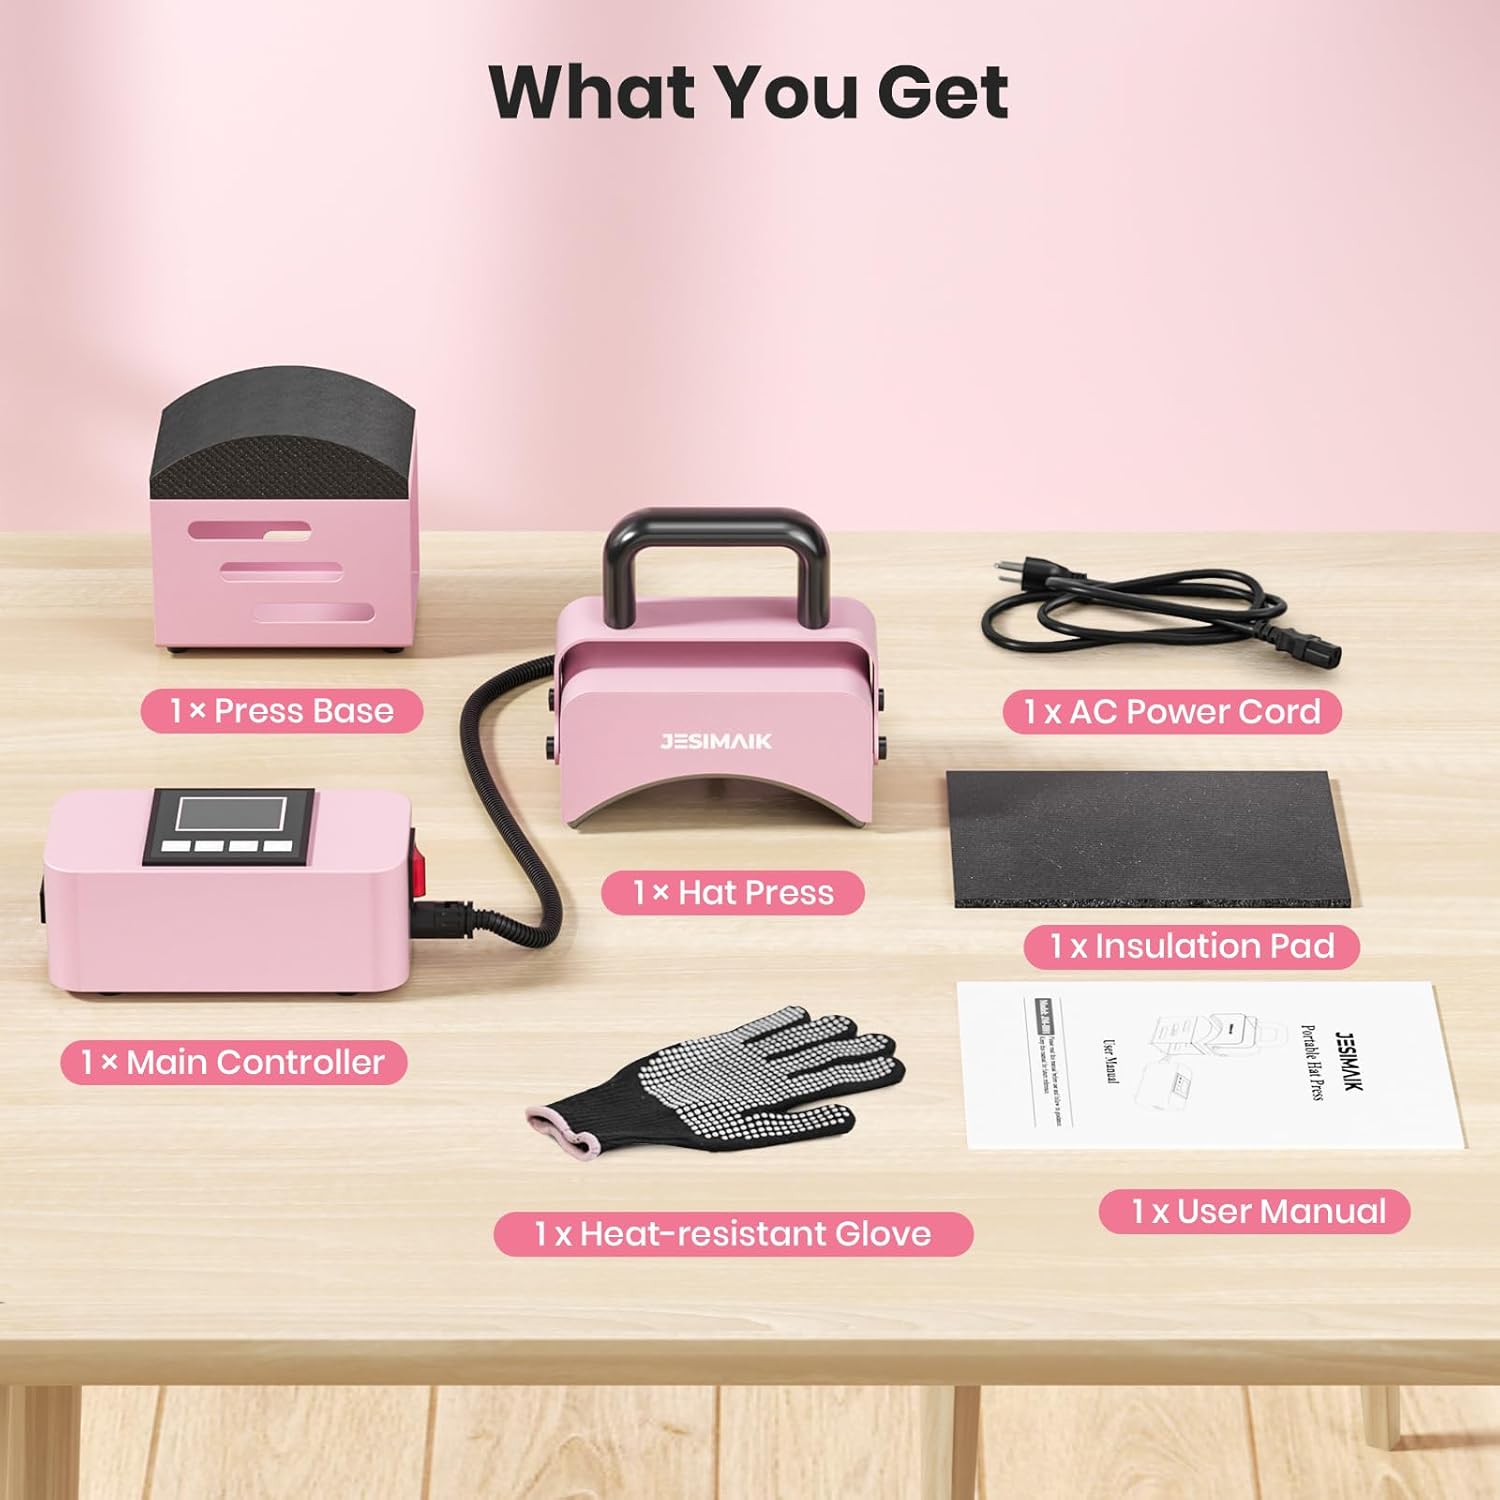
Figure 2.1: All components included in the JESIMAIK Mini Hat Press package.
3. Setup
- Unpack all components from the box.
- Place the Hat Press Machine and Main Controller on a stable, heat-resistant surface.
- Connect the power cord from the main controller to a standard electrical outlet.
- Connect the flexible cable from the main controller to the Hat Press Machine.
- Ensure the heat-resistant pad is placed beneath the Hat Press Machine during operation to protect surfaces.

Figure 3.1: Powering on the main controller and setting initial parameters.
4. Operating Instructions
4.1 Setting Temperature and Timer
- Turn on the power switch on the main controller. The LCD screen will illuminate.
- Press the SET button once to enter temperature setting mode. The PV (Process Value) will show the current temperature, and SV (Set Value) will flash.
- Use the UP and DOWN arrow buttons to adjust the desired temperature (range: 32-400°F).
- Press the SET button again to enter timer setting mode. The SV will flash in seconds.
- Use the UP and DOWN arrow buttons to adjust the desired countdown time (range: 0-401 seconds).
- Long press the SET button for 3 seconds to save the settings and exit setting state. The machine will begin heating to the set temperature.
- The machine features a memory mode that automatically saves the last used temperature and time settings for convenience.
4.2 Pressing Process
- Once the machine reaches the set temperature, it will beep to indicate readiness.
- Place the item (e.g., hat) onto the silicone press base, ensuring it fits snugly and is positioned correctly for your design.
- Position your design (sublimation, HTV, infusible ink, DTF, glue-backed embroidery, or leather material) onto the item. Use heat transfer tape if necessary to secure the design.
- Place a piece of silicone paper or parchment paper over the design to protect it and the heating plate.
- Carefully lower the curved heating plate of the Hat Press Machine onto the design, applying firm, even pressure.
- Press the ENTER button on the main controller to start the countdown timer.
- Hold the press firmly until the timer completes and the machine beeps again.
- Carefully lift the Hat Press Machine and remove the protective paper. Allow the item to cool before peeling off the design backing (refer to your specific material's instructions for hot or cold peel).

Figure 4.1: Examples of hats successfully customized using the JESIMAIK Mini Hat Press.
Video 4.1: Demonstration of the JESIMAIK Hat Heat Press Machine in action, including setting temperature and pressing a hat.
Video 4.2: Detailed testing and usage demonstration of the JESIMAIK Hat Press.
5. Safety and Maintenance
5.1 Safety Features
- Auto Shut-off: The machine will automatically shut off after 10 minutes of no operation to prevent overheating and conserve energy.
- Overheat Protection: The machine will alert you if it overheats to 482°F (250°C), effectively preventing potential hazards.
- Always use the provided heat-resistant glove when handling the hot heating plate.
- Always place the heated curved heating plate on the heat-resistant pad when not actively pressing to avoid burning other surfaces.
- Unplug the power cord when the machine is not in use or before cleaning.
5.2 Cleaning and Care
- Ensure the machine is unplugged and completely cool before cleaning.
- Wipe the heating plate and exterior surfaces with a soft, damp cloth. Do not use abrasive cleaners or solvents.
- Store the machine in a dry, cool place, away from direct sunlight and moisture. Its compact design allows for easy storage.
6. Troubleshooting
| Problem | Possible Cause | Solution |
|---|---|---|
| Machine does not turn on. | Power cord not properly connected; no power from outlet. | Ensure power cord is securely plugged into both the machine and a working electrical outlet. Test the outlet with another device. |
| Temperature not reaching set value. | Incorrect temperature setting; environmental factors. | Verify the temperature setting on the LCD screen. Allow sufficient time for preheating. Ensure the machine is not in an excessively cold environment. |
| Design not adhering properly. | Incorrect temperature/time; insufficient pressure; material incompatibility. | Adjust temperature and time according to the specific heat transfer material's instructions. Apply firm, even pressure. Ensure the material is compatible with the item. |
| Creases or uneven pressing. | Improper item placement; uneven pressure. | Ensure the hat is placed smoothly on the silicone base. Apply consistent and even pressure across the entire heating plate. For hats, ensure the curved plate aligns with the hat's contour. |
| Machine beeps continuously. | Timer completion; overheat warning. | If the timer has completed, the beeping indicates readiness to remove the press. If it's an overheat warning, unplug the machine immediately and allow it to cool down. |
7. Specifications
| Feature | Detail |
|---|---|
| Model Number | JM-H01 (Pearl Powder) |
| Recommended Uses | Hat, T-Shirt, Small Bags, Socks, Headbands |
| Upper Temperature Rating | 400°F (204°C) |
| Lower Temperature Rating | 32°F (0°C) |
| Wattage | 300 watts |
| Product Dimensions | 9.7 x 6.3 x 5.4 inches (24.6 x 16 x 13.7 cm) |
| Item Weight | 6.07 pounds (2.75 kg) |
| Material | Silicone, Ceramic, Metal |
| Color | Pearl Powder |
| Country of Origin | China |
8. Warranty and Support
For detailed warranty information and customer support, please refer to the official user manual provided with your product or contact JESIMAIK customer service.
An electronic version of the user manual can be found here.
Ask a question about this manual
Ask about setup, troubleshooting, compatibility, parts, safety, or missing instructions. Manuals+ will review the question and use this page’s manual context to help answer it.