
1. Important Safety Information
Please read all instructions carefully before assembly and use. Retain this manual for future reference.
- Indoor Use Only: This lamp is designed for indoor use in dry locations. Do not expose to water or high humidity.
- Electrical Safety: Ensure the power outlet voltage matches the lamp's requirements (110 Volts). Do not use with damaged cords or plugs. Unplug the lamp before cleaning or performing any maintenance.
- Assembly: Assemble the lamp completely and securely before connecting it to a power source.
- Bulb Type: Use only E27 base LED bulbs as specified. The lamp is designed for 9W x 2 bulbs.
- Stability: The lamp features a weighted 4-steel foot structure for stability. Place on a flat, stable surface to prevent tipping.
2. Package Contents
Verify that all components are present before beginning assembly:
- Lamp Shade (Dupont Tyvek)
- Lamp Base with 4-steel feet
- Support Rods
- 2 x E27 Smart RGBW LED Bulbs (9W each)
- Remote Control
- Power Cable with Foot Switch
- User Manual (this document)
This image displays the various parts of the LEONC floor lamp, including the shade, base, support rods, bulbs, remote, and power cable, laid out for assembly.
3. Assembly Instructions
Assembly is straightforward and typically takes about 15 minutes with no additional tools required.
- Unpack Components: Carefully remove all parts from the packaging and verify against the package contents list.
- Assemble Base: Connect the support rods to the lamp base, ensuring they are securely fastened.
- Attach Shade: Gently unfold the Dupont Tyvek lamp shade. Position it over the assembled base and rods.
- Install Bulbs: Screw the two E27 smart RGBW LED bulbs into the lamp sockets located inside the shade.
- Secure Top: Secure the top of the shade to the upper frame, ensuring the shade is taut and evenly distributed.
- Connect Power: Plug the power cable into a standard 110V electrical outlet.

This image illustrates the process of assembling the lamp, showing how the shade is attached to the frame and base.
4. Operating Instructions
4.1 Powering On/Off
- Foot Switch: Tap the convenient on/off pedal switch located on the power cable with your foot to turn the lamp on or off.
- Remote Control: Press the 'ON' or 'OFF' button on the included remote control.
- Smart Control: Use the Tuya Smart Life app or voice commands via Alexa/Google Assistant.
4.2 Remote Control Functions
The remote control provides comprehensive control over the lamp's lighting features.

This image displays the remote control with its various buttons for power, brightness, color selection, and mode changes.
- Power (ON/OFF): Turns the lamp on or off.
- Brightness Adjustment: Use the '+' and '-' buttons to adjust brightness from 1% to 100%.
- Color Temperature: Adjust between warm white (2200K) and cool white (6500K) settings.
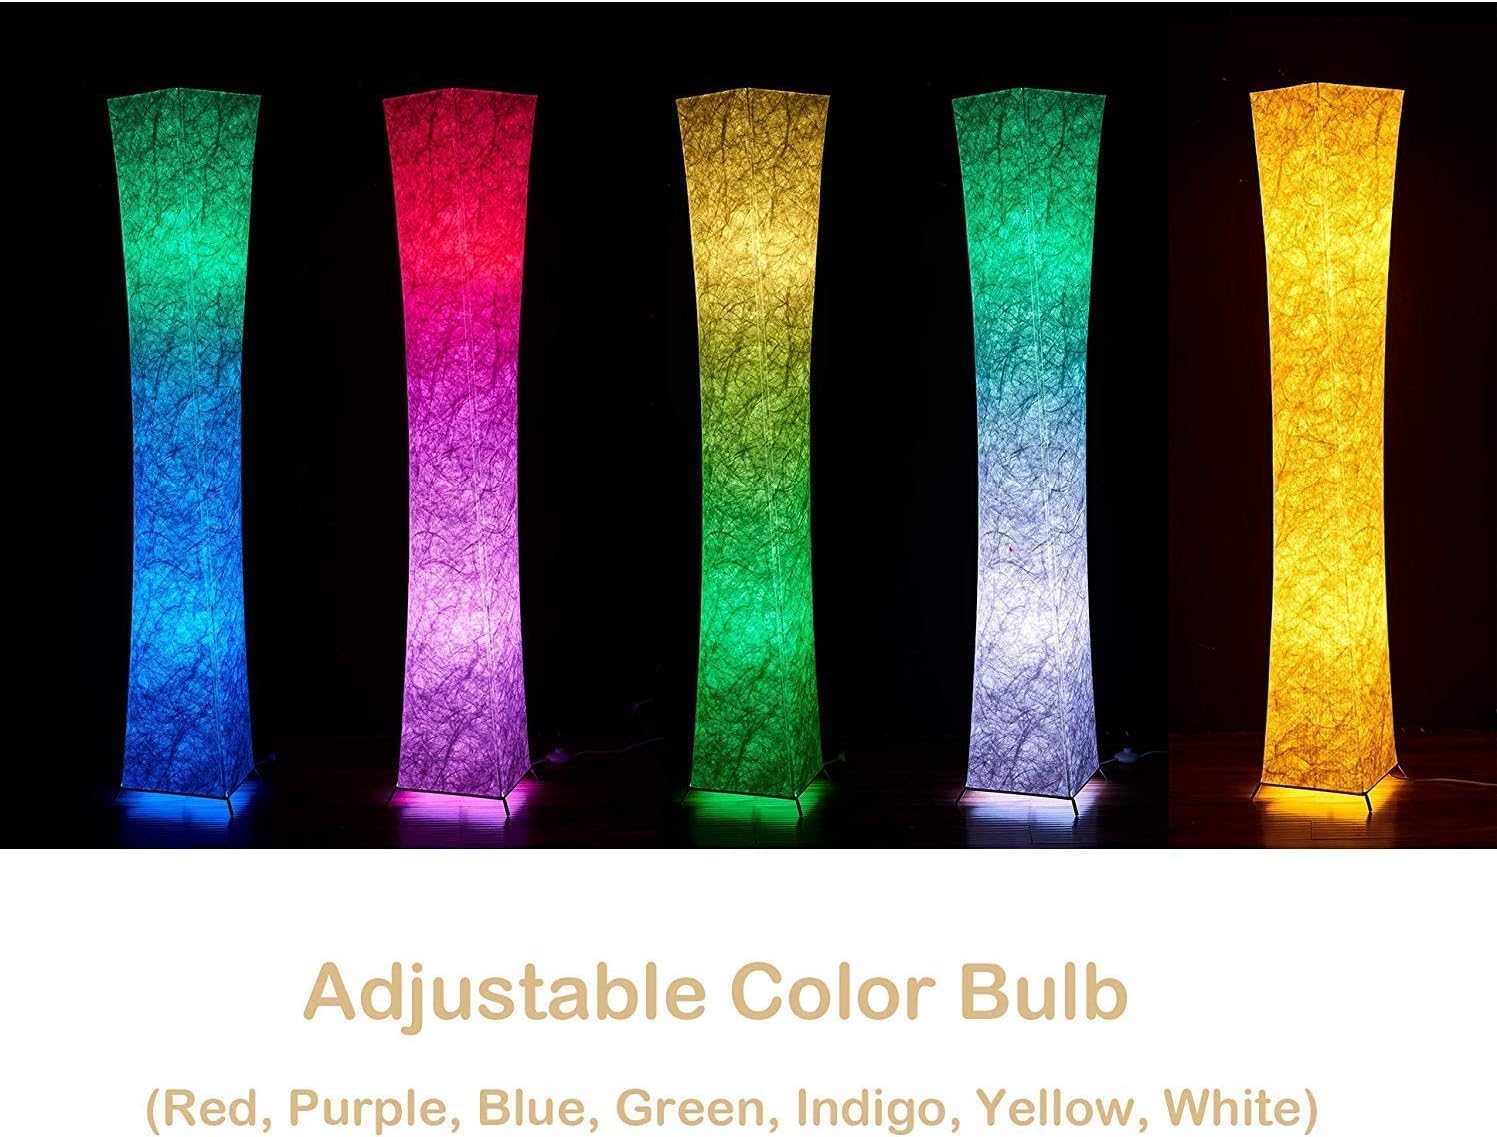
- RGB Color Selection: Choose from 16 million DIY colors across the RGB spectrum.
- Dynamic Modes: Select various pre-programmed dynamic color modes for different atmospheres.
- Timer Function: Set the lamp to turn off automatically after 30 or 60 minutes.
- Group Control: If you have multiple compatible LEONC lamps, use this feature to control them simultaneously.

This image illustrates the lamp's ability to change brightness from 1% to 100% and adjust color temperature from warm to cool white, as well as display millions of RGB colors.
4.3 Smart Control (Tuya App, Alexa, Google Assistant)
The lamp can be integrated with smart home systems for enhanced control.
- Tuya Smart Life App: Download the 'Smart Life' or 'Tuya Smart' app from your device's app store. Follow the in-app instructions to add and pair your LEONC floor lamp. This enables full control from your smartphone, including color selection, brightness, scenes, and scheduling.
- Voice Control: Once paired with the Tuya app, enable the 'Smart Life' skill in your Alexa or Google Assistant app. You can then use voice commands such as:
- "Alexa/Hey Google, turn on the floor lamp."
- "Alexa/Hey Google, set the floor lamp to blue."
- "Alexa/Hey Google, dim the floor lamp to 50%."
- Music Sync: The lamp supports music synchronization, allowing the lights to change with the rhythm of your music. This feature is typically controlled via the Tuya Smart Life app.

This image shows the floor lamp in a living room setting, being controlled by both its remote and an Alexa smart speaker, highlighting its versatile control options.
5. Maintenance
Proper care ensures the longevity and performance of your LEONC floor lamp.
- Cleaning: Disconnect the power before cleaning. Wipe the lamp shade and base with a soft, dry cloth. Do not use liquid cleaners or abrasive materials, as they may damage the finish or fabric.
- Bulb Replacement: If a bulb needs replacement, ensure the lamp is unplugged. Carefully unscrew the old E27 bulb and replace it with a new E27 smart RGBW LED bulb (9W).
- Storage: If storing the lamp for an extended period, disassemble it and store in its original packaging in a dry, cool place.
6. Troubleshooting
Refer to this section for common issues and their solutions.
| Problem | Possible Cause | Solution |
|---|---|---|
| Lamp does not turn on. | No power, loose connection, faulty bulb. | Check if the power cable is securely plugged in. Ensure the wall outlet has power. Check the foot switch. Verify bulbs are screwed in correctly. Replace bulbs if necessary. |
| Remote control not working. | Dead battery, remote out of range, interference. | Replace the remote control battery. Ensure you are within range (typically 10-15 feet) and pointing the remote towards the lamp. Remove any obstructions. |
| App control not responding. | Wi-Fi connectivity issue, lamp not paired, app error. | Ensure your phone and the lamp are connected to the same 2.4GHz Wi-Fi network. Re-pair the lamp with the Tuya Smart Life app if necessary. Restart the app or your phone. |
| Colors are not changing or dimming. | Incorrect mode, remote/app issue. | Ensure you are in the correct color/dimming mode on the remote or app. Try resetting the lamp by unplugging it for 10 seconds and plugging it back in. |
If you encounter issues not listed here, please refer to the detailed installation video or contact customer support.
7. Specifications
| Feature | Specification |
|---|---|
| Model | 61-inch RGBW Floor Lamp |
| Brand | LEONC Design |
| Product Dimensions | 12"D x 13"W x 61"H |
| Item Weight | 3.74 Pounds |
| Lamp Type | Floor Lamp |
| Shade Material | Dupont Tyvek |
| Light Source Type | LED |
| Bulb Base | E27 |
| Bulb Wattage | 9W x 2 (Total 18W) |
| Control Method | App, Push Button (Foot Switch), Remote, Voice |
| Voltage | 110 Volts |
| Special Features | Adjustable Color Temperature, Color Changing, Dimmable, Lightweight, Memory Function |
| Indoor/Outdoor Usage | Indoor |
8. Warranty and Support
The LEONC 61-inch Smart RGBW Floor Lamp comes with a full 3-year warranty from the date of purchase, covering manufacturing defects and material flaws under normal use.
For warranty claims, technical support, or any questions regarding your product, please contact LEONC Design customer service through the retailer's platform or visit the official LEONC Design website for contact information.
Please have your purchase receipt and product model information ready when contacting support.

