1. Introduction
This manual provides essential information for the proper setup, operation, and maintenance of your Acer Vero V7 V227Q H 22-inch Full HD LED Monitor. Please read this manual thoroughly before using the product to ensure optimal performance and safety. The Acer Vero V7 V227Q H monitor features a 21.5-inch Full HD (1920x1080) display with a 100 Hz refresh rate and 4 ms response time, designed for clear visuals and efficient performance.
2. Safety Information
- Always place the monitor on a stable, level surface to prevent it from falling.
- Ensure proper ventilation around the monitor. Do not block ventilation openings.
- Use only the power adapter and cables supplied with the monitor.
- Do not expose the monitor to rain or moisture to avoid electric shock.
- Avoid placing heavy objects on the power cord.
- Disconnect the power plug from the wall outlet if the monitor will not be used for an extended period.
- Refer all servicing to qualified service personnel.
3. Package Contents
Verify that all items listed below are present in your product package:
- 1 x Acer Vero V7 V227Q H Widescreen LED Monitor
- 1 x HDMI Cable
- 1 x Power Cord (US)
4. Setup
4.1. Monitor Assembly
Follow these steps to assemble the monitor stand:
- Carefully remove the monitor and stand components from the packaging.
- Attach the stand base to the stand neck. Secure it with the provided screw, if applicable.
- Align the assembled stand with the mounting slots on the back of the monitor panel.
- Gently push the stand into the slots until it clicks into place or secure with screws as per the quick start guide.
4.2. Connecting the Monitor
Before connecting, ensure your computer and monitor are powered off.
- Connect Video Cable: Connect one end of the supplied HDMI cable to the HDMI port on your computer's graphics card and the other end to the HDMI input port on the monitor.
- Connect Power Cable: Connect the power cord to the monitor's power input port, then plug the other end into a grounded electrical outlet.
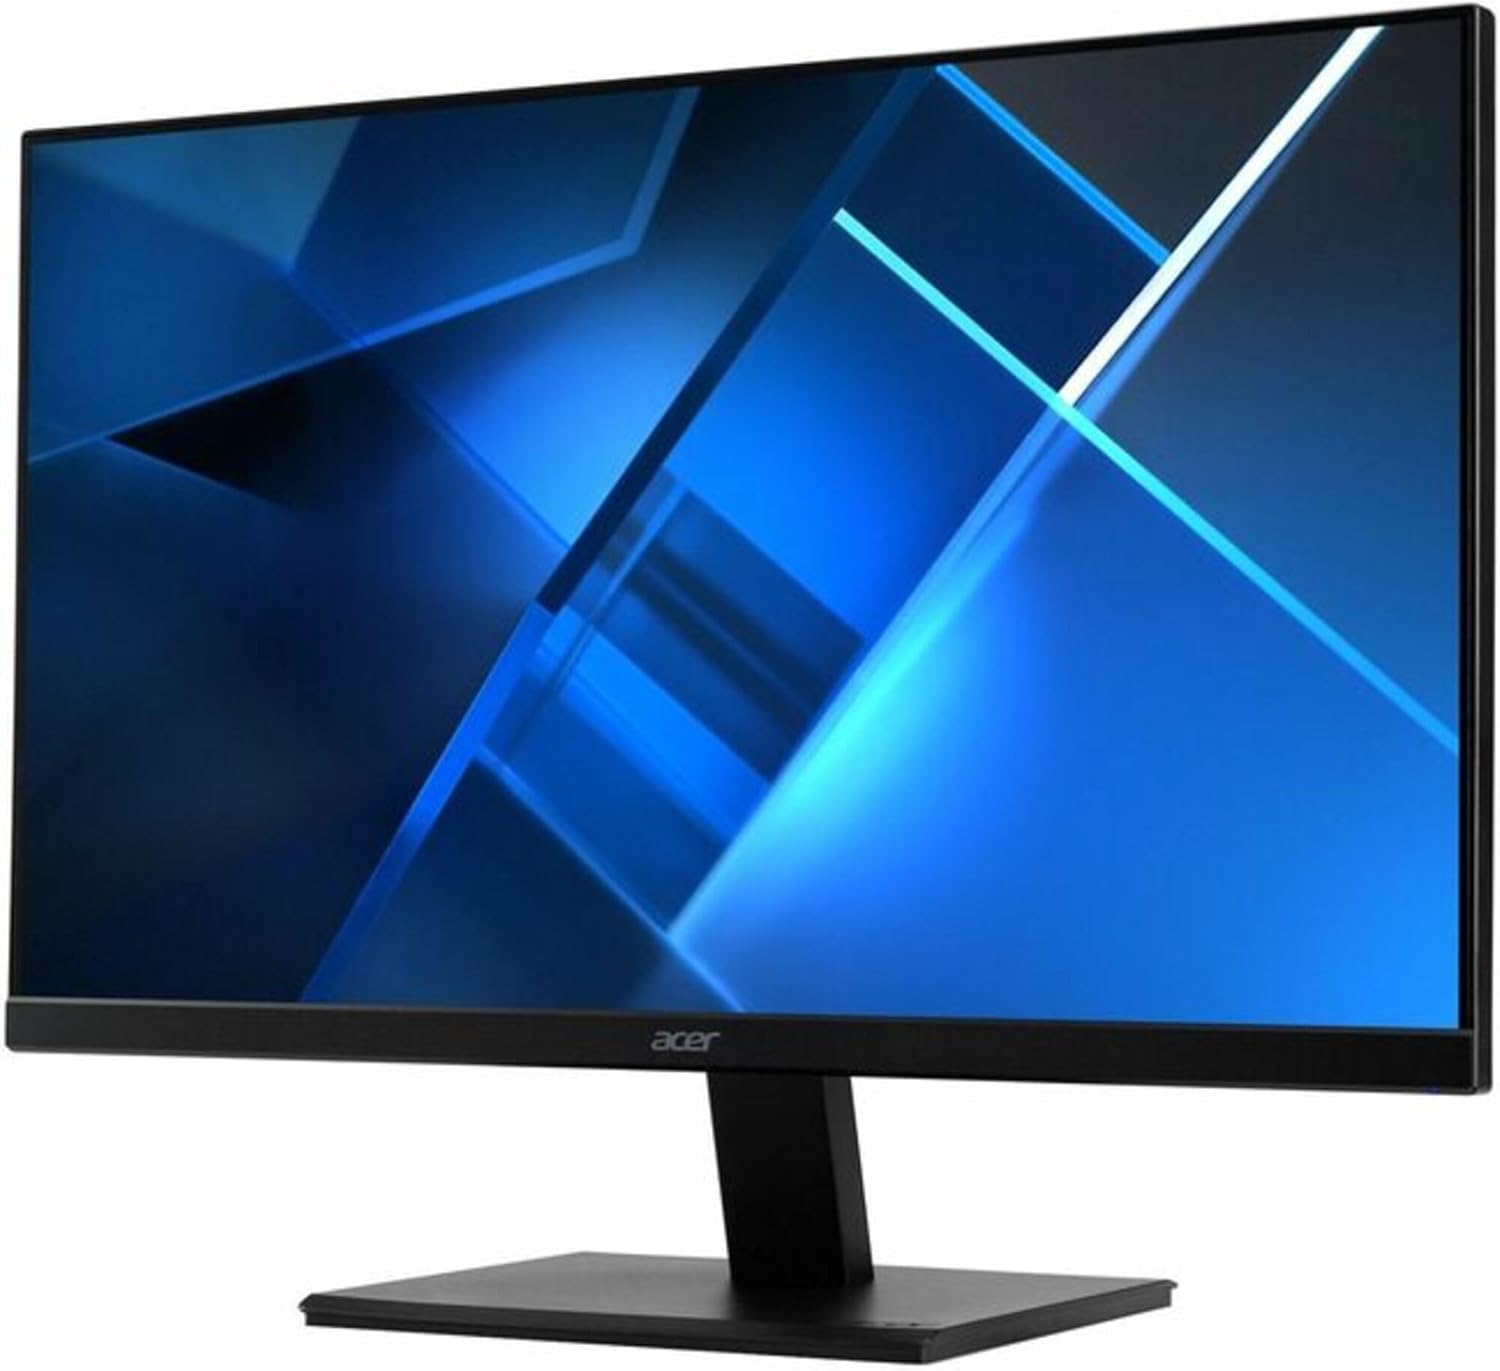
Image: Acer Vero V7 V227Q H Monitor. This image displays the monitor fully assembled on its stand, showcasing its slim bezels and the Acer logo at the bottom center of the screen frame.
4.3. Initial Power On
- Power on your computer.
- Press the power button on the monitor. The power indicator light should illuminate.
- The monitor should automatically detect the input signal. If not, you may need to manually select the input source using the OSD menu.
5. Operating the Monitor
5.1. Power On/Off
Press the power button located on the monitor to turn it on or off. The power indicator light will show the monitor's status (e.g., blue for on, amber for standby).
5.2. On-Screen Display (OSD) Menu
The OSD menu allows you to adjust various monitor settings. The control buttons are typically located on the bottom or back of the monitor.
- Accessing the OSD: Press one of the OSD buttons (usually marked with an icon or a number) to bring up the main menu.
- Navigation: Use the navigation buttons (up/down/left/right arrows or joystick) to move through menu options.
- Selection: Press the 'Enter' or 'OK' button to select an option or confirm a setting.
- Exit: Use the 'Exit' or 'Back' button to return to the previous menu or exit the OSD.
5.3. Common OSD Settings
- Picture: Adjust brightness, contrast, sharpness, and gamma.
- Color: Modify color temperature, sRGB mode, or individual RGB levels.
- Audio: Adjust volume if the monitor has built-in speakers or an audio output.
- Input: Manually select the video input source (e.g., HDMI).
- OSD: Change OSD language, transparency, and timeout.
- Management: Reset settings to factory defaults.
6. Maintenance
6.1. Cleaning the Monitor
To ensure the longevity and clarity of your monitor, follow these cleaning guidelines:
- Screen: Gently wipe the screen with a soft, lint-free cloth. For stubborn marks, lightly dampen the cloth with water or a non-ammonia, non-alcohol based screen cleaner. Do not spray cleaner directly onto the screen.
- Casing: Use a soft, dry cloth to wipe the monitor casing. Avoid abrasive cleaners or solvents.
- Always unplug the monitor from the power outlet before cleaning.
7. Troubleshooting
If you encounter issues with your monitor, refer to the following common problems and solutions:
| Problem | Possible Solution |
|---|---|
| No image on screen |
|
| Image is blurry or distorted |
|
| Colors are incorrect or inconsistent |
|
| Monitor flickers |
|
8. Specifications
Detailed technical specifications for the Acer Vero V7 V227Q H monitor:
| Feature | Specification |
|---|---|
| Model Number | V227Q H |
| Screen Size | 21.5 Inches |
| Max Screen Resolution | 1920 x 1080 (Full HD) |
| Aspect Ratio | 16:9 |
| Refresh Rate | 100 Hz |
| Response Time | 4 ms |
| Brightness | 250 Nit |
| Connectivity | HDMI |
| Screen Surface | Anti-glare |
| Item Weight | 8.35 pounds |
| Product Dimensions | 2.7 x 19.4 x 11.3 inches |
| Manufacturer | Acer, Inc |
9. Warranty Information
Acer products are covered by a limited warranty. The specific terms and duration of your warranty may vary by region and product. Please refer to the warranty card included with your product or visit the official Acer website for detailed warranty information and registration.
10. Support
For technical support, service, or additional product information, please contact Acer customer service or visit the official Acer support website. You can typically find contact details and support resources on the Acer website:
When contacting support, please have your monitor's model number (V227Q H) and serial number ready.