1. Introduction
Thank you for purchasing the Alondy Single Din Car Stereo PAX-6288W. This manual provides detailed instructions for installation, operation, and troubleshooting to ensure optimal performance and user experience. Please read this manual thoroughly before using the product.
1.1 Safety Information
- Always operate the device safely and responsibly. Distracted driving can lead to accidents.
- Ensure proper installation by a qualified professional to prevent damage to the unit or vehicle.
- Do not attempt to disassemble or modify the unit. This may void the warranty and cause damage.
- Keep the unit away from water, moisture, and extreme temperatures.
2. Package Contents
Verify that all items are present in the package:
- Alondy Single Din Car Stereo (PAX-6288W)
- Power Cable
- Remote Control
- External Microphone
- Backup Camera with Cable
- Connecting Line (RCA cables)
- User Manual

Image: The Alondy Single Din Car Stereo PAX-6288W shown with its main components: the head unit, a backup camera, an external microphone, and a remote control.
3. Product Overview
3.1 Front Panel
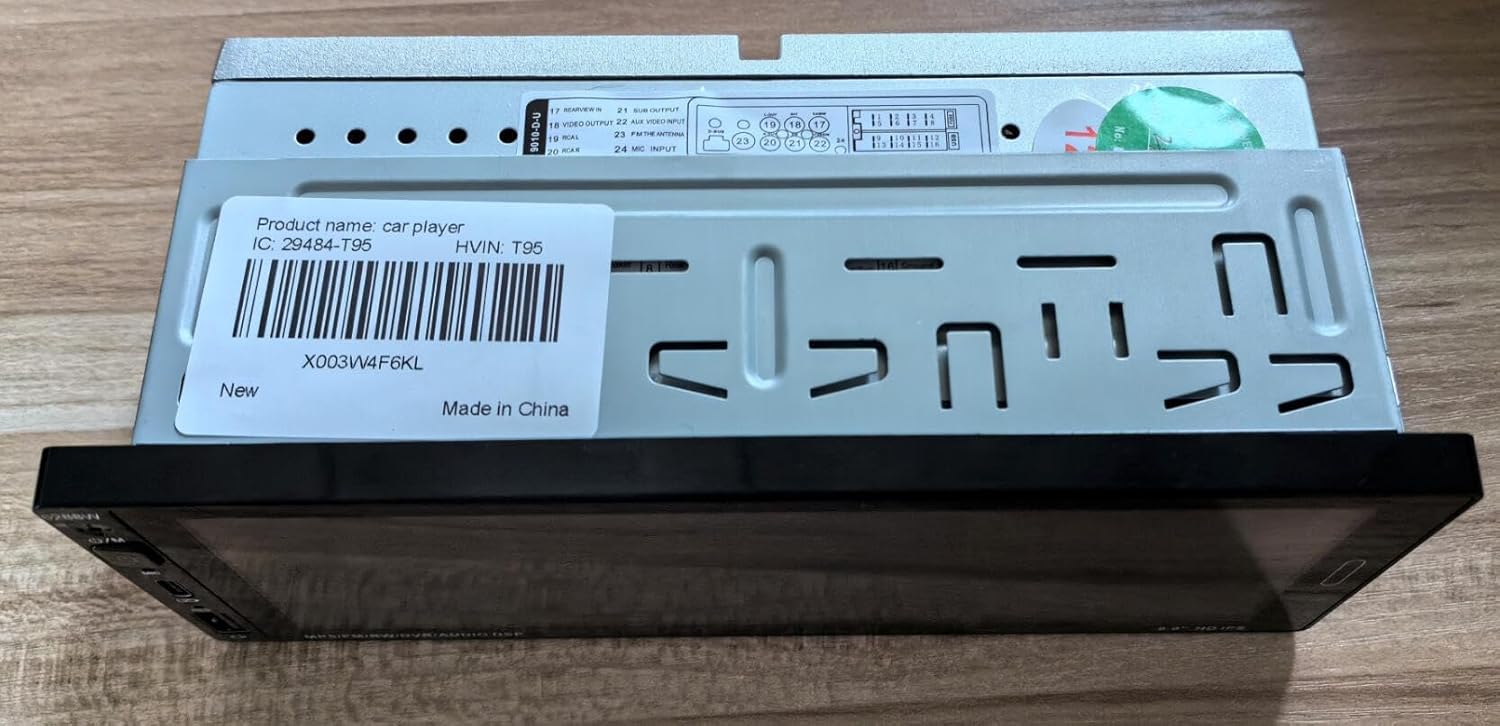
Image: Front view of the Alondy PAX-6288W car stereo, featuring a 6.9-inch touchscreen display and side controls, integrated into a vehicle dashboard.
- 6.9-inch HD Touchscreen: Main interface for all functions.
- Power Button: Press and hold to turn on/off. Short press for mute/unmute.
- Volume Up/Down: Adjusts audio output level.
- USB Ports: Two front USB ports, one Type-C for 1.5A fast charging and one standard USB for data/media playback.
- Microphone Input: For external microphone connection.
- Reset Button: Small pinhole button to reset the unit.
3.2 Rear Connections
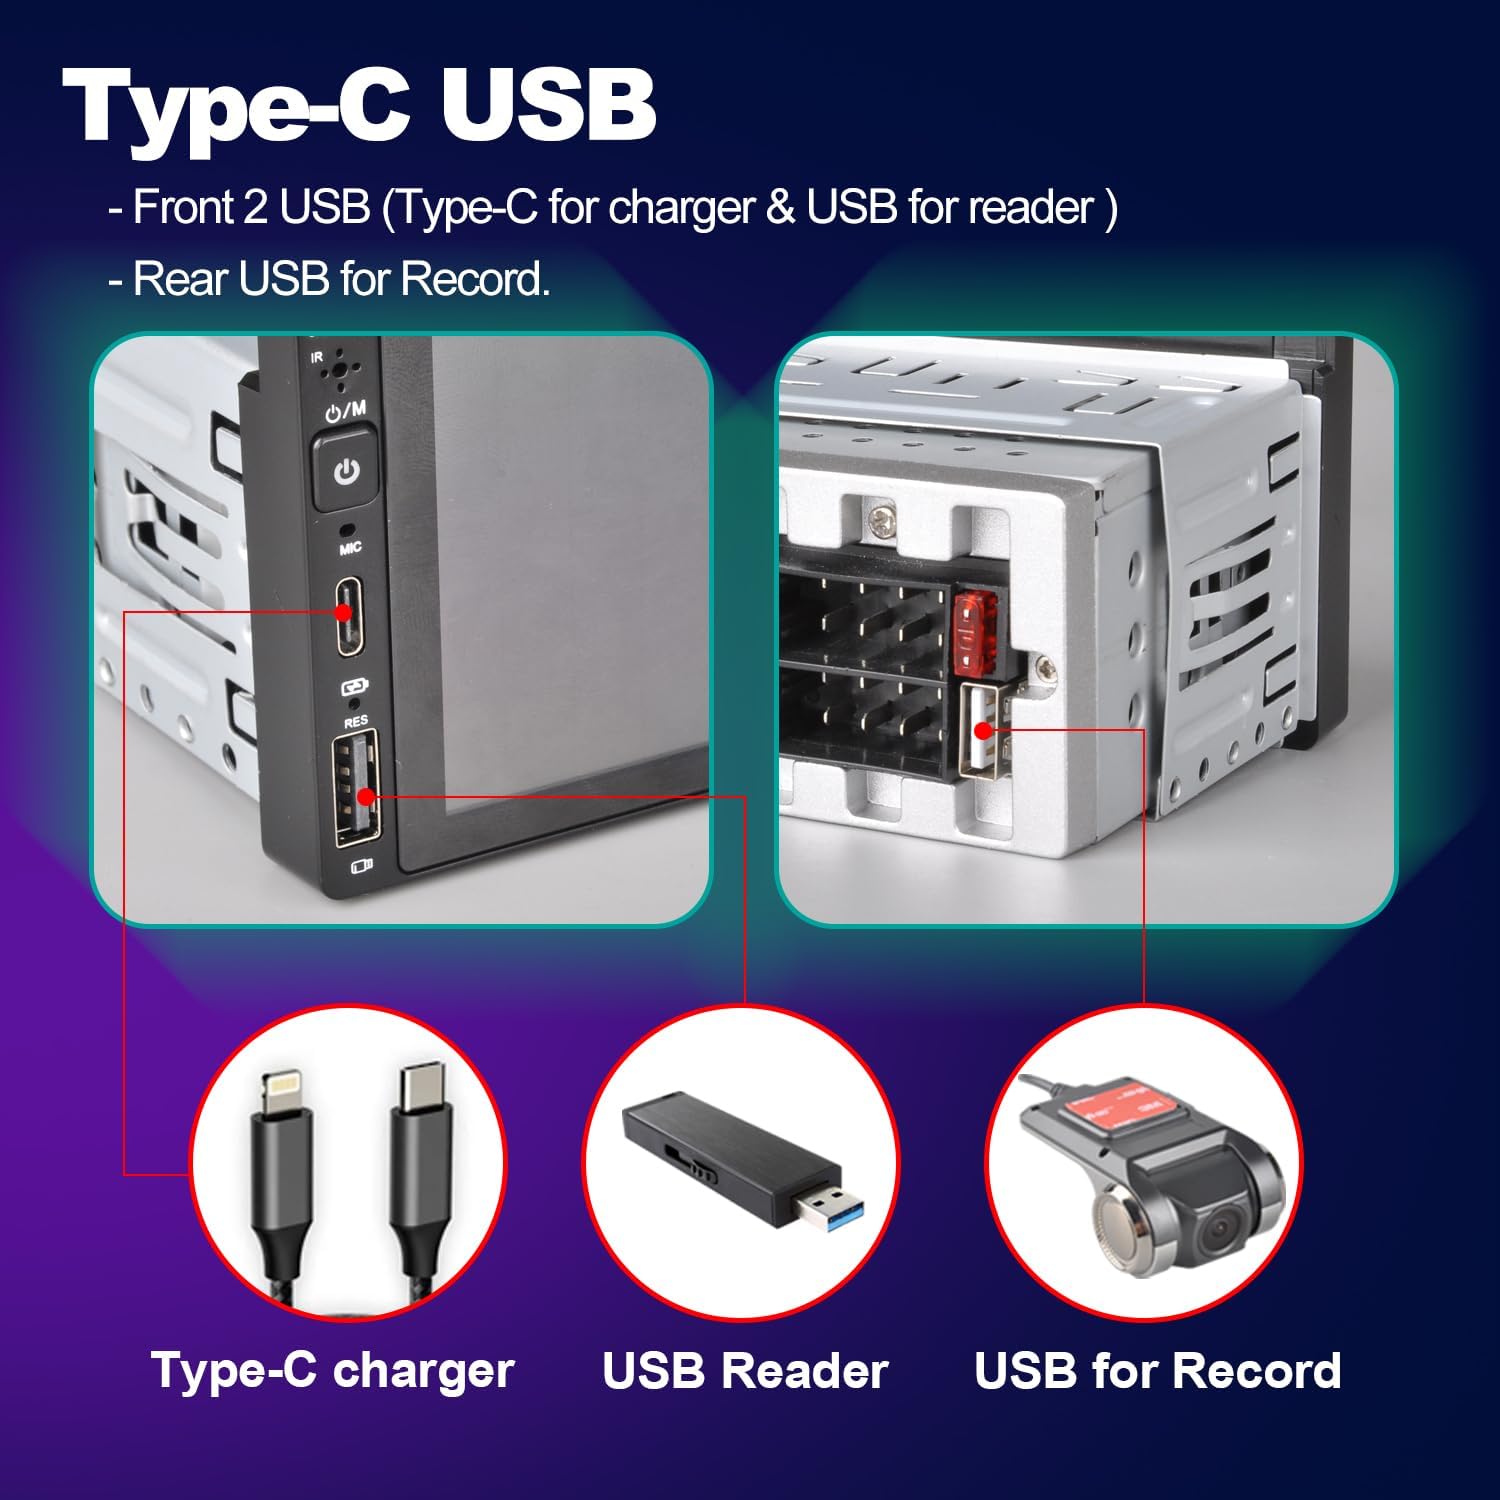
Image: Rear view of the Alondy PAX-6288W car stereo, displaying various ports for power, antenna, RCA outputs, and camera input. A product label with 'X003W4F6KL' is visible.
- ISO Plug: Main power and speaker harness connection.
- Radio Antenna Input: Connects to your vehicle's radio antenna.
- Reserve Camera Input: RCA input for the backup camera.
- Video In/Out: RCA connections for external video sources or displays.
- Subwoofer RCA Output: For connecting an external subwoofer amplifier.
- USB for DVR: Dedicated USB port for connecting a Digital Video Recorder (DVR).
4. Installation Guide
Professional installation is recommended. Incorrect wiring can damage the unit or vehicle electrical system.
4.1 Wiring Diagram
Refer to the provided wiring diagram included with your product for specific connections. Key connections include:
- Yellow Wire: Constant 12V (Battery)
- Red Wire: ACC 12V (Ignition Switched)
- Black Wire: Ground
- Orange Wire: Illumination/Dimmer
- Blue Wire: Power Antenna/Amplifier Remote Turn-On
- Reverse Wire: Connect to vehicle's reverse light signal for automatic camera activation.
- Speaker Wires: Connect to corresponding vehicle speakers (e.g., White/White-Black for Front Left, Gray/Gray-Black for Front Right, Green/Green-Black for Rear Left, Purple/Purple-Black for Rear Right).
4.2 Mounting the Unit
- Remove the existing car stereo from your dashboard.
- Connect the wiring harness from the Alondy stereo to your vehicle's wiring harness. Ensure all connections are secure.
- Slide the Alondy stereo into the single DIN opening. Secure it using the mounting brackets or screws provided with your vehicle's installation kit.
- Test all functions (power, audio, radio, CarPlay/Android Auto, backup camera) before fully reassembling the dashboard.
- Reassemble the dashboard components.
5. Basic Operation
5.1 Power On/Off
- Press and hold the power button on the front panel to turn the unit on or off.
- A short press of the power button will mute or unmute the audio.
5.2 Volume Control
- Use the volume up/down buttons on the front panel or the remote control to adjust the audio level.
5.3 Main Menu Navigation
- Tap the home icon or swipe on the touchscreen to access the main menu, which displays various functions like Radio, Bluetooth, CarPlay/Android Auto, USB, Settings, etc.
- Tap the desired icon to enter a specific function.
6. Key Features
6.1 Apple CarPlay & Android Auto (Wired/Wireless)
This unit supports both wired and wireless Apple CarPlay and Android Auto, allowing seamless integration with your smartphone for navigation, music, calls, and messaging.

Image: The car stereo display showing both Wireless Apple CarPlay and Wireless Android Auto interfaces, demonstrating smartphone integration.
6.1.1 Wireless Connection
- Ensure Bluetooth is enabled on your smartphone.
- On the car stereo, go to the CarPlay/Android Auto menu and select the wireless option.
- Pair your phone with the car stereo via Bluetooth.
- Once paired, the system will prompt you to enable CarPlay or Android Auto. Confirm on your phone.
6.1.2 Wired Connection
- Connect your smartphone to the car stereo's USB port using a certified USB cable.
- The system will automatically detect your phone and prompt you to launch CarPlay or Android Auto.
6.2 Bluetooth Voice Control & Hands-Free Calling
Connect your phone via Bluetooth for hands-free calling and audio streaming. The included external microphone ensures clear voice pickup.

Image: A visual representation of the car stereo's voice control and Bluetooth hands-free calling capabilities, showing a microphone icon and a phone call interface.
- Enable Bluetooth on your phone and the car stereo.
- Search for the car stereo (e.g., "Alondy Car Stereo") on your phone's Bluetooth settings and pair.
- Once connected, you can make/receive calls and play music wirelessly.
- Use voice commands (e.g., "Hey Siri" or "OK Google" via CarPlay/Android Auto) for navigation, calls, and music control.
6.3 Mirror Link
Mirror Link allows you to display your smartphone's screen directly onto the car stereo's display.
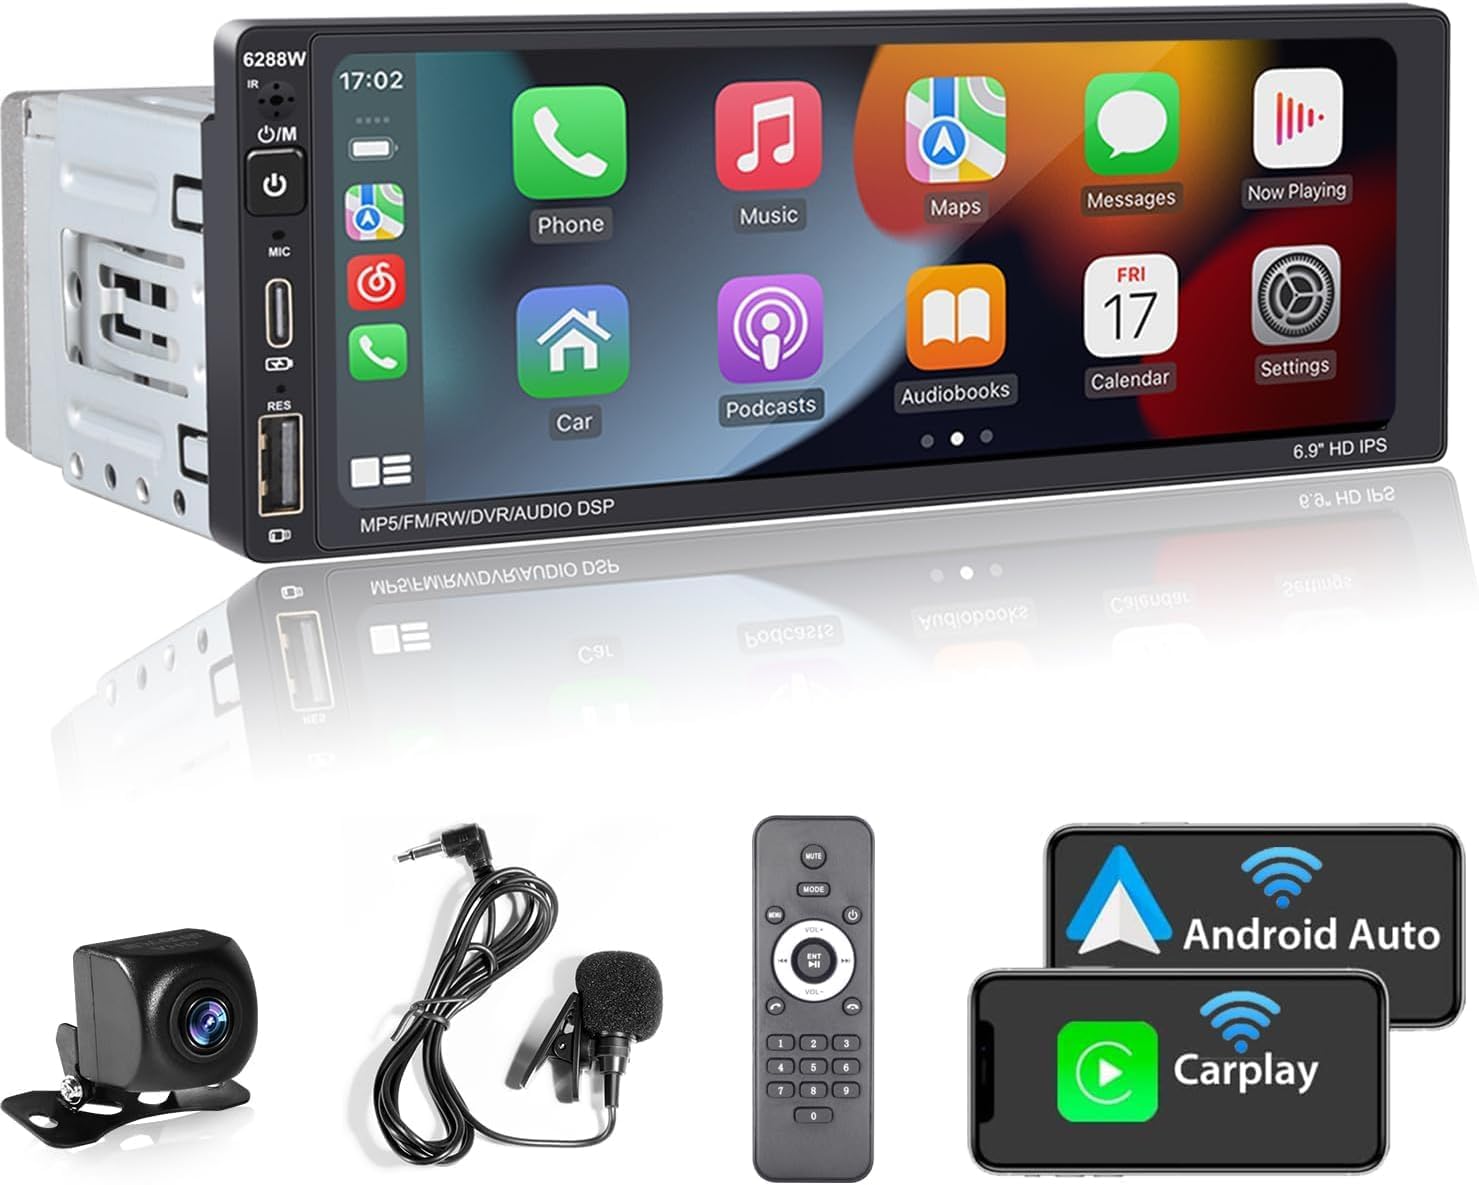
Image: The Mirror Link function in use, showing a smartphone screen mirrored onto the car stereo display, illustrating content sharing.
- Connect your smartphone to the car stereo via USB.
- Select the "Mirror Link" option on the car stereo.
- Follow the on-screen prompts to establish the connection.
6.4 Backup Camera
The unit supports a backup camera for enhanced safety when reversing. The display automatically switches to the camera view when the vehicle is in reverse gear.
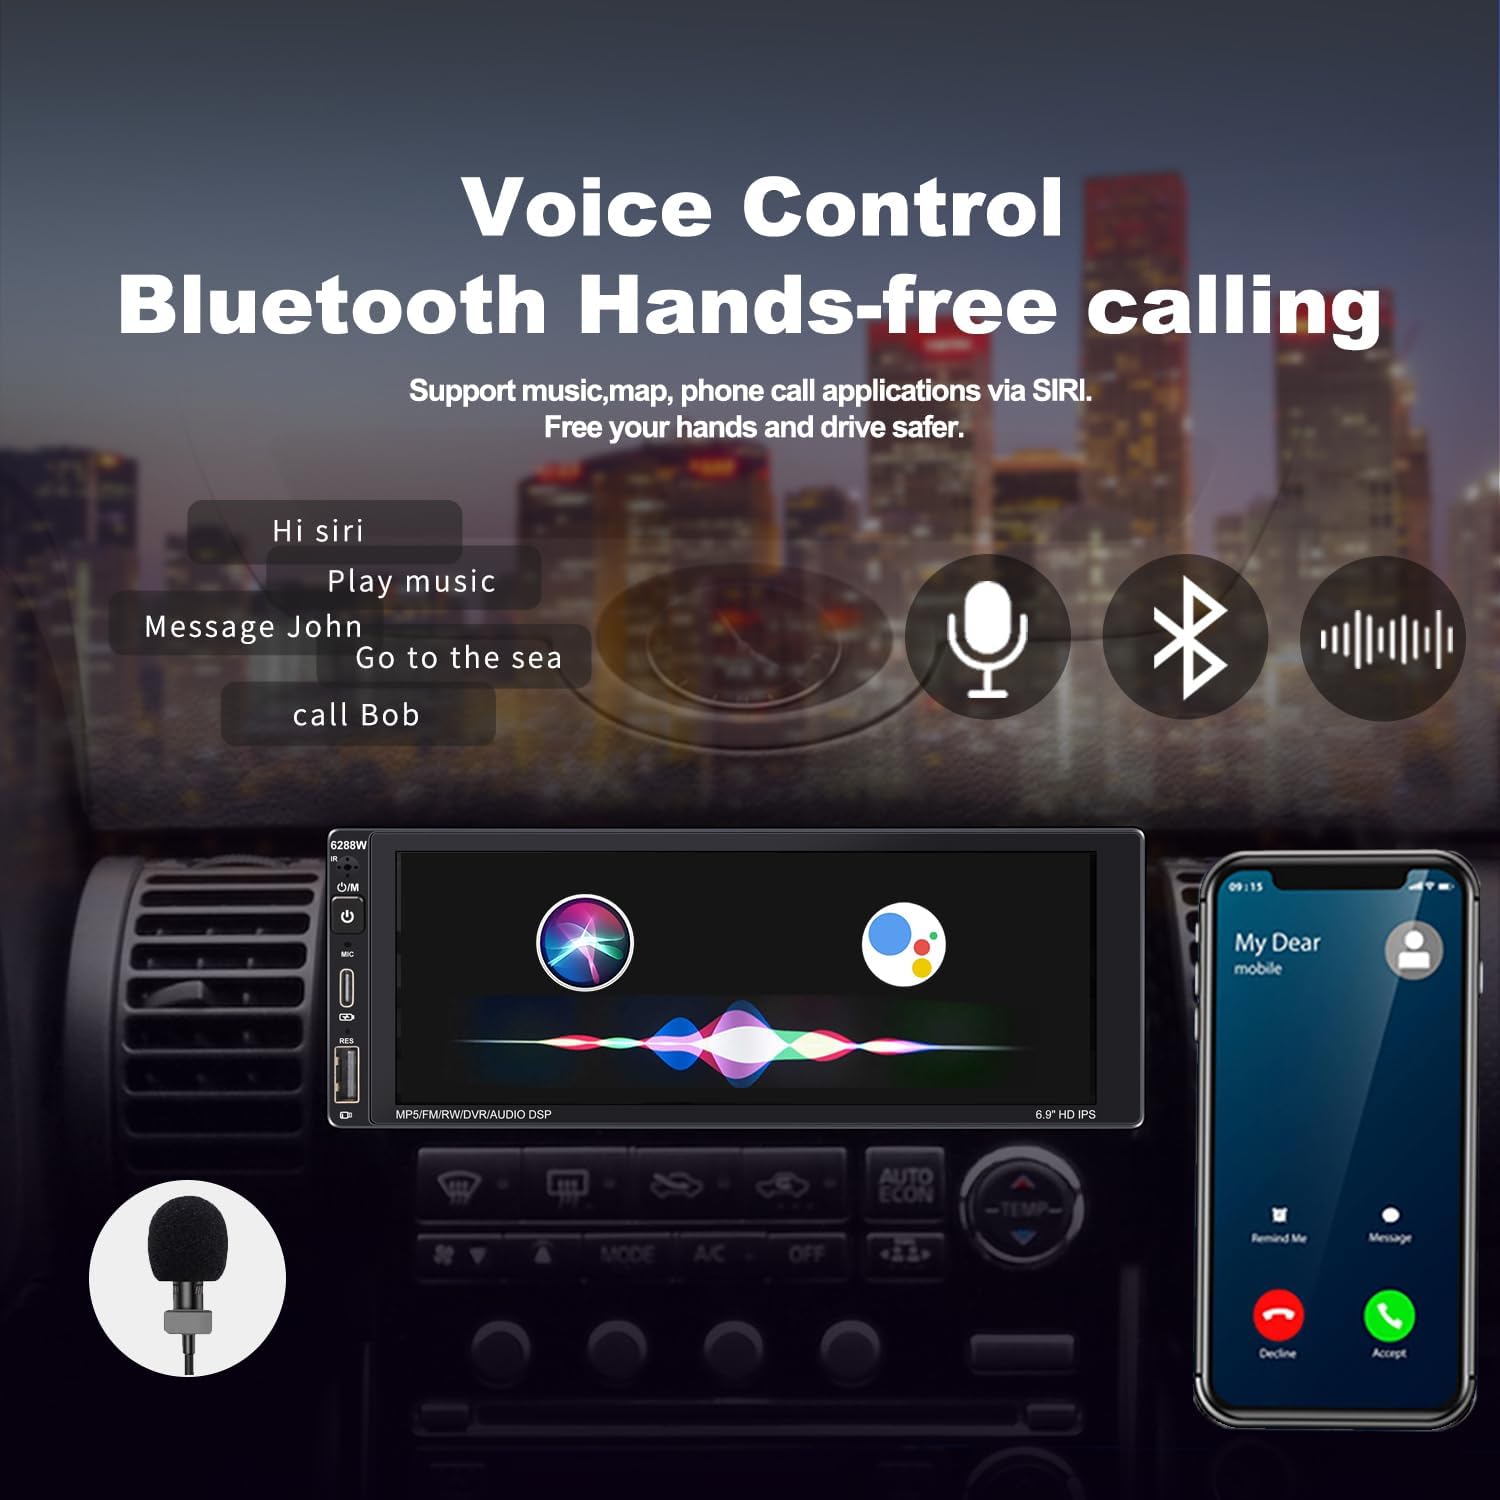
Image: The car stereo display showing the view from a backup camera, complete with parking guidelines, assisting with reverse maneuvers.
- Ensure the backup camera is correctly installed and connected to the "Reserve Camera Input" on the rear of the unit.
- The camera's power should be connected to the vehicle's reverse light circuit.
6.5 USB Playback & Charging
The front USB ports allow for media playback from USB drives and fast charging for compatible devices.

Image: Close-up view of the car stereo's front panel showing a Type-C USB port for charging and a standard USB port for data, along with a rear USB port for DVR connection.
- Type-C USB: Provides 1.5A fast charging for compatible smartphones and devices.
- Standard USB: For playing audio/video files from a USB flash drive.
- Rear USB: Dedicated for connecting a DVR (Digital Video Recorder).
6.6 AM/FM Radio
Access local radio stations with the built-in AM/FM tuner.
- Select the "Radio" icon from the main menu.
- Use the scan function to automatically search and save available stations.
- Manually tune to frequencies using the touchscreen controls.
6.7 Steering Wheel Control Learning
Program your vehicle's steering wheel controls to operate the car stereo.
- Navigate to the "Settings" menu and find the "Steering Wheel Control" option.
- Follow the on-screen instructions to assign functions (e.g., volume up, track skip, mode) to your steering wheel buttons.
7. Troubleshooting
If you encounter issues, refer to the following common problems and solutions:
| Problem | Possible Cause | Solution |
|---|---|---|
| No power | Incorrect wiring; Blown fuse; Vehicle battery issue. | Check power and ground connections. Verify vehicle fuses. Ensure battery is charged. |
| No sound | Speaker wires disconnected; Volume too low; Mute function active. | Check speaker connections. Increase volume. Press power button to unmute. |
| Bluetooth not connecting | Bluetooth off on phone/stereo; Incorrect pairing. | Ensure Bluetooth is enabled on both devices. Delete previous pairings and re-pair. |
| CarPlay/Android Auto not launching | Incorrect USB cable; Phone not compatible; Software glitch. | Use a certified USB cable. Ensure phone OS is up-to-date. Try restarting both devices. |
| Backup camera not displaying | Camera not connected; Reverse trigger wire not connected. | Check camera RCA connection. Verify reverse trigger wire is connected to the vehicle's reverse light. |
| Unit freezes or is unresponsive | Software issue; Temporary glitch. | Press the reset button with a thin object. If issue persists, disconnect power for a few minutes. |
8. Specifications
- Model: PAX-6288W
- Screen Size: 6.9 inches
- Display Resolution: 1280*480
- Connectivity: Bluetooth, USB (Type-C & Type-A), RCA
- Features: Wireless Apple CarPlay, Wireless Android Auto, Mirror Link, DSP, AM/FM Radio, Backup Camera Support, Voice Control
- Power Output: (Typically 4x50W or similar, consult product packaging for exact RMS/Peak)
- Product Dimensions: 3.46 x 7.01 x 1.97 inches
- Item Weight: 1.76 pounds (0.8 Kilograms)
9. Warranty and Support
Alondy products are designed for reliability and performance. This product comes with a standard manufacturer's warranty against defects in materials and workmanship. Please refer to your purchase documentation for specific warranty terms and duration.
For technical support, troubleshooting assistance, or warranty claims, please contact Alondy customer service through the retailer where the product was purchased or visit the official Alondy website for contact information.
When contacting support, please have your model number (PAX-6288W) and purchase details ready.