Introduction
This manual provides detailed instructions for the installation, operation, and maintenance of your SOVMIKU 3CQ1 AI 2K Solar Security Camera. Please read this guide thoroughly before using the product to ensure proper functionality and safety.
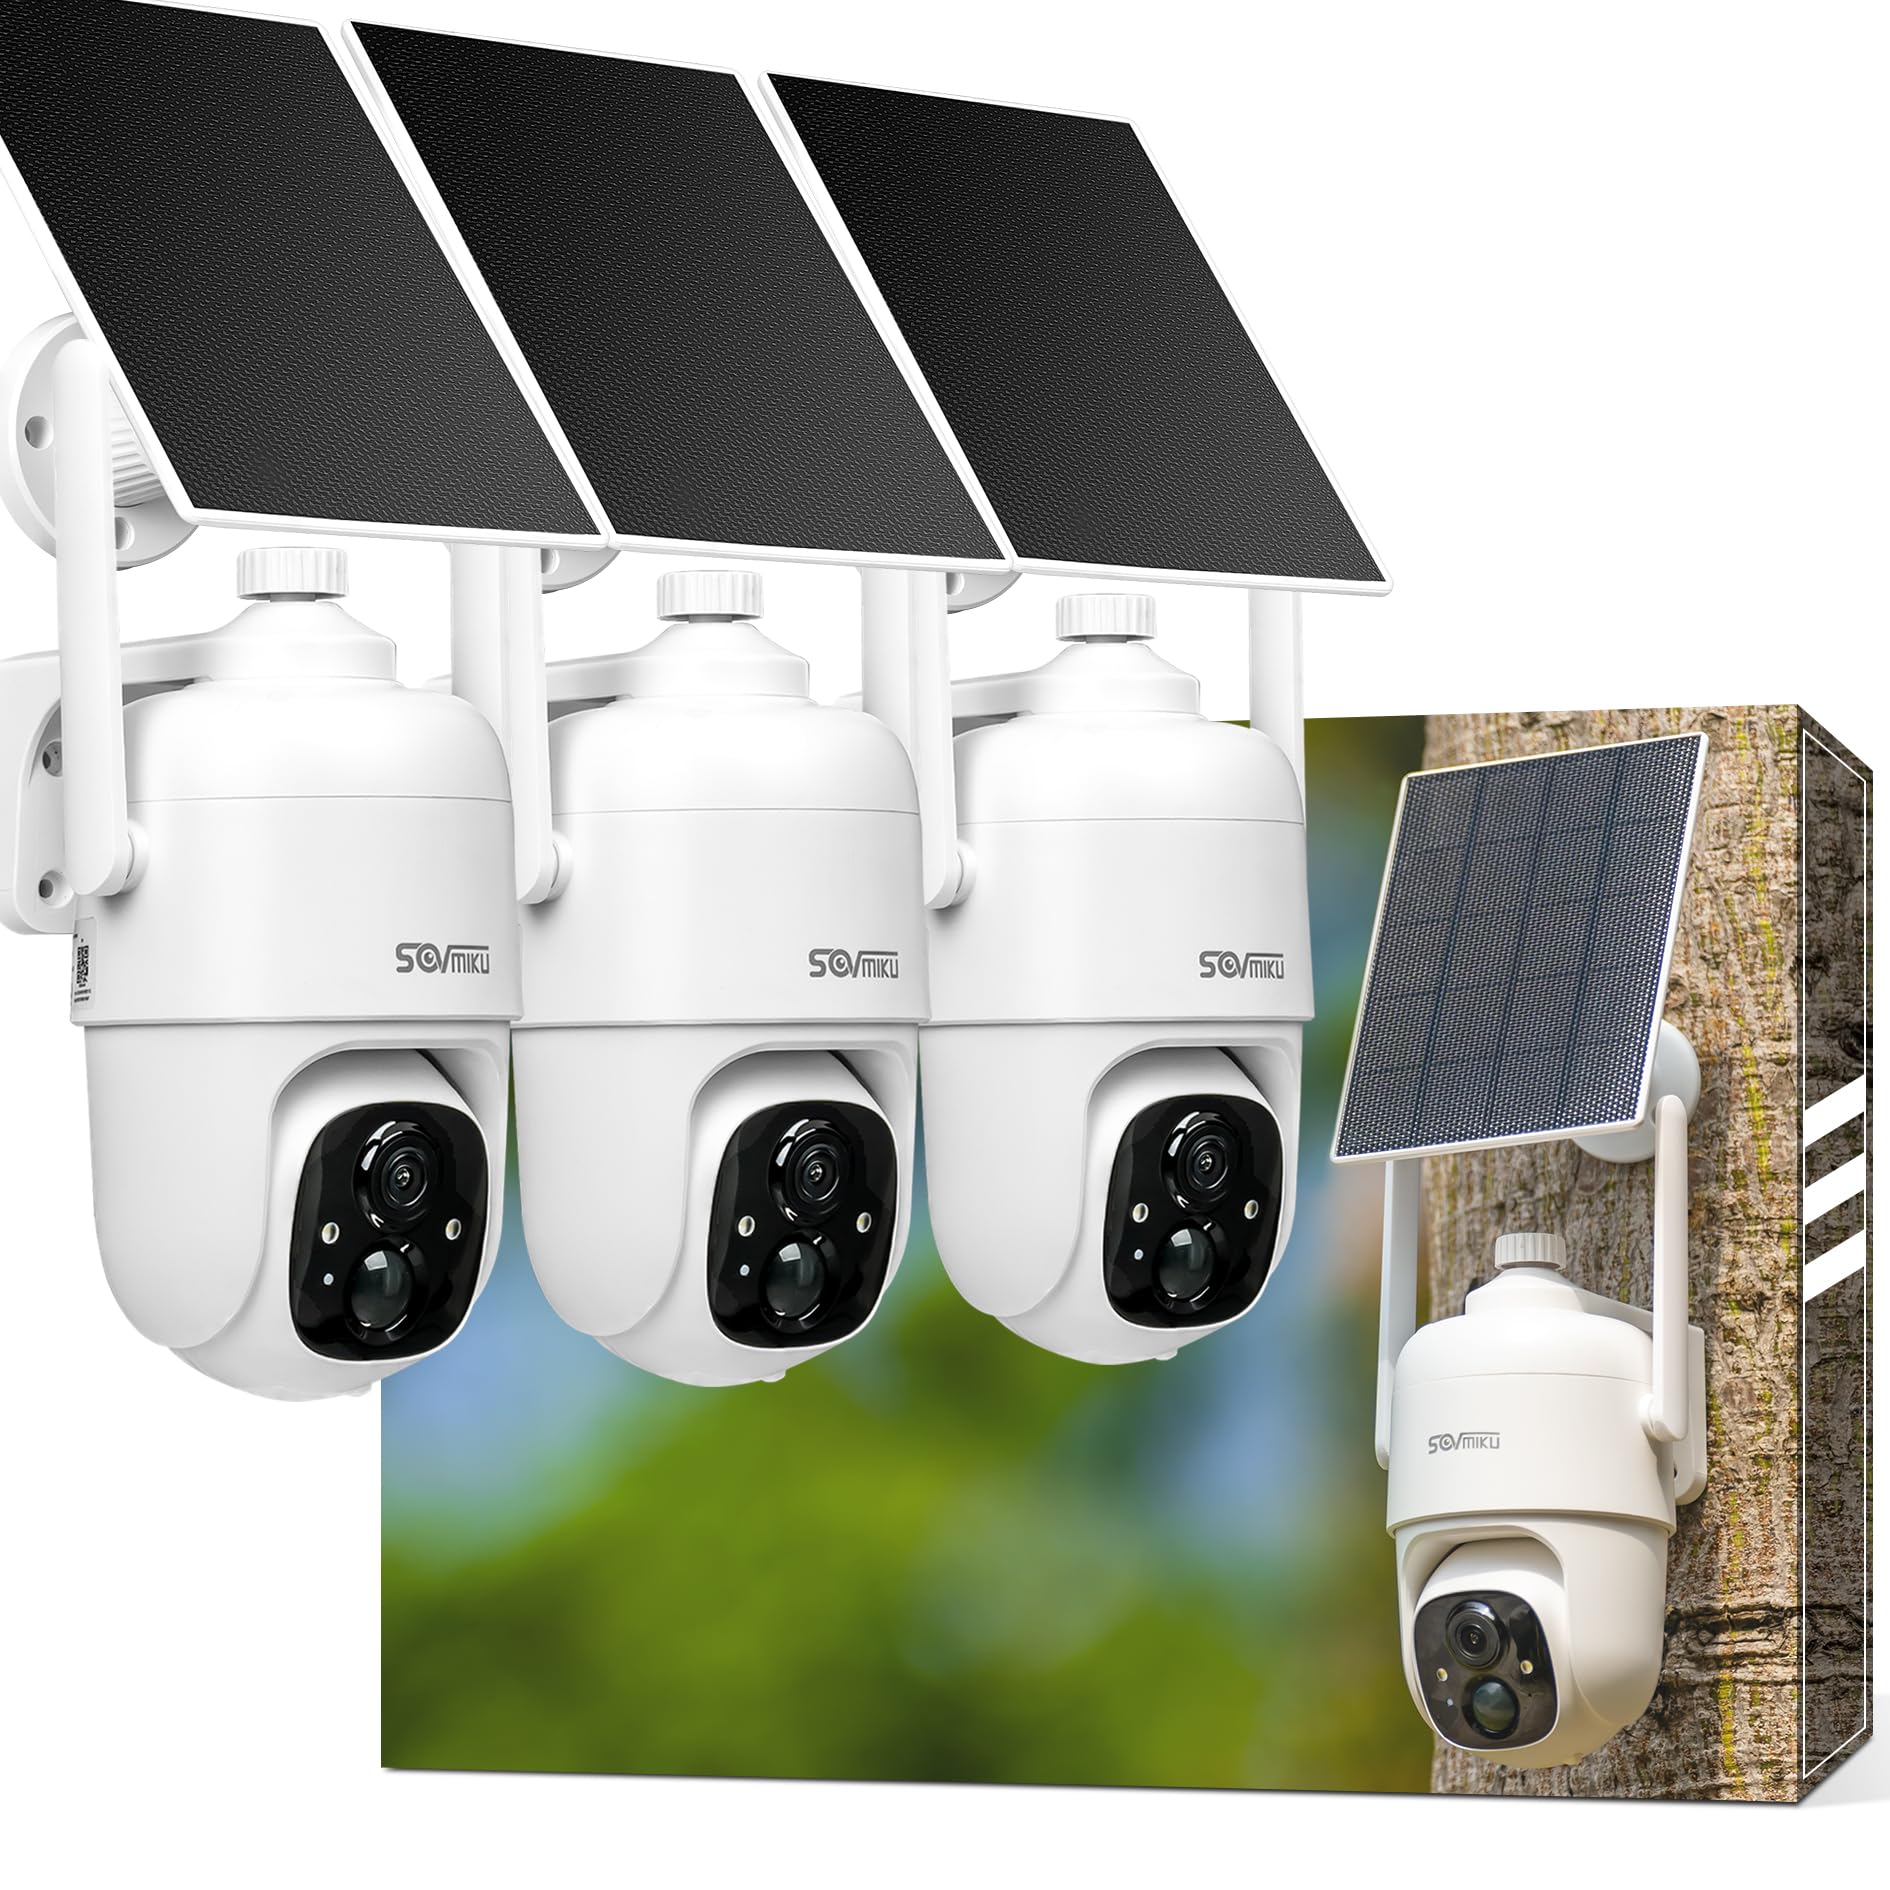
The SOVMIKU 3CQ1 AI 2K Solar Security Camera, designed for outdoor surveillance.
Setup
1. Package Contents
Verify that all components are present:
- SOVMIKU 3CQ1 Camera
- Solar Panel
- Mounting Bracket and Screws
- USB Charging Cable
- User Manual
2. App Installation
Download the 'Vicohome' App from the Google Play Store (for Android devices) or the Apple App Store (for iOS devices). Follow the in-app instructions to create an account and add your camera.
3. MicroSD Card Installation
The camera supports up to 128GB microSD cards for local storage. Insert the microSD card into the designated slot on the camera. Ensure the camera is powered off before inserting or removing the card.

Locate and insert the microSD card into the slot as shown. MicroSD card is not included.
4. Solar Panel Placement
For optimal charging, install the solar panel in a location that receives direct sunlight for several hours daily. Avoid shaded areas or obstructions. The solar panel cable is 9.8 feet long, allowing flexible placement.

Proper solar panel placement is crucial for continuous power. Choose a location with maximum direct sunlight.
5. Camera Installation
Mount the camera securely using the provided bracket and screws. Ensure the camera has a clear field of view and the solar panel is connected.

Follow these steps for easy installation: 1. Install camera mount. 2. Center locking screw. 3. Install panel mount. 4. Lock the solar panel.
6. Initial Charging
Before first use, fully charge the camera's built-in 9000mAh battery using the USB cable. A full charge can provide power for 60 days or more, depending on usage and solar panel efficiency.
This video demonstrates the installation process for the SOVMIKU 3CQ1 camera, highlighting its ease of setup.
Operating Instructions
1. Live View and Two-Way Audio
Open the Vicohome App to access the live feed from your camera. Use the two-way audio feature to communicate with individuals near the camera.

The camera supports two-way audio, allowing communication through the Vicohome App.
2. Pan and Tilt Control
The camera offers a 360° view with pan and tilt capabilities, controllable via the Vicohome App. Adjust the camera's angle to monitor different areas.

Control the camera's pan (355°) and tilt (90°) remotely for comprehensive coverage.
3. Motion Detection and Alerts
The camera features an always-on Passive Infrared (PIR) sensor for motion detection. When a warm body is detected, the camera activates and sends push notifications to your Vicohome App. You can also define specific 'Activity Zones' within the app to focus detection on critical areas (requires cloud storage subscription).
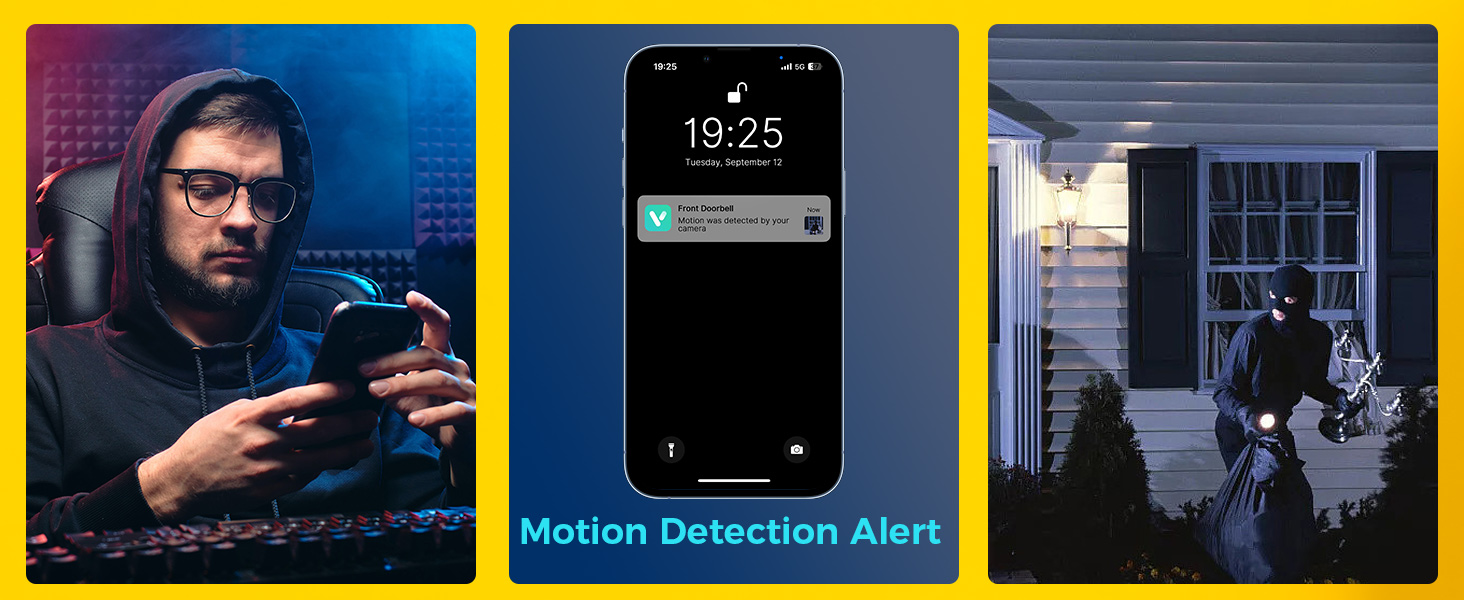
Receive instant motion detection alerts on your smartphone.

Set up custom activity zones to receive notifications only for specific areas.
4. Night Vision and Alarms
The camera provides both Starlight Color Night Vision and Infrared Night Vision. When motion is detected at night, the camera can activate a spotlight, and if enabled, an audible siren and flashlight alarm will trigger.

Experience clear night vision with both color and infrared options.
This video demonstrates the spotlight feature of the SOVMIKU 3CQ1 camera, showing its effectiveness in low-light conditions.
5. Multi-Camera View
The Vicohome App allows simultaneous viewing of up to four cameras without the need for a Network Video Recorder (NVR).

Monitor multiple cameras simultaneously through the Vicohome App.
Maintenance
1. Solar Panel Cleaning
Regularly wipe the solar panels to remove dust, dirt, or debris. This ensures optimal energy conversion and consistent charging performance.

Keep the solar panel clean for efficient charging.
2. Battery Management
The camera features an 'Auto-on After Charging' function. If the device runs out of battery, it will automatically turn on once sufficient charge is received from the solar panel or USB power source.

The camera's 9000mAh battery provides extended operation, supplemented by solar charging.
3. Weather Resistance
The SOVMIKU 3CQ1 camera is IP65 rated for weather resistance, protecting it against dust and water splashes. The charging interface is equipped with a silicone waterproof protective plug.
This video demonstrates the waterproof capabilities of the SOVMIKU 3CQ1 solar security camera.
Troubleshooting
Camera Offline
- Check Wi-Fi Connection: Ensure your camera is within range of your Wi-Fi router and the signal is strong.
- Power Supply: Verify the camera has sufficient battery charge. If the battery is low, ensure the solar panel is receiving adequate sunlight or charge the camera via USB.
- Restart Camera: Try restarting the camera by pressing the reset button or cycling its power.
- App Connection: Close and reopen the Vicohome App. If issues persist, try removing and re-adding the camera in the app.
Poor Video Quality
- Clean Lens: Ensure the camera lens is clean and free from dirt or smudges.
- Network Speed: A stable and fast internet connection is essential for 2K video streaming. Check your Wi-Fi speed.
- Lighting Conditions: Adjust camera placement to optimize lighting. Ensure night vision is functioning correctly in low light.
Motion Detection Issues
- Sensitivity Settings: Adjust the motion detection sensitivity in the Vicohome App.
- Activity Zones: Ensure activity zones are correctly configured and not excluding areas you wish to monitor.
- Obstructions: Clear any physical obstructions that might block the PIR sensor's view.
This video provides insights into the Wi-Fi range and connectivity of the SOVMIKU CQ1 camera, which can be helpful for troubleshooting connection issues.
Specifications
| Model Name | 3CQ1 |
| Brand | SOVMIKU |
| Resolution | 2K (3 MP Photo Sensor) |
| Connectivity | Wireless |
| Power Source | Solar Powered (Built-in 9000mAh Battery) |
| Special Features | 2-Way Audio, Motion Detection, 360° View (Pan 355°, Tilt 90°), Color Night Vision, Audible Flashlight Siren |
| Weather Resistance | IP65 |
| Compatible Devices | Smartphone (Vicohome App) |
| Item Dimensions | 11.2 x 8.22 x 4.7 inches |
| Operating Temperature | -10°C to 45°C (14°F to 113°F) |
Warranty and Support
1. Exchange Policy
SOVMIKU offers a 180-day exchange policy. If you encounter any issues within this period, please contact customer support for assistance.
2. Customer Support
For technical assistance, troubleshooting, or warranty claims, please contact SOVMIKU customer support via email at Sovmiku@163.com.