1. Introduction
This manual provides essential instructions for the setup, operation, and maintenance of your Yamaha True X Sub 100A Wireless Subwoofer. Designed to complement the Yamaha True X Bar 40A sound bar, this subwoofer enhances your audio experience with deep, resonant bass.
Please read this manual thoroughly before using the product to ensure correct and safe operation. Keep this manual for future reference.
2. What's in the Box
Verify that all items are present in the packaging:
- Yamaha True X Sub 100A Wireless Subwoofer
- Power Cable
- Owner's Manual (this document)
3. Key Features
- Enhanced Bass: Specifically designed to integrate with the Yamaha True X Bar 40A sound bar for powerful low-frequency audio.
- Automatic Optimization: Features automatic crossover and EQ adjustments for seamless integration with the Bar 40A's built-in subwoofers.
- Slim and Versatile Design: A low-profile design allows for flexible placement, either vertically or horizontally, to fit various room layouts.
- Wireless Connectivity: Connects wirelessly to the True X Bar 40A, simplifying setup and reducing cable clutter.
4. Setup Guide
4.1 Subwoofer Placement and Orientation
The Yamaha True X Sub 100A offers flexible placement options. Consider the following for optimal performance and aesthetic integration:
- Place the subwoofer on a stable, flat surface.
- It can be oriented either vertically or horizontally to best suit your space.
- Position the subwoofer near your True X Bar 40A sound bar, ideally in the front half of the room. Experiment with different locations to find the best bass response for your listening area.
- Ensure there is adequate ventilation around the unit.
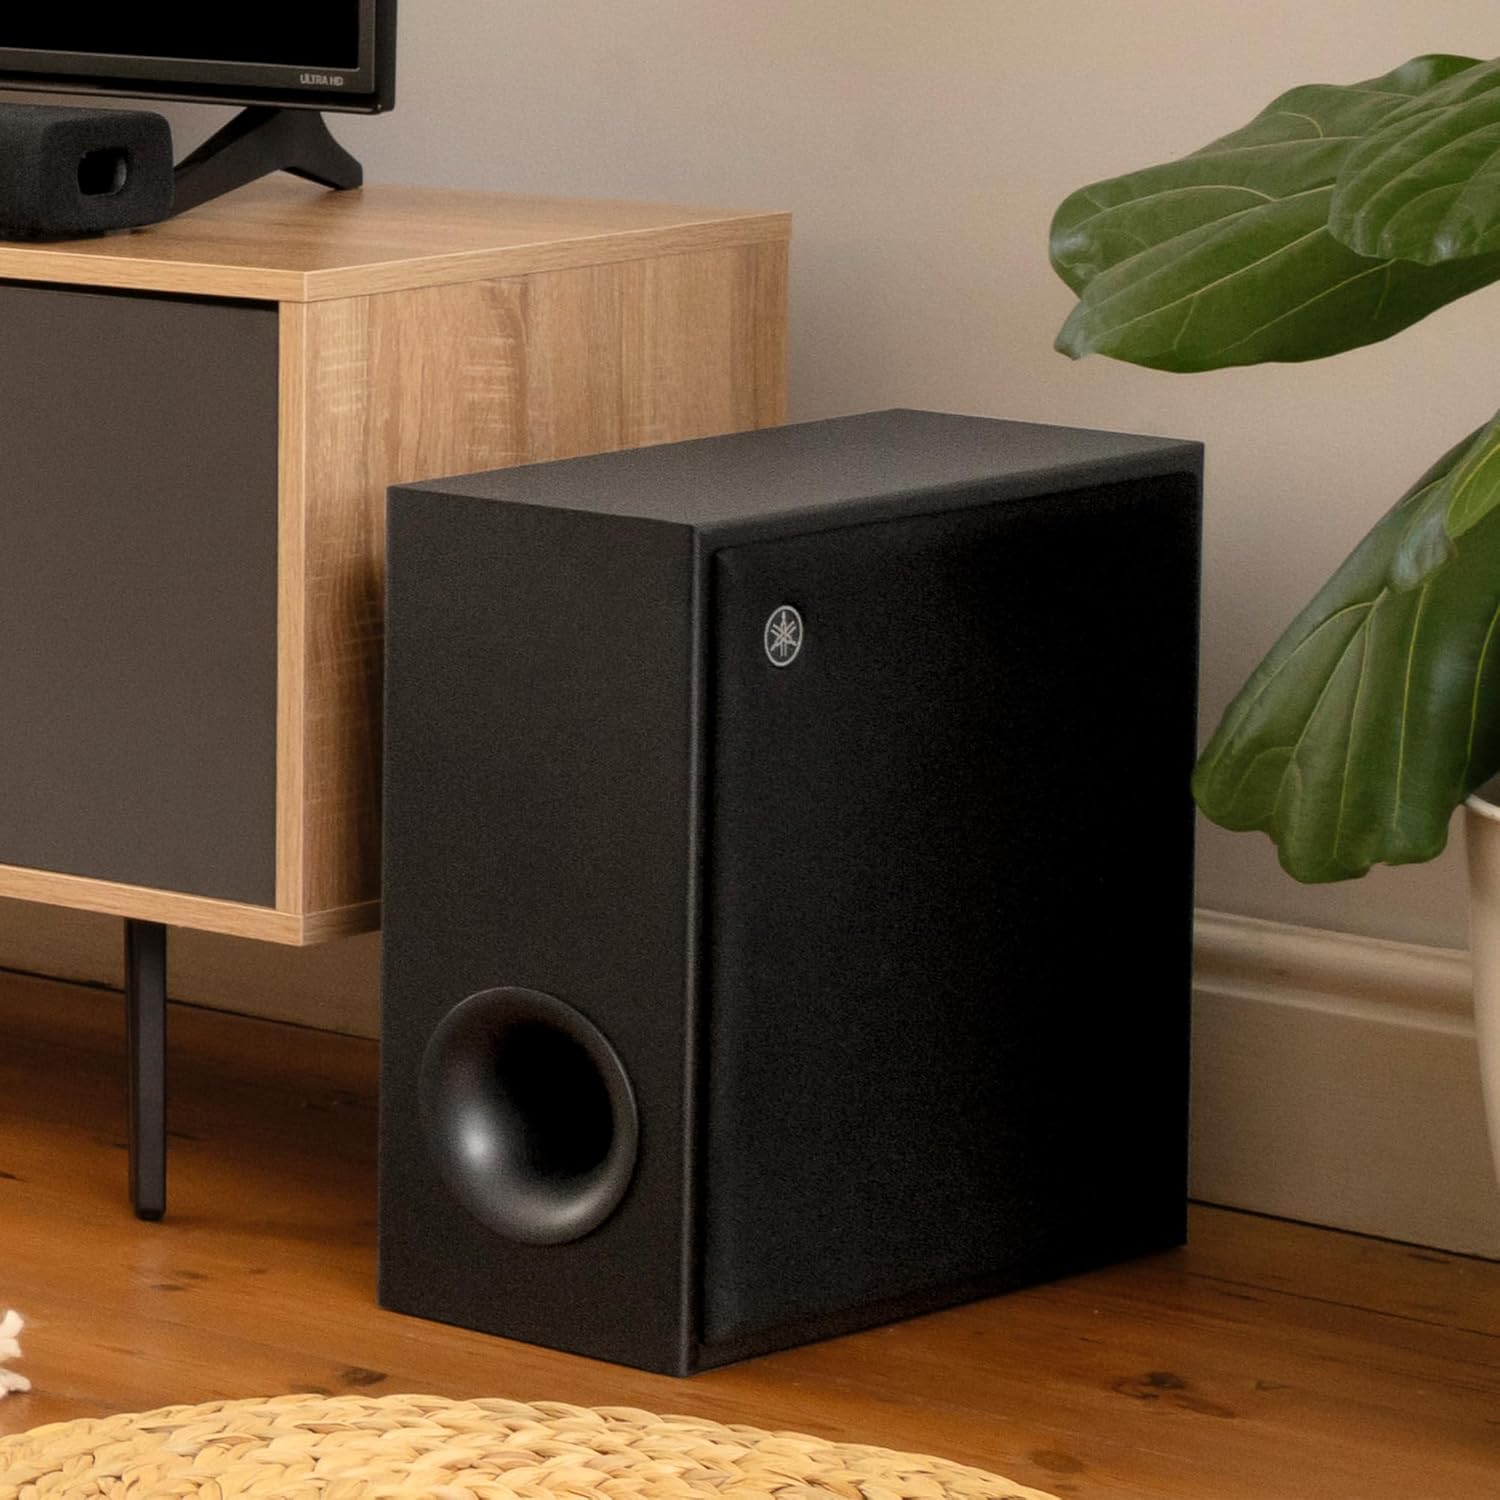
Figure 1: Example placement of the Yamaha True X Sub 100A in a living room setting.
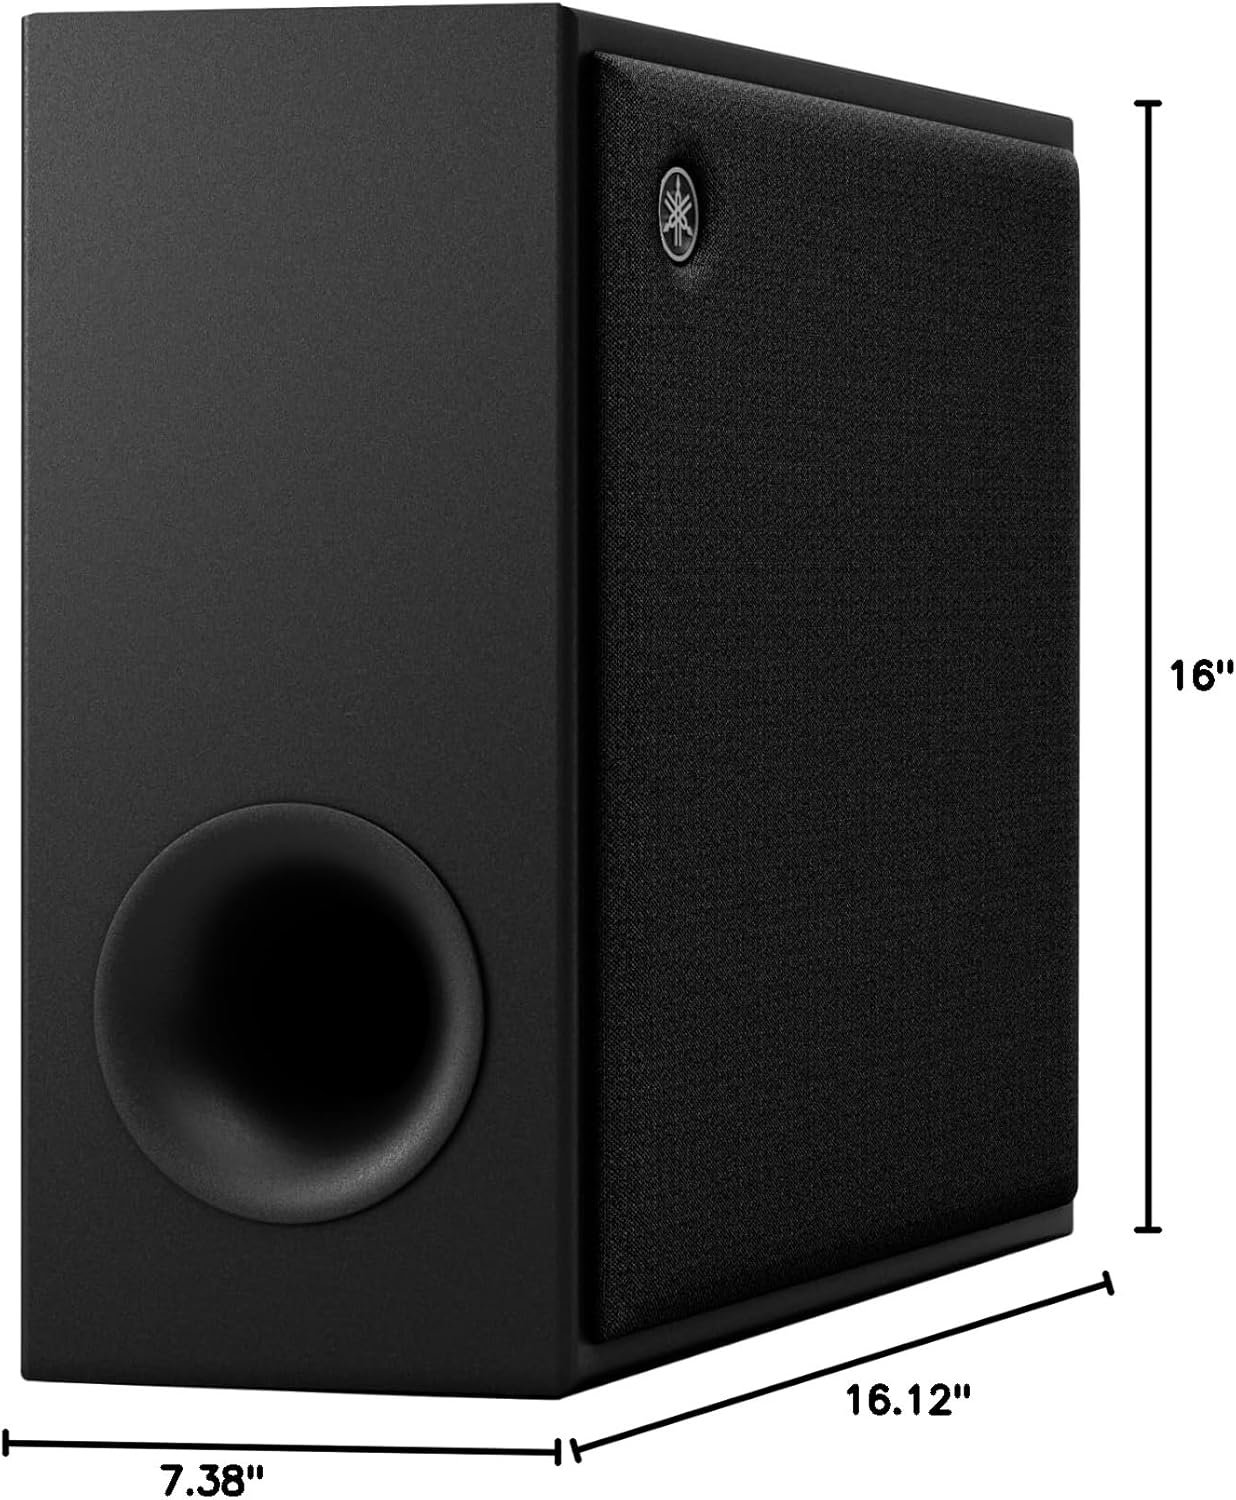
Figure 2: Dimensions of the Yamaha True X Sub 100A, illustrating its compact size for flexible placement.
4.2 Connecting to Power
Connect the supplied power cable to the AC IN terminal on the back of the subwoofer and then to a wall outlet. The subwoofer will enter standby mode.

Figure 3: Rear panel of the subwoofer, highlighting the power input and connection points.
4.3 Wireless Connection with True X Bar 40A
The True X Sub 100A is designed for wireless pairing with the Yamaha True X Bar 40A sound bar. Follow these general steps to establish a connection:
- Ensure your True X Bar 40A sound bar is powered on and in pairing mode (refer to your sound bar's manual for specific instructions).
- On the True X Sub 100A, locate the pairing button (often labeled "CONNECT" or indicated by a wireless icon) on the rear panel.
- Press and hold the pairing button on the subwoofer for a few seconds until the indicator light begins to flash, indicating it is in pairing mode.
- The subwoofer and sound bar should automatically detect and connect to each other. The indicator light on the subwoofer will change to a solid color (e.g., green or white) once a successful connection is established.
- If the connection is not established, repeat the steps. Ensure both devices are within range and there are no significant obstructions.
Note: For detailed pairing instructions, always consult the specific user manual for your Yamaha True X Bar 40A sound bar, as the exact procedure may vary.
5. Operation
5.1 Power On/Off
- The subwoofer will typically power on automatically when it detects a signal from the paired sound bar.
- It will enter standby mode when no signal is detected for a period, or when the sound bar is turned off.
5.2 Adjusting Bass Level
Bass level adjustments are typically controlled via the Yamaha True X Bar 40A sound bar's remote control or associated app. Refer to your sound bar's manual for specific instructions on adjusting subwoofer output.
6. Maintenance
- Cleaning: Use a soft, dry cloth to clean the exterior of the subwoofer. Do not use liquid cleaners or solvents.
- Ventilation: Ensure that the subwoofer's vents are not blocked to prevent overheating.
- Storage: If storing the unit for an extended period, disconnect it from power and store it in a cool, dry place.
7. Troubleshooting
- No Sound from Subwoofer:
- Ensure the power cable is securely connected and the subwoofer is powered on.
- Verify that the subwoofer is successfully paired with your True X Bar 40A sound bar. Re-initiate the pairing process if necessary.
- Check the bass level settings on your sound bar.
- Distorted or Weak Bass:
- Adjust the subwoofer's placement. Moving it closer to a wall or corner can sometimes enhance bass.
- Ensure the subwoofer is not placed too close to other electronic devices that might cause interference.
- Check the audio source for quality.
- Subwoofer Not Pairing:
- Ensure both the subwoofer and sound bar are powered on and in pairing mode.
- Move the subwoofer closer to the sound bar during the pairing process.
- Temporarily disconnect other wireless devices that might be causing interference.
- Power cycle both the subwoofer and the sound bar, then attempt pairing again.
8. Specifications
| Feature | Detail |
|---|---|
| Model Name | TRUE X SUB 100A |
| Model Number | SW-X100ABL |
| Speaker Type | Subwoofer |
| Subwoofer Diameter | 6.3 Inches |
| Speaker Maximum Output Power | 100 Watts |
| Connectivity Technology | Wireless |
| Wireless Communication Technology | Bluetooth (for pairing with sound bar) |
| Product Dimensions (D x W x H) | 16.13" x 7.38" x 16" |
| Item Weight | 20.7 Pounds |
| Color | Black |
| Power Source | Corded Electric |
| Compatible Devices | Yamaha True X Bar 40A Sound Bar |
| UPC | 027108960418 |
9. Warranty and Support
This product is covered by a limited warranty. For detailed warranty information, please refer to the warranty card included with your product or visit the official Yamaha website.
For technical support, service, or additional product information, please contact Yamaha customer support or visit their official website.