1. Introduction
This manual provides comprehensive instructions for the safe and effective use of the Fischer FIS CC Cleaning and Fixing Set. This kit is designed for preparing boreholes and injecting chemical mortar for secure fastenings. It includes a manual dispenser, a blower, various brushes, and an SDS adapter, ensuring efficient workflow on construction sites.
Please read these instructions carefully before using the product to ensure proper operation and to prevent damage or injury.
2. Product Overview and Components
The Fischer FIS CC Cleaning and Fixing Set comes in a robust hard-shell case, providing organized storage and easy transport for all necessary accessories.

Figure 1: Fischer FIS CC Cleaning and Fixing Set in its robust hard-shell case.
The set includes the following components:
- 1 x Manual Dispenser FIS DM S Pro
- 1 x Blower AB G (large, red)
- 1 x SDS Adapter M8
- 1 x FIS Brush Extension
- 4 x Brushes (diameters: Ø10, Ø12, Ø14, Ø18)

Figure 2: Contents of the Fischer FIS CC Cleaning and Fixing Set.
3. Setup
Before beginning any work, ensure you have all necessary safety equipment, such as gloves and eye protection.
3.1 Preparing the Manual Dispenser FIS DM S Pro
The FIS DM S Pro manual dispenser is compatible with cartridge sizes of 150 ml, 300 ml, 360 ml, and 390 ml. To load a cartridge:
- Pull the plunger rod fully back.
- Insert the chemical mortar cartridge into the dispenser barrel.
- Cut the tip of the cartridge nozzle and attach the mixing nozzle (if not pre-attached).
- Press the trigger a few times until the mortar flows evenly and is thoroughly mixed. Discard the initial mixed material until a consistent color is achieved.

Figure 3: Fischer FIS DM S Pro Manual Dispenser.
3.2 Preparing Borehole Cleaning Tools
Select the appropriate brush diameter (Ø10, Ø12, Ø14, Ø18) for your borehole. The brush should fit snugly to ensure effective cleaning. Attach the selected brush to the FIS Brush Extension, and then attach the extension to the SDS Adapter M8 for use with a drill, or use manually.

Figure 4: Fischer AB G Blower.
4. Operating Instructions
Proper borehole cleaning and mortar injection are crucial for the performance of chemical anchors.
4.1 Borehole Cleaning Procedure
Follow these steps for thorough borehole cleaning:
- Drill the Hole: Drill the borehole to the specified diameter and depth according to the chemical anchor manufacturer's instructions.
- Blow Out Dust (First Pass): Use the AB G blower to thoroughly blow out dust and debris from the borehole. Insert the nozzle deep into the hole and give several strong puffs.
- Brush the Hole: Insert the appropriate brush (attached to the extension and SDS adapter, or manually) into the borehole. Rotate and move the brush in and out several times to loosen any remaining particles.
- Blow Out Dust (Second Pass): Repeat the blowing process with the AB G blower to remove all loosened particles.
- Brush the Hole (Second Pass): Repeat the brushing process.
- Blow Out Dust (Final Pass): Perform a final blow-out with the AB G blower. The borehole must be completely free of dust and debris before mortar injection.
4.2 Chemical Mortar Injection
Once the borehole is clean, proceed with mortar injection:
- Prepare Dispenser: Ensure the manual dispenser is loaded with a properly mixed chemical mortar cartridge as described in Section 3.1.
- Inject Mortar: Insert the mixing nozzle of the dispenser to the bottom of the borehole. Slowly withdraw the nozzle while continuously pressing the trigger to fill the hole from the bottom up. This prevents air pockets.
- Fill Level: Fill the borehole to the recommended level, typically 2/3 to 3/4 full, or as specified by the chemical anchor manufacturer.
- Insert Anchor: Immediately insert the anchor element (e.g., threaded rod) into the wet mortar with a slight twisting motion until it reaches the bottom of the hole.
- Curing Time: Allow the chemical mortar to cure for the time specified by the manufacturer before applying any load. Curing times vary based on temperature and product type.
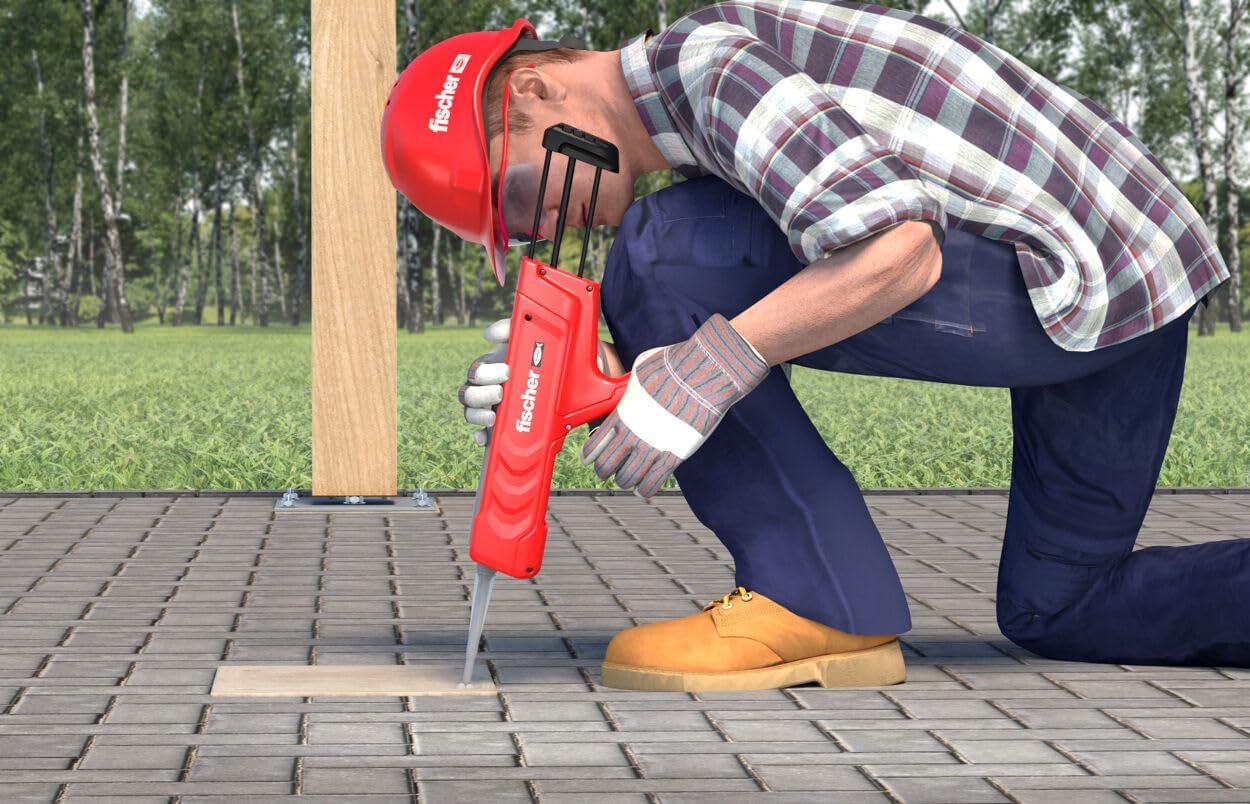
Figure 5: Injecting mortar into a borehole on a horizontal surface.
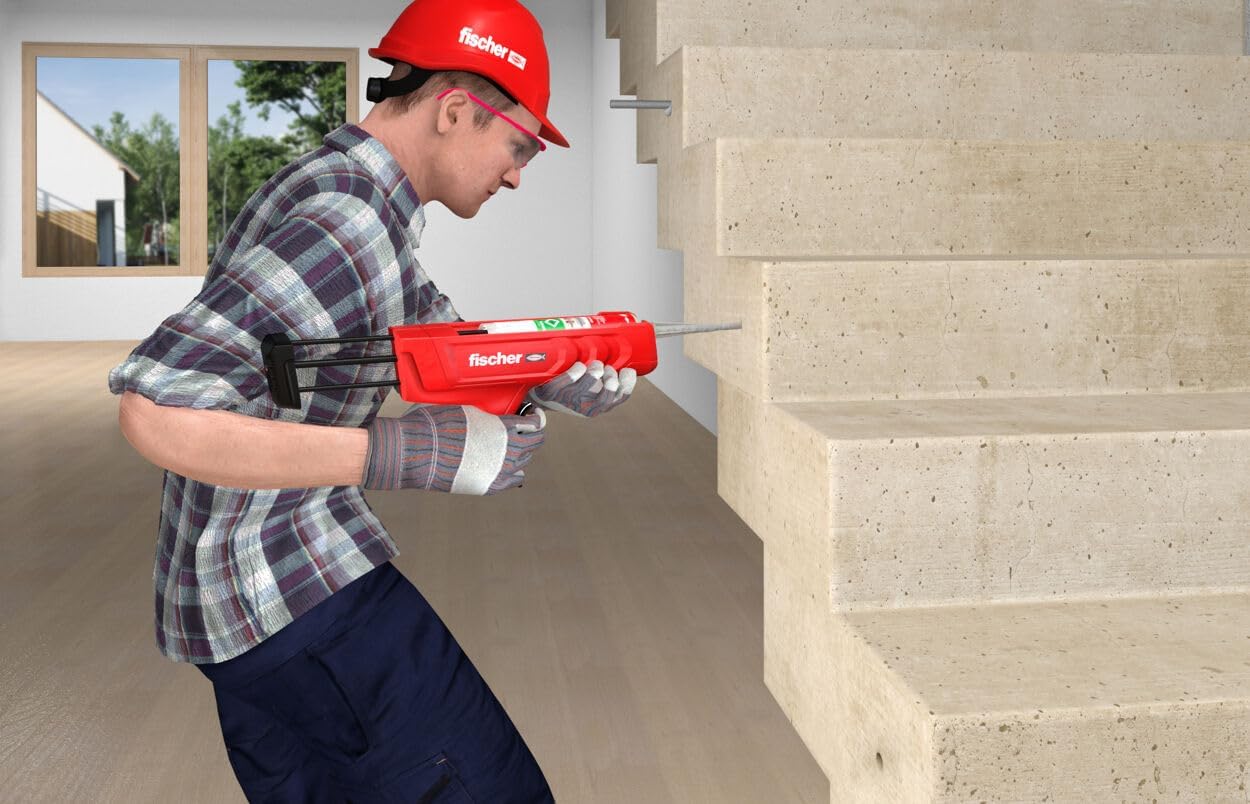
Figure 6: Injecting mortar into a borehole on a vertical surface.
5. Maintenance
Regular maintenance ensures the longevity and proper functioning of your Fischer FIS CC Cleaning and Fixing Set.
- Dispenser Cleaning: After each use, clean any excess mortar from the dispenser, especially around the nozzle connection and plunger rod. Allow any residual mortar in the mixing nozzle to cure and then remove it. Do not attempt to clean the inside of the mixing nozzle if it contains cured mortar; replace it.
- Brush Cleaning: Clean brushes thoroughly after each use to remove all mortar residue. Warm water and a stiff brush can be effective. Ensure they are dry before storing.
- Blower Cleaning: Wipe the blower clean with a damp cloth. Ensure no debris obstructs the air passage.
- Storage: Store all components in the provided hard-shell case in a dry, cool place, away from direct sunlight and extreme temperatures.
6. Troubleshooting
This section addresses common issues you might encounter during the use of the Fischer FIS CC Cleaning and Fixing Set.
| Problem | Possible Cause | Solution |
|---|---|---|
| Mortar not dispensing or dispensing unevenly. | Cartridge incorrectly loaded, mixing nozzle clogged, or plunger rod not fully engaged. | Ensure cartridge is seated correctly. Replace mixing nozzle if clogged. Check plunger rod engagement. |
| Poor adhesion of chemical anchor. | Borehole not properly cleaned (dust/debris remaining), incorrect mixing ratio of mortar, or improper curing conditions. | Re-clean borehole thoroughly. Ensure initial mortar is discarded until evenly mixed. Verify ambient temperature is within mortar specifications. |
| Difficulty inserting anchor element. | Borehole diameter too small, or mortar has started to cure. | Ensure correct drill bit size. Insert anchor immediately after mortar injection. |
7. Specifications
| Feature | Detail |
|---|---|
| Manufacturer | fischer |
| Item Number | 567202 |
| Product Dimensions (Case) | 45.5 x 35.5 x 16.5 cm |
| Product Weight | 4.58 kg |
| Dispenser Type | Manual |
| Compatible Cartridge Sizes | 150 ml, 300 ml, 360 ml, 390 ml |
| Included Components | Manual Dispenser, Blower, Brushes (Ø10, Ø12, Ø14, Ø18), Brush Extension, SDS Adapter |
| Batteries Required | No |
8. Warranty Information
Fischer products are manufactured to high-quality standards. For specific warranty details, please refer to the documentation provided with your purchase or visit the official Fischer website. Keep your proof of purchase for any warranty claims.
9. Support
If you require further assistance or have questions not covered in this manual, please contact Fischer customer support through their official website or the retailer where you purchased the product. Provide your product model number (567202) and a detailed description of your inquiry for efficient support.