Introduction
The Geevon Wireless Indoor Outdoor Thermometer is designed to provide accurate temperature and humidity readings for both your indoor environment and up to three remote outdoor locations. Its clear LCD display with a gentle backlight ensures readability in various lighting conditions. This manual will guide you through the setup, operation, and maintenance of your thermometer.

Figure 1: Main Display Unit and Remote Sensor
What's in the Box
- One Receiving Host (Main Display Unit)
- One Remote Sensor
- One User Manual
- One Warranty Card
Note: 4 AAA batteries are required for operation (2 for the main unit, 2 for the remote sensor) and are not included.
Setup
Battery Installation and Sensor Connection
- Prepare the Remote Sensor: Open the battery compartment of the remote sensor. Set the channel selector switch (1, 2, or 3) to your desired transmission channel. Do this before inserting batteries.
- Install Sensor Batteries: Insert 2 AAA batteries into the remote sensor, ensuring correct polarity (+/-). Close the battery compartment.
- Install Main Unit Batteries: Open the battery compartment of the main display unit. Insert 2 AAA batteries, ensuring correct polarity (+/-). Close the battery compartment.
- Establish Connection: Place the main unit and the remote sensor close to each other (within a few feet). Allow 2-3 minutes for them to connect and synchronize. Do not move them during this initial connection phase.

Figure 2: How to Connect with Sensor
Placement Options
The main display unit and remote sensor offer flexible placement options:
- Tabletop: Both units feature a built-in kickstand for stable placement on any flat surface.
- Wall-Mount: Both units have hook holes on the back for easy wall mounting.

Figure 3: Placement Options
For optimal wireless transmission, ensure the remote sensor is within 200ft/60m of the main unit in an open area. The remote sensor is IPX4 splash-proof, but it is recommended to place it in a shaded, protected area away from direct sunlight and heavy rain to prolong its lifespan and ensure accurate readings.

Figure 4: Wireless Transmission Range
Operating Instructions
LCD Display Features
- Temperature & Humidity: Displays current indoor and outdoor temperature (in °F or °C) and humidity levels.
- Backlight: Press any button to activate the warm-colored backlight for 8 seconds, improving visibility in low light conditions.
- Trend Arrows: Arrows indicate the trend of temperature and humidity (rising, falling, or stable).
- Historical Records: Accurately records 24-hour, 48-hour, and all-time historical maximum and minimum temperature and humidity data.

Figure 5: Display with Trend Arrows and MAX/MIN Records
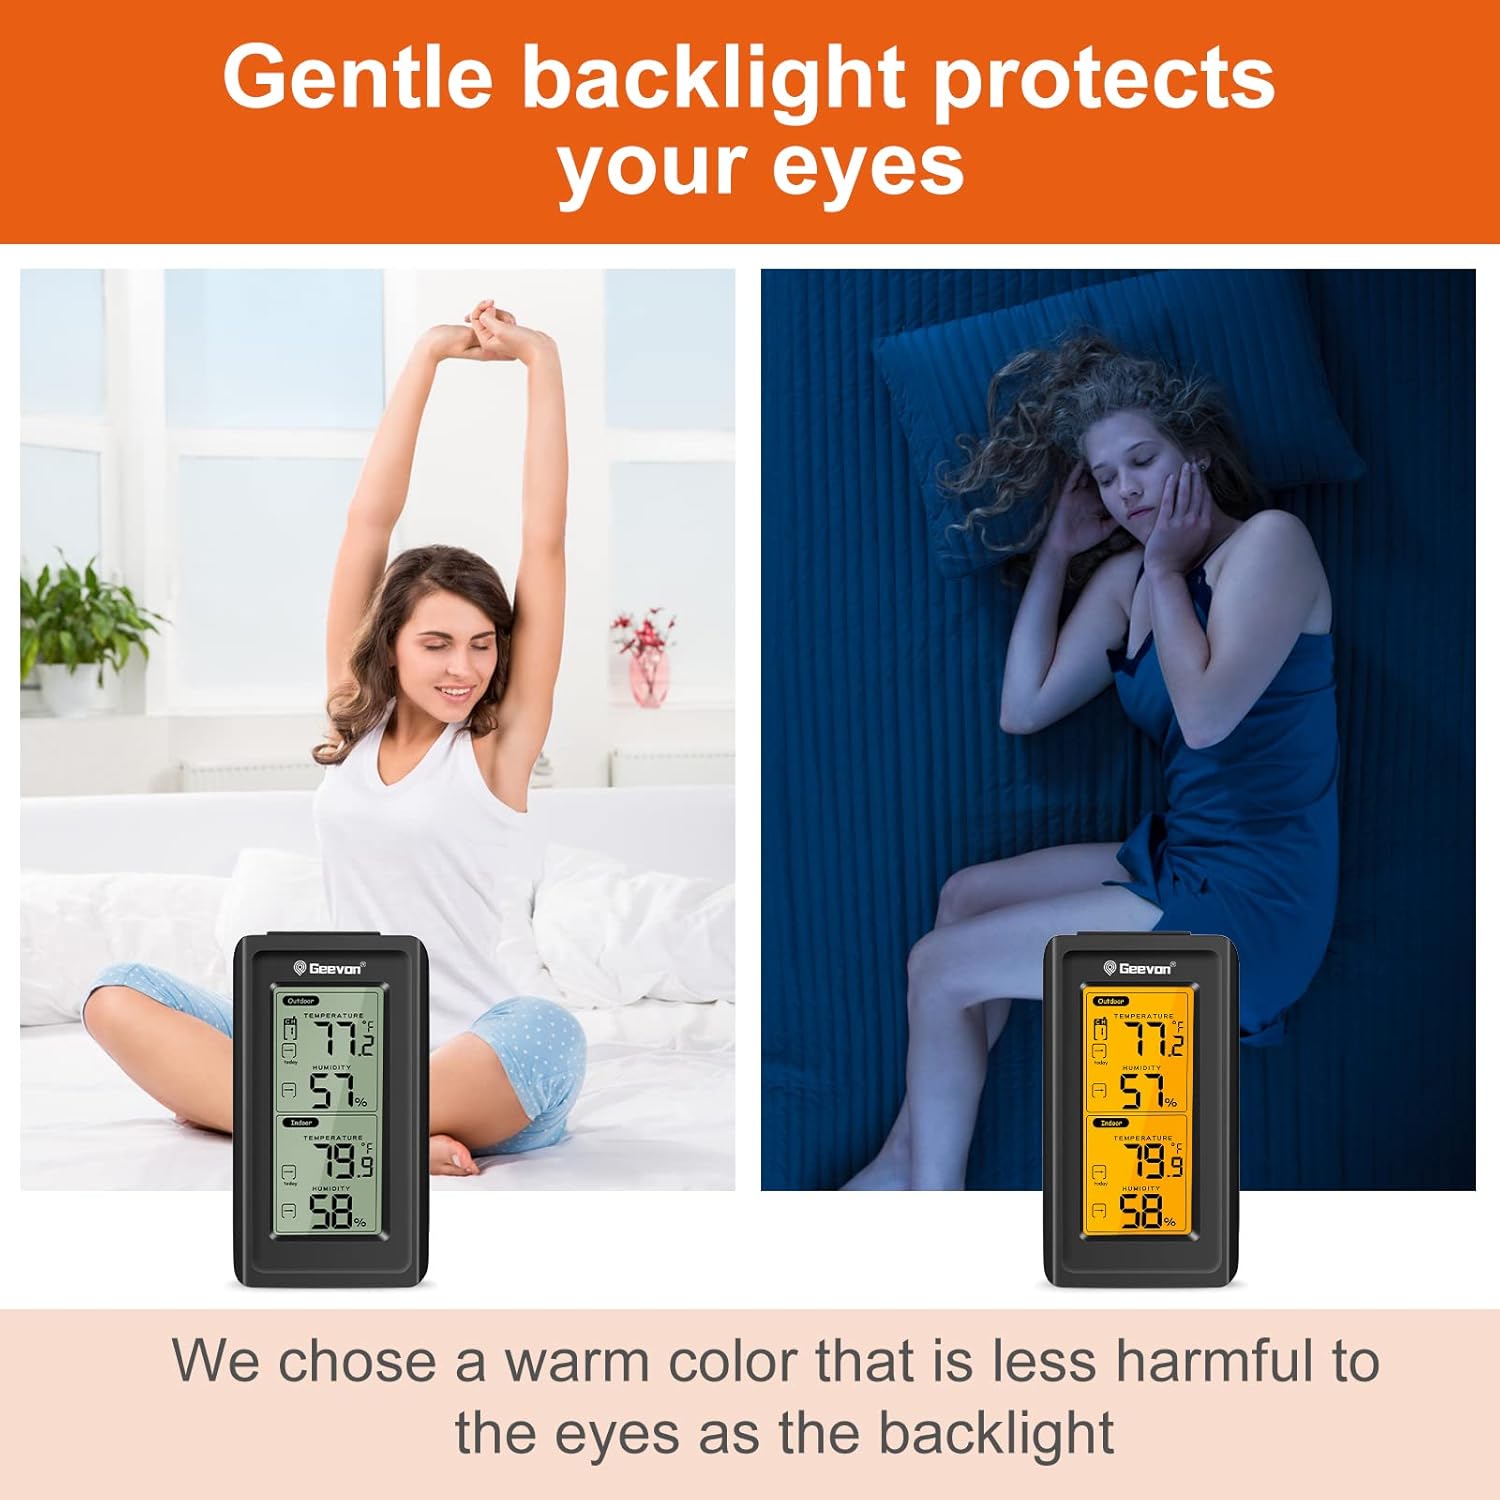
Figure 6: Gentle Backlight for Eye Protection
Button Functions
- CH (Channel): Press to cycle through the connected remote sensors (if more than one is used). The product is equipped with one signal transmitter.
- 24/48/ALL: Press to view historical data for the last 24 hours, 48 hours, or all-time.
- C/F: Press to switch between Celsius and Fahrenheit temperature units.
- Trend Arrow Button: Press to view temperature and humidity trends.

Figure 7: Monitor Up to 4 Zones (with additional sensors, sold separately)
Maintenance
- Cleaning: To clean the units, wipe them with a soft, damp cloth. Do not soak the units in water or use abrasive cleaners.
- Battery Replacement: When the battery indicator appears on the display, replace the AAA batteries in both the main unit and the remote sensor. Ensure correct polarity.
- Storage: If storing the thermometer for an extended period, remove all batteries to prevent leakage and damage.
Troubleshooting
- No Display/Blank Screen:
- Check if batteries are installed correctly with proper polarity.
- Replace old or depleted batteries with new AAA batteries. - No Outdoor Reading/Dashes on Display:
- Ensure the remote sensor is within the 200ft/60m wireless range of the main unit.
- Check for obstructions between the sensor and the main unit (e.g., thick walls, large metal objects).
- Re-synchronize the units by removing batteries from both, setting the sensor channel, then reinserting batteries into the sensor first, followed by the main unit. Place them close together during synchronization. - Inaccurate Readings:
- Ensure both units are placed away from direct heat sources (sunlight, appliances) or cold drafts.
- Allow units to stabilize for at least 30 minutes after initial setup or relocation.
- For outdoor sensor, place it in a shaded, well-ventilated area, protected from direct weather elements. - Backlight Not Working:
- The backlight is designed to last 8 seconds per activation. If it doesn't light up, check battery levels.
Specifications
| Feature | Detail |
|---|---|
| Product Dimensions | 3.66 x 0.01 x 0.01 inches; 4.66 ounces |
| Item Model Number | 86150-B |
| Batteries Required | 4 AAA batteries (not included) |
| Manufacturer | GEEVON |
| ASIN | B0BWDXC15B |
| Brand | Geevon |
| Special Feature | Easy to read, LCD backlight, Ultra Clear Screen, high-precision |
| Color | Black |
| Included Components | One receiving host, one remote sensor, one manual, and one warranty card |
| Outer Material | Plastic |
| Specification Met | FCC |
| Display Type | LCD |
| Product Care Instructions | Do Not Soak, Wipe Clean |
| Unit Count | 1.0 Count |
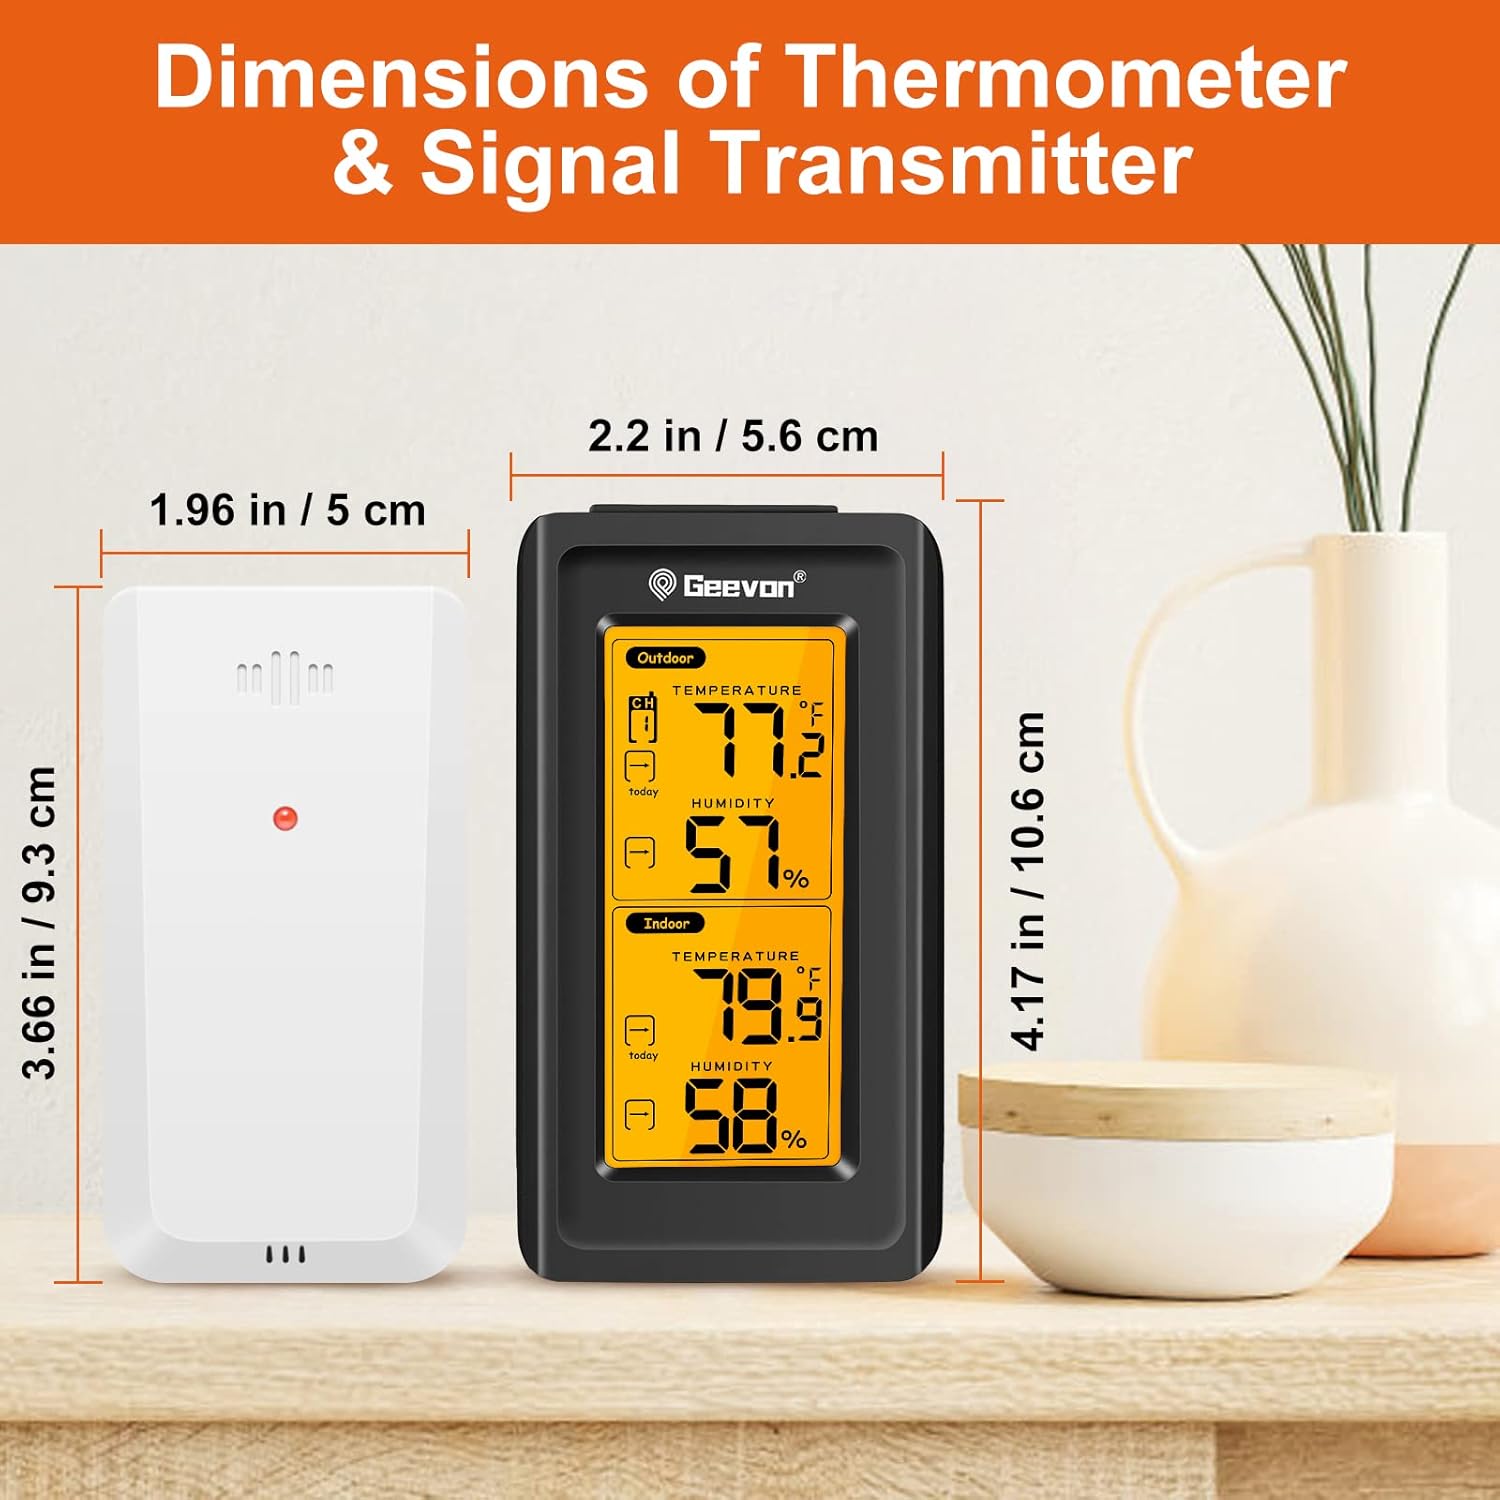
Figure 8: Dimensions of Thermometer & Signal Transmitter
Warranty and Support
Your Geevon Indoor Outdoor Thermometer comes with a warranty as detailed on the included warranty card. For any support inquiries, troubleshooting assistance, or warranty claims, please refer to the contact information provided in your product packaging or visit the official Geevon website.
An electronic version of this user manual is also available for download: Download User Manual (PDF)